UICollectionViewListCellは継承しない方が良い
UICollectionViewにおいて、リスト表示のセルを使う場合は次のようにUICollectionViewListCellをCellRegistrationで使用します。
let cellRegistration = UICollectionView.CellRegistration(
    handler: { (cell: UICollectionViewListCell, indexPath, item: Item) in
      var contentConfiguration = cell.defaultContentConfiguration()
      contentConfiguration.text = "Hello, World!"
      cell.contentConfiguration = contentConfiguration
    }
)
では、カスタムセルを作る場合はどのようにすれば良いでしょうか。
まずはUICollectionViewListCellを継承して、CustomCellを作ってみます。
class CustomCell: UICollectionViewListCell {
  let label: UILabel = UILabel()

  override init(frame: CGRect) {
    super.init(frame: frame)

    label.translatesAutoresizingMaskIntoConstraints = false
    addSubview(label)
    NSLayoutConstraint.activate([
      label.topAnchor.constraint(equalTo: topAnchor, constant: 10),
      bottomAnchor.constraint(equalTo: label.bottomAnchor, constant: 10),
      label.leftAnchor.constraint(equalTo: leftAnchor, constant: 10),
      rightAnchor.constraint(equalTo: label.rightAnchor, constant: 10)
    ])
  }
  ...
}
これをCellRegistrationに次のように指定します。
  let cellRegistration = UICollectionView.CellRegistration(
    handler: { (cell: CustomCell, indexPath, item: Item) in
      cell.label.text = "Hello, World!"
    }
  )
これを実行すると、次のような結果になります。

期待通りの見た目になりました。
ところが、この実装はある問題を孕んでいます。
それはcellのaccessoryと長めの文字列を設定した場合に発生します。
  let cellRegistration = UICollectionView.CellRegistration(
    handler: { (cell: CustomCell, indexPath, item: Item) in
      cell.label.text = "Hello, World!Hello, World!Hello, World!Hello, World!Hello, World!Hello, World!"
      cell.accessories = [.detail()]
    }
  )

このように、contentViewに乗せたビューとアクセサリが干渉してしまうのです。
これを解消するには、UIContentViewを利用します。
extension UICollectionViewListCell {
  func customContentConfiguration() -> CustomContentConfiguration {
    CustomContentConfiguration()
  }
}

struct CustomContentConfiguration: UIContentConfiguration, Hashable {
  var text: String = ""

  func updated(for state: UIConfigurationState) -> CustomContentConfiguration {
    self
  }

  func makeContentView() -> UIView & UIContentView {
    CustomContentView(configuration: self)
  }
}

class CustomContentView: UIView, UIContentView {
  let label: UILabel = UILabel()
  var configuration: UIContentConfiguration

  init(configuration: CustomContentConfiguration) {
    self.configuration = configuration
    super.init(frame: .null)

    label.translatesAutoresizingMaskIntoConstraints = false
    addSubview(label)
    NSLayoutConstraint.activate([
      label.topAnchor.constraint(equalTo: topAnchor, constant: 10),
      bottomAnchor.constraint(equalTo: label.bottomAnchor, constant: 10),
      label.leftAnchor.constraint(equalTo: leftAnchor, constant: 10),
      rightAnchor.constraint(equalTo: label.rightAnchor, constant: 10)
    ])

    label.text = configuration.text
  }
  ...
}
CellRegistrationはUICollectionViewListCellを指定し、contentConfiguration経由で値を渡すので、次のようになります。
let cellRegistration = UICollectionView.CellRegistration(
    handler: { (cell: UICollectionViewListCell, indexPath, item: Item) in
      var contentConfiguration = cell.customContentConfiguration()
      contentConfiguration.text = "Hello, World!Hello, World!Hello, World!Hello, World!Hello, World!Hello, World!"
      cell.contentConfiguration = contentConfiguration
      cell.accessories = [.detail()]
    }
  )
これを実行すると次のようになります。

うまくcontentViewはaccessoryの領域を避けるようになりました。
この実装方法を使えば、UIKitの標準的な動作を阻害することなくカスタムなビューを作ることができます。
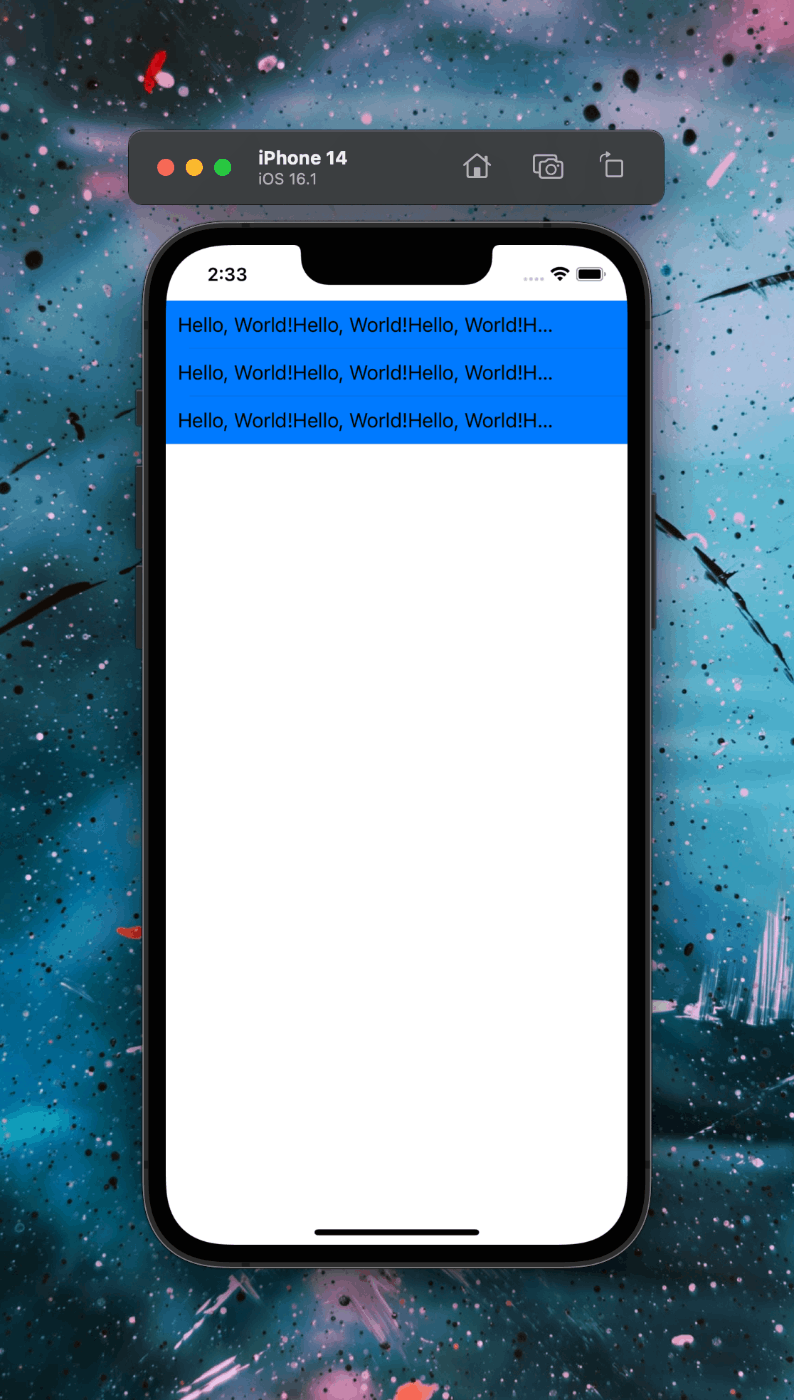
一点、この方法ではcontentViewの背景色を指定するとアクセサリ領域を避けてしまいます。

セル全体に色を適用する場合は、次のようにcell.backgroundViewを指定します。
  let cellRegistration = UICollectionView.CellRegistration(
    handler: { (cell: UICollectionViewListCell, indexPath, item: Item) in
      var contentConfiguration = cell.customContentConfiguration()
      contentConfiguration.text = "Hello, World!Hello, World!Hello, World!Hello, World!Hello, World!Hello, World!"
      cell.contentConfiguration = contentConfiguration
      cell.accessories = [.detail()]

      let backgroundView = UIView()
      backgroundView.backgroundColor = .systemBlue
      cell.backgroundView = backgroundView
    }
  )

正しいAPIでカスタムセルを作ることで、標準的に提供されるUIKitの機能と統合することができました。
UICollectionViewListCellのサブクラスを作ること自体は問題ありませんが、それはアクセシビリティやRTL言語においての動作を100%開発側で責任を持つことと同義といえます。なるべく標準的な挙動に則り開発を進めることで開発工数の削減や動作の一般化を狙うことができます。


Discussion