1.はじめに
この記事では、2023年9月にOpenAIから発表されたChatGPT 4Vを使ったプログラミングについてまとめています。
ChatGPTのGPT-3.5を使用してもプログラミングは可能ですが、ChatGPT 4V(GPT-4、VはVisionの意味)を活用すると、画面UIのワイヤーフレームから直接コードを生成することができます。ただし、GPT-4の利用には、ChatGPTの有料版であるPlus(月額20ドル)に加入する必要があります。


今回は、4Vの画像認識機能を利用してコードを生成してもらい、実際にどの程度実装することができるのかを検証してみましたので、ぜひ最後までお付き合いいただければと思います。
作成するアプリは、集中力を高めたい時に効果的なツール「ポモドーロタイマー」です⏱️
開発環境にはFlutterを使用します。
2.ポモドーロタイマーを作る!
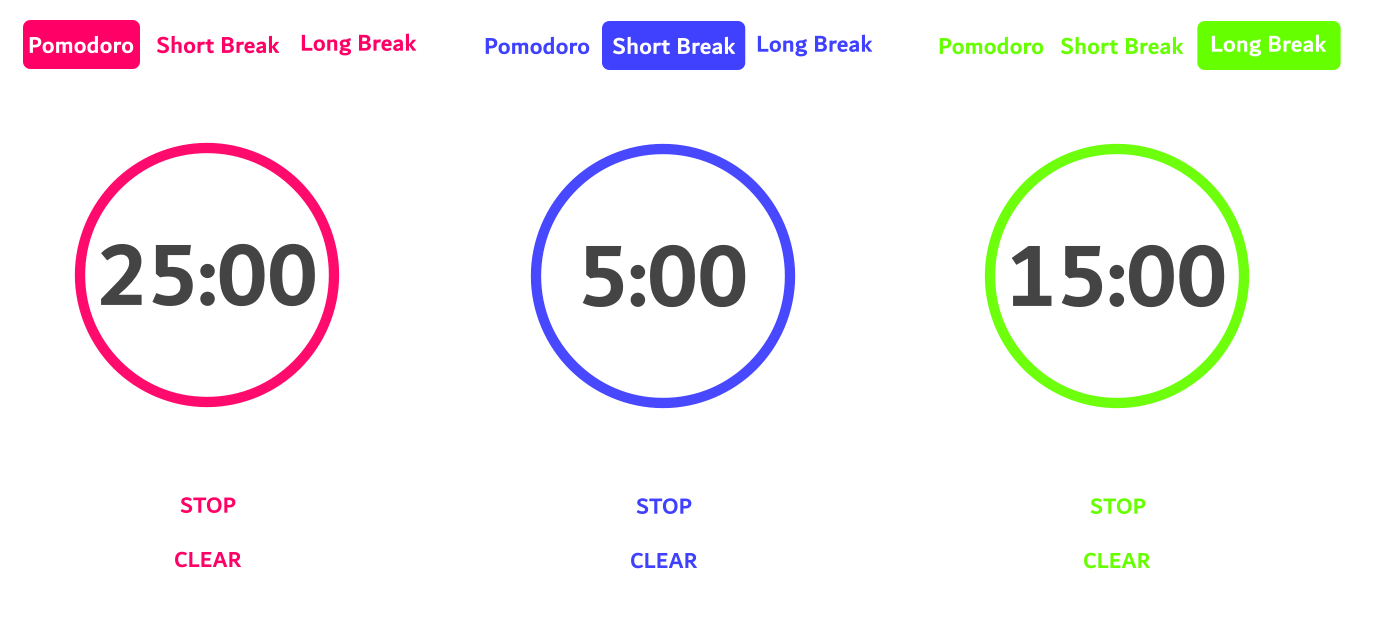
ポモドーロタイマーとは、短い集中時間と休憩時間を交互に繰り返すことで、生産性を向上させるための時間管理テクニックです。一般的に25分間の作業(ポモドーロ)に続いて5分間の休憩を取り、4セットの後に15-30分の長い休憩を挟む方法として知られています。
ちなみに「ポモドーロ」という名前は、イタリア語で「トマト」を意味します。この名称は、ポモドーロテクニックを考案したフランチェスコ・シリロが学生時代に使用していた、トマトの形をしたキッチンタイマーに由来しているのだそう。
今回は下図のようなワイヤーフレームを3つ作成しました。
2.1.GPT-4 とプログラミング
では、早速作成したワイヤーフレームを使ってコーディングをお願いしてみます。
Flutter言語を使用して「ポモドーロタイマーアプリ」を作成しようと思います。UIは添付した画像のようなデザインにしようと思います。コードを書いてもらえますか?
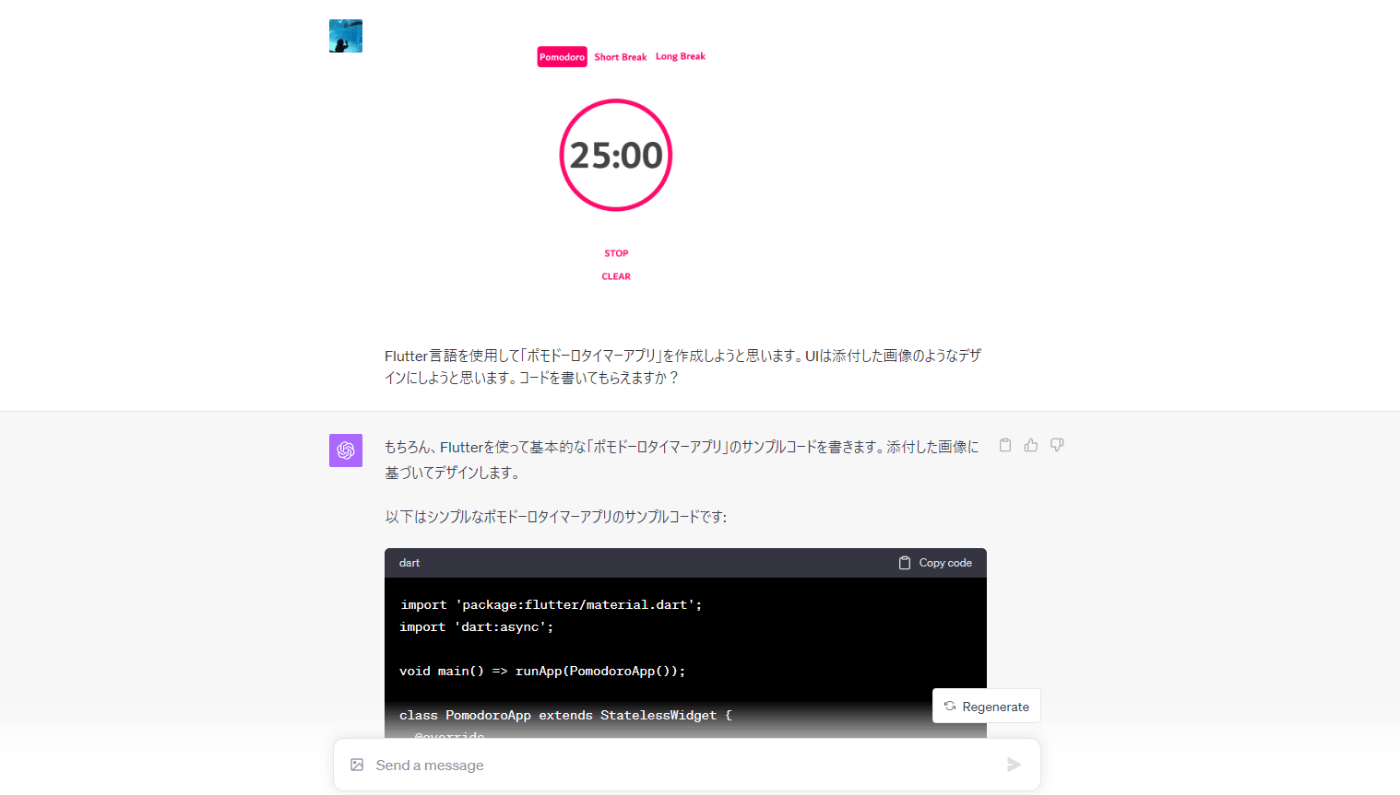
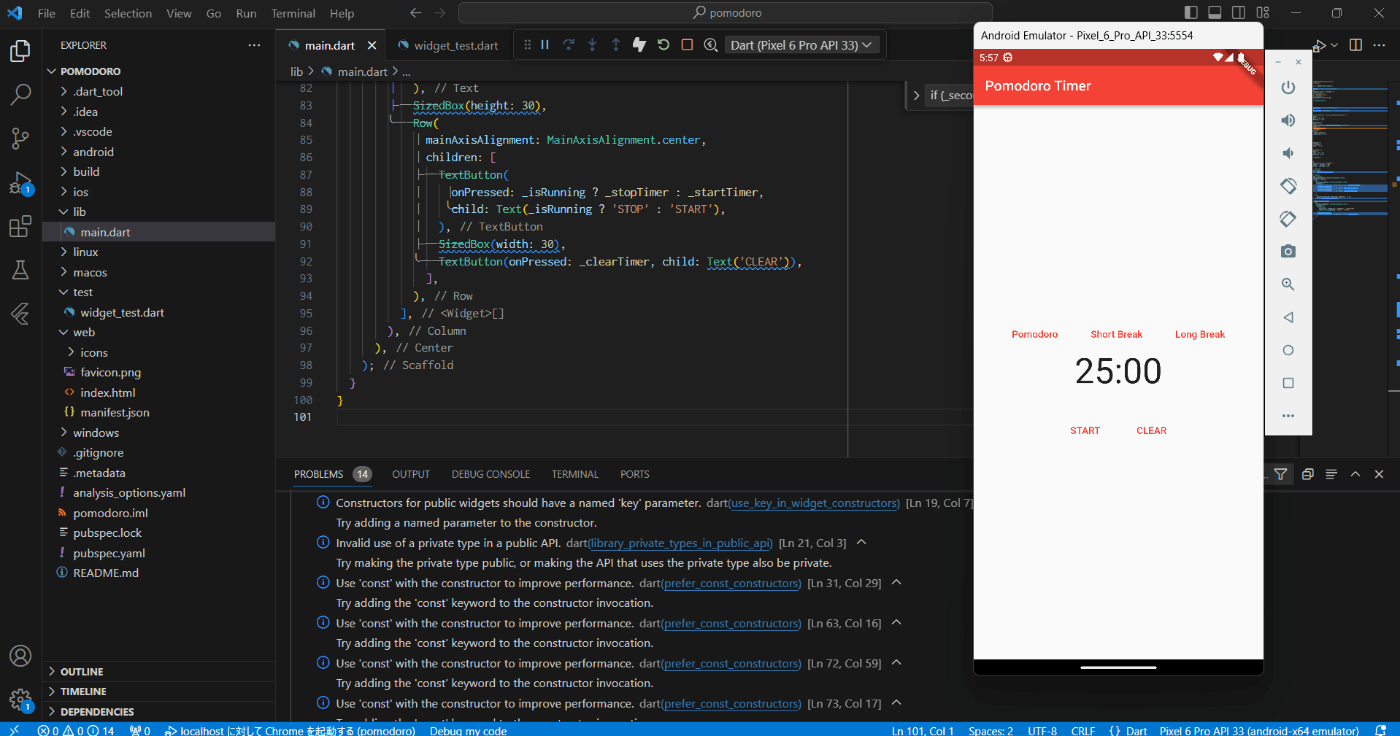
ワイヤーフレームを提示してGPT-4に書いてもらったコードを、予め作成しておいたFlutterプロジェクトの「main.dart」ファイルに貼り付けてみます。
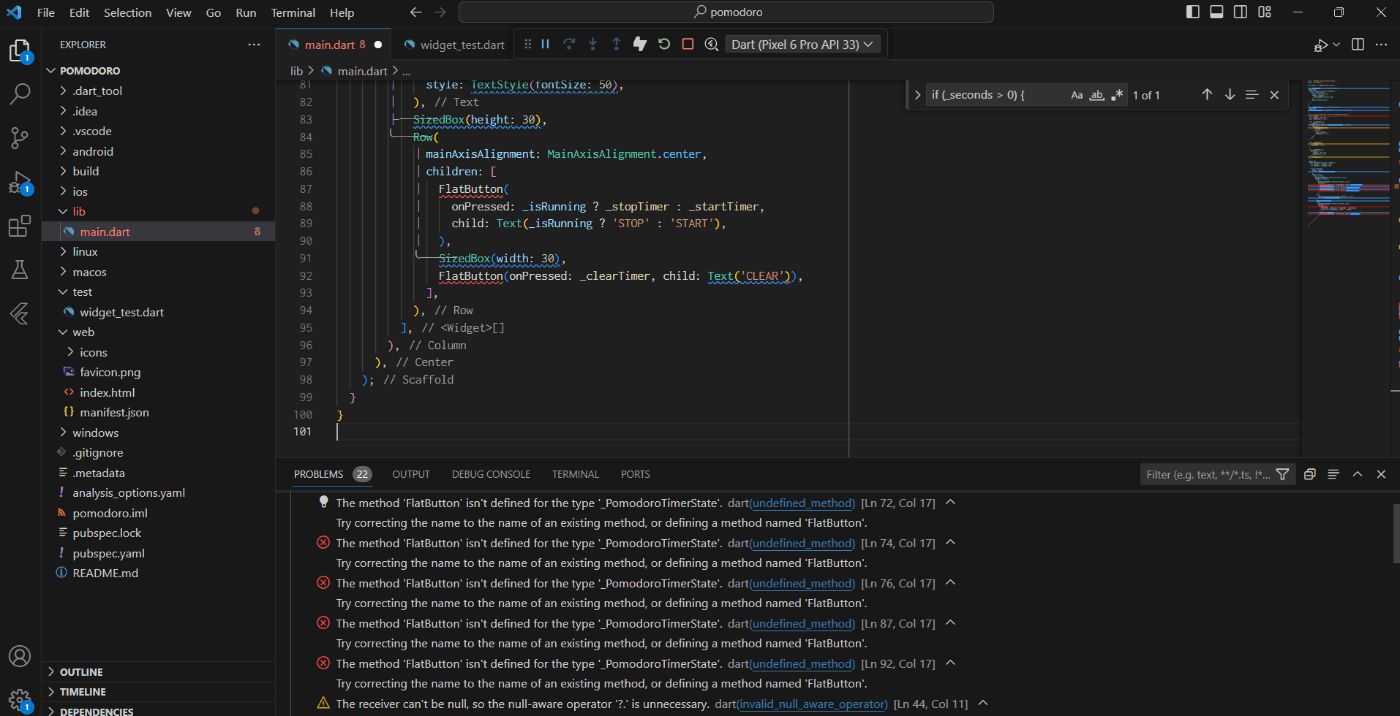
エラーが複数出ているので、エラーメッセージを伝えて修正してもらい、改めてコーディングしてもらいます。
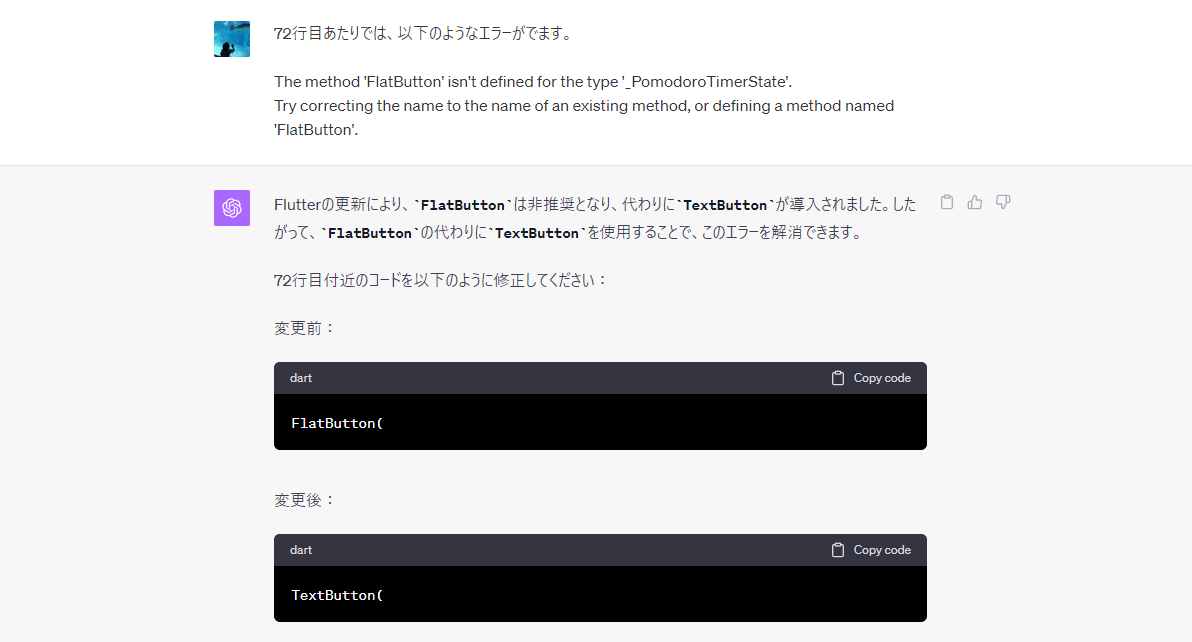

エラーをそのまま伝えるだけでエラーが無事改修されました。修正後のコードでエミュレータを起動して動作確認してみます。細かい部分は実装されていませんが、下図のように希望している要素は最低限再現されていますね!しかも、STARTボタンをタップしたらSTOPボタンに変更され、タイマーもしっかりカウントダウンされました。
実際のコード
import 'package:flutter/material.dart';
import 'dart:async';
void main() => runApp(PomodoroApp());
class PomodoroApp extends StatelessWidget {
Widget build(BuildContext context) {
return MaterialApp(
title: 'Pomodoro Timer',
theme: ThemeData(
primarySwatch: Colors.red,
),
home: PomodoroTimer(),
);
}
}
class PomodoroTimer extends StatefulWidget {
_PomodoroTimerState createState() => _PomodoroTimerState();
}
class _PomodoroTimerState extends State<PomodoroTimer> {
Timer? _timer;
int _seconds = 25 * 60;
bool _isRunning = false;
void _startTimer() {
_isRunning = true;
_timer = Timer.periodic(Duration(seconds: 1), (timer) {
setState(() {
if (_seconds > 0) {
_seconds--;
} else {
_timer?.cancel();
_isRunning = false;
}
});
});
}
void _stopTimer() {
_timer?.cancel();
_isRunning = false;
}
void _clearTimer() {
setState(() {
_seconds = 25 * 60;
_isRunning = false;
});
_timer?.cancel();
}
Widget build(BuildContext context) {
int minutes = _seconds ~/ 60;
int seconds = _seconds % 60;
return Scaffold(
appBar: AppBar(
title: Text('Pomodoro Timer'),
),
body: Center(
child: Column(
mainAxisAlignment: MainAxisAlignment.center,
children: <Widget>[
Row(
mainAxisAlignment: MainAxisAlignment.center,
children: [
TextButton(onPressed: _clearTimer, child: Text('Pomodoro')),
SizedBox(width: 30),
TextButton(onPressed: () {}, child: Text('Short Break')),
SizedBox(width: 30),
TextButton(onPressed: () {}, child: Text('Long Break')),
],
),
Text(
'$minutes:${seconds.toString().padLeft(2, '0')}',
style: TextStyle(fontSize: 50),
),
SizedBox(height: 30),
Row(
mainAxisAlignment: MainAxisAlignment.center,
children: [
TextButton(
onPressed: _isRunning ? _stopTimer : _startTimer,
child: Text(_isRunning ? 'STOP' : 'START'),
),
SizedBox(width: 30),
TextButton(onPressed: _clearTimer, child: Text('CLEAR')),
],
),
],
),
),
);
}
}
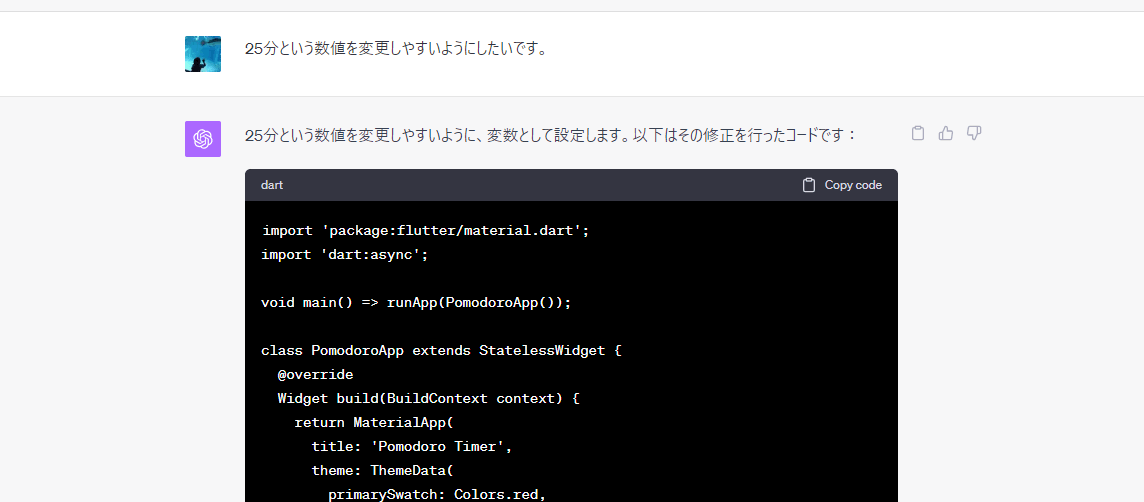
続けて、分数の設定を可変にできるように変数として定義してもらったり、タイマーをSTOPしたら再STARTするといった細かい仕様を対話して適用していきます。
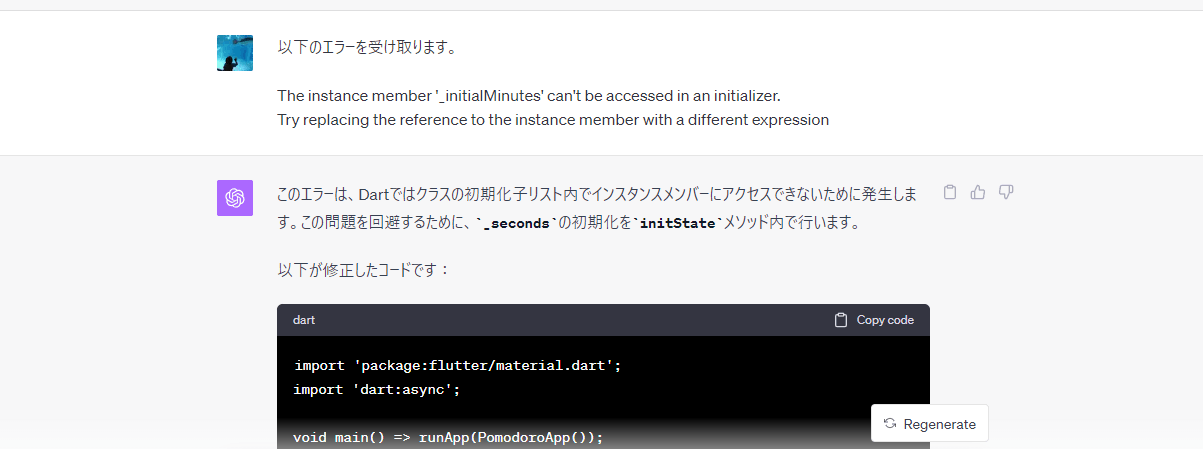
もし提案されたコードでエラーが出た場合は、先程と同じようにエラーメッセージを伝えて修正してもらいます。
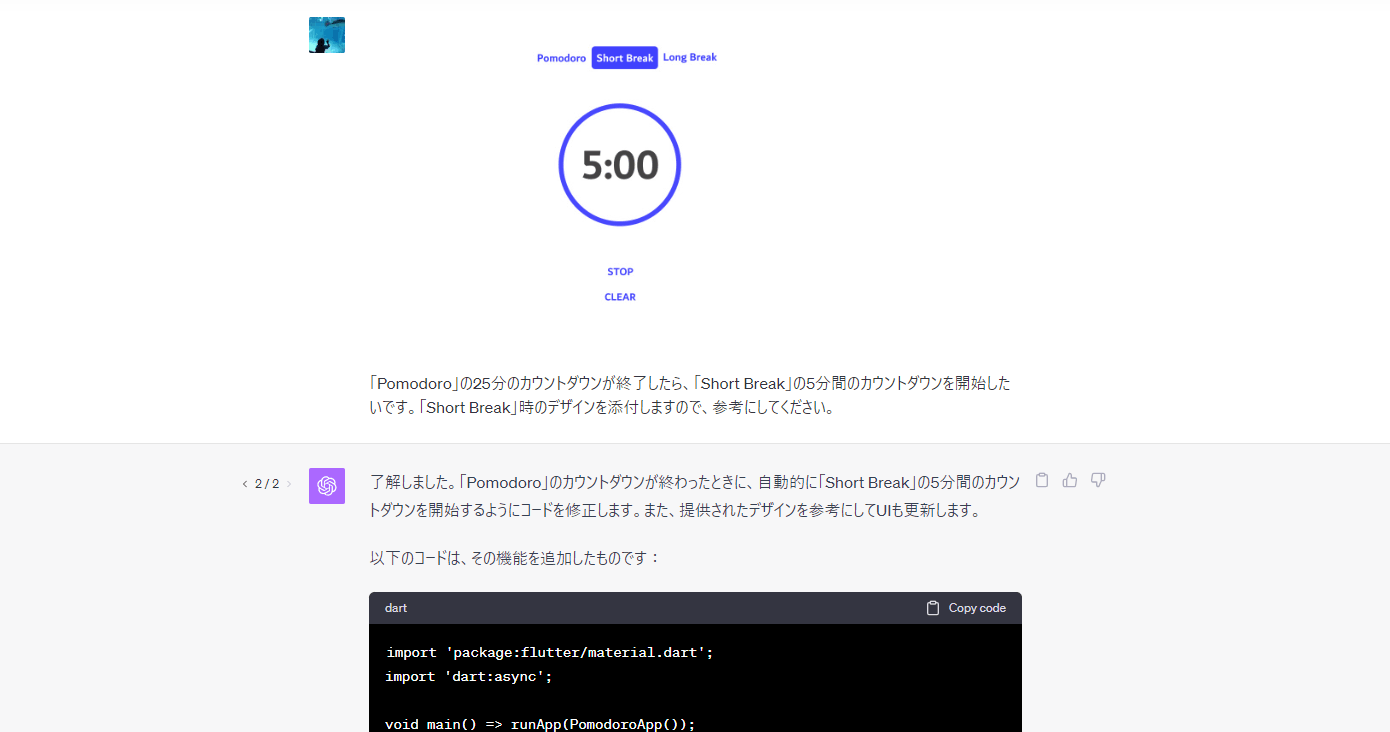
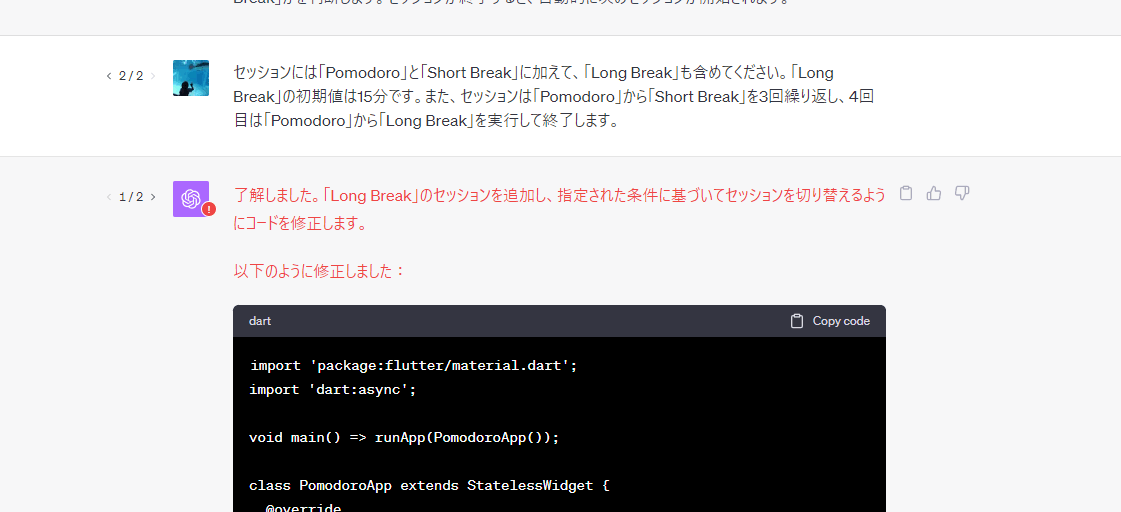
休憩のタイマーについても対話しながら追加します。

なお、対話していると「Error in message stream」といったエラーを何度か受け取ることがありましたが、エラーを受け取った場合は、想定されるレスポンスを出来るだけシンプルにすることで上手くいくことが多かったです。例えば「_PomodoroTimerState クラスの定義だけお願いします。」や「Widget build の定義部分をお願いします。」といった具合です。
2.2.出来上がり
何度か対話して完成したのがこちら(4倍速)です。
※検証用にポモドーロのタイマーは、25分ではなく25秒で実行しています。
コードはこちら👇
import 'package:flutter/material.dart';
import 'dart:async';
void main() => runApp(PomodoroApp());
class PomodoroApp extends StatelessWidget {
Widget build(BuildContext context) {
return MaterialApp(
title: 'Pomodoro Timer',
theme: ThemeData(
primarySwatch: Colors.red,
),
home: PomodoroTimer(),
);
}
}
class PomodoroTimer extends StatefulWidget {
_PomodoroTimerState createState() => _PomodoroTimerState();
}
class _PomodoroTimerState extends State<PomodoroTimer> {
Timer? _timer;
late int _seconds;
bool _isRunning = false;
String _currentSession = 'Pomodoro';
int _sessionCount = 0;
final int _initialPomodoroSeconds = 25;
final int _initialShortBreakSeconds = 5;
final int _initialLongBreakSeconds = 15;
void initState() {
super.initState();
_seconds = _initialPomodoroSeconds;
}
// Returns color based on the current session type.
Color _getCurrentTextColor() {
switch (_currentSession) {
case 'Pomodoro':
return Color(0xffFF0066);
case 'Short Break':
return Color(0xff4040FF);
case 'Long Break':
return Color(0xff66FF00);
default:
return Colors.black;
}
}
// Toggles the timer between running and paused states.
void _toggleTimer() {
if (_isRunning) {
_timer?.cancel();
} else {
_startTimer();
}
setState(() {
_isRunning = !_isRunning;
});
}
// Initiates the timer countdown.
void _startTimer() {
_timer = Timer.periodic(Duration(seconds: 1), (timer) {
setState(() {
if (_seconds > 0) {
_seconds--;
} else {
_timer?.cancel();
_nextSession();
}
});
});
}
// Switches to the next session type based on the current session count.
void _nextSession() {
_sessionCount++;
switch (_sessionCount) {
case 1:
case 3:
case 5:
_setSession('Short Break', _initialShortBreakSeconds);
_startTimer();
break;
case 2:
case 4:
case 6:
_setSession('Pomodoro', _initialPomodoroSeconds);
_startTimer();
break;
case 7:
_setSession('Long Break', _initialLongBreakSeconds);
_startTimer();
break;
case 8:
_timer?.cancel();
_isRunning = false;
_sessionCount = 0;
_setSession('Pomodoro', _initialPomodoroSeconds);
break;
}
}
// Updates the current session type and duration.
void _setSession(String session, int seconds) {
setState(() {
_currentSession = session;
_seconds = seconds;
});
}
Widget build(BuildContext context) {
return Scaffold(
appBar: AppBar(
title: Text('Pomodoro Timer'),
),
body: Center(
child: Column(
mainAxisAlignment: MainAxisAlignment.center,
children: <Widget>[
Text(
_currentSession,
style: TextStyle(
color: _getCurrentTextColor(),
fontSize: 24,
),
),
SizedBox(height: 30),
Text(
'${_seconds ~/ 60}:${(_seconds % 60).toString().padLeft(2, '0')}',
style: TextStyle(
fontSize: 50,
color: _getCurrentTextColor(),
),
),
SizedBox(height: 30),
Row(
mainAxisAlignment: MainAxisAlignment.center,
children: <Widget>[
ElevatedButton(
onPressed: _toggleTimer,
child: Text(
_isRunning ? 'PAUSE' : 'START',
style: TextStyle(color: _getCurrentTextColor()),
),
style: ElevatedButton.styleFrom(
primary: Colors.white,
onPrimary: _getCurrentTextColor(),
),
),
SizedBox(width: 20),
ElevatedButton(
onPressed: () {
setState(() {
_isRunning = false;
_timer?.cancel();
_seconds = _initialPomodoroSeconds;
_currentSession = 'Pomodoro';
_sessionCount = 0;
});
},
child: Text(
'CLEAR',
style: TextStyle(color: _getCurrentTextColor()),
),
style: ElevatedButton.styleFrom(
primary: Colors.white,
onPrimary: _getCurrentTextColor(),
),
),
],
),
],
),
),
);
}
}
何度も対話を繰り返すことで、より要望した仕様に近づけることができそうですね。
ただし、対話を重ねていると、既に実装していた部分を元に戻してしまう(例えば変数化したものを削除してしまうなど)といった場合もありましたので、「以下のコードを○○するように修正してください。」といった具合に、修正して欲しいコードを全て含めて依頼することで、より効率的に対話を進めることができました。
3.まとめ
今回は、ChatGPT 4Vによる画像認識を使用したプログラミングについてでした!
既にLocofyのようにFigmaからコード生成を行うことが出来るようなツールは存在していますが、お絵描き程度のワイヤーフレームでコード生成をしてくれるChatGPTは、一段と進化した可能性を秘めていそうですね。特にデザインや開発の初期段階で、アイデアを迅速に形にしたい時に非常に役立つのではないでしょうか。このような技術の進化により、今後のアプリ開発やUI/UXデザインのフローはさらにスムーズかつ効率的になることが期待できそうです。
ここまでお読みいただきありがとうございました😊
4.参考ドキュメント

Discussion