🐉
Steadywin-GIM8108-8を回す odrivetool編
概要
Nexis-Rというチームでロボカップレスキュー実機リーグに参加している者です。
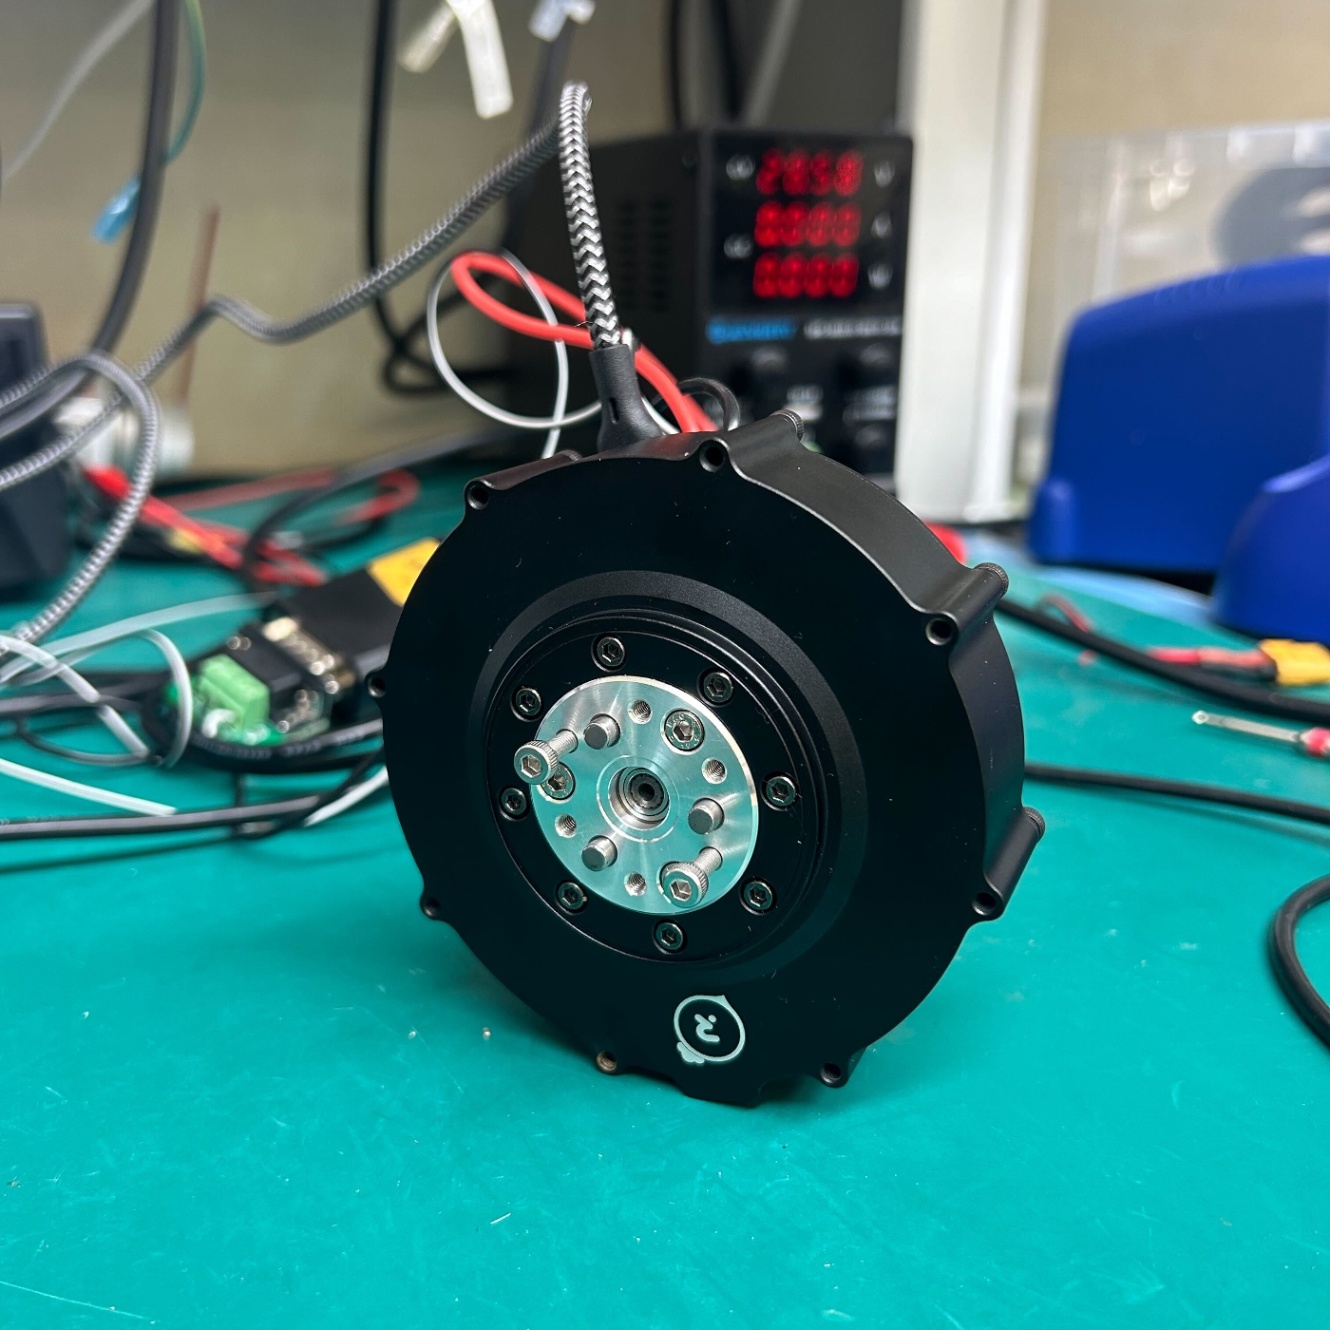
大陸からSteadywin-GIM8108-8が届いたので、odrivetoolを使って回してみたのでその動作方法を紹介します。
購入先
公式サイト商品ページ
中国語版の电机使用帮助 -> GIM8108-8使用说明手册_rev1.3のところに技術的な説明書が書いてあります。
動作環境と用意したもの
- Steadywin-GIM8108-8
- Ubuntu 22.04
- 電源装置 (SPS-3010 0-30V 0-10A)
- USBケーブル (type A to C)

Odrivetoolインストール
sudo apt update
sudo apt upgrade
sudo apt install python3 python3-pip
sudo pip3 install --upgrade odrive
echo "PATH=$PATH:~/.local/bin/" >> ~/.bashrc
インストールが終わったら下記のように表示されれば、インストール成功
$ odrivetool
ODrive control utility v0.6.9.post0
Website: https://odriverobotics.com/
Docs: https://docs.odriverobotics.com/
Forums: https://discourse.odriverobotics.com/
Discord: https://discord.gg/k3ZZ3mS
Github: https://github.com/odriverobotics/ODrive/

Please connect your ODrive.
You can also type help() or quit().
試しに接続できて動いているか確認。以下のコマンドを実行すると入力電圧が表示される。
odrv0.vbus_voltage
In [0]: odrv0.vbus_voltage
   ...:
Out[0]: 28.05198097229004
モータの設定
GIM8108-8使用说明手册_rev1.3とスペックシートを見ながら設定を行います。
設定項目
# モータ電流の制限値の設定 [A]
odrv0.axis0.motor.config.current_lim = 25

# 速度リミットの設定 [turn/s]
odrv0.axis0.controller.config.vel_limit = 30

# 上記の設定を有効にする
odrv0.axis0.controller.config.enable_torque_mode_vel_limit = 1

# キャリブレーション時の電流の上限値を設定 [A] (デフォルトで5A)
odrv0.axis0.motor.config.calibration_current = 2

# 放電電流の最大値の下限と上限の設定 [A] (今回は値を変更せずに確認のみ行う)
odrv0.config.dc_max_negative_current
odrv0.config.dc_max_positive_current

# モータ極ペア値の設定 (GIM8108-8のデータシートのNumber of Pole Pairsより21を使う)
odrv0.axis0.motor.config.pole_pairs = 21

# トルク定数(GIM8108-8のデータシートのTorque Constantより1.00を使う)
odrv0.axis0.motor.config.torque_constant = 1

# モータの温度保護設定の有効
odrv0.axis0.motor.motor_thermistor.config.enabled = 1
# モータの温度保護の下限値の設定 [℃]
odrv0.axis0.motor.motor_thermistor.config.temp_limit_lower = 20
# モータの温度保護の上限値の設定 [℃]
odrv0.axis0.motor.motor_thermistor.config.temp_limit_upper = 100

# モータ制御基板の温度保護設定の有効
odrv0.axis0.motor.fet_thermistor.config.enabled = 1
# モータ制御基板の温度保護設定の下限値の設定 [℃]
odrv0.axis0.motor.fet_thermistor.config.temp_limit_lower = 20
# モータ制御基板の温度保護設定の上限値の設定 [℃]
odrv0.axis0.motor.fet_thermistor.config.temp_limit_upper = 100

# モータの温度を取得する(今回は確認のみ)
odrv0.axis0.motor.motor_thermistor.temperature

# モータ制御基板の温度を取得する(今回は確認のみ)
odrv0.axis0.motor.fet_thermistor.temperature

# モータの制御のPIDゲイン設定(今回はマニュアルに記載されている数値を参照)
odrv0.axis0.controller.config.pos_gain=20.0
odrv0.axis0.controller.config.vel_gain=0.16
odrv0.axis0.controller.config.vel_integrator_gain=0.32

# モータのキャリブレーション (モータのキャリブレーション時にモータからビープ音がなり、一定の電流が流れる。)
odrv0.axis0.requested_state = AXIS_STATE_MOTOR_CALIBRATION
# キャリブレーション後にエラーが出ていないか確認をする
dump_errors(odrv0)
# モータのキャリブレーションデータの保存
odrv0.axis0.motor.config.pre_calibrated = 1

# エンコーダのキャリブレーション(エンコーダのキャリブレーション時にゆっくりとモータが正転・逆転動作をする。)
odrv0.axis0.requested_state = AXIS_STATE_ENCODER_OFFSET_CALIBRATION
# キャリブレーション後にエラーが出ていないか確認をする
dump_errors(odrv0)
# キャリブレーションデータの保存
odrv0.axis0.encoder.config.pre_calibrated = 1

# これまでキャリブレーションデータをモータ側に保存する
odrv0.save_configuration()
モータを回す(速度制御)
# 制御モードの設定 (0:電圧制御 1:トルク制御 2:速度制御 3:位置制御)
odrv0.axis0.controller.config.control_mode = 2
# 制御値の入力モード設定 (0:アイドル 1:ダイレクトコントロール 2:スピードランプ 3:ポジションフィルタリング 5:台形速度曲線制御 6:トルクランプ 9:MITコントロール)
odrv0.axis0.controller.config.input_mode = 1

# 制御ループを開始する
odrv0.axis0.requested_state=odrive.utils.AxisState.CLOSED_LOOP_CONTROL

# 速度指令値の入力を送る [turn/s]
odrv0.axis0.controller.input_vel = 10

# 制御ループをやめる
odrv0.axis0.requested_state = 1
番外編
# CANのIDの確認
odrv0.axis0.config.can.node_id
参考

Discussion