Create T3 App 試す
T3 Stack
The “T3 Stack” is a web development stack made by Theo focused on simplicity, modularity, and full-stack typesafety.
The core pieces are Next.js and TypeScript. Tailwind CSS is almost always included. If you’re doing anything resembling backend, tRPC, Prisma, and NextAuth.js are great additions too.
- Next.js
- TypeScript
- Tailwind CSS
- tRPC
- Prisma
- NextAuth
create-t3-app
create-t3-app is a CLI built by seasoned T3 Stack devs to streamline the setup of a modular T3 Stack app. This means each piece is optional, and the “template” is generated based on your specific needs.
T3 stack のアプリをセットアップする他tめの CLI tool。
This is NOT an all-inclusive template. We expect you to bring your own libraries that solve the needs of YOUR application. While we don’t want to prescribe solutions to more specific problems like state management and deployment, we do have some recommendations listed here.
state management library 等含め、 "specific problems" は開発者が選定する。
その他のおすすめ
t3 stack に含まれない要素 (state management 等) についてのおすすめ一覧が参考になる。
We started create-t3-app because Theo refused to make a template of his favorite technologies
T3 Stack の提唱者の Theo さんが template 作るの拒否したから別の人たちが create-t3-app 作ったのか...笑
Install
npm create t3-app@latest
Ok to proceed? (y) y
   ___ ___ ___   __ _____ ___   _____ ____    __   ___ ___
  / __| _ \ __| /  \_   _| __| |_   _|__ /   /  \ | _ \ _ \
 | (__|   / _| / /\ \| | | _|    | |  |_ \  / /\ \|  _/  _/
  \___|_|_\___|_/‾‾\_\_| |___|   |_| |___/ /_/‾‾\_\_| |_|


? What will your project be called? create-t3-app-playground
? Will you be using JavaScript or TypeScript? TypeScript
Good choice! Using TypeScript!
? Which packages would you like to enable? nextAuth, prisma, tailwind, trpc
? Initialize a new git repository? Yes
Nice one! Initializing repository!
? Would you like us to run 'npm install'? Yes
Alright. We'll install the dependencies for you!

Using: npm

✔ create-t3-app-playground scaffolded successfully!

Adding boilerplate...
✔ Successfully setup boilerplate for nextAuth
✔ Successfully setup boilerplate for prisma
✔ Successfully setup boilerplate for tailwind
✔ Successfully setup boilerplate for trpc
✔ Successfully setup boilerplate for envVariables
Folder Structure
.
├─ prisma
│  └─ schema.prisma
├─ public
│  └─ favicon.ico
├─ src
│  ├─ env
│  │  ├─ client.mjs
│  │  ├─ schema.mjs
│  │  └─ server.mjs
│  ├─ pages
│  │  ├─ api
│  │  │  ├─ auth
│  │  │  │  └─ [...nextauth].ts
│  │  │  ├─ trpc
│  │  │  │  └─ [trpc].ts
│  │  │  ├─ examples.ts
│  │  │  └─ restricted.ts
│  │  ├─ _app.tsx
│  │  └─ index.tsx
│  ├─ styles
│  │  └─ globals.css
│  ├─ types
│  │  └─ next-auth.d.ts
│  ├─ utils
│  │  └─ trpc.ts
│  ├─ server
│  │  ├─ common
│  │  │  └─ get-server-auth-session.ts
│  │  ├─ db
│  │  │  └─ client.ts
│  │  └─ trpc
│  │     ├─ router
│  │     │  ├─ _app.ts
│  │     │  ├─ auth.ts
│  │     │  └─ example.ts
│  │     ├─ context.ts
│  │     └─ trpc.ts
├─ .env
├─ .env.example
├─ .eslintrc.json
├─ next-env.d.ts
├─ next.config.mjs
├─ postcss.config.cjs
├─ prettier.config.cjs
├─ tailwind.config.cjs
└─ tsconfig.json
実行
npx prisma db push
npm run dev

軽くアプリ作る
簡易な Bookmark アプリを作ってみる。
t3 stack 全部盛りでいく
- nextAuth
- prisma
- tailwind
- trpc
   ___ ___ ___   __ _____ ___   _____ ____    __   ___ ___
  / __| _ \ __| /  \_   _| __| |_   _|__ /   /  \ | _ \ _ \
 | (__|   / _| / /\ \| | | _|    | |  |_ \  / /\ \|  _/  _/
  \___|_|_\___|_/‾‾\_\_| |___|   |_| |___/ /_/‾‾\_\_| |_|


? What will your project be called? atode
? Will you be using TypeScript or JavaScript? TypeScript
Good choice! Using TypeScript!
? Which packages would you like to enable? nextAuth, prisma, tailwind, trpc
? Initialize a new git repository? Yes
Nice one! Initializing repository!
? Would you like us to run 'npm install'? Yes
Alright. We'll install the dependencies for you!

Using: npm

✔ atode scaffolded successfully!

Adding boilerplate...
✔ Successfully setup boilerplate for nextAuth
✔ Successfully setup boilerplate for prisma
✔ Successfully setup boilerplate for tailwind
✔ Successfully setup boilerplate for trpc
✔ Successfully setup boilerplate for envVariables

Installing dependencies...
✔ Successfully installed dependencies!
諸々確認していく
prisma
デフォの schema.prisma はこんか感じ
// This is your Prisma schema file,
// learn more about it in the docs: https://pris.ly/d/prisma-schema

generator client {
  provider = "prisma-client-js"
}

datasource db {
  provider = "sqlite"
  // NOTE: When using postgresql, mysql or sqlserver, uncomment the @db.Text annotations in model Account below
  // Further reading:
  // https://next-auth.js.org/adapters/prisma#create-the-prisma-schema
  // https://www.prisma.io/docs/reference/api-reference/prisma-schema-reference#string
  url      = env("DATABASE_URL")
}

model Example {
  id        String   @id @default(cuid())
  createdAt DateTime @default(now())
  updatedAt DateTime @updatedAt
}

// Necessary for Next auth
model Account {
  id                String  @id @default(cuid())
  userId            String
  type              String
  provider          String
  providerAccountId String
  refresh_token     String? // @db.Text
  access_token      String? // @db.Text
  expires_at        Int?
  token_type        String?
  scope             String?
  id_token          String? // @db.Text
  session_state     String?
  user              User    @relation(fields: [userId], references: [id], onDelete: Cascade)

  @@unique([provider, providerAccountId])
}

model Session {
  id           String   @id @default(cuid())
  sessionToken String   @unique
  userId       String
  expires      DateTime
  user         User     @relation(fields: [userId], references: [id], onDelete: Cascade)
}

model User {
  id            String    @id @default(cuid())
  name          String?
  email         String?   @unique
  emailVerified DateTime?
  image         String?
  accounts      Account[]
  sessions      Session[]
}

model VerificationToken {
  identifier String
  token      String   @unique
  expires    DateTime

  @@unique([identifier, token])
}
今回はチャチャっと感じをつかみたいだけなので、sqlite でそもまま作っていくか
NextAuth
NextAuth はこんな感じ
デフォは DiscordProvider だけか
import NextAuth, { type NextAuthOptions } from "next-auth";
import DiscordProvider from "next-auth/providers/discord";
// Prisma adapter for NextAuth, optional and can be removed
import { PrismaAdapter } from "@next-auth/prisma-adapter";

import { env } from "../../../env/server.mjs";
import { prisma } from "../../../server/db/client";

export const authOptions: NextAuthOptions = {
  // Include user.id on session
  callbacks: {
    session({ session, user }) {
      if (session.user) {
        session.user.id = user.id;
      }
      return session;
    },
  },
  // Configure one or more authentication providers
  adapter: PrismaAdapter(prisma),
  providers: [
    DiscordProvider({
      clientId: env.DISCORD_CLIENT_ID,
      clientSecret: env.DISCORD_CLIENT_SECRET,
    }),
    // ...add more providers here
  ],
};

export default NextAuth(authOptions);
DiscordProvider 用の setup はこの辺参照
Discord の DeveloperPortal で Application を作成して環境変数をセットする。
セットするのは以下の3つ。
NEXTAUTH_SECRET=
DISCORD_CLIENT_ID=
DISCORD_CLIENT_SECRET=
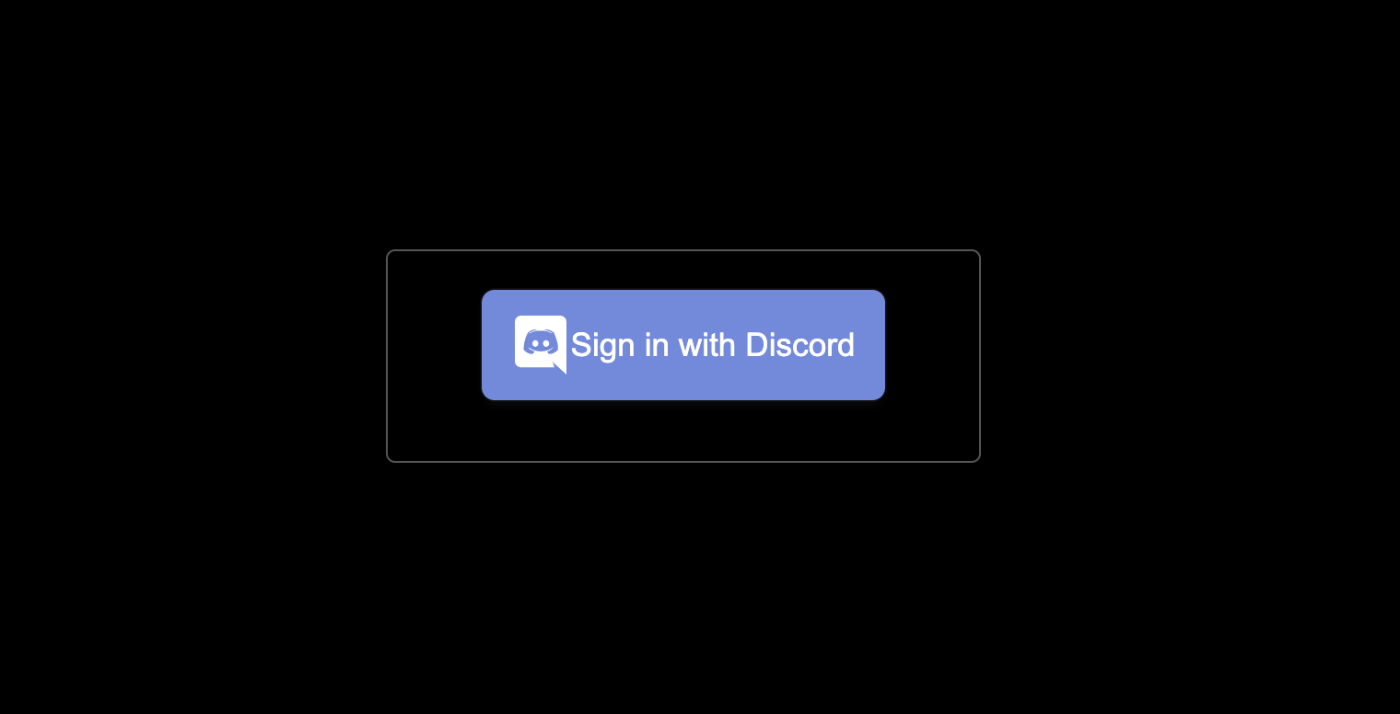

これで認証機能はOKだわ
DB にもちゃんと User データ保存されてる。
Prisma
Prisma に関しては、sqlite で初期化されてるだけで特筆すべき点はない。
Bookmark model 作る
なので、簡易 Bookmark app に必要な model を追加する。
model Bookmark {
  id          String   @id @default(cuid())
  url         String
  title       String
  description String?
  userId      String
  user        User     @relation(fields: [userId], references: [id])
  createdAt   DateTime @default(now())
  updatedAt   DateTime @updatedAt
}
prisma db push する。
npx prisma db push
tRPC
tRPC は未経験なので、一旦見よう見まねで作ってみる。
こんな感じの example が生成されているのでこちらを参考に↓
import { z } from "zod";

import { router, publicProcedure } from "../trpc";

export const exampleRouter = router({
  hello: publicProcedure
    .input(z.object({ text: z.string().nullish() }).nullish())
    .query(({ input }) => {
      return {
        greeting: `Hello ${input?.text ?? "world"}`,
      };
    }),
  getAll: publicProcedure.query(({ ctx }) => {
    return ctx.prisma.example.findMany();
  }),
});
import { router } from "../trpc";
import { authRouter } from "./auth";
import { exampleRouter } from "./example";

export const appRouter = router({
  example: exampleRouter,
  auth: authRouter,
});

// export type definition of API
export type AppRouter = typeof appRouter;
Bookmark Route 作ってみる
Bookmark の CRUD 作っていく。
まず、route 作る。
import { z } from "zod";

import { protectedProcedure, router } from "../trpc";

export const bookmarkRouter = router({
  create: protectedProcedure
    .input(
      z.object({
        url: z.string(),
        title: z.string(),
        description: z.string().optional(),
      })
    )
    .mutation(({ input, ctx }) => {
      return ctx.prisma.bookmark.create({
        data: {
          ...input,
          user: {
            connect: {
              id: ctx.session.user.id,
            },
          },
        },
      });
    }),
  update: protectedProcedure
    .input(
      z.object({
        id: z.string(),
        url: z.string().optional(),
        title: z.string().optional(),
        description: z.string().optional(),
      })
    )
    .mutation(({ input, ctx }) => {
      return ctx.prisma.bookmark.update({
        data: input,
        where: {
          id: input.id,
        },
      });
    }),
  delete: protectedProcedure
    .input(
      z.object({
        id: z.string(),
      })
    )
    .mutation(({ input, ctx }) => {
      return ctx.prisma.bookmark.delete({
        where: {
          id: input.id,
        },
      });
    }),
  getAll: protectedProcedure.query(({ ctx }) => {
    return ctx.prisma.bookmark.findMany({
      where: {
        userId: ctx.session.user.id,
      },
    });
  }),
});
作成した route を appRouter に組み込む。
import { router } from "../trpc";
import { authRouter } from "./auth";
+import { bookmarkRouter } from "./bookmark";
import { exampleRouter } from "./example";

export const appRouter = router({
  example: exampleRouter,
  auth: authRouter,
+  bookmark: bookmarkRouter,
});

// export type definition of API
export type AppRouter = typeof appRouter;
client side から tRPC の mutation 使う
Bookmark 作成 form を作って、tRPC の mutation 組み込んでみる。
react-hook-form と daisyUI で雑に作る。
import { ErrorMessage } from "@hookform/error-message";
import type { Bookmark } from "@prisma/client";
import { useForm } from "react-hook-form";
import { z } from "zod";
import { trpc } from "../../utils/trpc";

const FormValuesSchema = z.object({
  url: z.string().url(),
  title: z.string(),
  description: z.string().optional(),
});

type FormValues = z.infer<typeof FormValuesSchema>;

export const CreateBookmark = (props: {
  onSuccess?: (data: Bookmark) => void;
}) => {
  const {
    register,
    handleSubmit,
    formState: { errors },
  } = useForm<FormValues>();

  const mutation = trpc.bookmark.create.useMutation({
    onSuccess: props.onSuccess,
  });

  return (
    <div className="w-96">
      <h1 className="text-center text-2xl font-bold text-primary">
        Create New Bookmark
      </h1>
      <form
        className="mt-6 grid gap-y-3"
        onSubmit={handleSubmit((input) => {
          mutation.mutate(input);
        })}
      >
        <div className="form-control w-full">
          <label className="label" htmlFor="title">
            <span className="label-text">Title</span>
          </label>
          <input
            id="title"
            type="text"
            placeholder="My Bookmark"
            {...register("title", {
              required: true,
            })}
            required
            className="input-bordered input w-full"
          />
          <ErrorMessage errors={errors} name="title" />
        </div>
        <div className="form-control w-full">
          <label className="label" htmlFor="url">
            <span className="label-text">Url</span>
          </label>
          <input
            id="url"
            type="url"
            placeholder="https://example.com"
            {...register("url", {
              required: true,
            })}
            required
            className="input-bordered input w-full"
          />
          <ErrorMessage errors={errors} name="url" />
        </div>
        <div className="form-control w-full">
          <label className="label" htmlFor="description">
            <span className="label-text">Description</span>
            <span className="label-text-alt">(optional)</span>
          </label>
          <textarea
            id="description"
            className="textarea-bordered textarea"
            {...register("description")}
          />
          <ErrorMessage errors={errors} name="description" />
        </div>

        <button
          className="btn-primary btn-block btn mt-6"
          type="submit"
          disabled={mutation.isLoading}
        >
          Create
        </button>
      </form>

      {mutation.error ? <p>{mutation.error.message}</p> : null}
    </div>
  );
};
こんな感じ

tRPC client は react-query の上にのっかているので、react-query に慣れてれば問題なさそう。
むしろ、tRPC の型補完が素晴らしいのでより楽に作れる感ある。
client side から tRPC の query 使う
作成した Bookmark の一覧を表示する。
import { trpc } from "../../utils/trpc";

type Bookmark = {
  id: string;
  url: string;
  title: string;
  description: string | null;
};

const BookmarkCard = ({
  bookmark,
  onDeleteSuccess,
}: {
  bookmark: Bookmark;
  onDeleteSuccess?: (deletedBookmark: Bookmark) => void;
}) => {
  const { title, description, url } = bookmark;

  const deleteMutation = trpc.bookmark.delete.useMutation({
    onSuccess: onDeleteSuccess,
  });

  return (
    <div className="card w-96 border border-base-200 bg-base-100 shadow-xl">
      <div className="card-body">
        <h2 className="card-title">{title}</h2>
        <a className="link-primary link" href={url}>
          {url}
        </a>
        <p className="text-neutral">{description || "No description"}</p>

        <div className="card-actions mt-3 justify-end">
          <button
            className={"btn" + ` ${deleteMutation.isLoading ? "loading" : ""}`}
            disabled={deleteMutation.isLoading}
            onClick={() => {
              deleteMutation.mutate({
                id: bookmark.id,
              });
            }}
          >
            DELETE
          </button>
        </div>
      </div>
    </div>
  );
};

export const BookmarkList = () => {
  const getAllQuery = trpc.bookmark.getAll.useQuery();

  if (getAllQuery.status === "error") {
    return <p>Something went wrong</p>;
  }

  if (getAllQuery.status === "loading") {
    return <p>Loading...</p>;
  }

  return (
    <div className="w-96">
      <ul className="grid grid-flow-col gap-5">
        {getAllQuery.data.map((bookmark) => {
          return (
            <li key={bookmark.id}>
              <BookmarkCard
                bookmark={bookmark}
                onDeleteSuccess={() => {
                  getAllQuery.refetch();
                }}
              />
            </li>
          );
        })}
      </ul>
    </div>
  );
};
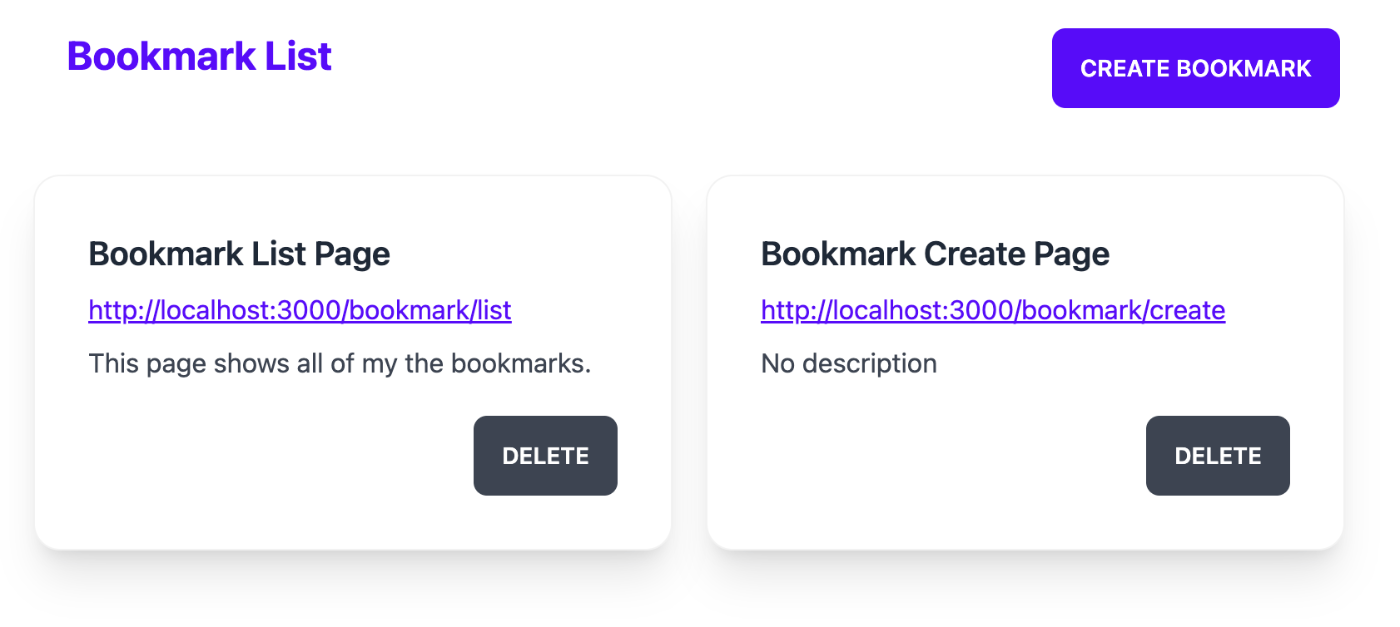
大まかな流れは把握できたので良しとする。
frontend から backend までがっちり型付けされているので、開発体験非常に良い。
tRPC で生成された型について
inferRouterInputs<TRouter>inferRouterOutputs<TRouter>
を利用することで、tRPC が生成する型情報を取得できる。
// @filename: client.ts
import type { inferRouterInputs, inferRouterOutputs } from '@trpc/server';
import type { AppRouter } from './server';

type RouterInput = inferRouterInputs<AppRouter>;
type RouterOutput = inferRouterOutputs<AppRouter>;

type PostCreateInput = RouterInput['post']['create'];
type PostCreateOutput = RouterOutput['post']['create'];