analysis_server_pluginでカスタムLintルールを作成する方法
更新履歴
v1.0.0 (2025年11月14日)
- 記事公開
はじめに
Dart/Flutterプロジェクトで独自のLintルールを作成したい場合、analysis_server_pluginとcustom_lintという2つの主要なアプローチがあります。この記事では、Dartの標準的な方法であるanalysis_server_pluginを使ったカスタムLintルールの作成方法を解説します。
analysis_server_pluginとは
analysis_server_pluginは、Dartの静的解析サーバーに直接統合できるプラグインシステムです。Dart3.10から導入されました。IDEやエディタと緊密に連携してリアルタイムでコード分析を行います。
custom_lintとの違い
主な違いをまとめると以下のようになります:
| 特徴 | analysis_server_plugin | custom_lint |
|---|---|---|
| 実装方法 | Dartの公式パッケージ | サードパーティパッケージ |
| IDE統合 | ネイティブ統合 | カスタム統合 |
| デバッグ | 難しい(printが使えない) | 容易(printが使える) |
| 設定柔軟性 | 低い | 高い(引数を渡せる) |
この記事で学べること
この記事では、以下の内容を段階的に解説します:
- プロジェクトのセットアップ方法
- プラグインの基本構造
- カスタムルールの実装方法
- プロジェクトへの適用方法
- 実践的な例とデバッグ方法
- custom_lintとの使い分け
なお、この記事で紹介するコード例の完全なサンプルプロジェクトをGitHubで公開していますので、よければ参考にしてください。
実行環境
この記事のコード例は、以下の環境で動作確認を行っています:
- Dart SDK: 3.10以降
- analysis_server_plugin: 0.3.0
- analyzer: 8.0.0
プロジェクトのセットアップ
FVMとPub Workspacesを使っています(一部パッケージを除く)。
お使いの環境に合わせて適宜調整してください。
analysis_server_pluginとanalyzerを依存関係に追加します。
name: custom_plugin
description: "A custom plugin package."
version: 0.0.1

environment:
  sdk: ^3.10.0-290.4.beta
resolution: workspace

dependencies:
  analysis_server_plugin: ^0.3.0
  analyzer: ^8.0.0
カスタムルールの実装
今回は公式ドキュメントに記載されているLintルールを実装します。
ドキュメントに記載されている手順とは異なりますが、分かりやすい手順で実装していきます。
作成するカスタムリント
await式を検出するシンプルなルールを作成します。
AnalysisRuleクラスの継承
packages/custom_plugin/lib/src/rules/my_rule.dartを作成し、AnalysisRuleクラスを継承します:
import 'package:analyzer/analysis_rule/analysis_rule.dart';
import 'package:analyzer/analysis_rule/rule_context.dart';
import 'package:analyzer/analysis_rule/rule_visitor_registry.dart';
import 'package:analyzer/dart/ast/ast.dart';
import 'package:analyzer/dart/ast/visitor.dart';
import 'package:analyzer/error/error.dart';
class MyRule extends AnalysisRule {
static const LintCode code = LintCode(
'my_rule',
'No await expressions',
correctionMessage: "Try removing 'await'.",
);
MyRule()
: super(name: 'my_rule', description: 'A longer description of the rule.');
LintCode get diagnosticCode => code;
void registerNodeProcessors(
RuleVisitorRegistry registry,
RuleContext context,
) {
var visitor = _Visitor(this, context);
registry.addAwaitExpression(this, visitor);
}
}
class _Visitor extends SimpleAstVisitor<void> {
final AnalysisRule rule;
final RuleContext context;
_Visitor(this.rule, this.context);
void visitAwaitExpression(AwaitExpression node) {
if (context.isInLibDir) {
rule.reportAtNode(node);
}
}
}
LintCodeの定義
LintCodeは、ルールが検出した問題を表現するために使用されます:
static const LintCode code = LintCode(
  'my_rule',              // ルールの識別子
  'No await expressions', // エラーメッセージ
  correctionMessage: "Try removing 'await'.", // 修正方法の提案
);
実際にIDEに表示されると以下のようになります。

ASTビジターの実装
ASTビジターは、Dartコードの抽象構文木(AST)を走査し、特定のノードを検出します。
主要なメソッド:
void registerNodeProcessors(
RuleVisitorRegistry registry,
RuleContext context,
) {
var visitor = _Visitor(this, context);
// await式を検出するビジターを登録
registry.addAwaitExpression(this, visitor);
}
ビジタークラスの実装:
class _Visitor extends SimpleAstVisitor<void> {
final AnalysisRule rule;
final RuleContext context;
_Visitor(this.rule, this.context);
void visitAwaitExpression(AwaitExpression node) {
// libディレクトリ内のコードのみを対象
if (context.isInLibDir) {
rule.reportAtNode(node);
}
}
}
RuleContextの活用
RuleContextは、ルールが適用されるコンテキスト情報を提供します:
-
context.isInLibDir:lib/ディレクトリ内かどうか -
context.isInTestDir:test/ディレクトリ内かどうか - その他、ファイルパスや型情報などを取得可能
プラグインの基本構成
プラグインの基本的な構造を実装します。
packages/custom_plugin/lib/main.dartに、プラグインのエントリーポイントを作成します。
Pluginクラスはすべてのプラグインの基底クラスで、registerWarningRuleメソッドでルールを登録します。
import 'package:analysis_server_plugin/plugin.dart';
import 'package:analysis_server_plugin/registry.dart';
import 'package:custom_plugin/src/rules/my_rule.dart';
final plugin = SimplePlugin();
class SimplePlugin extends Plugin {
void register(PluginRegistry registry) {
registry.registerWarningRule(MyRule());
}
String get name => 'simple_plugin';
}
上記より抜粋
The preceding code represents the basic structure for plugin entry point. Make sure that you have a lib/main.dart file in your package because this is the entry point for the analysis server to load your plugin.
上記のコードはプラグインのエントリポイントの基本構造を表しています。パッケージ内に lib/main.dart ファイルが存在することを確認してください。これは分析サーバーがプラグインをロードするためのエントリポイントとなります。(DeepL)
カスタムルールの実装完了
ここまでで、await式を検出するカスタムルールの作成が完了しました。
作成したカスタムルールを実際のプロジェクトへ適用していきます。
プロジェクトへの適用
作成したプラグインを、実際のプロジェクトに適用します。
analysis_options.yamlの設定
プラグインを有効化するために、analysis_options.yamlに設定を追加します:
analyzer:
  errors:
    # その他の設定...

plugins:
  custom_plugin:
    path: ../custom_plugin
    diagnostics:
      - my_rule: true
To enable an analyzer plugin, add it to the top-level plugins section of your analysis_options.yaml file. You can add a plugin from pub.dev using a version constraint:
アナライザープラグインを有効化するには、analysis_options.yamlファイルのトップレベルプラグインセクションに追加します。pub.devからバージョン制約を使用してプラグインを追加できます:(DeepL)
プラグインの指定方法
プラグインの場所は、以下の方法で指定できます:
環境によって使い分けができそうです。
相対パスで指定:
plugins:
  custom_plugin:
    path: ../custom_plugin
パッケージ名で指定(pub.devに公開している場合):
plugins:
  custom_plugin:
    version: ^1.0.0
ルールの有効化/無効化
個別のルールを有効化・無効化できます:
plugins:
  custom_plugin:
    path: ../custom_plugin
    diagnostics:
      - my_rule: true      # 有効化
      - another_rule: false # 無効化
上記より抜粋
Lint rules that a plugin defines are disabled by default and must be explicitly enabled in your analysis options file.
プラグインが定義するLintルールはデフォルトで無効化されており、分析オプションファイルで明示的に有効化する必要があります。(DeepL)
カスタムルールエラーを発生させる
ここまででプロジェクトにはカスタムルールが適用されている状態になりました。
flutterテンプレートを使っているため、main.dartのインクリメントメソッドを非同期に変更します。
先ほど見たようにIDEに表示されるはずです。
  Future<void> _incrementCounter() async {
    await Future.delayed(const Duration(seconds: 1));
    setState(() {
      // This call to setState tells the Flutter framework that something has
      // changed in this State, which causes it to rerun the build method below
      // so that the display can reflect the updated values. If we changed
      // _counter without calling setState(), then the build method would not be
      // called again, and so nothing would appear to happen.
      _counter++;
    });
  }
もし表示されない場合はcommand paletteからDart: Restart Analysis Serverコマンドを実行してアナライザーを再起動させてください。
よくある問題と解決方法
カスタムルールが動作しない
カスタムルールがIDEやコマンドラインで動作しない場合、以下の点を確認してください:
1. custom_pluginのエントリーポイントがmain.dartになっていない
プラグインのエントリーポイントは必ずlib/main.dartである必要があります。
custom_plugin/
└── lib/
    └── main.dart  # ← このファイル名が必須
2. custom_pluginのエントリーポイントのmain.dartにあるトップレベル変数pluginがない
lib/main.dartには、トップレベルにplugin変数が必要です:
import 'package:analysis_server_plugin/plugin.dart';

final plugin = SimplePlugin();  // ← このトップレベル変数が必須

class SimplePlugin extends Plugin {
  // ...
}
3. pluginsブロックがトップレベルにない
analysis_options.yamlのpluginsブロックは、analyzerブロック内ではなく、ファイルのトップレベルに配置する必要があります:
# ❌ 間違い
analyzer:
  plugins:
    custom_plugin:
      path: ../custom_plugin

# ✅ 正しい
analyzer:
  errors:
    # ...

plugins:  # ← トップレベルに配置
  custom_plugin:
    path: ../custom_plugin
    diagnostics:
      - my_rule: true
4. カスタムルールを有効化していない
プラグインが定義するLintルールはデフォルトで無効になっているため、diagnosticsセクションで明示的に有効化する必要があります:
plugins:
  custom_plugin:
    path: ../custom_plugin
    diagnostics:
      - my_rule: true  # ← 明示的な有効化が必須
これらを確認した後、VSCodeを使用している場合はコマンドパレットからDart: Restart Analysis Serverコマンドを実行してアナライザーを再起動してください。
カスタムルール開発時のデバック
作ったカスタムルールが正しく動かない場合や、デバックしながら開発したい場合はcustom_lintだとprintメソッドを使いコンソールを見ながら進めていたと思います。
analysis_server_pluginではprintメソッドを使うことができないため、ログファイルに書き込むことが推奨されています。
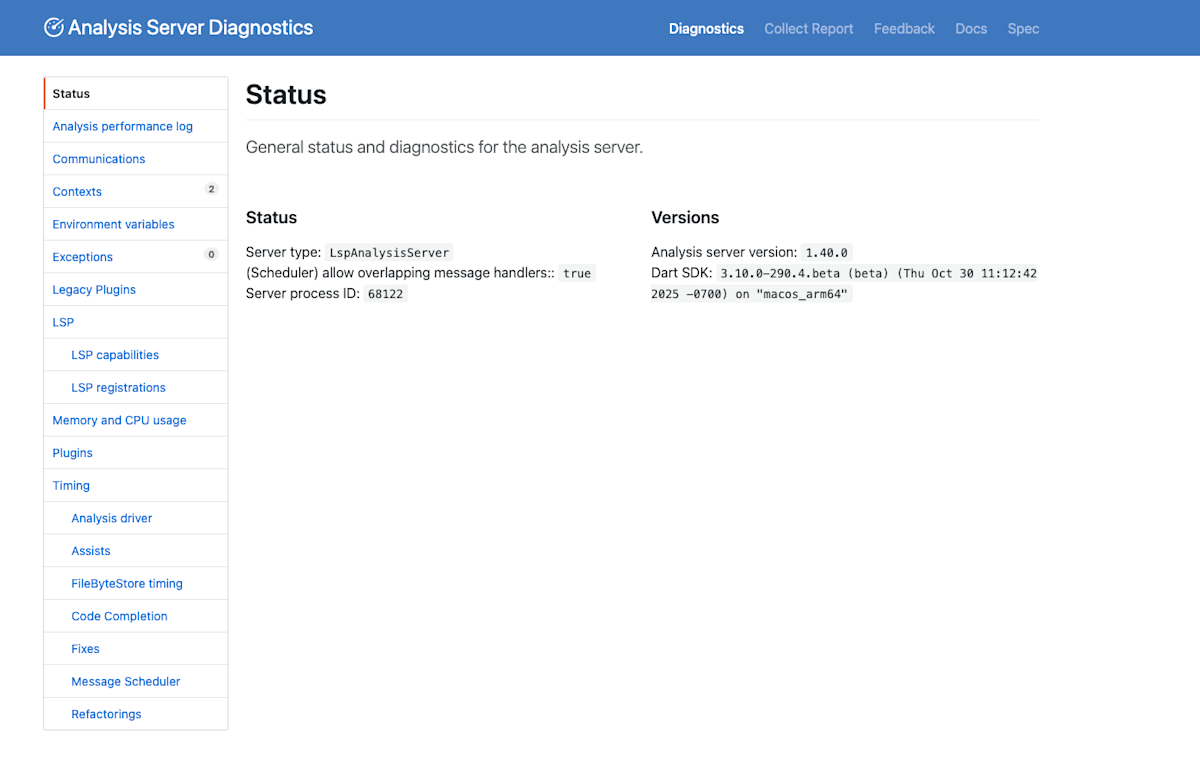
またそれだけではなく、コマンドパレットからOpen Analyzer Diagnosticsコマンドを実行することで、アナライザーの診断ページを確認することができるようです。
まとめ
analysis_server_pluginの機能
今回はカスタムルールについてのみ紹介しましたが、他にも便利な機能があるので時間があれば後日追記しようと思います。
- カスタムルール
- 自動フィックス
- 自動アシスト
- テスト
参考資料
Discussion