マジで p5.js と shader をやる
まずは画像を shader で出してみる
js 側から setUniform を呼び出して shader に値を渡すらしい。
GPT が吐いたコードを適当に成形して動かす。
vertex shader は場所をつかさどる。
fragment shader は色をつかさどる。
const sketch: Sketch = (p) => {
  let shader: Shader;
  let texture: Image;

  p.preload = () => {
    shader = p.createShader(vert, frag);
    texture = p.loadImage("sample1.jpg");
  };

  p.setup = () => {
    p.createCanvas(600, 300, p.WEBGL);
    p.noCursor();
    p.noStroke();
  };

  p.draw = () => {
    p.shader(shader);
    shader.setUniform("u_resolution", [p.width, p.height]);
    shader.setUniform("u_texResolution", [texture.width, texture.height]);
    shader.setUniform("u_texture", texture);

    p.quad(-1, -1, -1, 1, 1, 1, 1, -1);
    p.resetShader();
  };
}
precision highp float;

attribute vec3 aPosition;

void main() {
  gl_Position = vec4(aPosition, 1.0);
}
#ifdef GL_ES
precision mediump float;
#endif

uniform vec2 u_resolution;
uniform sampler2D u_texture;
uniform vec2 u_texResolution;

void main() {
  vec2 uv = gl_FragCoord.xy / u_resolution.xy;
  uv.y = 1.0 - uv.y; // Y座標を反転

  vec4 texColor = texture2D(u_texture, uv);
  gl_FragColor = texColor;
}
shader は左下がゼロ点なのでそのまま描画すると逆転するから uv.y = 1.0 - uv.y で反転する。
p.quad(-1, -1, -1, 1, 1, 1, 1, -1); で描画範囲を canvas 全体にしてる。

texture2D は sampler2D と座標を渡すと色を返してくれる関数
object-fit: cover 的なことをやる
shader.frag で vec2 uv = gl_FragCoord.xy / u_resolution.xy; をやっているので画像と canvas のアスペクト比が一致していないと場合は画像の歪みが発生する。
以下で行けるっぽい。 ratio と textureUv の関係が重要らしいけどこれはなんでうまく行くのかよくわからん。
vec2 ratio = vec2(
    min(uCanvsAspect / uTexureAspect, 1.0),
    min(uTexureAspect / uCanvsAspect, 1.0)
);
vec2 textureUv = vec2(
    (uv.x - 0.5) * ratio.x + 0.5,
    (uv.y - 0.5) * ratio.y + 0.5
);

vec4 texColor = texture2D(u_texture, textureUv);
gl_FragColor = texColor;
基準を 0.5 において (-0.5 ~ 0.5) を scaler で制限して動かしてるから center で crop される
background-size:contain;background-repeat:repeat; 的なことがやりたいときは fract を使うらしい。
x - floor(x) で計算されるので小数部が返される関数。割とどのサイトを見ても繰り返しに使っているようだ。
これは分かりやすい。shader は 0 ~ 1 の間で座標を渡すので整数部で繰り返し回数を保持できるという仕組み
円形を描画する
float circle(in vec2 _st, in float _radius){
    vec2 l = _st - vec2(0.5);

    return smoothstep(
      _radius-(_radius*0.01),
      _radius+(_radius*0.01),
      (l.x*l.x + l.y*l.y) * 4.0
    );
}
この式は 直交座標で与えられた _st を距離 _radius を超えたら 1 超えなかったら 0 を返す関数になってる。

パターン章を一通りやった
- fract
- 模様を繰り返すために使える
- 本質的には小数部を取り出せる
- https://registry.khronos.org/OpenGL-Refpages/gl4/html/fract.xhtml
- smoothstep
- clamp とほぼ同じだけど clamp は非連続になってしまうのに対して、smoothstep は連続に扱える
- clamp じゃダメな理由はまだよくわからん
- 図形のぼかしにも使えた
- https://registry.khronos.org/OpenGL-Refpages/gl4/html/smoothstep.xhtml
- step
-
step(edge, x)はedge > x ? 0 : 1を示す。 - 簡単
- https://registry.khronos.org/OpenGL-Refpages/gl4/html/step.xhtml
-
smoothstep を使用した非連続な図形を書くのが難しすぎる。
float box(vec2 _st, vec2 _size){
    _size = vec2(0.5)-_size*0.5;
    vec2 uv = smoothstep(_size,_size+vec2(1e-4),_st);
    uv *= smoothstep(_size,_size+vec2(1e-4),vec2(1.0)-_st);
    return uv.x*uv.y;
}
-
_size = vec2(0.5)-_size*0.5;で _size が大きくなってもかぶらないようにしてる -
vec2 uv = smoothstep(_size,_size+vec2(1e-4),_st);とreturn uv.x+uv.yで青の部分を書いてる -
uv *= smoothstep(_size,_size+vec2(1e-4),vec2(1.0)-_st);で緑の部分 -
*で四角になるのはsmoothstepが返す値が小さい範囲でしか数値を持たないので bool & bool と同じとみなせるから

ランダムの章
#ifdef GL_ES
precision mediump float;
#endif

#define PI 3.14159265358979323846

uniform vec2 u_resolution;
uniform sampler2D u_texture;
uniform vec2 u_texResolution;
uniform float u_time;
uniform vec2 u_mouse;

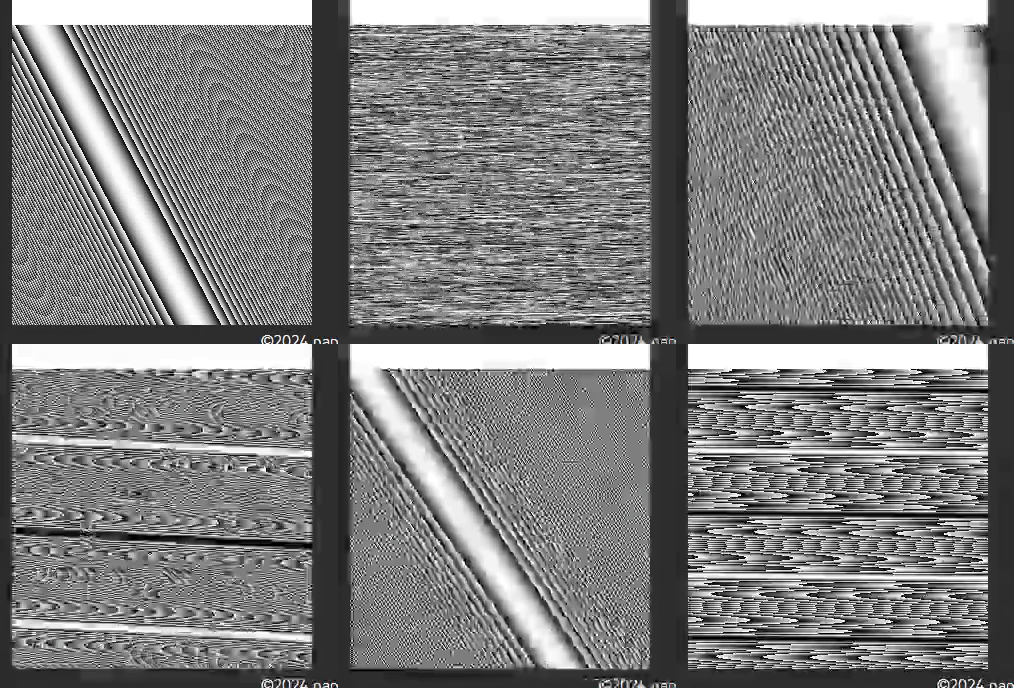
float random (vec2 st) {
    vec2 mouse = u_mouse / u_resolution;

    return fract(
        sin(dot(st.xy, vec2(mouse.x * mouse.y, mouse.x / mouse.y))) * 50.0
    );
}

void main() {
    vec2 st = gl_FragCoord.xy/u_resolution.xy;

    float rnd = random( st );

    gl_FragColor = vec4(vec3(rnd),1.0);
}
web やってるとめっちゃ間違いがちだけど原点は左下
smoothstep はこういうの。めっちゃ step 関数と間違えちゃう。
smooth はエルミート補間関数
x < edge0: 0
edge0 <= x < edge1: smooth(x)
edge1 < x: 1
smoothstep 挟み撃ちは pct - 0.2 <= st.y < pct + 0.2 の範囲に st.y をエルミート保管した値が出ると思えばいい。
float plot(vec2 st, float pct){
  return  smoothstep( pct-0.2, pct, st.y) -
          smoothstep( pct, pct+0.2, st.y);
}
なぜ直線を書くときに smoothstep が多いのか考えてみた。
- 細い線を書きやすい
- 周囲をぼんやりさせて画のバキバキ感をなくす
パーリンノイズ
mac や iPhone の retina 端末は解像度が変わる。これは canvas の resolution にも影響してくるので pixelDensity(1) を適用しておく。
せっかくなので next.js 用の p5.js の template を置いておく。
useLayoutEffect 内で setTimeout を使用してるのは canvas の 2 重マウントを防ぐため。(react18 において useEffect は 2 回発火するので nextTick して実行タイミングを react のイベントループから逃がしてる
"use client";
import { Suspense, lazy, useSyncExternalStore } from "react";

import type { ComponentProps } from "react";

const P5Render = lazy(() => import("./p5"));

export type { Script } from "./p5";

const noop = () => () => void 0;
const useIsSSR = () => {
  return useSyncExternalStore(
    noop,
    () => false,
    () => true,
  );
};

type Props = ComponentProps<typeof P5Render>;
const Sketch = (props: Props) => {
  const isSSR = useIsSSR();

  return (
    <Suspense fallback={<Dummy {...props} />}>
      {isSSR ? <Dummy {...props} /> : <P5Render {...props} />}
    </Suspense>
  );
};
export default Sketch;

const Dummy = ({ src: _src, ...props }: Props) => {
  return (
    <div aria-hidden="true" {...props}>
      <canvas />
    </div>
  );
};
"use client";
import P5 from "p5";
import { useRef, useLayoutEffect } from "react";

import type { ComponentPropsWithoutRef } from "react";

export interface Script {
  (p5: P5): void;
}

type Props = Omit<ComponentPropsWithoutRef<"div">, "aria-hidden"> & {
  src: Script;
};

const P5Render = ({ src, ...props }: Props) => {
  const ref = useRef<HTMLDivElement>(null);

  useLayoutEffect(() => {
    let app: P5 | undefined;
    const id = setTimeout(() => {
      if (!ref.current) return;
      app = new P5(src, ref.current);

      app.pixelDensity(1);
    }, 1);

    return () => {
      app?.remove();
      clearTimeout(id);
    };
  }, [src]);

  return <div aria-hidden="true" ref={ref} {...props} />;
};

export default P5Render;
