LangchainとMorphを用いて認証付きのAIアプリを作る方法を解説します。MorphによるRBAC(Role-based Access Control)の仕組みを活用して、Langchainで作成したAIアプリを社内に安全に展開する方法を理解することができます。
Morphは、PythonとマークダウンでAIアプリを構築できるフレームワークです。チュートリアルでは、Morphのデプロイ環境(無料で使えます)を使うので、事前にmorph-data.ioにログインして下さい。
Langchainは、LLMを活用したアプリケーションを開発するためのコンポーネント、サードパーティの統合を備えた非常に優れたフレームワークです。
この記事では、Langchainを用いてAIワークフローを構築し、Morphを用いて認証付きのAIアプリとしてチームに展開するための手順を解説します。
本チュートリアルの成果物は以下のリポジトリのRBAC Langchain Appで公開しています。
https://github.com/morph-data/morph-sample-apps
環境のセットアップ
morph new コマンドで新しいプロジェクトを立ち上げます。この時パッケージマネージャーはpoetryを選択することを推奨しています。
morph new rbac-langchain-app
pyproject.tomlには、以下のようにdependenciesを設定します。
[tool.poetry.dependencies]
python = "<3.13,>=3.9"
morph-data = "0.1.3"
langchain = "0.3.16"
langchain-core = "0.3.32"
langchain-openai = "0.3.2"
このチュートリアルではOpenAI APIを使うので、 .env にAPI KEYをセットしてください。
OPENAI_API_KEY=[Put your API KEY]
フロントエンドの構築
Morphでは、 src/pages 以下にmdxファイルを配置してフロントエンドを構築ができます。
今回は<Chat />コンポーネントを使用して、Langchainで構築したAIとチャットができる画面を構築します。<Grid />やTailwind CSSのユーティリティクラスを使用して、レイアウトも調整しています。
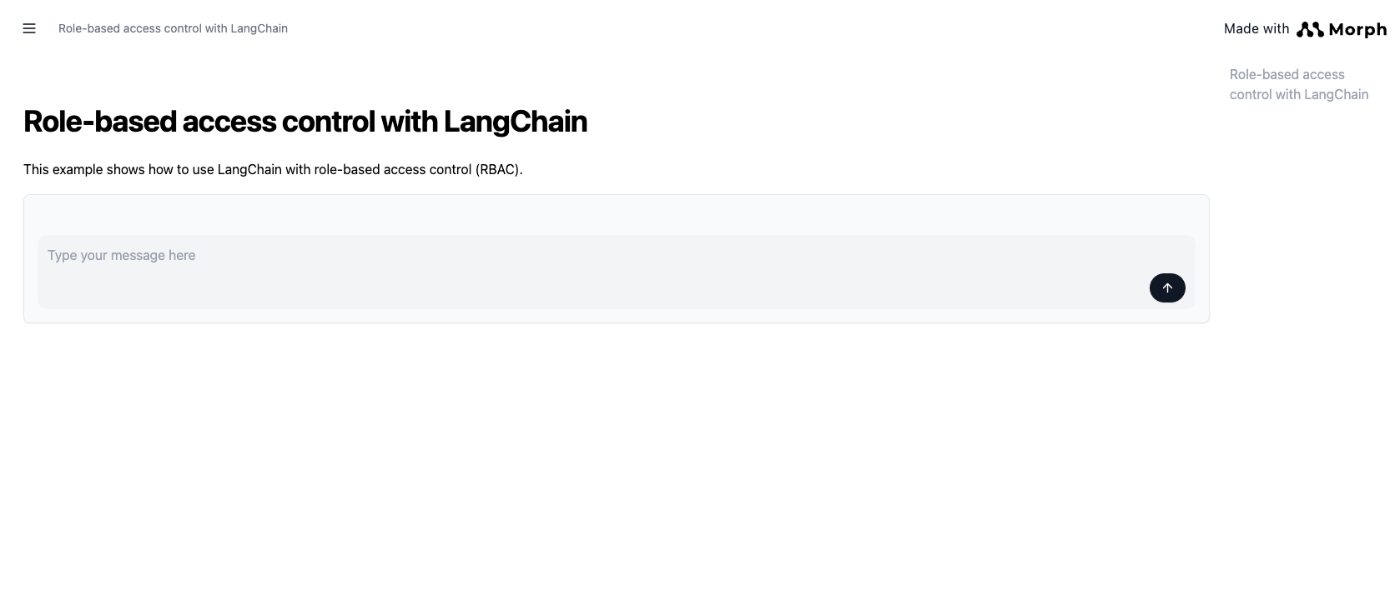
# Role-based access control with LangChain

This example shows how to use LangChain with role-based access control (RBAC).

<Grid cols={1} className="py-4">
    <div className="p-4 bg-gray-50 rounded-lg shadow-sm border border-gray-200 hover:shadow-md transition-shadow">
        <LLM postData="rbac_langchain" />
    </div>
</Grid>
これで、ターミナルで morph serve を実行して、 http://localhost:8080 にアクセスをすると画面が確認できます。
Langchainを使用したAIアプリの構築とRBACによる権限の制御
Langchainを使用して”admin”のロールを持ったユーザーのみが使えるAIワークフローを構築します。
MDXの<Chat />から prompt, thread_id が自動的に送信されてきます。
- prompt: ユーザーが入力したメッセージ
- thread_id: Chat UIで表示されているスレッドを一意に特定するID
historyという直近に使用したスレッドの情報をグローバル変数で定義したものを使って、連続した質問にも回答できるようにします。
history = {}

@morph.func
def rbac_langchain(context: MorphGlobalContext):
    model = ChatOpenAI(model="gpt-4o-mini")

    # initialize history when new thread comes.
    if history.get("thread_id") != context.vars["thread_id"]:
        history["thread_id"] = context.vars["thread_id"]
        history["messages"] = [
            SystemMessage(content="Please translate the following text from English to French."),
        ]

		# set user's prompt
    history["messages"].append(HumanMessage(content=context.vars["prompt"]))

    result = ""
    for token in model.stream(history["messages"]):
        result += token.content
        yield create_chunk(token.content)
    history["messages"].append(AIMessage(content=result))
次に、ユーザーが”admin”というロールを持っている場合以外にはエラーメッセージをチャットで返却します。
# context.user_info comes from user's authentication info.
if "admin" not in context.user_info["roles"]:
	yield stream_chat("You are not authorized to use this feature.")
  return
Pythonコード全体
import morph
from morph import MorphGlobalContext
from morph_lib.stream import create_chunk
from langchain_openai import ChatOpenAI
from langchain_core.messages import HumanMessage, SystemMessage, AIMessage
from morph_lib.stream import stream_chat

history = {}

@morph.func
def rbac_langchain(context: MorphGlobalContext):
    # context.user_info comes from user's authentication info.
    if "admin" not in context.user_info["roles"]:
        yield stream_chat("You are not authorized to use this feature. \n\n Please login as admin.")
        return

    model = ChatOpenAI(model="gpt-4o-mini")
    if history.get("thread_id") != context.vars["thread_id"]:
        history["thread_id"] = context.vars["thread_id"]
        history["messages"] = [
            SystemMessage(content="Please translate the following text from English to French."),
        ]
    history["messages"].append(HumanMessage(content=context.vars["prompt"]))

    result = ""
    for token in model.stream(history["messages"]):
        result += token.content
        yield create_chunk(token.content)
    history["messages"].append(AIMessage(content=result))
デプロイしてアプリを共有する
ダッシュボードで新しいプロジェクトを作成し、API Keyを発行します。
morph_project.yml にプロジェクト詳細画面で取得した project_id をセットしてください。
default_connection: DUCKDB
package_manager: pip
profile: default
project_id: [プロジェクトIDを埋める]
result_cache_ttl: 0
source_paths:
- src
次に morph config を用いてCLIにAPI Keyを紐付けます。
morph config
ここまでで準備は完了なので、ダッシュボードにデプロイをしましょう!
morph deploy
参考
デプロイが完了したら、ダッシュボードの”Open”からアプリにアクセスしてみましょう。ダッシュボードのMember Accessから設定したProject Roleに設定されている値に応じて、アクセスコントロールができていることが確認できます!


Discussion