Helm を用いて Harbor を構築したい
家に k8s クラスターを作ったので、 浮いてる MacMini に 外付けHDD をくっつけて、k8s で Harborを動かしつつ、ボリュームは その外付けHDD にしたいなと考えた
harbor を動かしてみる
repo add して pull する。(–untar で tar を展開してダウンロード)
$ helm repo add harbor https://helm.goharbor.io
$ helm pull harbor/harbor --untar
ひとまず、 永続化は考えずに動かしてみる。(control plane の ip アドレス)のところはいい感じに変えてくだシア。
expose:
- type: ingress
+ type: nodePort
  tls:
    # Enable TLS or not.
    # Delete the "ssl-redirect" annotations in "expose.ingress.annotations" when TLS is disabled and "expose.type" is "ingress"
    ...
    enabled: true
    ...
    auto:
      # The common name used to generate the certificate, it's necessary
      # when the type isn't "ingress"
+    commonName: ""
+    commonName: "xxx.xxx.xxx.xxx(control plane の ip アドレス)"

...

-externalURL: https://core.harbor.domain
+externalURL: https://(control plane の ip アドレス):30003
persistence は false になるので永続化はされない。下記を実行で動きます。
$ helm install harbor -n harbor-system -f values.yaml harbor/harbor
( pod/harbor-jobservice-xxxx が RESTART しまくるけど、core などの pod が立ち上がると Running になるので気にしない)
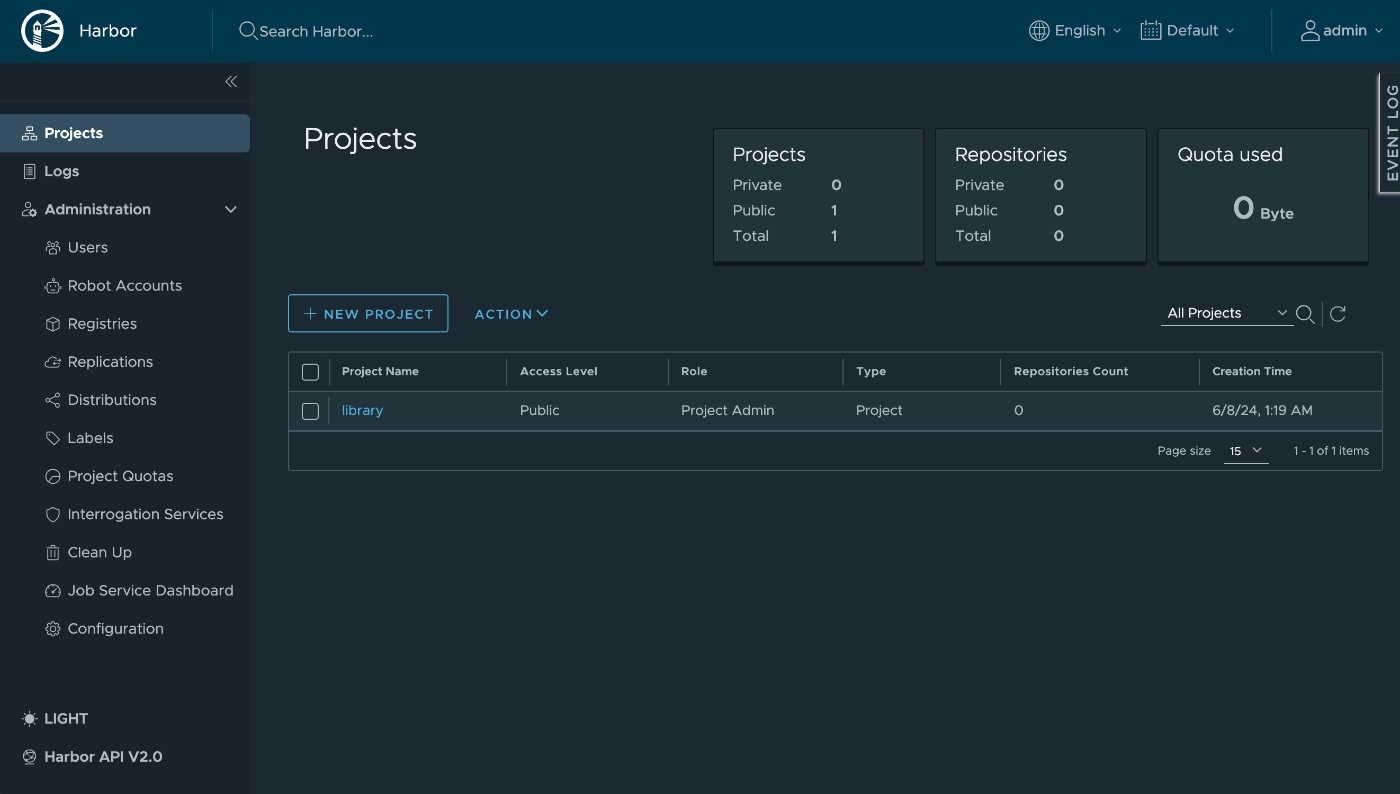
うごいた
一旦動かしたかっただけなので、削除する。
$ helm delete harbor -n harbor-system
MacOS 側は 適当に 共有ディレクトリを作った。(これが地獄だった)
先に csi-driver-smb をインストール。(下記参照)
secret として smb の username と password の secret を作る。
kubectl create secret generic smb-secret \
    --from-literal username="{username}" \
    --from-literal password="{password}"
次にこんな感じで StorageClass ( sc-smb.yaml ) を作る。
apiVersion: storage.k8s.io/v1
kind: StorageClass
metadata:
  name: smb
provisioner: smb.csi.k8s.io
parameters:
  source: "//{mac の ip }/{path}"
  csi.storage.k8s.io/node-stage-secret-name: "smb-secret"
  csi.storage.k8s.io/node-stage-secret-namespace: "default"
reclaimPolicy: Retain # only Retain is supported
volumeBindingMode: Immediate
mountOptions:
  - dir_mode=0777
  - file_mode=0777
yaml ができたら apply する
$ kubectl apply -f sc-smb.yaml
下記が参考になった。
あとは
persistence:
- enabled: false
+ enabled: true
  ...
  persistentVolumeClaim:
    registry:
      existingClaim: ""
-     storageClass: ""
+     storageClass: "smb"
      subPath: "harbor-registory"
      accessMode: ReadWriteMany
      size: 500Gi
      annotations: {}
    jobservice:
      jobLog:
        existingClaim: ""
-       storageClass: ""
+       storageClass: "smb"
        subPath: "harbor-log"
        accessMode: ReadWriteMany
        size: 1Gi
        annotations: {}
    database:
      existingClaim: ""
-     storageClass: ""
+     storageClass: "smb"
      subPath: "harbor-db"
      accessMode: ReadWriteMany
      size: 1Gi
      annotations: {}
    redis:
      existingClaim: ""
-     storageClass: ""
+     storageClass: "smb"
      subPath: "harbor-redis"
      accessMode: ReadWriteMany
      size: 1Gi
      annotations: {}
    trivy:
      existingClaim: ""
-     storageClass: ""
+     storageClass: "smb"
      subPath: "harbor-trivy"
      accessMode: ReadWriteMany
      size: 5Gi
      annotations: {}
ここまでできたら、また下記を実行。
$ helm install harbor -n harbor-system -f values.yaml harbor/harbor
これでできるはず...と思っていたけど、ここから数時間はまりました...
samba側の設定や postgres のユーザーを追加してみたり頑張ったのですが、結論下記と同じことが起きてました。 ( csi-driver-smb も cifs をつかってる)
samba は諦めて nfs にする
nfsd に フルディスクアクセスを許可する
「システム設定」 > 「プライバシーとセキュリティ」> 「フルディスクアクセス」で 「+」ボタンを押すと Finder が開く。

この画面で Ctl + Shift + g を押して、 /sbin/nsfd を入力して enter。「nsfd」を選択して完了。

/etc/export に設定を書く
こんな感じに修正した。
#$ cat /etc/export
/System/Volumes/Data/Volumes/{ボリューム名}/{path} -alldirs -maproot=root:wheel -network 192.168.97.0 -mask 255.255.
checkexportsして問題なければOK。
$ nfsd checkexports
$ nfsd restart
(ちゃんと接続できるかは 自分は ubuntu から mount しました。 )
harbor の 保存領域に NFS を設定する
まずは provisioner 周りをインストールする。
$ helm repo add nfs-subdir-external-provisioner https://kubernetes-sigs.github.io/nfs-subdir-external-provisioner/
下記みたいな nfs.yaml を作る。
nfs:
  server: (macのip)
  path: (macのパス)

storageClass:
  name: nfs
  defaultClass: false
下記を実行することで、Storage Class ができる。
helm install nfs-subdir-external-provisioner nfs-subdir-external-provisioner/nfs-subdir-external-provisioner -f nfs.yaml
先ほどの smb を nfs に変える
persistence:
  enabled: true
  ...
  persistentVolumeClaim:
    registry:
      existingClaim: ""
-     storageClass: "smb"
+     storageClass: "nfs"
      subPath: "harbor-registory"
      accessMode: ReadWriteMany
      size: 500Gi
      annotations: {}
    jobservice:
      jobLog:
        existingClaim: ""
-       storageClass: "smb"
+       storageClass: "nfs"
        subPath: "harbor-log"
        accessMode: ReadWriteMany
        size: 1Gi
        annotations: {}
    database:
      existingClaim: ""
-     storageClass: "smb"
+     storageClass: "nfs"
      subPath: "harbor-db"
      accessMode: ReadWriteMany
      size: 1Gi
      annotations: {}
    redis:
      existingClaim: ""
-     storageClass: "smb"
+     storageClass: "nfs"
      subPath: "harbor-redis"
      accessMode: ReadWriteMany
      size: 1Gi
      annotations: {}
    trivy:
      existingClaim: ""
-     storageClass: "smb"
+     storageClass: "nfs"
      subPath: "harbor-trivy"
      accessMode: ReadWriteMany
      size: 5Gi
      annotations: {}
そして、改めて実行。
$ helm install harbor -n harbor-system -f values.yaml harbor/harbor
うごいた...