Remix + Cloudflare pagesでGoogleログイン
はじめに
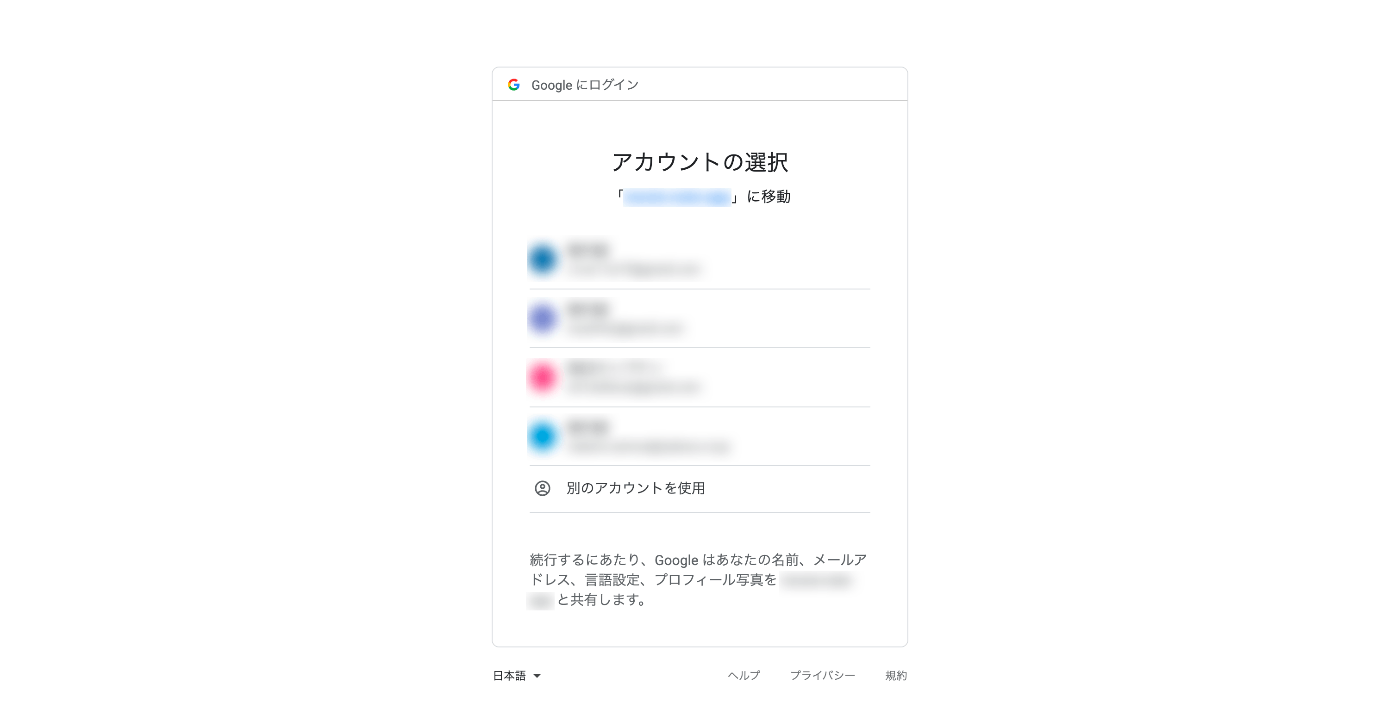
今回、Remix + Cloudflare pagesのアプリを作る中で、Googleログイン(よく見る下図のログイン)を使いたかったため、実現方法をこちらにまとめます。

前提
前提は以下の通りとなります。
- Google Cloudのアカウントを所有している
- Cloudflareに登録済み(今回はFreeを想定)
- React / Remix を使用
手順
全体の流れは次の通りとなります。
- 前段 : 必要なライブラリのインストール、Google Cloudの設定
- 実装 : ライブラリの初期化→ログイン処理→アクセス制御
- デプロイ : Cloudflare pagesのデプロイおよび環境変数設定
前段(1) 必要なライブラリのインストール
remixアプリは次の形で作成したものを想定します。今回はCloudflare pages想定なのでdeployment targetにはCloudflare Pagesを指定しています。
npx create-remix@latest

? Where would you like to create your app? remix-google-auth-sample
? What type of app do you want to create? Just the basics
? Where do you want to deploy? Choose Remix App Server if you're unsure; it's
easy to change deployment targets. Cloudflare Pages
? TypeScript or JavaScript? TypeScript
? Do you want me to run `npm install`? Yes
google認証にはremix-auth-googleとremix-authを用います。
npm install remix-auth-google remix-auth
remix-authは認証のインタフェースを提供し、実際の認証処理はremix-auth-googleが行う形となっています(一度認証後はSessionStorageを介して、remix-authがよしなにやってくれます)
前段(2) Google Cloudの認証情報作成
以下の手順に従って、認証情報を作成します。
まずはローカルで動かすだけなので、承認済みのJavaScript生成元、承認済みのリダイレクトURI、共にlocalhostのアドレスを指定します。
- 承認済みのJavaScript生成元:
http://localhost:8788 - 承認済みのリダイレクトURI:
http://localhost:8788/google/callback
※承認済みのリダイレクトURIについては後ほど実装する認証処理のパスになります。
コードの実装
ここからはいよいよコードの実装に入っていきます。
フォルダ構成
フォルダ構成は以下のようなものを想定し、routes/app配下には、ログイン済みのユーザしかアクセスできないこととします。
app -
│   ├── routes
│   │    ├── index.tsx
│   │    ├── login.tsx
│   │    ├── logout.tsx
│   │    ├── app (この配下にはログイン済みユーザしかアクセスできないようにする)
│   │    │   └── index.tsx
│   │    ├── app.tsx
│   │    └── google
│   │        └── callback.tsx
│   └── utils
│        ├── session.server.ts
│	 ├── googleStrategy.server.ts
│	 └── auth.server.ts
├── server.ts
├── .env
└── ...
※今回メインで使用するファイルのみ抜粋
1. 初期化処理
ここからはremix-authの初期化部分から実装していきます。まず、認証情報を保持するsession storageを作成します。ここでは、@remix-run/cloudflareのcookie session storageを用います。
import { createCookieSessionStorage } from "@remix-run/cloudflare";

const { getSession, commitSession, destroySession } =
  createCookieSessionStorage({
    cookie: {
      name: "remix-google-auth-sampl",

      // 以下はOptional
      httpOnly: true,
      maxAge: 600,
      path: "/",
      sameSite: "lax",
      secrets: ["s3cr3t"], // 今回は簡略のため直書き
      secure: process.env.NODE_ENV === 'production', // localhostで動かす際にはsecure=falseでないと失敗する
    },
  });

export { getSession, commitSession, destroySession };
次に、上記sessionStorageを用いてauthenticatorを初期化します。
import { Authenticator } from "remix-auth";
import * as sessionStorage from "./session.server";

export type AuthUserType = { // 今回は簡易的に、googleの認証情報からこれらを取得する
    id: string,
    name: string,
    email: string
}

const authenticator = new Authenticator<AuthUserType>(sessionStorage)

export default authenticator
このままだと、Googleログインを実際に行うStrategyが存在しない状態なので、GoogleログインのStrategyを設定する処理を作成します。
import { GoogleStrategy } from "remix-auth-google";
import authenticator from './auth.server'
import type { AuthUserType } from './auth.server'

let googleStrategy: GoogleStrategy<AuthUserType> | null = null

export const StrategyName = 'google'

const initGoogleAuthenticator = ({
    clientID,
    clientSecret,
    callbackURL
}: {
    clientID: string,
    clientSecret: string,
    callbackURL: string
}) => {
    if (googleStrategy) {
        return authenticator // リクエストのたびに呼び出されるので、初期化済みの場合はリターン
    }
    googleStrategy = new GoogleStrategy<AuthUserType>(
        {
            clientID,
            clientSecret,
            callbackURL,
        },
        // 認証成功後、GoogleProfileから任意のユーザ情報を返却するためのコールバック(このデータがSessionStorageに保存される)
        async ({ profile }) => {
            return {
                name: profile.displayName,
                email: profile.emails.length > 0 ? profile.emails[0].value : '',
                id: profile.id,
            }
        }
    );
    authenticator.use(googleStrategy); // ここでStrategyを登録する
    return authenticator
}

export default initGoogleAuthenticator
これをサーバー側のリクエスト処理の冒頭で呼び出すことで、authenticatorとstrategyを紐付けます。
import { createPagesFunctionHandler } from "@remix-run/cloudflare-pages";
import * as build from "@remix-run/dev/server-build";
import initGoogleAuthenticator from "~/utils/googleStrategy.server";

const handleRequest = createPagesFunctionHandler({
  build,
  mode: process.env.NODE_ENV,
  getLoadContext: (context) => context.env,
});

export function onRequest(context: any) {
  // 環境変数からGoogleのClient IDなどを取得し、authenticatorを初期化する
  // 環境変数については後述
  const {
    GOOGLE_CLIENT_ID,
    GOOGLE_CLIENT_SECRET,
    GOOGLE_CALLBACK_URL
  } = context.env
  // authenticatorをgoogle strategyと紐付ける
  initGoogleAuthenticator({
    clientID: GOOGLE_CLIENT_ID,
    clientSecret: GOOGLE_CLIENT_SECRET,
    callbackURL: GOOGLE_CALLBACK_URL
  })
  return handleRequest(context);
}
Tips 環境変数の受け渡し方について
ここで、環境変数の受け渡し方について解説します。Cloudflare pagesは他のNode.jsアプリのようにprocess.env経由で環境変数を受け渡すことができません。そのため、まず以下のように.envファイルを作成し、
GOOGLE_CLIENT_ID='クライアント ID'
GOOGLE_CLIENT_SECRET='クライアント シークレット'
GOOGLE_CALLBACK_URL='http://localhost:8788/google/callback'
package.jsonのdev:wrangleの箇所を次のように修正します。
...
"dev:wrangler": "cross-env NODE_ENV=development wrangler pages dev ./public --binding $(cat .env)",
...
このように記述することで、context経由で環境変数が受け取れるようになります(以下参考)
※ただし、現在下記のようにpagesにおける環境変数の受け渡し方について、議論されており、今後何かしら別の手段で設定できるようになるかもしれません
2. ログイン処理
ここからは初期化したauthenticatorを用いて、実際のログイン処理を行うコードを実装していきます、ログインページでは、Formから/google/loginに対してPostするようにRouteを設定しておきます。
import type { LoaderFunction } from "@remix-run/cloudflare";
import { redirect, json } from "@remix-run/cloudflare";
import authenticator from '~/utils/auth.server'
import { Form } from "@remix-run/react";

export const loader: LoaderFunction = async ({ request }) => {
    const user = await authenticator.isAuthenticated(request)
    if (user) {
        return redirect('/app') // 認証済みの場合、appページへリダイレクト
    }
    return json({})
};
export const LoginPage: React.FC = () => {
    return (
        <div>
            <h1>Login Page</h1>
            {/* routes/google/login.tsxのactionが呼び出される */}
            <Form action="/google/login" method="post">
                <button>login with google</button>
            </Form>
        </div>
    )
}
export default LoginPage
/google/loginでは、action内にて認証(Googleログインにリダイレクトされる)処理を記述します。loaderも定義していますが、これは直接アクセス/google/loginにブラウザでアクセスした場合、/loginにリダイレクトするために設定しています。
import { redirect } from '@remix-run/cloudflare'
import type { ActionFunction, LoaderFunction } from '@remix-run/cloudflare'
import authenticator from '~/utils/auth.server'
import { StrategyName } from '~/utils/googleStrategy.server'

// 直接/google/loginにブラウザでアクセスした場合、`/login`にリダイレクトする
export let loader: LoaderFunction = () => redirect('/login')

export let action: ActionFunction = ({ request }) => {
    return authenticator.authenticate(StrategyName, request)
}
authenticator.authenticateの処理によって、内部的にはhttps://accounts.google.com/o/oauth2/v2/auth に対してリダイレクトされ、画面上にGoogleのログイン画面が表示されます。
ログインが無事行えた場合、前段(2)で設定した承認済みのリダイレクトURI(/google/callback)にアクセストークン付きでリダイレクトされます。
import type { LoaderFunction } from '@remix-run/cloudflare'
import { redirect } from '@remix-run/cloudflare'
import authenticator from '~/utils/auth.server'
import { commitSession, getSession } from '~/utils/session.server'
import { StrategyName } from '~/utils/googleStrategy.server'
// ログイン成功後にリダイレクトされる
export let loader: LoaderFunction = async ({ request }) => {
    // /google/loginの時と同じインタフェースだが、ここではリダイレクトされずにURLパラメータから必要な情報素抽出しユーザ情報に変換する
    const user = await authenticator.authenticate(StrategyName, request)
    if (!user) {
        return redirect('/login')
    }

    let session = await getSession(request.headers.get("Cookie"));
    // cookie session storageに認証情報を保存
    session.set(authenticator.sessionKey, user);
    session.set(authenticator.sessionStrategyKey || "strategy", StrategyName);
    const cookie = await commitSession(session, {
        expires: new Date(Date.now() + 600_000),
    })
    const rediretOption = {
        headers: { "Set-Cookie": cookie },
    }

    return redirect('/app', rediretOption)
}
authenticator.authenticateでは、URLパラメータから必要な情報を抽出し、定義したユーザ情報(AuthUserType)に変換された上で返却されます。それを最後にSession情報にセットし/appにリダイレクトします。以降、Sessionがexpiredになるまでログイン状態を維持することができます。
3. 特定Routeをログイン済みのユーザにのみアクセスできるように制御
ここからは、app/以下のページがログイン済みのユーザにのみアクセスできるよう実装していきます。基本的には、Layout Routeであるapp.tsxのloaderにてセッション内容をチェックし、未ログインの場合はログインページにリダイレクトする内容となります。
import type { LoaderFunction } from "@remix-run/cloudflare";
import { redirect, json } from "@remix-run/cloudflare";
import { Form, Outlet, useLoaderData } from "@remix-run/react";
import UserContext from "~/UserContext";
import type { AuthUserType } from '~/utils/auth.server'
import authenticator from '~/utils/auth.server'

type LoaderData = {
    user: AuthUserType
}

export const loader: LoaderFunction = async ({ request }) => {
    const user = await authenticator.isAuthenticated(request)
    if (!user) { // 未ログインのユーザはログインページにリダイレクト
        return redirect('/login')
    }
    return json<LoaderData>({
        user
    })
};
export const App: React.FC = () => {
    const { user } = useLoaderData() as LoaderData;
    // コンテキスト等使うことで、user情報をapp配下の各コンポーネントで参照できるようになる
    return (
        <UserContext.Provider value={user}>
            <Outlet />
            <Form action='/logout' method='post'>
                <button>Logout</button>
            </Form>
        </UserContext.Provider>
    )
}
export default App
これにて、未ログインのユーザがapp/やapp/userなどのapp配下のrouteにアクセスしようとした際、上記のチェックが実施され、/loginにリダイレクトされるようになります。
Cloudflare pagesへのデプロイ
最後に、CloudflareのPagesにて、アプリをデプロイします。この時に、環境変数を次のように設定しておきます。
| 変数名 | 値 |
|---|---|
| GOOGLE_CLIENT_ID | クライアント ID |
| GOOGLE_CLIENT_ID | クライアント シークレット |
| GOOGLE_CLIENT_ID | https://{ドメイン}/google/callback |
また、前段(2)で設定した承認済みのJavaScript生成元、承認済みのリダイレクトURIに今回デプロイしたドメインを追加しておきます。
- 承認済みのJavaScript生成元:
https://{ドメイン} - 承認済みのリダイレクトURI:
https://{ドメイン}/google/callback
以上で、Cloudfare pagesのデプロイ先においてもGoogle認証が行えるようになります🎉
最後に
ここまで読んでいただきありがとうございます。今回のコードはこちらに公開しています。
Discussion