😼
タブで画面を切り替える方法について
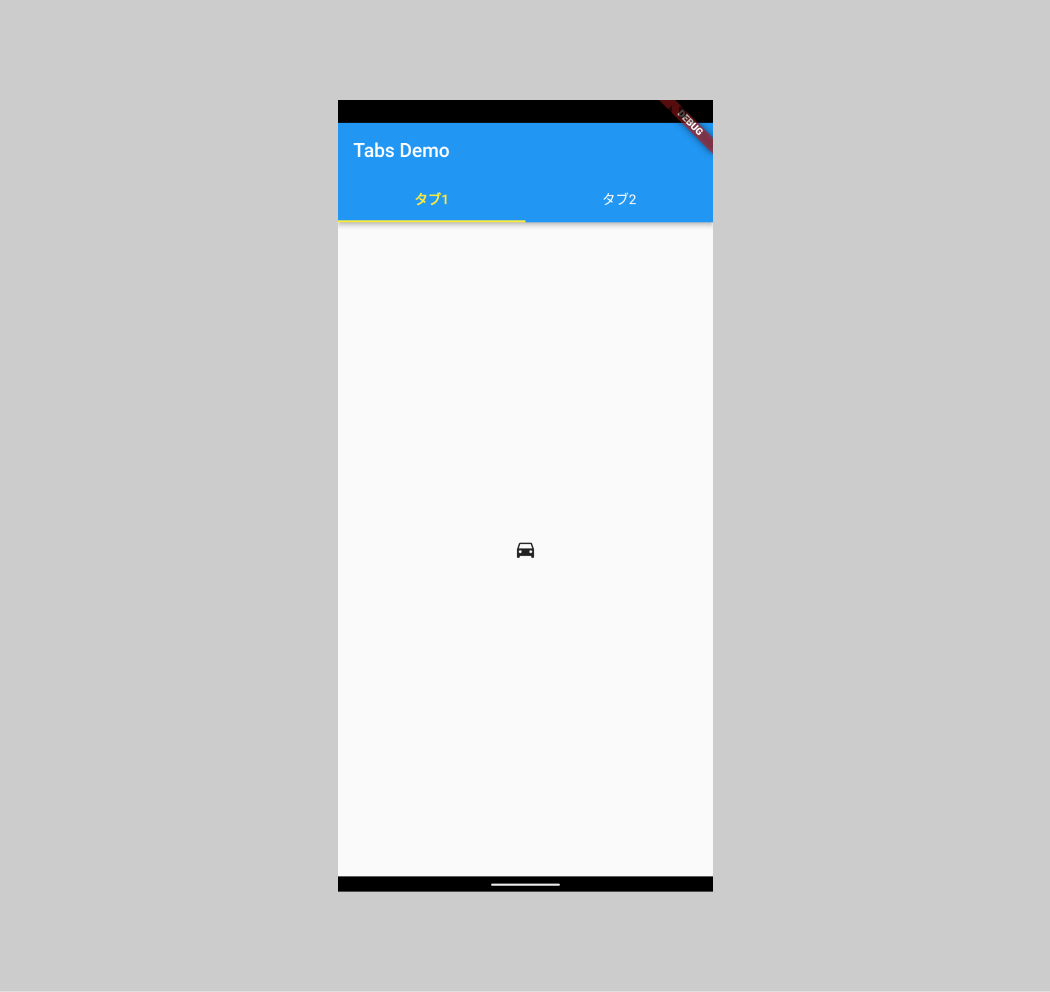
タブで画面を切り替えるには、DefaultTabController、TabBar、TabBarViewを使用すると簡単に実装できます。今回は下記のようなものを作っていきます。(備忘録として記事を書きます。)

手順
- DefaultTabControllerを作成
- TabBarを使用してappBarの中にTabを作成
- TabBarViewを使用してタブごとのコンテンツを作成
1. DefaultTabControllerを作成
まずはDefaultTabControllerウィジェットでタブを表示するページを囲む。
その際にタブの数をlengthで設定する。
return SafeArea(
  child: DefaultTabController(
    length: 2,
    child: Scaffold(
      appBar: AppBar(
        title: const Text(
          'Tabs Demo',
        ),
      ),
    ),
  ),
);
2. TabBarを使用してappBarの中にTabを作成
appBarの中にTabBarウィジェットを作成してTabを作成する。
今回タブは2つなので、tabsの中にTabを2つ追加する。
return SafeArea(
  child: DefaultTabController(
    length: 2,
    child: Scaffold(
      appBar: AppBar(
        title: const Text(
          'Tabs Demo',
        ),
        bottom: const TabBar(
          tabs: [
            Tab(
              child: Text(
                "タブ1",
              ),
            ),
            Tab(
              child: Text(
                "タブ2",
              ),
            ),
          ],
        ),
      ),
    ),
  ),
);
3. TabBarViewを使用してタブごとのコンテンツを作成する
タブを選択した時のコンテンツを表示するために、bodyにTabBarViewウィジェットを追加する。
これを追加することによって、タブを選択した時に画面を切り替えられるようになる。
return SafeArea(
  child: DefaultTabController(
    length: 2,
    child: Scaffold(
      appBar: AppBar(
        title: const Text(
          'Tabs Demo',
        ),
        bottom: const TabBar(
          tabs: [
            Tab(
              child: Text(
                "タブ1",
              ),
            ),
            Tab(
              child: Text(
                "タブ2",
              ),
            ),
          ],
        ),
      ),
      body: const TabBarView(
        children: [
          Icon(
            Icons.directions_car,
          ),
          Icon(
            Icons.directions_bike,
          ),
        ],
      ),
    ),
  ),
);
4. 色やスタイルを変更する場合
色やスタイルを設定する場合は下記の設定をする。
-
labelColor:選択したタブのテキストの色を指定 -
unselectedLabelColor:選択していないタブのテキストの色を指定 -
labelStyle:選択したタブのスタイルを指定 -
unselectedLabelStyle:選択していないタブのスタイルを指定 -
indicatorColor:選択したタブの下線の色を指定
bottom: const TabBar(
  labelColor: Colors.yellow,
  unselectedLabelColor: Colors.white,
  labelStyle: TextStyle(
    fontWeight: FontWeight.w600,
  ),
  unselectedLabelStyle: TextStyle(
    fontWeight: FontWeight.normal,
  ),
  indicatorColor: Colors.yellow,
  tabs: [
    Tab(
      child: Text(
        "最新の記事",
      ),
    ),
    Tab(
      child: Text(
        "人気の記事",
      ),
    ),
  ],
),
Discussion