Google Colaboratoryで動画の画風変換


はじめに
動画の画風変換をGoogle Colabratoryでやりたくて,先人の知恵を借りようとググったのですが,なかなかそのまま使えるものを見つけられませんでした.どうやら,ColabratoryのTensorFlow 1.x系のサポートが2022/08/11に切れたことが原因のようです.(Colaboratory Release Notes)
ネット上の情報はColabratoryのTensorFlow 1.x系で書かれたものが多く動かなくなっているものが多いようでした.画風変換が流行ったのは少し前だからかもしれないですね
ということで,自分で作ることにしました.そのときの記録を残そうと思います.
今回は動画から連番画像を生成, 画風変換,連番画像から動画を生成の手順で動画の画風変換を行います.
動画→画像,画像→動画の生成はFFmpegを使いました.画風変換ではTensorFlowの(チュートリアル)から必要なところを引っこ抜いて使わせてもらっています.
リンク
こちらでデモを実行できます.
CPUでもできますが,GPUの方が早く動きます.
動画から連番画像を生成
動画を分解して連番画像を生成します.
コードは以下のようになります.
!pip install ffmpeg-python
import ffmpeg
input_movie_path = "//content/ConvertMovieStyle/content_movie/sample.mp4"
devided_images_path = "//content/ConvertMovieStyle/diveded_images/%06d.png"
!ffmpeg -i input_movie_path -progress - -r 60 devided_images_path
1行目でColabratoryにffmpegをインストール,2行目でインポートします.3行目で動画を分解します.使っているオプションは以下の表のようになっています.
| オプション | 目的 |
|---|---|
| -i | 分解する動画のパスを指定 |
| -progress | 経過を表示(―を指定すると標準出力される) |
| -r | フレームレートを指定 |
最後に出力先のパスを指定します.%06d.pngでファイル名を指定すると動画が6桁連番のpngで出力されます.
画風変換
分解した画像を画風変換します.
まず,必要なライブラリをインポートします.
import os
import numpy as np
import PIL.Image

!pip install tqdm
import tqdm

import tensorflow as tf
import tensorflow_hub as hub
# Load compressed models from tensorflow_hub
os.environ['TFHUB_MODEL_LOAD_FORMAT'] = 'COMPRESSED'
次に,パスの指定,画像・モデルのロードを行います.
content_dir = '//content/ConvertMovieStyle/diveded_images/'
img_num = sum(os.path.isfile(os.path.join(content_dir,name)) for name in os.listdir(content_dir))
hub_model = hub.load('https://tfhub.dev/google/magenta/arbitrary-image-stylization-v1-256/2')
style_path = "/content/drive/MyDrive/Movie/style_images/sample1.jpg"
style_image = load_img(style_path)
hub_model = hub.load('https://tfhub.dev/google/magenta/arbitrary-image-stylization-v1-256/2')
content_dirに分解した画像のディレクトリを指定し,画像の枚数を計算します.次に,hub.load()関数でTensorFlowHubから学習済みのモデルをロードします.style_pathに画風を抽出する画像のパスを指定し,画像をロードします.画像のロードは以下の関数load_img()で行います.
def load_img(path_to_img):
  max_dim = 512
  img = tf.io.read_file(path_to_img)
  img = tf.image.decode_image(img, channels=3)
  img = tf.image.convert_image_dtype(img, tf.float32)

  shape = tf.cast(tf.shape(img)[:-1], tf.float32)
  long_dim = max(shape)
  scale = max_dim / long_dim

  new_shape = tf.cast(shape * scale, tf.int32)

  img = tf.image.resize(img, new_shape)
  img = img[tf.newaxis, :]
  return img
関数load_img()は画像へのパスを引数としています.1~3行目で画像をテンソルとして読み込んで,float32型に変換します.
最後に以下のコードで画像を1枚ずつ画風変換していきます.
converted_images_dir_path = "//content/ConvertMovieStyle/converted_images/"
for i in tqdm.tqdm(range(1, img_num)):
  content_path = content_dir + str(i).zfill(6) + ".png"

  content_image = load_img(content_path)
  stylized_image = hub_model(tf.constant(content_image), tf.constant(style_image))[0]
  converted_img = tensor_to_image(stylized_image)
  converted_img.save(converted_images_dir_path + str(i).zfill(6) + ".png")
for文の中で画像を1枚ずつ取り出して,パスをcontent_pathに代入して,load_img()関数に渡して画像を読み込みます.hub_model()関数で画風を変換し,numpyのndarray型画像に変換して,連番で保存していきます.
連番画像から動画を生成
連番画像から動画を生成します.
コードは以下のようになります.
output_movie_path = "//content/ConvertMovieStyle/out/out.mp4"
converted_images_path = converted_images_dir_path + "%06d.png"
!ffmpeg -framerate 60 -i converted_images_path output_movie_path -y
フレームレートは動画を分解したときのものと同じにするのがよいと思います.
画風変換例
最後に変換した例を紹介しようと思います.
今回は下のペンギンの動画を変換しました.
例1
リヴィエールの「エッフェル塔の建設現場」で変換しました.

変換結果
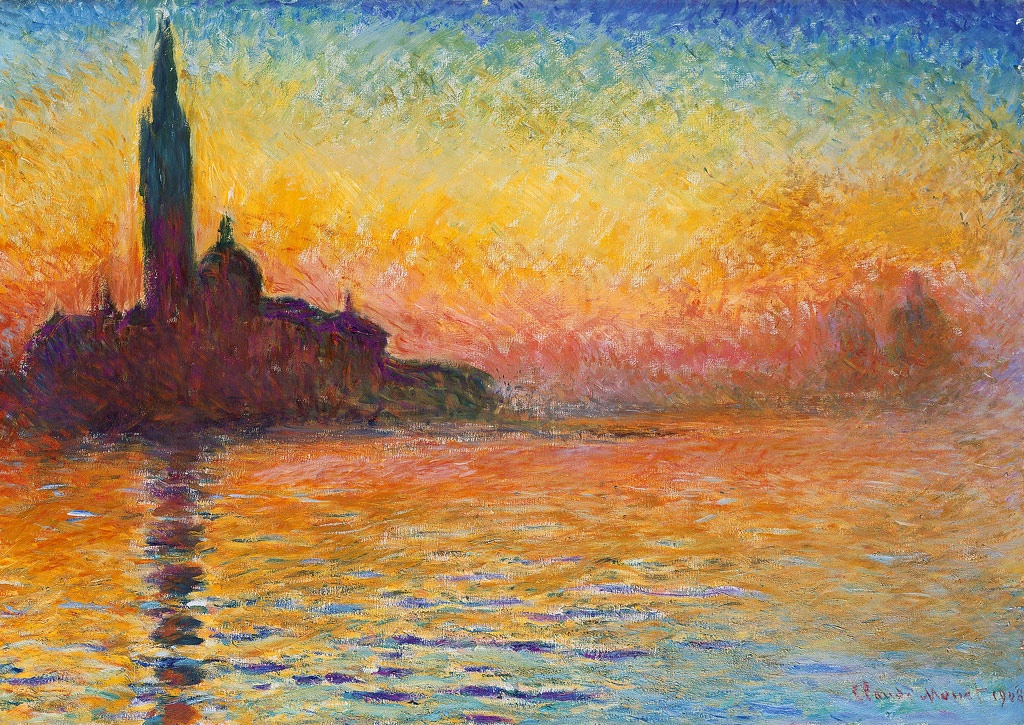
例2
モネの「夕暮れのサン・ジョルジョ・マッジョーレ」で変換しました.
変換結果
Discussion