Microsoft EntraIDでGoogleログインを実装する方法

はじめに
Microsoft EntraIDのExternal IDを使ってGoogleログインを実装する方法を紹介します。
GCPではFirebase AuthやGoogle Identity Platformを使ってGoogleログインを実装することが出来ますが、AzureでもMicrosoft EntraIDのExternal IDを使ってGoogleログインを実装することが可能だったりします。
ユーザー名とパスワードでログインももちろん良いですが、Googleログインもあった方がユーザー体験が向上するので、今回はMicrosoft EntraIDのExternal IDを使ってGoogleログインを実装してみたいと思います。
ユーザー名 + passwordでログインするハンズオンはこちらです。
今回のハンズオンのサンプルコードを以下に配置していますのでご参照ください。
それではハンズオン開始🖐️
環境構築
まずはGithubのリポジトリ作成してください。
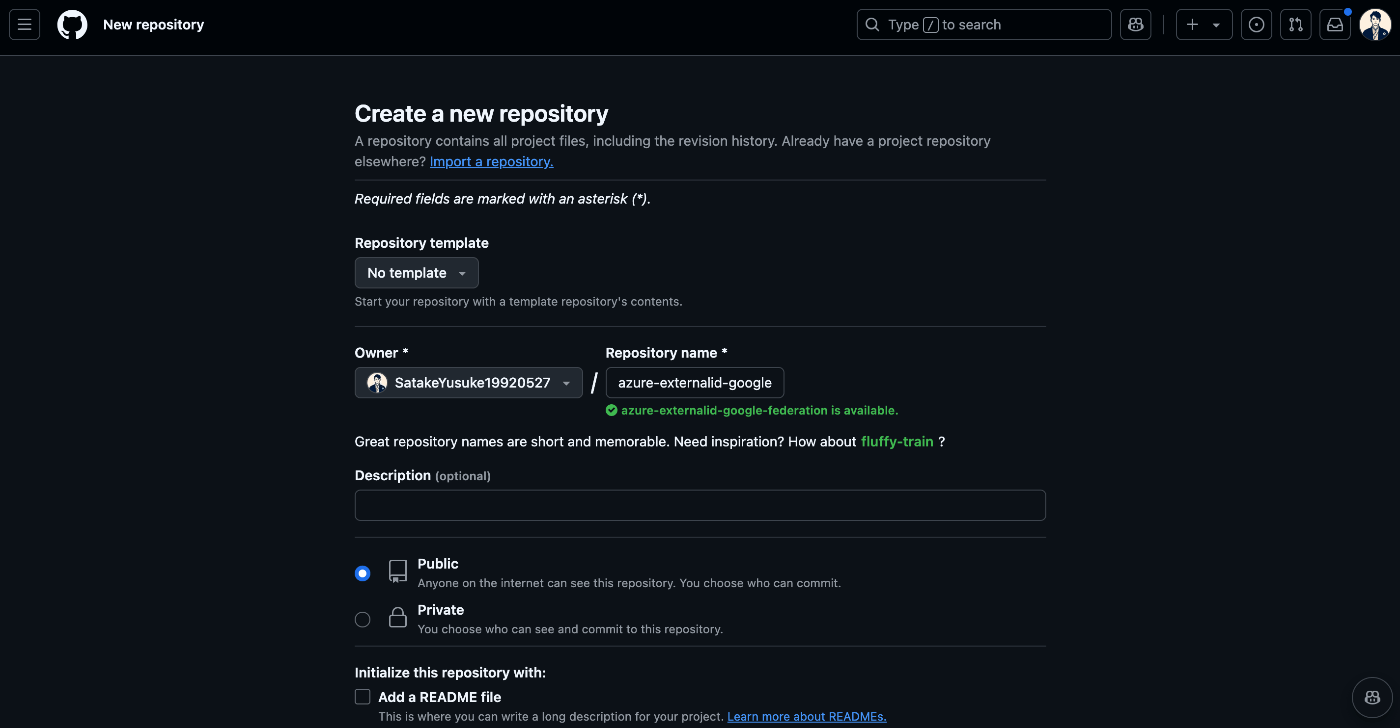
次にローカルへcloneです。
以下のコマンドでNext.jsプロジェクトを作成します。
create-next-app . --ts

npm run dev で動作確認し、Next.jsのtemplateが表示されればOKです。
Microsoft Entra 外部 IDで Google フェデレーションを構成する
EntraIDの管理画面にアクセスします。
External Identities > すべての ID プロバイダーからIDプロバイダーにGoogleを追加しにいきます。

クライアントIDとクライアントシークレットを記載と書かれているので、今からこれらを入手しにGoogle Developer Consoleへアクセスします。
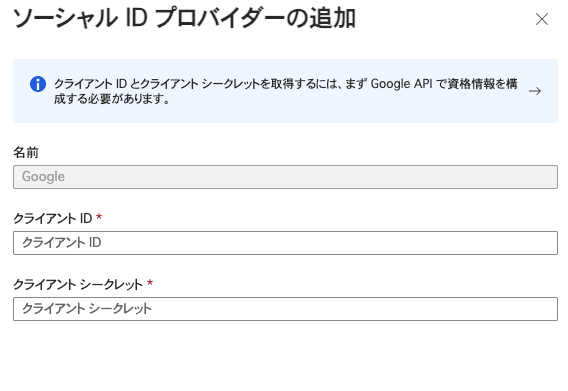
まずは、Google Developer Consoleへアクセスします。
GCPで新しいプロジェクトを作成してください。

new projectを作成します。

projectが作成出来ると、ダッシュボードはこんな感じになります
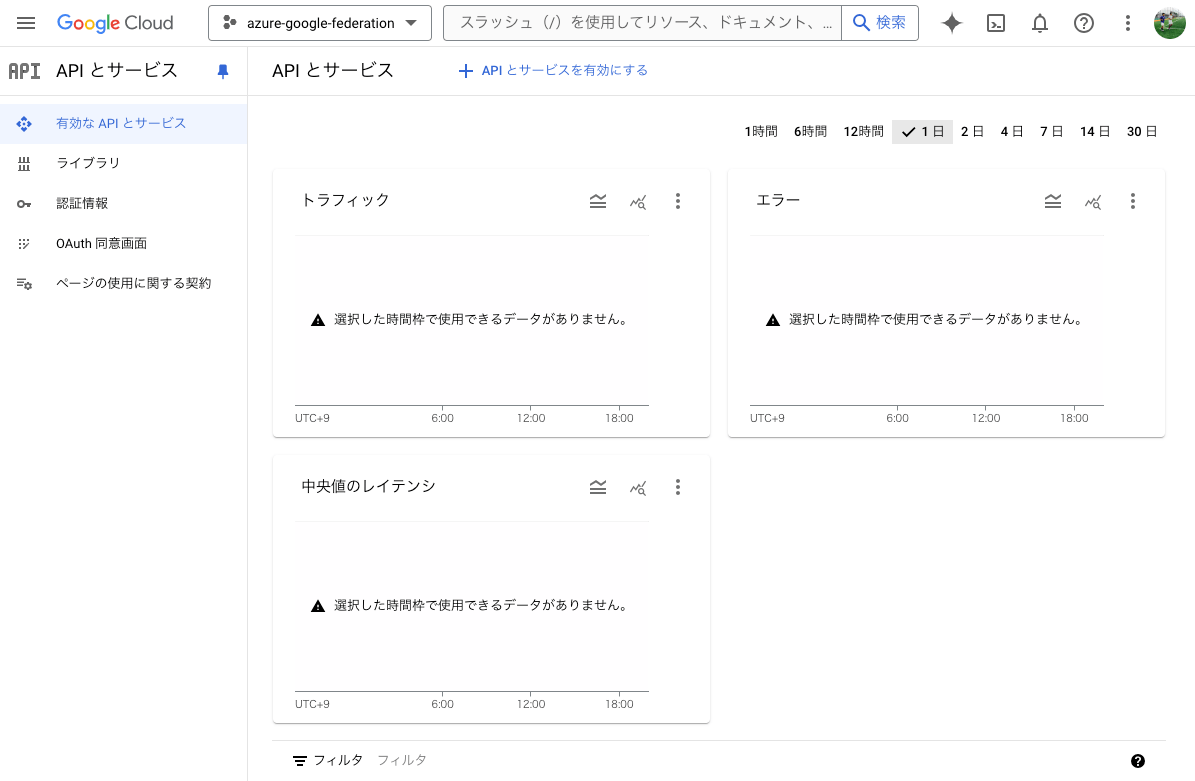
OAuth同意画面でUser Typeを外部に設定し作成します。

[OAuth 同意画面] の [アプリ情報] で、アプリケーションの [名前] を入力します。
[ユーザー サポートのメール] のアドレスを選択します。
[認可済みドメイン] セクションで、[ドメインの追加] を選択し、ciamlogin.com と microsoftonline.com を追加します。

認証情報から認証情報作成をクリック
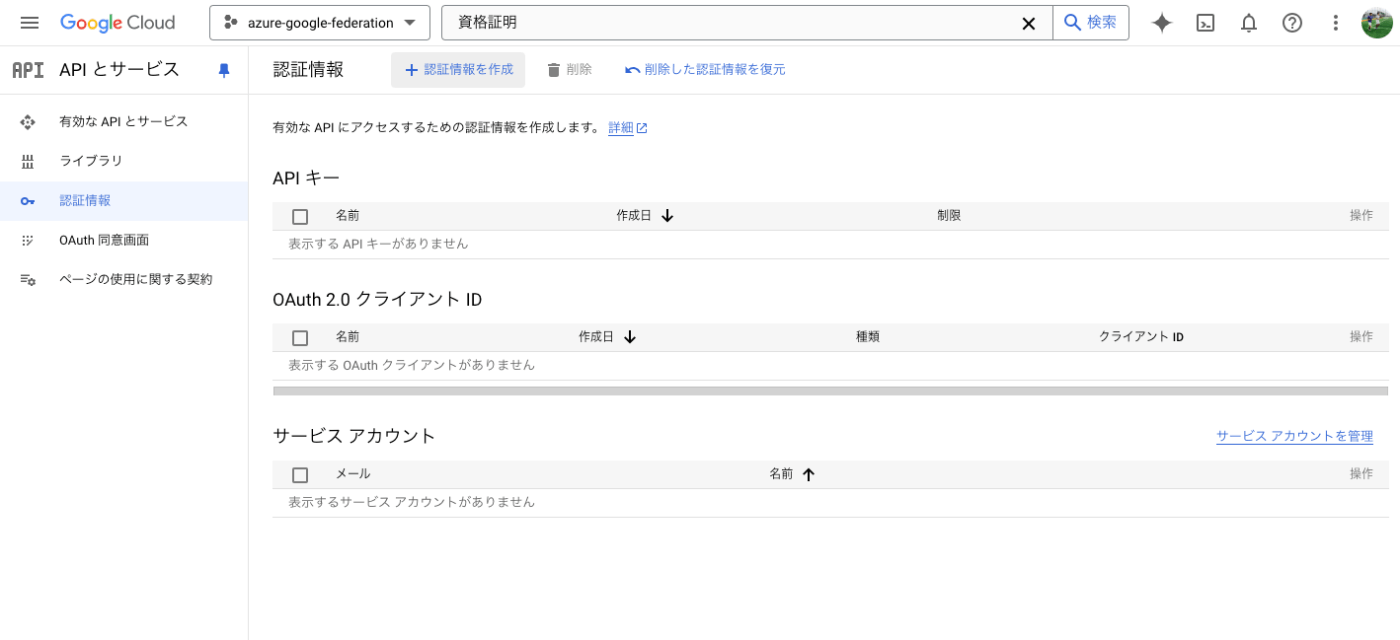
OAuth クライアントIDを選択

URLをいっぱい追加します。

追加するURLは以下です。
- https://login.microsoftonline.com
- https://login.microsoftonline.com/te/<tenant-ID>/oauth2/authresp
- https://login.microsoftonline.com/te/<tenant-subdomain>.onmicrosoft.com/oauth2/authresp
- https://<tenant-ID>.ciamlogin.com/<tenant-ID>/federation/oidc/accounts.google.com
- https://<tenant-ID>.ciamlogin.com/<tenant-subdomain>.onmicrosoft.com/federation/oidc/accounts.google.com
- https://<tenant-subdomain>.ciamlogin.com/<tenant-ID>/federation/oauth2
- https://<tenant-subdomain>.ciamlogin.com/<tenant-subdomain>.onmicrosoft.com/federation/oauth2
tenantIDとtenant-subdomainはEntraIDの管理画面にアクセスして確認してください。
これでようやくクライアントIDとクライアントシークレット取得することが出来ました。
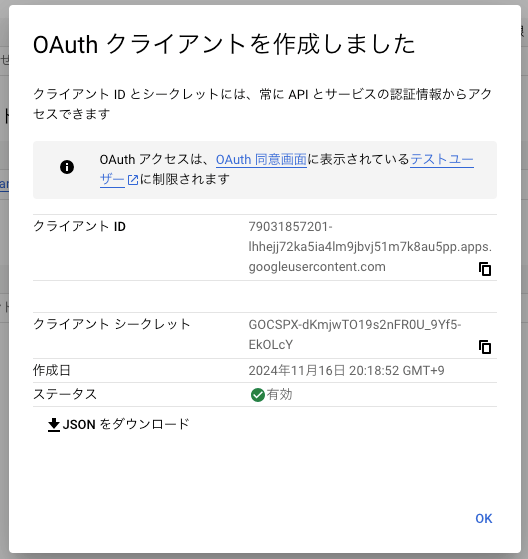
EntraIDのポータルに戻り、クライアントIDとクライアントシークレットを入力します。

IDプロバイダーより、Googleが構成済みになればOKです。
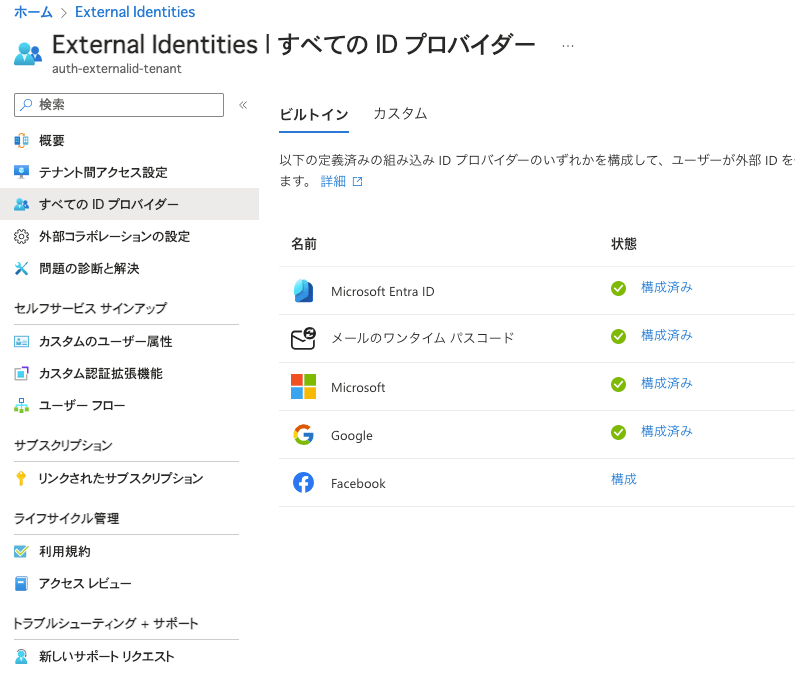
Microsoft Entra ID でユーザーフローにGoogleIDプロバイダーを追加する
Entra管理センターから、Googleログインする為の新しいユーザーフローを作成します。
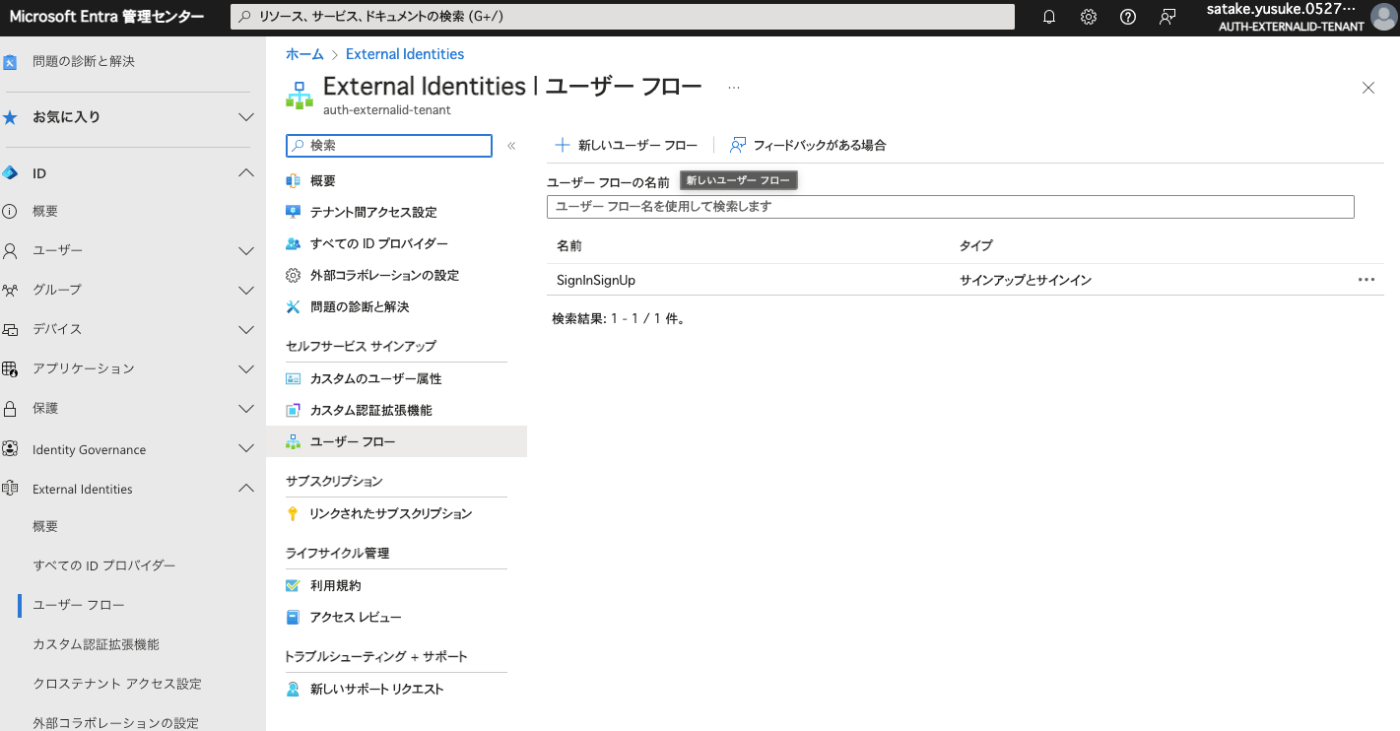
ユーザーフロー追加してください。
IDプロバイダーはGoogleを選択です。

これでユーザーフローが作成できました。

次はアプリケーションの作成です。

そして、先ほど作成したユーザーフローにアプリケーションを紐付けます。
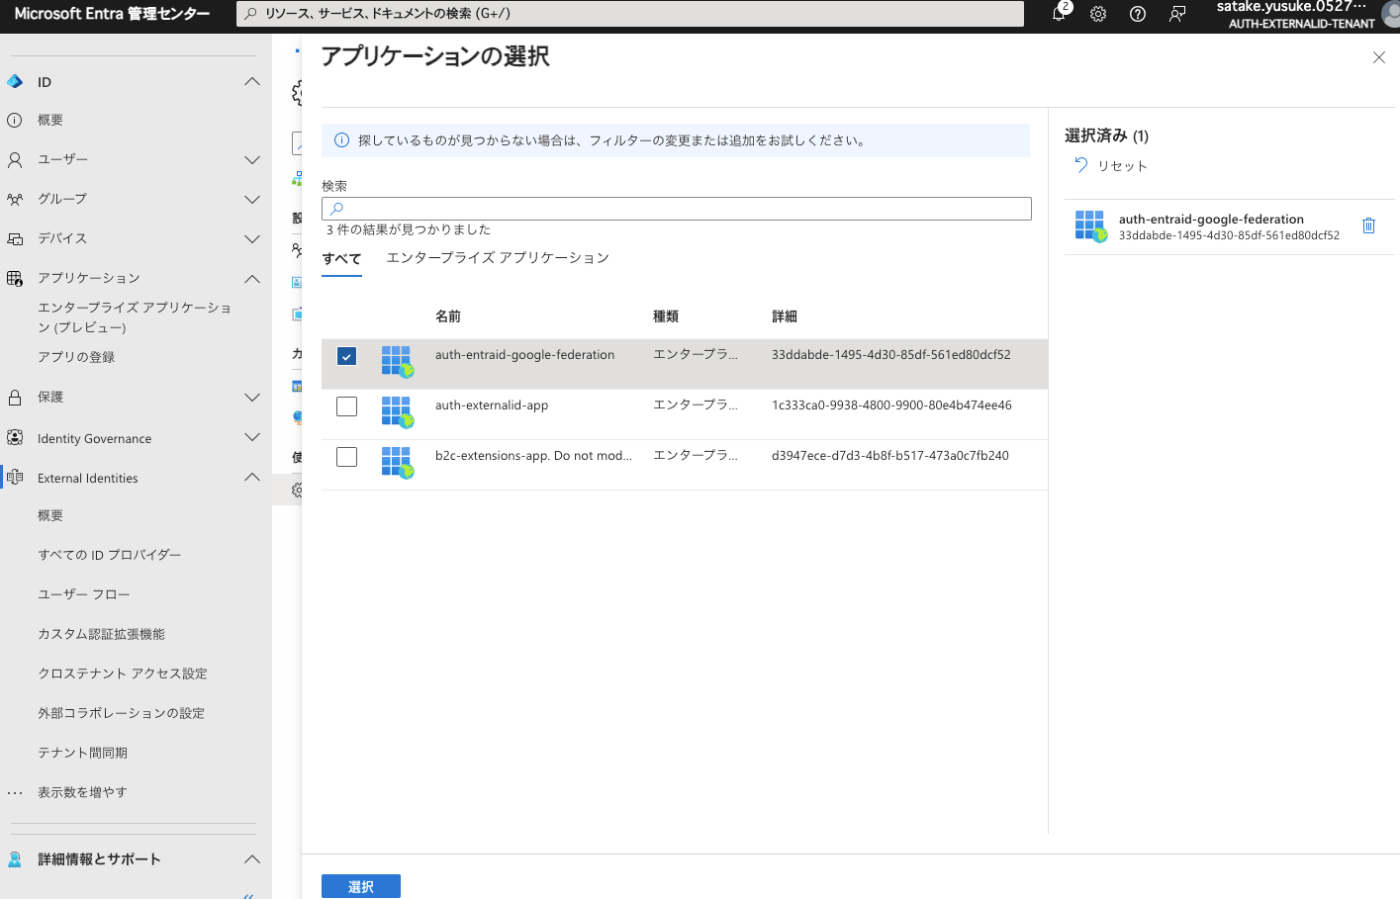
これで準備完了です、次は実装に移ります。
Next.jsの実装
VSCodeより、Next.jsのプロジェクトを開きます。
msal-reactをインストールします。
npm install @azure/msal-react
それぞれ実装していきます。
import { Providers } from '@/components/Providers';
import { Inter } from 'next/font/google';
import './globals.css';

const inter = Inter({ subsets: ['latin'] });

export const metadata = {
  title: 'External ID',
  description: 'Generated by create next app',
};

export default function RootLayout({
  children,
}: {
  children: React.ReactNode;
}) {
  return (
    <html lang="ja">
      <body className={inter.className}>
        <Providers>{children}</Providers>
      </body>
    </html>
  );
}
'use client';
import useCurrentUser from '@/hooks/useCurrentUser';
import { loginRequest } from '@/lib/msalConfig';
import { useMsal } from '@azure/msal-react';
import { useEffect } from 'react';

export default function Home() {
  const { instance, accounts } = useMsal();
  const user = useCurrentUser();
  useEffect(() => {
    console.log('🚀 ~ SideMenu ~ user:', user);
    console.log('🚀 ~ SideMenu ~ accounts:', accounts);
  }, [accounts]);
  return (
    <main>
      <h1
        onClick={() =>
          user === null
            ? instance.loginRedirect(loginRequest)
            : instance.logout()
        }
        className="flex justify-center px-4 text-2xl font-bold cursor-pointer"
      >
        {user === null ? 'login' : 'logout'}
      </h1>
      <h1>
        {user === null
          ? 'Please login to see your profile'
          : `Welcome ${user?.user_name}! 🚀 Warm Welcome 🚀 Your email: ${user?.email} && ${user?.sub}`}
      </h1>
    </main>
  );
}
import { AccountInfo } from '@azure/msal-browser';
import { useMsal } from '@azure/msal-react';

interface Account extends AccountInfo {
  idTokenClaims: {
    aud: string;
    iss: string;
    iat: number;
    nbf: number;
    exp: number;
    idp: string;
    name: string;
    nonce: string;
    oid: string;
    preferred_username: string;
    rh: string;
    sub: string;
    tid: string;
    uti: string;
    ver: string;
  };
}

export interface User {
  sub: string;
  user_name: string;
  email: string;
}

const useCurrentUser = (): User | null | undefined => {
  const { accounts } = useMsal();
  console.log("🚀 ~ useCurrentUser ~ accounts:", accounts)
  if (accounts.length > 0) {
    const account = accounts[0] as Account;
    const user: User = {
      sub: account.idTokenClaims?.aud,
      user_name: account.idTokenClaims?.name,
      email: account.idTokenClaims?.preferred_username,
    };
    return user;
  }
  return null;
};

export default useCurrentUser;
'use client';

import { msalConfig } from '@/lib/msalConfig';
import { PublicClientApplication } from '@azure/msal-browser';
import { MsalProvider } from '@azure/msal-react';
import React from 'react';

const msalInstance = new PublicClientApplication(msalConfig);

export function Providers({ children }: { children: React.ReactNode }) {
  return <MsalProvider instance={msalInstance}>{children}</MsalProvider>;
}
export const msalConfig = {
  auth: {
    clientId: 'xxxxxxxx-xxxx-xxxx-xxxx-xxxxxxxxxxx', // Azure ポータルで取得したクライアントID
    authority:
      'https://login.microsoftonline.com/xxxx-xxxx-xxxxx-xxxx-xxxxxxxx', // テナントID
    redirectUri: 'http://localhost:3000', // リダイレクトURI
  },
  cache: {
    cacheLocation: 'sessionStorage', // キャッシュの場所
    storeAuthStateInCookie: false, // IE11やEdgeをサポートする場合はtrueに設定
  },
};

export const loginRequest = {
  scopes: ['User.Read'],
};
これにて実装は完了です。
動作確認
では実行してみましょう。
npm run dev
ものすごくシンプルな画面が表示されます。

Loginというボタンをクリックしてみてください。
GoogleSignInが出来そうなボタンが表示されます。

SignInを進めると、ログインが無事成功されます。

これでMicrosoft EntraIDでGoogleログインが実装されました。
お疲れ様でした👋
参考文献

Discussion
こちらも是非みなさん!