🌟
AWS Amplify Gen2とAmazon Bedrock(Claude3)を利用したデモアプリ(AWSblog)を学習
概要
1.AWS Amplify Gen2とAmazon Bedrock(Claude3)を利用してレシピ提案アプリを作成します。
- 上記のAWS Blog記事の内容について実際に操作をトレースして学習しました。
- 以下の操作内容は 2024.06.07~2024.06.10 です。
Amazon Bedrock モデルアクセス
1. AWS Management Console Amazon Bedrock us-east-1 を選択する。
2. 左メニューで「モデルアクセス」をクリックする。
3. 「Claude 3 Sonnet」を選択して「モデルアクセスをリクエスト」する。
4. 「アクセスが付与されました」が表示されると利用可能になる。

リポジトリのクローン
1. Github のAWS Samples を自分のリポジトリに fork する。

2. Cloud9 のターミナルで Githubのリポジトリをクローンする。
$ git clone https://github.com/***/recipe-ai
Cloning into 'recipe-ai'...
remote: Enumerating objects: 68, done.
remote: Counting objects: 100% (68/68), done.
remote: Compressing objects: 100% (52/52), done.
remote: Total 68 (delta 21), reused 49 (delta 11), pack-reused 0
Receiving objects: 100% (68/68), 4.17 MiB | 3.42 MiB/s, done.
Resolving deltas: 100% (21/21), done.
3. ディレクトリを移動する。
$ cd recipe-ai
4. 依存関係をインストールする。
$ npm ci
Amplify バックエンド
1. amplifyのインストール有無、バージョンを調べる
$ amplify --version
12.10.1
2. プロジェクトの各種ファイルの内容を確認、編集する。
amplify/data/resource.ts
import { type ClientSchema, a, defineData } from "@aws-amplify/backend";

const schema = a.schema({
  BedrockResponse: a.customType({
    body: a.string(),
    error: a.string(),
  }),

  askBedrock: a
    .query()
    .arguments({ ingredients: a.string().array() })
    .returns(a.ref("BedrockResponse"))
    .authorization(allow => allow.publicApiKey())
    .handler(
      a.handler.custom({ entry: "./bedrock.js", dataSource: "bedrockDS" })
    ),
});

export type Schema = ClientSchema<typeof schema>;

export const data = defineData({
  schema,
  authorizationModes: {
    defaultAuthorizationMode: "apiKey",
    // API Key is used for a.allow.public() rules
    apiKeyAuthorizationMode: {
      expiresInDays: 30,
    },
  },
});

``` ts:amplify/backend.ts
import { defineBackend } from "@aws-amplify/backend";
import { data } from "./data/resource";
import { PolicyStatement } from "aws-cdk-lib/aws-iam";

const backend = defineBackend({
  data,
});

const bedrockDataSource = backend.data.resources.graphqlApi.addHttpDataSource(
  "bedrockDS",
  "https://bedrock-runtime.us-east-1.amazonaws.com",
  {
    authorizationConfig: {
      signingRegion: "us-east-1",
      signingServiceName: "bedrock",
    },
  }
);

bedrockDataSource.grantPrincipal.addToPrincipalPolicy(
  new PolicyStatement({
    resources: [
      "arn:aws:bedrock:us-east-1::foundation-model/anthropic.claude-3-sonnet-20240229-v1:0",
    ],
    actions: ["bedrock:InvokeModel"],

  })
);
アプリの実行
1. ampify sandboxを起動する。
$ npx amplify sandbox (誤り)
InvalidCommandError: The Amplify Gen 2 CLI has been renamed to ampx
Resolution: Rerun using the ampx command name:
1. ampify sandboxを起動する。(Amplify Gen2 対応コマンド)
$ npx ampx sandbox
  Amplify Sandbox
  Identifier:   ec2-user
  Stack:        amplify-recipeai-ec2user-sandbox-b880ae0612
  To specify a different sandbox identifier, use --identifier
✨  Synthesis time: 0.05s
⚠️ The --hotswap and --hotswap-fallback flags deliberately introduce CloudFormation drift to speed up deployments
⚠️ They should only be used for development - never use them for your production Stacks!
[省略]
plify-recipeai-ec2user-sandbox-b880ae0612
✨  Deployment time: 87.04s
✨  Total time: 87.09s
[Sandbox] Watching for file changes...
File written: amplify_outputs.json
- AWS Management Console でも確認できる。

2. ローカルの開発サーバを起動する。
$ npm run dev
recipe-ai@0.1.0 dev
next dev
▲ Next.js 14.1.1
- Local: http://localhost:8080
Attention: Next.js now collects completely anonymous telemetry regarding usage.
This information is used to shape Next.js' roadmap and prioritize features.
You can learn more, including how to opt-out if you'd not like to participate in this anonymous program, by visiting the following URL:
https://nextjs.org/telemetry
✓ Ready in 3.4s
3. Preview Runnning Appliaction のプルダウンからブラウザで閲覧する。

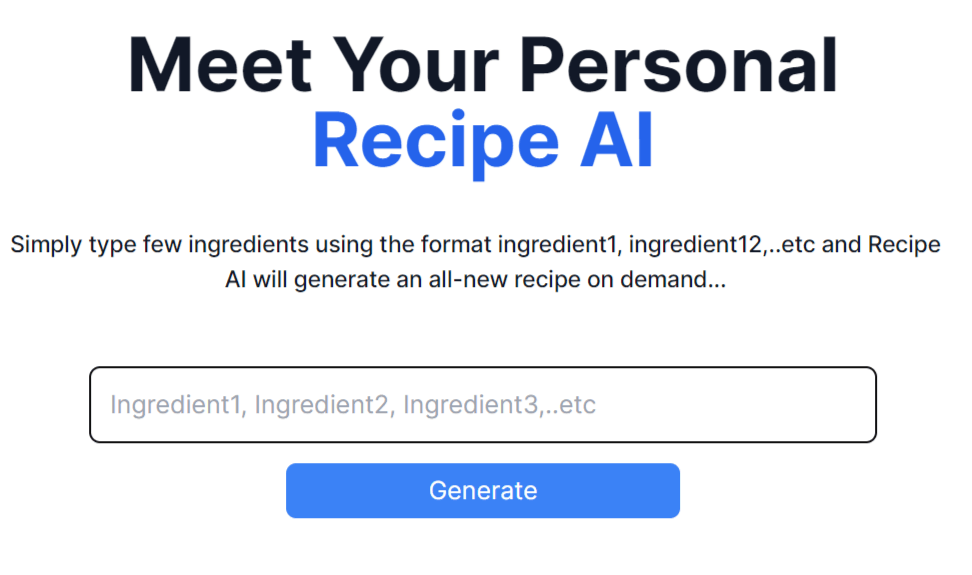
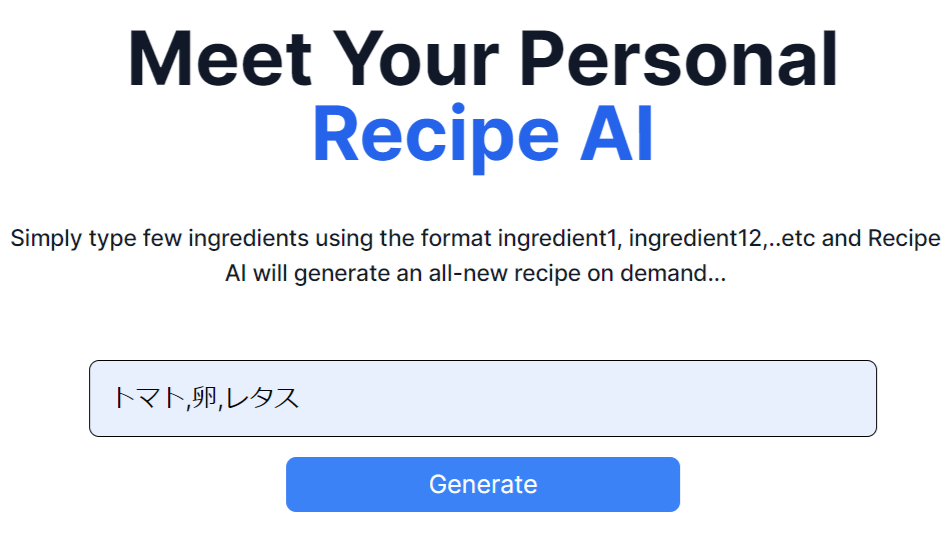
4. 食材をカンマ区切りで入力して、「Generate」ボタンをクリックして送信する。

5. 料理のレシピが生成される。

アプリのデプロイ
1. AWS Management Console にログインして、AWS Region [東京]を選択する。

2. 「新しいアプリを作成」ボタンをクリックする。

3. Gitプロバイダからアプリをデプロイするため「Gihub」を選択して「次へ」をクリックする。

4. ドロップダウンリストからリポジトリとブランチを選択して「次へ」をクリックする。

5. 内容を確認して「次へ」をクリックする。


6. 内容を確認して「保存してデプロイ」をクリックする。


7. 「デプロイされたURLにアクセス」をクリックする。

Your app will appear here once you complete your first deployment.
Deployment didn't work? Here are some options:
Check out our docs
Click the Feedback button in the bottom-left corner of the service page
8. デプロイを確認する。

9. デプロイされたURLで閲覧する。


Discussion