この記事は、Flutter 大学アドベントカレンダー 2022 1 日目の記事です。
はじめに
はじめまして、ダイゴです。
12 月、今年もアドベントカレンダーの季節が始まりましたね。
今回は、個人的に前から気になっていた flutter_stripe パッケージを触って、シンプルなカード決済機能(PaymentSheet) を実装してみました。
サンプルアプリも作成したので、ぜひこちらも合わせて参考にしていただけると幸いです。

目次
- パッケージのインストール・両 OS でのセットアップ
- Stripe アカウントの作成 & Publishable Key の発行
- サーバー側の実装(Cloud Functions)
- クライアント側の実装(Flutter)
[✓] Flutter (Channel stable, 3.3.5, on macOS 13.0)
    • Flutter version 3.3.5 on channel stable
    • Dart version 2.18.2
1. パッケージのインストール・両 OS でのセットアップ
まずはパッケージのセットアップをしていきます。
pubspec.yaml
プロジェクトの pubspec.yaml に、 flutter_stripe を追加して pub get します。
dependencies:
  flutter:
    sdk: flutter
  cupertino_icons: ^1.0.2
+ flutter_stripe: ^7.0.0
iOS の設定
Xcode を開いて
- Runner > Project Runner > Deployment Target > iOS Deployment Target
- Runner > Targets Runner > Minimum Deployments > Minimum Deployments > iOS
を 12.0 以上に指定します。
Android の設定
- Android SDK のバージョン指定
android/app/build.gradle を以下のように指定します。
android {
-   compileSdkVersion flutter.compileSdkVersion
+   compileSdkVersion 33
    ndkVersion flutter.ndkVersion

    ~~~~~~~~~~~ 中略 ~~~~~~~~~~~

    defaultConfig {
        applicationId "com.example.flutter_stripe_example"
-       minSdkVersion flutter.minSdkVersion
+       minSdkVersion 21
        targetSdkVersion flutter.targetSdkVersion
        versionCode flutterVersionCode.toInteger()
        versionName flutterVersionName
    }
ちなみに、flutter.〇〇 SdkVersion の値は flutter_sdk/packages/flutter_tools/gradle/flutter.gradle で確認可能なので、そちらの値が ↑ 以上になっていれば flutter.〇〇 SdkVersion のままで問題ありません。
- Kotlin のバージョン指定
android/build.gradle にある kotlin_version を 1.5.0 に以上に指定します。
buildscript {
+   ext.kotlin_version = '1.6.21' // ← 1.5.0 以上に指定
    repositories {
        google()
        mavenCentral()
    }
- style.xml の変更
android/app/src/main/res/values/styles.xml と android/app/src/main/res/values-night/styles.xml を以下のように変更します。
 <?xml version="1.0" encoding="utf-8"?>
 <resources>
    ~~~~~~~~~~~ 中略 ~~~~~~~~~~~
-    <style name="NormalTheme" parent="@android:style/Theme.Light.NoTitleBar">
+    <style name="NormalTheme" parent="Theme.MaterialComponents">
         <item name="android:windowBackground">?android:colorBackground</item>
     </style>
 </resources>
- gradle のバージョン確認
android/build.gradle のビルドツールのバージョンが新しいものになっているか確認し、古ければ修正します。(最新はこちらから確認できますが、現時点では 7 以上になっていれば問題はなさそうです)
    dependencies {
+       classpath 'com.android.tools.build:gradle:7.1.2' // もし 4 系とかになっていたら修正
        classpath "org.jetbrains.kotlin:kotlin-gradle-plugin:$kotlin_version"
    }
}
- MainActivity.kt の変更
android/app/src/main/kotlin/<アプリidのpath>/MainActivity.kt で、FlutterActivity → FlutterFragmentActivity に変更します。
  package com.example.flutter_stripe_example

  import io.flutter.embedding.android.FlutterActivity
+ import io.flutter.embedding.android.FlutterFragmentActivity

- class MainActivity: FlutterActivity() {
+ class MainActivity: FlutterFragmentActivity() {
  }
2. Stripe アカウントの作成 & Publishable Key の発行
Stripe アカウントの作成
以下のページにアクセスし、アカウント作成 or ログインします。
ダッシュボードから新規の Stripe アカウント(≒ アプリのアカウント)を発行します。
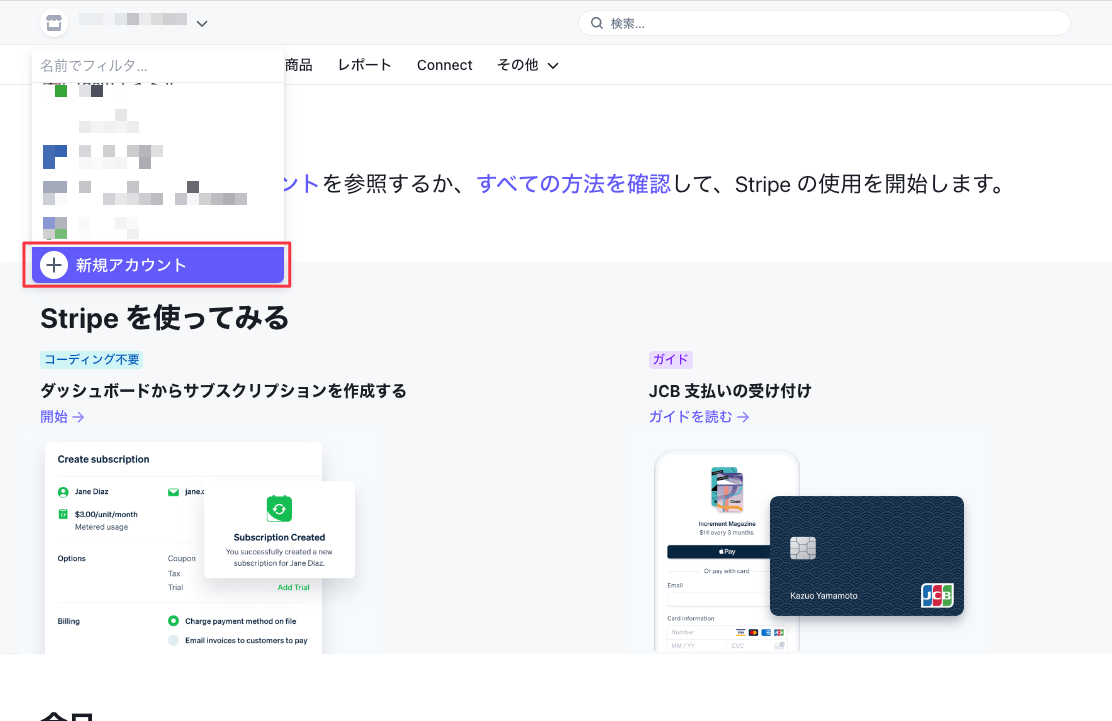

すると、ダッシュボードから PublishableKey が確認できます。

3. サーバー側の実装(Cloud Functions)
flutter_stripe で想定されている決済手法には
の 2 つがあるのですが、公式が推奨している & サーバー側の実装が比較的簡単な PaymentSheet による決済を実装していきます。
どちらにせよ、サーバー側で PaymentIntent のエンドポイントを作成する必要があるので、今回は Cloud Functions を使った上記のエンドポイント作成例を紹介します。
Cloud Functions の環境構築
少し雑になってしまうのですが、Cloud Functions の実行環境については、公式のドキュメントを参考に構築してください。
サンプルプロジェクトでは ESlint と Prettier で静的解析およびフォーマットを行っていますが、必須ではないのと設定が複雑なので、参考資料を載せておきます。
PaymentIntent.create のエンドポイント作成
では関数の作成に取り掛かります。
まずは node の stripe パッケージをインストールし、
npm install stripe --save
2 で作成した Secret Key を使って以下のようなエンドポイントを作成します。

import * as functions from "firebase-functions";

const stripe = require("stripe")(process.env.STRIPE_SECRET_KEY);

/// PaymentIntent の作成
export const createPaymentIntent = functions.https.onCall(async (_, __) => {
  try {
    // 新しい Customer を作成(既存の場合は id を渡せばOK)
    const customer = await stripe.customers.create();
    // Ephemeral Key (一時的なアクセス権を付与するキー)を作成
    // https://stripe.com/docs/payments/accept-a-payment?platform=ios&ui=payment-sheet#add-server-endpoint
    const ephemeralKey = await stripe.ephemeralKeys.create(
      { customer: customer.id },
      { apiVersion: `2020-08-27` }
    );
    // PaymentIntent の作成
    const paymentIntent = await stripe.paymentIntents.create({
      amount: 1000,
      currency: `jpy`,
      customer: customer.id,
      automatic_payment_methods: {
        enabled: true,
      },
    });
    // アプリ側で必要な値を返却
    return {
      paymentIntent: paymentIntent.client_secret,
      ephemeralKey: ephemeralKey.secret,
      customer: customer.id,
    };
  } catch (error) {
    console.error(`error: %j`, error);
    return {
      title: `エラーが発生しました`,
      message: error,
    };
  }
});
上記に登場する Stripe リソースは以下のような役割があります。
-
Customer
- Stripe 上の顧客、お金を支払う人(ユーザー)
- カード情報などの決済手段を持つことができる
-
EphemeralKey
- Customer(機密情報)へのアクセスを一時的に許可する Key
-
PaymentIntent
- Stripe 上の決済データ
- 決済金額や通貨などを指定できる
今回の例では決済ごとに Customer オブジェクトを作成していますが、実際のサービスであればクライアント側から受け取った CustomerId などを使って PaymentIntent を作成することになるかと思います。
4. クライアント側の実装(Flutter)
最後に Flutter(クライアント)側の実装をしていきます。
main 関数内で Stripe パッケージの publishableKey 設定と、Cloud Functions を呼び出せるように Firebase の初期化を行います。(Firebase の初期化は FlutterFire CLI を使えば楽です)
void main() async {
  WidgetsFlutterBinding.ensureInitialized();

  // Firebase の初期化
  await Firebase.initializeApp(options: DefaultFirebaseOptions.currentPlatform);

  // ダッシュボードの公開可能キー
  Stripe.publishableKey = const String.fromEnvironment('STRIPE_PK_DEV');

  runApp(const App());
}
PaymentSheet の表示
準備が整ったので、PaymentSheet を表示します。
PaymentSheet に関わるメソッドは
-
initPaymentSheet(PaymentSheet の初期化) -
presentPaymentSheet(PaymentSheet の表示) -
confirmPaymentSheetPayment(決済内容の確定)
の 3 つです。
全体のコードは以下になります。
class PaymentSheetPage extends HookWidget {
const PaymentSheetPage({super.key});
Widget build(BuildContext context) {
final payment = useState<PaymentIntent?>(null);
return Scaffold(
appBar: AppBar(title: Text(runtimeType.toString())),
body: Center(
child: Column(
mainAxisAlignment: MainAxisAlignment.center,
children: [
Text('金額:${payment.value?.amount.toString()}'),
Text('ステータス:${payment.value?.status.name.toString()}'),
Text('日時:${payment.value?.created.toString()}'),
ElevatedButton(
onPressed: () async {
try {
// 1. Cloud Functions 上で PaymentIntent を作成
final callable = FirebaseFunctions.instance
.httpsCallable('createPaymentIntent');
final result = await callable.call();
final data = result.data;
// 2. PaymentSheet を初期化
await Stripe.instance.initPaymentSheet(
paymentSheetParameters: SetupPaymentSheetParameters(
customFlow: true,
merchantDisplayName: 'Flutter Stripe Example',
paymentIntentClientSecret: data['paymentIntent'],
customerEphemeralKeySecret: data['ephemeralKey'],
customerId: data['customer'],
),
);
// 3. PaymentSheet を表示
await Stripe.instance.presentPaymentSheet();
// 4. 決済を確定
await Stripe.instance.confirmPaymentSheetPayment();
// 5. 決済内容を取得
final paymentIntent = await Stripe.instance
.retrievePaymentIntent(data['paymentIntent']);
payment.value = paymentIntent;
} on StripeException catch (e) {
final error = e.error;
switch (error.code) {
case FailureCode.Canceled:
log('キャンセルされました', error: e);
break;
case FailureCode.Failed:
log('エラーが発生しました', error: e);
break;
}
} on FirebaseFunctionsException catch (e) {
log('エラーが発生しました', error: e);
} catch (e) {
log('不明なエラーが発生しました', error: e);
}
},
child: const Text('Show PaymentSheet'),
),
],
),
),
);
}
}
実際に動かしてみると、Stripe 上で決済が成功しているのを確認できました。

テスト用のカード番号は以下のドキュメントにまとまっているので、決済エラーやカードブランドごとに検証をする場合はこちらを参考にしてください。
まとめ
今回は flutter_stripe パッケージを触ってみました。
本当は payment_intent_succeeded をリッスンする WebHook のエンドポイントを作って、決済リスト表示みたいなことも解説できればと思ったのですが、時間が足りずミニマムな例になってしまいました。また時間のあるときに触ってみようと思います。
セキュアなカード決済機能を手軽に実装できるのは有り難いですね。
コミッターへの寄付も出来るみたいなので、お世話になった際はぜひ。
最後までご覧いただき、ありがとうございました。
参考

Discussion