Configuration.storekitの実装
何度も行う作業ではないので、メモという意味も含めて実装までの手順を纏めておこうと思う。
自分のアプリでは、月額課金を実装しているので、今回は月額課金のみを対象とする。
手順1
New File...から「store」でFilterしてStoreKit Configuration Fileを追加する。
この時、Targetsにはチェックする必要はなし。
手順2
Configuration.storekitを選択し、左下の「+」をクリックして、Add Auto-Renewable Subscriptionを選択する。
初回の場合は、グループ名を指定する必要があるので、任意の名前を入力して作成する。
A subscription group allows users to select different content offerings. Users can only subscribe to one subscription within a group at a time, but can change subscriptions within the group as often as they like.
If you want to give users the ability to buy multiple subscriptions that are billed separately, you can put them in different groups.
ということなので、異なる月額課金が購入できる場合はグループを分ける必要がある。
私の場合は、以下のように、同じ月額課金を期間毎に金額を変えているだけなので、グループは1つだけ作成。
- 1カ月:120円
- 6ヶ月:600円
- 12ヶ月:1000円
手順3
グループ名を入力して作成すると、作成したグループの配下に、Add Auto-Renewable Subscriptionが1つ追加されているので、必要な情報を登録する。
私の場合は以下のように登録。
1つ作成すれば、右クリックのDuplicateで複製可能。
| Reference Name | Product ID | Price | Subscription Duration | Display Name(English(U.S.)) | Description(English(U.S.)) | Display Name(Japanese) | Description(Japanese) |
|---|---|---|---|---|---|---|---|
| プレミアム機能1ヶ月 | com.xxxxxx.xxxxxx.m01 | 0.99 | 1 Month | Premium - 1 month | 1 month, can hide ad | プレミアム機能 - 1ヶ月 | 1ヶ月間、広告が非表示になります。 |
| プレミアム機能6ヶ月 | com.xxxxxx.xxxxxx.m06 | 5.49 | 6 Months | Premium - 6 months | 6 months, can hide ad | プレミアム機能 - 6ヶ月 | 6ヶ月間、広告が非表示になります。 |
| プレミアム機能12ヶ月 | com.xxxxxx.xxxxxx.m12 | 8.99 | 1 Year | Premium - 12 months | 12 months, can hide ad | プレミアム機能 - 12ヶ月 | 12ヶ月間、広告が非表示になります。 |
手順4
ローカルでのレシート検証にASN1Decoderを利用するので、Package DependenciesよりASN1Decoderを追加する。
手順5
以下のコードでレシートデータを取得できるので、検証のコードを追加する。
検証の為のコードは割愛。
let data: Data = try Data(contentsOf: Bundle.main.appStoreReceiptURL!)
let pkcs7 = try PKCS7(data: data)
let receiptInfo = pkcs7.receipt()!
手順6
Configuration.storekitを選択し、Editor > Save Public Certificate StoreKitTestCertificate.cerを保存する。
この時、Targetsのアプリにチェックされている事を確認してからSaveする。
手順7
これでConfiguration.storekitによる課金処理の実装は完了。
最後に、Edit Scheme... > Run > Options > StoreKit ConfigurationにConfiguration.storekitを指定すれば完了。
以上で、Configuration.storekitによる課金処理が可能となる。
補足
Configuration.storekitを選択した状態でEditorを開くと、Subscription Renewal RateやFail Transactionsなど、課金関連の処理の振る舞いを変更することが可能。
アプリを実行中に、Debug > StoreKit > Manage Transactionsからトランザクションに関する操作も可能。
最後に
課金テストがApple ID不要でシュミレーターでサクッと確認できるっていうのはとてもありがたいので積極的に使っていってもいいんじゃないかと思ったので、自分用にメモとして記事を書きました。
Discussion
このチェックをすると、App Store Connectの情報をベースに
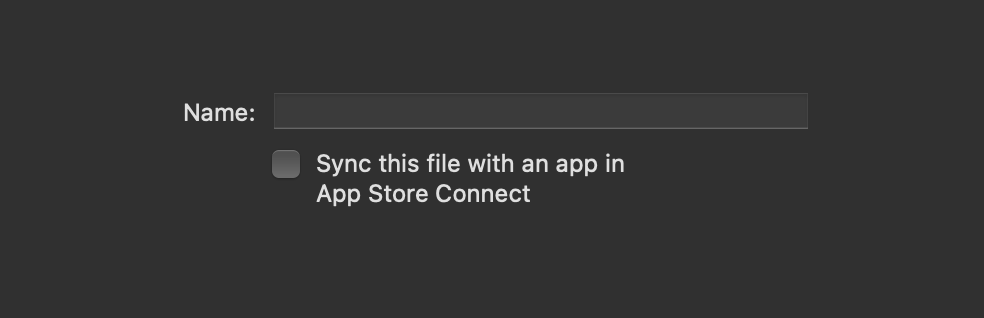
Configuration.storekitが作成されるようになっていた。すでにApp Store Connectで登録が終わっている場合は、チェックしてファイル名を決めるだけで、App Store Connectと同じConfigurationが作成可能。