(Nuxt.js) Storybook + CypressでUIテスト
はじめに
Nuxt(v2)のプロジェクトにStorybookとCypressを用いたVisual Regression Testを導入する方法をまとめました。
詳細
バージョンは下記の通りです。
| 項目 | ver |
|---|---|
| Node.js | 16.13.1 |
| Yarn | 1.22.17 |
| Nuxt.js | 2.15.8 |
| Cypress | 9.2.0 |
| cypress-image-snapshot | 4.0.1 |
| @nuxtjs/storybook | 4.2.0 |
サンプルリポジトリはこちらになります。
Nuxtプロジェクトのセットアップ
❯ yarn create nuxt-app ui-testing-sample-with-storybook-and-cypress
yarn create v1.22.17
[1/4] 🔍  Resolving packages...
[2/4] 🚚  Fetching packages...
[3/4] 🔗  Linking dependencies...
[4/4] 🔨  Building fresh packages...
success Installed "create-nuxt-app@4.0.0" with binaries:
      - create-nuxt-app
[############################################################] 343/343
create-nuxt-app v4.0.0
✨  Generating Nuxt.js project in ui-testing-sample-with-storybook-and-cypress
? Project name: ui-testing-sample-with-storybook-and-cypress
? Programming language: TypeScript
? Package manager: Yarn
? UI framework: Vuetify.js
? Nuxt.js modules:
? Linting tools: ESLint, Prettier
? Testing framework: Jest
? Rendering mode: Single Page App
? Deployment target: Static (Static/Jamstack hosting)
? Development tools: (Press <space> to select, <a> to toggle all, <i> t
o invert selection)
? Continuous integration: None
? Version control system: Git
❯ cd ui-testing-sample-with-storybook-and-cypress
Storybookのセットアップ
@nuxtjs/storybookの追加
Nuxt.js向けに用意されているStorybookを利用します。
上記リンク先のSetup手順通りに進めていきます。
❯ yarn add --dev @nuxtjs/storybook postcss@latest

# typescriptを使用している場合は下記も追加
❯ yarn add --dev ts-node
.gitignoreに追記します。
...

# storybook
.nuxt-storybook
storybook-static
nuxt.config.jsにStorybookの設定を追記します。
// nuxt.config.js
  ...,
  storybook: {
    stories: [
      '~/stories/**/*.stories.{js,ts}',
    ],
  }
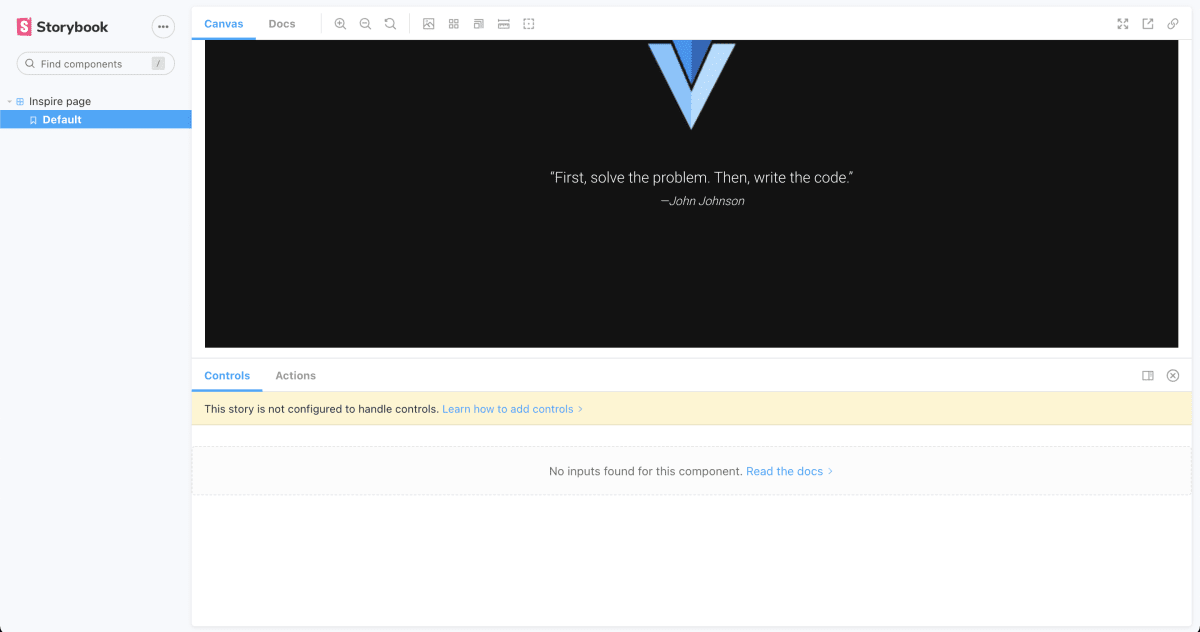
プロジェクトのルートディレクトリにstoriesディレクトリを作成し、storyを定義します。
今回はプロジェクトセットアップ時にUIフレームワークとしてVuetifyを指定したため、Vuetifyのサンプルページを表示するstoryを作成します。
// storeis/pages/inspire.storeis.js

import Inspire from '@/pages/inspire.vue'

export default {
  title: 'Inspire page',
  component: { Inspire },
}

const Template = (args, { argTypes }) => ({
  components: { Inspire },
  template: `
  <v-app>
    <v-main>
      <v-continaer>
        <Inspire />
      </v-continaer>
    </v-main>
  </v-app>
  `
})

export const Default = Template.bind({})
Storyを作成後、一度動作を確認します。
❯ yarn nuxt storybook
起動できずに下記エラーが出た場合は@nuxt/postcss8をインストールし、nuxt.config.jsのbuildModulesセクションに追記します。
ValidationError: Invalid options object. CSS Loader has been initialized using an options object that does not match the API schema.
# @nuxt/postcss8を追加
❯ yarn add --dev @nuxt/postcss8
// nuxt.config.js
export default {
  ...,
  buildModules: [
      '@nuxt/postcss8'
  ]
}
Cypressのセットアップ
Cypressを追加します。
❯ yarn add --dev cypress
npx cypress openでCypressの画面が開き、初回実行時にcypressディレクトリが作成されます。
❯ npx cypress open
It looks like this is your first time using Cypress: 9.2.0

✔  Verified Cypress! /Users/{username}/Library/Caches/Cypress/9.2.0/Cypress.app

Opening Cypress...
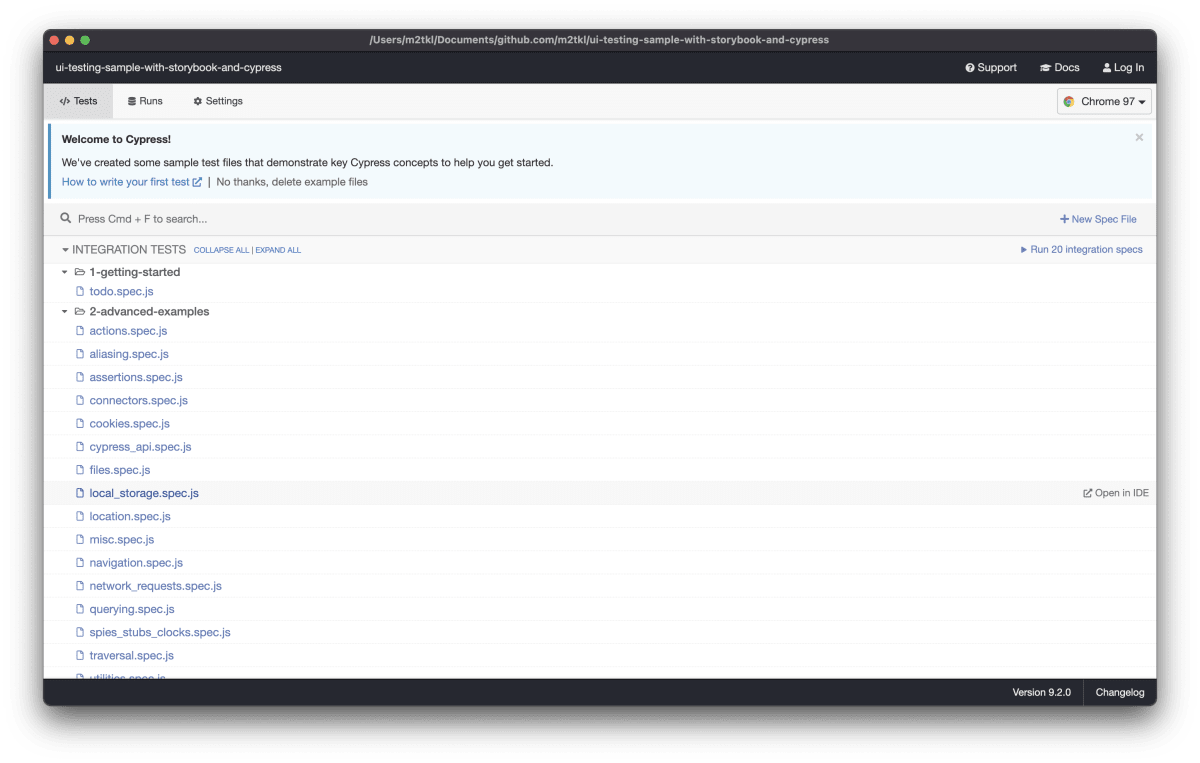
cypress/integration/の下にテストを配置します。サンプルテストが用意されていますが、不要であれば削除してOKです。
cypress-image-snapshotの追加
Snapshotテストを簡易的に扱うためのライブラリを追加します。
❯ yarn add --dev cypress-image-snapshot @types/cypress-image-snapshot
cypress/support/command.jsに設定を追記します。
// cypress/support/command.js

import { addMatchImageSnapshotCommand } from 'cypress-image-snapshot/command'

// optionについては下記を参照
// https://github.com/jaredpalmer/cypress-image-snapshot#options
addMatchImageSnapshotCommand({
  failureThreshold: 0.00,
  failureThresholdType: 'percent',
  customDiffConfig: { threshold: 0.0 },
  capture: 'fullPage',
})
続いて、cypress/plugins/index.jsに設定を追記します。
const { addMatchImageSnapshotPlugin } = require('cypress-image-snapshot/plugin')

/**
 * @type {Cypress.PluginConfig}
 */
// eslint-disable-next-line no-unused-vars
module.exports = (on, config) => {
  // `on` is used to hook into various events Cypress emits
  // `config` is the resolved Cypress config

  addMatchImageSnapshotPlugin(on, config)
}
テスト作成
cypress/integration/の下にテストを作成します。
(今回はcypress/integration/storybook/inspire-page.spec.jsというパスで作成しました。)
Storybookのiframeにアクセスし、コンポーネント描画領域をチェックするというテストになります。
describe('inspire page ui test', () => {
  context('sample test', () => {
    it('should match prev screenshot', () => {
      const url = 'http://localhost:3003/?path=/story/inspire-page--default'
      cy.visit(url)

      cy.get('#storybook-preview-iframe', { timeout: 10000 })
        .should('be.visible')
        .matchImageSnapshot()
    })
  })
})
テスト作成後、yarn nuxt storybookで事前にStorybookを立ち上げた状態で、npx cypress runを実行します
# `run`コマンドでheadlessブラウザを立ち上げてテストを実行する
❯ npx cypress run
Snapshotが存在しない場合はSnapshotが保存されます。
Snapshotが存在する場合は新規のSnapshotと比較してリグレッションしていないかどうかを検出します。
初回のSnapshot:
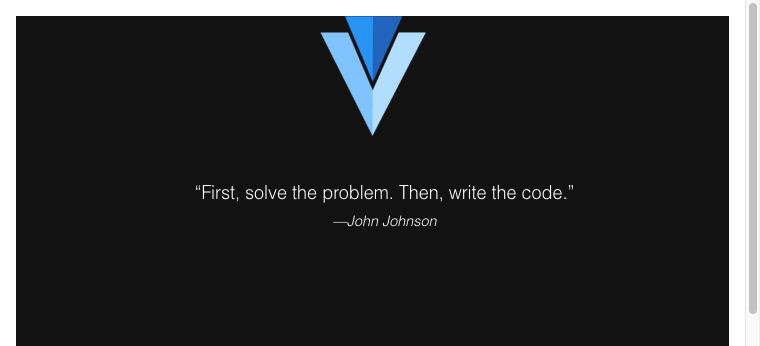
例として、"First, ..., code." というテキストの両端の"を削除してテストを実行します。
差分が検出されるとcypress/snapshots/該当テストの名前/__diff__output__に差分を示す画像が出力されます。
(画像が小さいですが、差分として"の部分が赤く示されていることが確認できます。)

以上で、Storybook + CypressによるVisual Regression Testが実現可能になりました。
応用編
Snapshotを任意のサイズで取得する
Cypressにはviewportを指定してHeadlessブラウザを起動するオプションがあり、Snapshotのサイズを指定してテストを実行できます。
しかし、Storybookと組み合わせたテストでは、Headlessブラウザ上でStorybookにアクセスし、続いてiframeにアクセスしてSnapshotを撮っている都合上、そのままではSnpashotのサイズが想定通りになりません。(Storybookが指定したサイズで起動されるだけで、Storybook内のiframeのサイズは指定できません。)
そこで、テスト実行時にStorybookをFullScreenモードで起動することで上記の問題を解決します。
@nuxtjs/storybookのManual Setup
@nuxtjs/storybookは、nuxt.config.js に記載を加えることで簡単にセットアップできますが、一方で細やかな設定の変更は難しいため、Manual Setupを行います。
下記を実行すると、.storybook/というディレクトリが作成され、.storybook/以下のファイルを変更することで設定を変更できます。
❯ yarn nuxt storybook eject
まず、.storybook/main.jsにstoryファイルのパスを追記します。
(nuxt.config.jsのstorybookの設定は削除してもOKです。)
// .storybook/main.js
  ...,
  stories: [
    // Add your stories here
    '~/stories/**/*.stories.{js,ts}',
  ],
下記コマンドで正常に表示されることを確認します。
❯ yarn nuxt storybook
続いて、.storybook/preview.jsに設定を追記します。
(この設定により、iframe枠内のpaddingを削除します。)
// .storybook/preview.js

export const parameters = {
  layout: 'fullscreen'
}
最後に、.storybook/manager.js を作成し、下記内容を記載します。
(起動時に環境変数を読み、テストの場合はFullScreen状態で起動するようにします。)
// .storybook/manager.js

import { addons } from '@storybook/addons'

// Set config to control the layout of Storybook's UI
// https://storybook.js.org/docs/react/configure/features-and-behavior

const defaultConfig = {
  isFullscreen: false,
  showNav: true,
  showPanel: true,
  panelPosition: 'bottom',
  enableShortcuts: true,
  isToolshown: true,
  theme: undefined,
  selectPanel: undefined,
  initialActive: 'sidebar',
  sidebar: {
    showRoots: false,
    collapsedRoots: ['other'],
  },
  toolbar: {
    title: { hidden: false },
    zoom: { hidden: false },
    eject: { hidden: false },
    copy: { hidden: false },
    fullscreen: { hidden: false },
  }
}

const configForUiTest = {
  ...defaultConfig,
  isFullscreen: true,
  isToolshown: false,
}

const config = process.env.STORYBOOK === 'UITEST' ? configForUiTest : defaultConfig

addons.setConfig(config)
これでStorybook側の設定は完了です。
STORYBOOK=UITEST yarn nuxt storybook と実行した場合、StorybookがFullScreen状態で起動します。
Headlessブラウザで実行する際のviewportを設定する
cypress/plugins/index.jsに設定を追記し、Headlessブラウザ起動時のviewportサイズを指定します。
// cypress/plugins/index.js

module.exports = (on, config) => {
  // `on` is used to hook into various events Cypress emits
  // `config` is the resolved Cypress config

  on('before:browser:launch', (browser = {}, launchOptions) => {
    if (!browser.isHeadless) {
      return
    }

    if (browser.name === 'electron') {
      launchOptions.preferences['width'] = 1920
      launchOptions.preferences['height'] = 1080
      launchOptions.preferences['resizable'] = false
      return launchOptions
    }

    if (browser.name === 'chrome') {
      launchOptions.args.push('--window-size=1920,1080')
      return launchOptions
    }
  })

  addMatchImageSnapshotPlugin(on, config)
}
start-server-and-test の導入
Storybookの起動からCypressによるテストまでを連続して実行するために、start-server-and-testを導入します。
❯ yarn add --dev start-server-and-test
最後にpackage.jsonにコマンドを追加します。
- Storybook起動時に環境変数を渡すことでFullScreen状態で起動します。
-
--ciオプションで起動することで、ブラウザを立ち上げずにStorybookを起動します。
  // package.json
  ...,
  "scripts": {
      "uitest": "start-server-and-test 'STORYBOOK=UITEST yarn nuxt-storybook --ci' http-get://localhost:3003 'npx cypress run'"
  },
以上で完了となります。yarn uitest で指定したサイズでSnapshotが撮れるようになります。
Discussion