ReactとGoogle Maps: クリックしたマーカーの infoWindow だけ表示させたい
🌼 はじめに
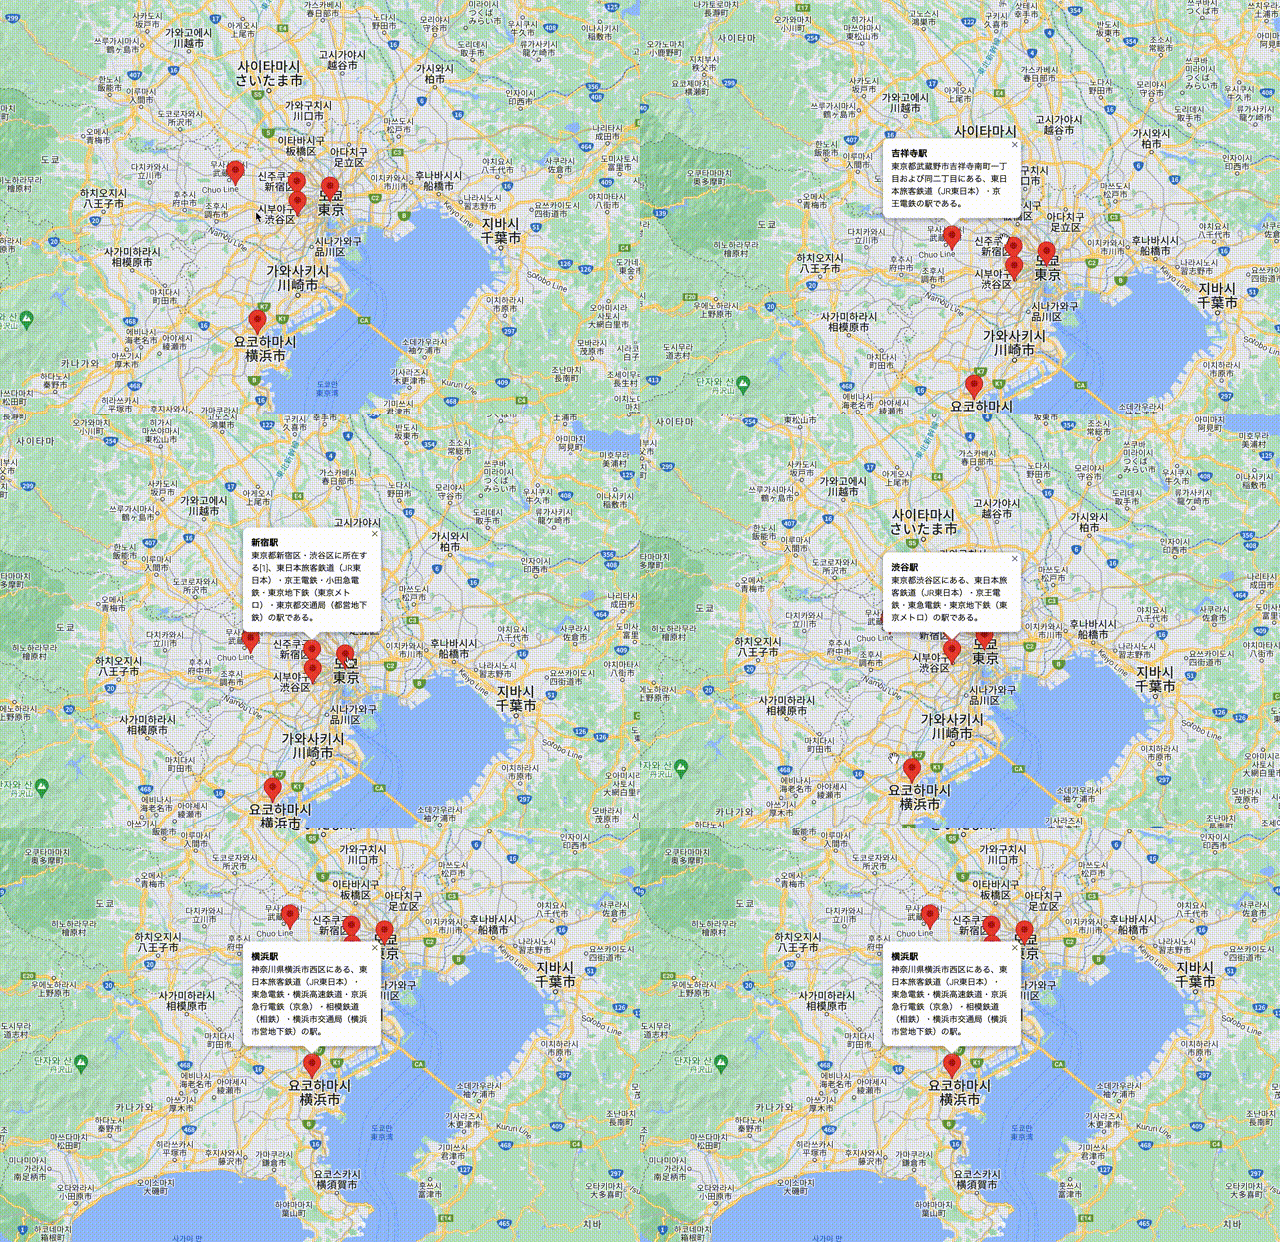
こないだ google map を使うことがあり、↓のようにクリックしたマーカーの infoWindow だけ表示させる実装をやってました。

これをどう実装するかぐぐってみると、大きく2つの方法があるようです。
- 以前の infoWindow を取っといて、新しいものを開くとき以前のものを close させる(参考)
- infoWindow を1つだけ生成し、Markerをクリックするたびに中身を変える
今回は2の方法で解決できたので、それを紹介したいと思います。ちなみにライブラリーはreact-wrapper使いました。
1. コンポーネント作成
まずは必要なコンポーネントから作成していきます。コンポーネント作成はほぼ公式ドキュメントのコピペで作成できるので、詳しい説明は割愛します。
1-1. Marker
ピンアイコンみたいなあれです。

これ
export const Marker = (options: google.maps.MarkerOptions) => {
  const [marker, setMarker] = useState<google.maps.Marker>()

  useEffect(() => {
    if (!marker) {
      setMarker(
        new google.maps.Marker({
          position: options.position,
        })
      )
    }

    // remove marker from map on unmount
    return () => {
      if (marker) {
        marker.setMap(null)
      }
    }
  }, [marker])

  useEffect(() => {
    if (marker) {
      marker.setOptions(options)
    }
  }, [marker, options])

  return null
}
今回はデフォルトのマーカーアイコンを使いますが、別のアイコンにカスタムすることもできます。(余力あったら別の記事で書きます)
1-2. Map
文字通り、グーグルマップのコンポーネントです。
type MapProps = google.maps.MapOptions & {
  children: React.ReactNode
}

export const Map = ({ center, zoom, children }: MapProps) => {
  const ref = useRef<HTMLDivElement>(null)
  const [map, setMap] = useState<google.maps.Map>()

  useEffect(() => {
    if (ref.current && !map) {
      setMap(
        new window.google.maps.Map(ref.current, {
          center,
          zoom,
        })
      )
    }
  }, [ref, map])

  return (
    <>
      <div ref={ref} className={styles.map} />
      {Children.map(children, (child) => {
        if (isValidElement(child)) {
          // set the map prop on the child component
          // @ts-ignore
          return cloneElement(child, { map })
        }
      })}
    </>
  )
}
1-3. MapWrapper
マップのラッパーコンポーネントです。ここでAPIキーが必要になるので、ない方は以下を参考に発行&設定しましょう。
stationsという配列に駅の情報が入ってるのでそれをマーカーで表示させました。マーカー表示するためには緯度経度情報は必須です。
type Station = {
  name: string
  description: string
  lat: number
  lng: number
}

type MapWrapperProps = {
  stations: Station[]
}

const CENTER = {
  lat: 35.68141044129315,
  lng: 139.767092618762,
}
const ZOOM = 10

export const MapWrapper = ({ stations }: MapWrapperProps) => {
  const apiKey = process.env.NEXT_PUBLIC_GOOGLE_MAPS_API_KEY
  if (!apiKey) return null

  return (
    <Wrapper apiKey={apiKey}>
      <Map center={CENTER} zoom={ZOOM}>
        {stations.map(({ name, description, ...position }) => (
          <Marker key={name} position={position} />
        ))}
      </Map>
    </Wrapper>
  )
}
ここまでやったらstationsの駅たちがマーカーで表示されます。もちろんクリックイベントは設定してないので、まだクリックしてもなにも起きません。

2. Markerにクリックイベント追加
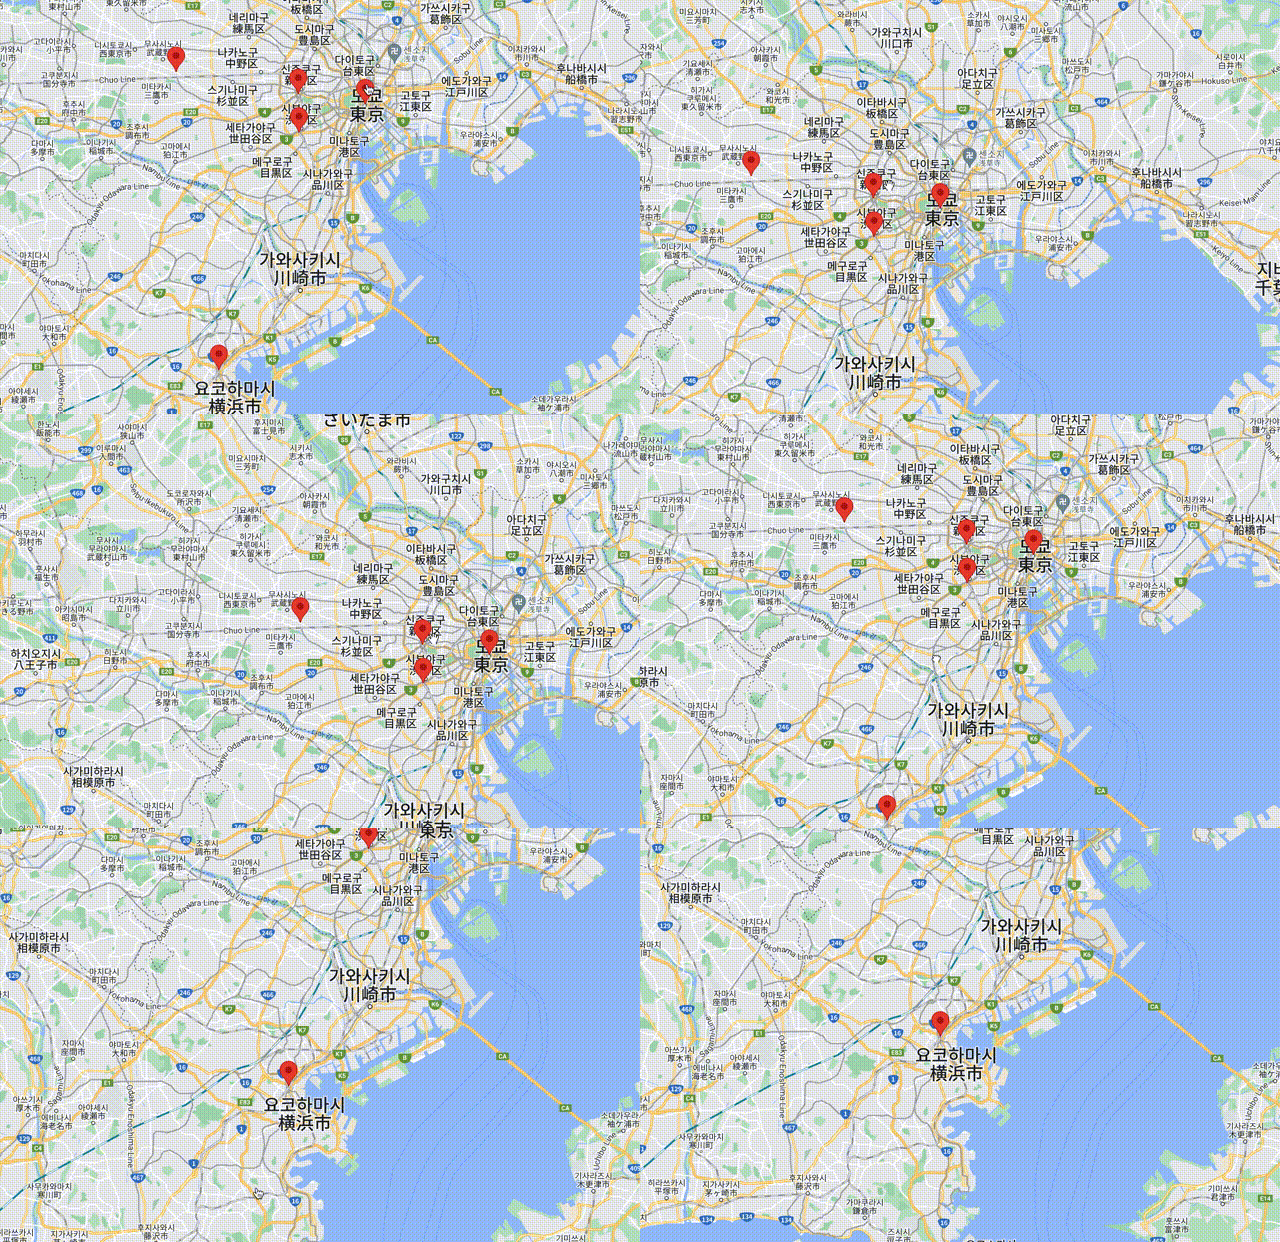
ではマーカーにクリックイベントを設定してみましょう。まずは.panTo(latLng)メソッドを使って、地図の中心をクリックしたマーカーに「スムーズに」移動させるようにしました。
export const Marker = (options: google.maps.MarkerOptions) => {
  const [marker, setMarker] = useState<google.maps.Marker>()

+  marker?.addListener('click', () => {
+    if (options.map instanceof google.maps.Map) {
+      const position = marker.getPosition()
+      if (!!position) options.map.panTo(position)
+    }
+  })

  // ...
}
-
addListenerのところがオプショナルチェインになってる理由は、markerの型がgoogle.maps.Marker | undefinedだからです(デフォルト値がundefinedなので) - タイプガードしてる理由は、
.panToメソッドがgoogle.maps.Map型にだけ存在するのにoptions.mapの型がgoogle.maps.Map | google.maps.StreetViewPanorama | null | undefinedなってるからです。今回はストリートビュー使うことないし、まあいいでしょう!
これでクリックしたら地図の中心がスムーズに動くようになりました。

3. infoWindow を表示させる
では本題です。今回のやり方は「infoWindow を1つだけ生成し、Markerをクリックするたびに中身を変える」です。
infoWindow を1つだけにするためには、Marker の親で infoWindow を生成して Marker に流す必要があります。(Marker で定義したら Marker の数分 infoWindow ができるので)
ということで、Marker の親である Map で infoWindow をuseRefで生成します。
export const Map = ({ center, zoom, children }: MapProps) => {
  const ref = useRef<HTMLDivElement>(null)
  const [map, setMap] = useState<google.maps.Map>()
+  const infoWindowRef = useRef<google.maps.InfoWindow | null>(
+    new google.maps.InfoWindow({ maxWidth: 200 })
+  )

  // ...

  return (
    <>
      <div ref={ref} className={styles.map} />
      {Children.map(children, (child) => {
        if (isValidElement(child)) {
          // set the map prop on the child component
          // @ts-ignore
-	  return cloneElement(child, { map })
+         return cloneElement(child, { map, infoWindowRef })
        }
      })}
    </>
  )
}
maxWidthオプションを使ったら最大幅を指定できます。これはどの infoWindow にも適用させたいので、生成時につけておきましょう。
Map で infoWindow を流すようにしたので、Marker も合わせて修正します。propsに infoWindow の ref と、表示するデータである station を追加しました。
+ type MarkerProps = google.maps.MarkerOptions & {
+   station: { name: string; description: string }
+   infoWindowRef?: MutableRefObject<google.maps.InfoWindow | null>
+ }

- export const Marker = (options: google.maps.MarkerOptions) => {
+ export const Marker = ({ station, infoWindowRef, ...options }: MarkerProps) => {
  const [marker, setMarker] = useState<google.maps.Marker>()
+ const infoWindowContent = `<div class="${styles.infoWindow}"><span class="${styles.name}">${station.name}</span><span class="${styles.description}">${station.description}</span></div>`

  marker?.addListener('click', () => {
    if (options.map instanceof google.maps.Map) {
      const position = marker.getPosition()
      if (!!position) options.map.panTo(position)
    }

+   if (infoWindowRef && infoWindowRef.current) {
+     infoWindowRef.current.setContent(infoWindowContent)
+     infoWindowRef.current.open({ map: options.map, anchor: marker })
+   }
  })

  // ...
}
-
infoWindowRefがオプショナルな理由は、MapWrapper で呼び出してる Marker ではinfoWindowRefを渡したくなかったからです(Mapでもう流してるから)
.setContentメソッドを使ったら infoWindow 内で表示する中身を設定できます。文字列を設定することもできますが、サンプルコードのように文字列で囲んだタグも設定できます。この場合タグにクラス名をつけることで、テキストをスタイリングできるというメリットがあります。
中身を設定したので、.openメソッドで infoWindow を開きます。メソッドの引数でオプションが指定できるので、mapとanchorを指定しました。
では最後に MapWrapper から必要な情報を流すようにしたら完成です。
export const MapWrapper = ({ stations }: MapWrapperProps) => {
  // ...

  return (
    <Wrapper apiKey={apiKey}>
      <Map center={CENTER} zoom={ZOOM}>
        {stations.map(({ name, description, ...position }) => (
-         <Marker key={name} position={position} />
+         <Marker
+           key={name}
+           position={position}
+           station={{ name, description }}
+         />
        ))}
      </Map>
    </Wrapper>
  )
}
これでマーカーをクリックしたら infoWindow が表示されるようになりました。この方法を使ったら以前の infoWindow を取っといて閉じる処理が要らなくなるので、結構スマートではないかと思います。

4. infoWindow を開いたままにしたい場合は
では逆に infoWindow を開いたままにしたい場合はどうすればいいでしょうか?
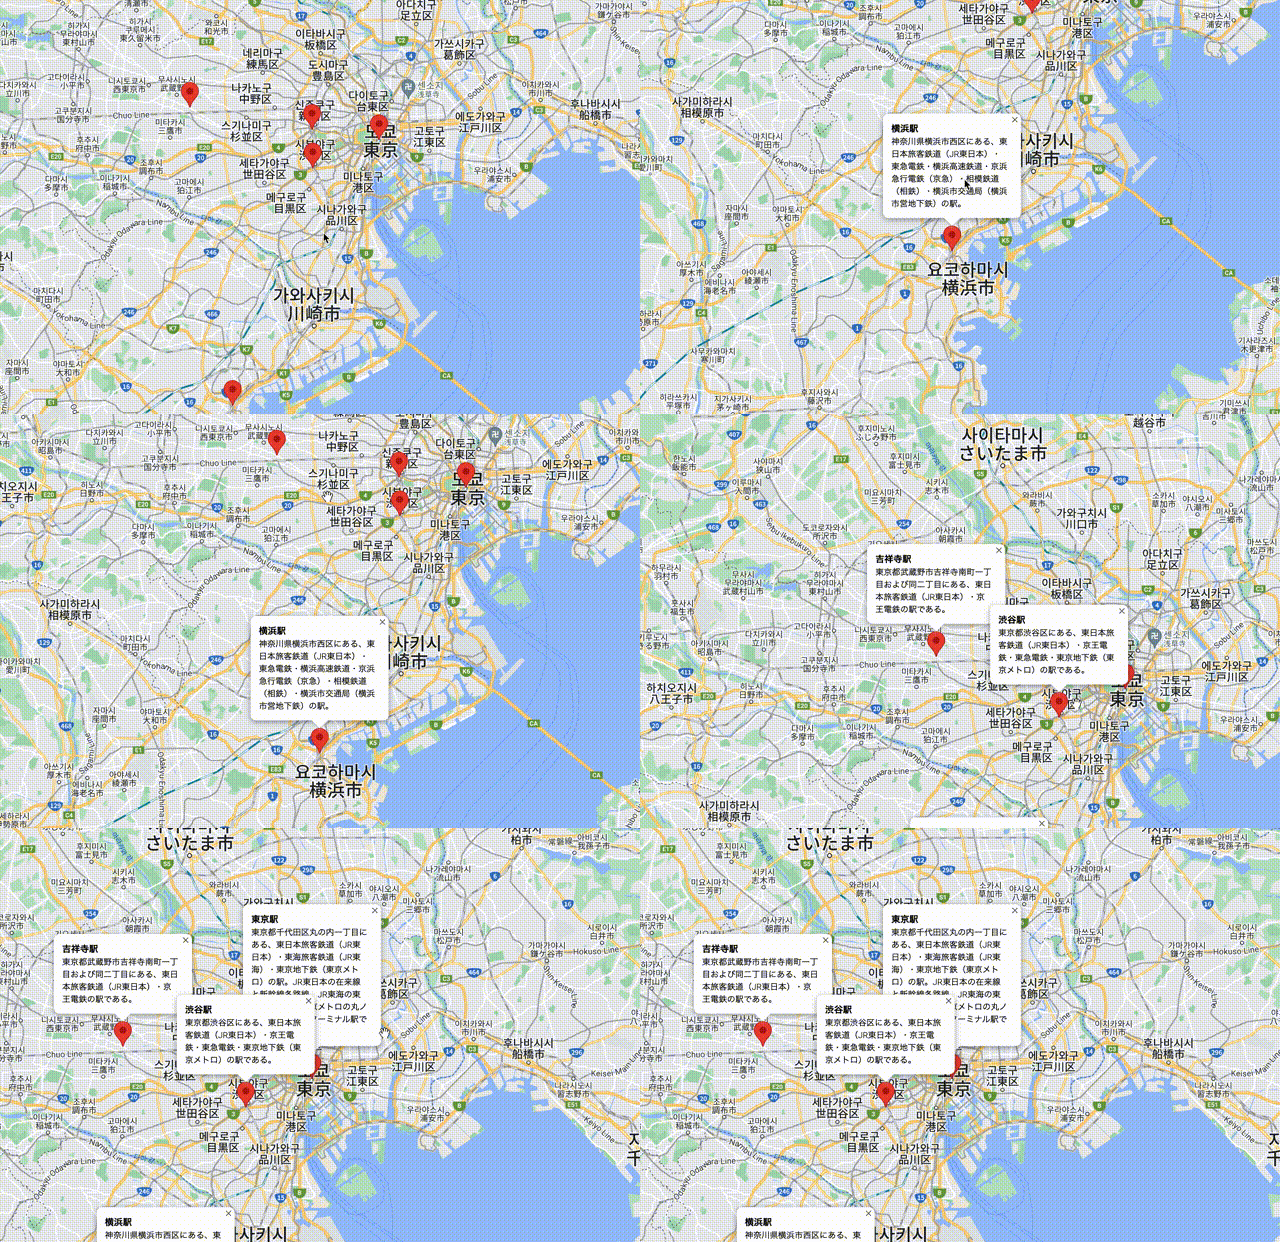
答えはとても簡単です。上でちらっと話しましたが、マーカーの数分 infoWindow を生成すればよいです。そのためには infoWindow を Marker の親で生成して流すではなく、Marker で生成する必要があります。
type MarkerProps = google.maps.MarkerOptions & {
  station: { name: string; description: string }
- infoWindowRef?: MutableRefObject<google.maps.InfoWindow | null>
}

- export const Marker = ({ station, infoWindowRef, ...options }: MarkerProps)
+ export const Marker = ({ station, ...options }: MarkerProps) => {
  const [marker, setMarker] = useState<google.maps.Marker>()
  const infoWindowContent = `<div class="${styles.infoWindow}"><span class="${styles.name}">${station.name}</span><span class="${styles.description}">${station.description}</span></div>`
+ const infoWindow = new google.maps.InfoWindow({
+   content: infoWindowContent,
+   maxWidth: 200,
+ })

  marker?.addListener('click', () => {
    if (options.map instanceof google.maps.Map) {
      const position = marker.getPosition()
      if (!!position) options.map.panTo(position)
    }

-   if (infoWindowRef && infoWindowRef.current) {
-     infoWindowRef.current.setContent(infoWindowContent)
-     infoWindowRef.current.open({ map: options.map, anchor: marker })
-   }
+   infoWindow.open({ map: options.map, anchor: marker })
  })

  // ...
}
もちろん Map から流してた infoWindowRef も削除します。
export const Map = ({ center, zoom, children }: MapProps) => {
  const ref = useRef<HTMLDivElement>(null)
  const [map, setMap] = useState<google.maps.Map>()
-  const infoWindowRef = useRef<google.maps.InfoWindow | null>(
-    new google.maps.InfoWindow({ maxWidth: 200 })
-  )

  // ...

  return (
    <>
      <div ref={ref} className={styles.map} />
      {Children.map(children, (child) => {
        if (isValidElement(child)) {
          // set the map prop on the child component
          // @ts-ignore
-         return cloneElement(child, { map, infoWindowRef })
+	  return cloneElement(child, { map })
        }
      })}
    </>
  )
}
この方法を使ったらクリックした分 infoWindowRef を開くことができます。要件に合う方で実装していきましょう。

🌷 終わり
文章でまとめたら簡単な解決案ですが、ここまでたどり着くのに結構時間かかってしまいましたね、、😇 やっぱ上手くいかないときはとりあえず寝て次の日に新鮮な頭で見ないと
Discussion