
明けましたね。今年もよろしくお願いします!
ログラスでエンジニアをしている塩谷 @shioyang です。
"Loglass Tech Blog Sprint" 20 週目の記事をお届けします!!!
今年の干支は「辰」ですね。辰は変化と成長の象徴です。
進化し続ける Web アプリ開発にとっても大きな変化と成長の年になるのではないでしょうか。
昨年 12 月 5 日、Meta Platforms, Inc. から新しい CSS-in-JS ライブラリの StyleX がオープンソースとして公開されました[1]。大規模なアプリケーション、再利用可能なコンポーネントライブラリ、静的型付けされたコードベースなどの要件を満たすように設計されています。
StyleX has been carefully designed to meet the requirements of large applications, reusable component libraries, and statically typed codebases.
一方、近年よく使用されている CSS-in-JS ライブラリのひとつである Emotion も別の特徴があります。
そこで、個人としての技術的興味から StyleX と Emotion をひとつの Next.js ウェブアプリケーション上で共存させる環境を構築してみることにしました。この試みから得られた構築手順の知見を共有します。
今回は以下のバージョンで環境構築をしています。
| Package | Version |
|---|---|
| Node.js | v18.17.1 |
| Next.js | v14.0.4 |
| @emotion/react | v11.11.3 |
| @stylexjs/stylex | v0.4.1 |
| @stylexjs/nextjs-plugin | v0.4.1 |
構築したアプリケーションのリポジトリはこちらです。
1. Next.js に Emotion をセットアップする
まず最初に create-next-app を使って Next.js アプリケーションを作成します[2]。
npx create-next-app@latest
create-next-app 実行時に聞かれる構成では、下記二点をデフォルトから変更しています。
- Tailwind CSS: No
- CSS ライブラリは Emotion を使うため
- App Router: No
- 現在のところ App Router はサポートされていないため[3]、Page Router を使う
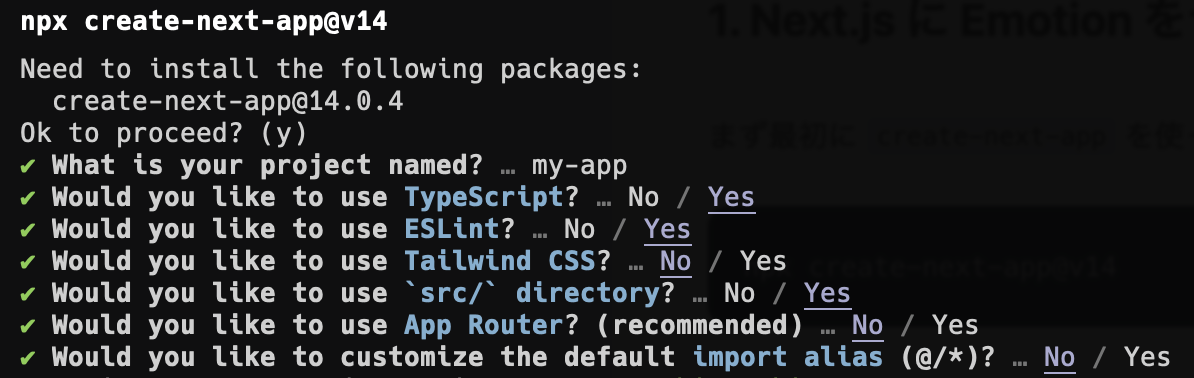
create-next-app 実行時の選択
1-1. Emotion をインストールする
次に、Next.js で Emotion が使えるようにします。
cd my-app
npm install --save @emotion/react
TypeScript で使えるように、tsconfig.json へ jsxImportSource と types の記述を追加します[4]。
@@ -12,10 +12,14 @@
     "resolveJsonModule": true,
     "isolatedModules": true,
     "jsx": "preserve",
+    "jsxImportSource": "@emotion/react",
     "incremental": true,
     "paths": {
       "@/*": ["./src/*"]
-    }
+    },
+    "types":[
+      "@emotion/react/types/css-prop",
+    ]
   },
   "include": ["next-env.d.ts", "**/*.ts", "**/*.tsx"],
   "exclude": ["node_modules"]
1-2. Emotion の動作確認をする
Emotion のセットアップは以上ですが、動作確認のためにコンポーネントを作っておきます。
mkdir src/components
/** @jsxImportSource @emotion/react */
import { css } from '@emotion/react'

const buttonStyle = {
    button: css`
      color: blue;
    `
}

const ButtonWithEmotion = () => {
    return <button css={buttonStyle.button}>Hello Emotion</button>
}

export { ButtonWithEmotion }
ButtonWithEmotion を使うように、index.tsx を書きかえます。
import { ButtonWithEmotion } from "@/components/ButtonWithEmotion";
import Head from "next/head";

export default function Home() {
  return (
    <>
      <Head>
        <title>Create Next App</title>
        <meta name="description" content="Generated by create next app" />
        <meta name="viewport" content="width=device-width, initial-scale=1" />
        <link rel="icon" href="/favicon.ico" />
      </Head>
      <main>
        <div>
          <div>
            <span>Emotion</span>
          </div>
          <div>
            <ButtonWithEmotion />
          </div>
        </div>
      </main>
    </>
  )
}
ビルドして動作を確認します。
npm run build
npm run start
http://localhost:3000/ を開くと、下図のように Emotion で記述したコンポーネントが正しく表示されました。

Emotion で記述したコンポーネントの実行結果
2. Next.js に StyleX をセットアップする
2-1. StyleX をインストールをする
いよいよ、StyleX を入れます。
npm install --save @stylexjs/stylex
Next.js で使用するためのプラグインも必要です。
npm install --save-dev @stylexjs/nextjs-plugin
.babelrc.js ファイルを作成して、presets と plugins の設定をします。
記述する内容は公式ページの記述[5]や、GitHub 上の公式サンプルの記述[6]を参照するとよいです。
module.exports = {
    presets: ['next/babel'],
    plugins: [
      [
        '@stylexjs/babel-plugin',
        {
          dev: process.env.NODE_ENV === 'development',
          runtimeInjection: false,
          genConditionalClasses: true,
          treeshakeCompensation: true,
          unstable_moduleResolution: {
            type: 'commonJS',
            rootDir: __dirname,
          },
        },
      ],
    ],
  };
next.config.js の変更も必要です。
こちらは GitHub 上の公式サンプルコードを参考にしています[7]。
/** @type {import('next').NextConfig} */
const stylexPlugin = require('@stylexjs/nextjs-plugin');
const babelrc = require('./.babelrc.js');
const plugins = babelrc.plugins;
const [_name, options] = plugins.find(
  (plugin) => Array.isArray(plugin) && plugin[0] === '@stylexjs/babel-plugin',
);
const rootDir = options.unstable_moduleResolution.rootDir ?? __dirname;

module.exports = stylexPlugin({
  rootDir,
  useCSSLayers: true,
})({
  transpilePackages: ['@stylexjs/open-props'],
});
2-2. StyleX の動作確認をする
StyleX のセットアップは以上ですが、動作確認のためコンポーネントを作成しておきます。
import stylex from "@stylexjs/stylex";

const buttonStyle = stylex.create({
  button: {
    backgroundColor: "red",
  },
});

const ButtonWithStyleX = () => {
    return <button className={stylex(buttonStyle.button)}>Hello StyleX</button>
}

export { ButtonWithStyleX }
ButtonWithStyleX を使うように、index.tsx を書きかえます。
@@ -1,4 +1,5 @@
 import { ButtonWithEmotion } from "@/components/ButtonWithEmotion";
+import { ButtonWithStyleX } from "@/components/ButtonWithStyleX";
 import Head from "next/head";

 export default function Home() {
@@ -19,6 +20,14 @@ export default function Home() {
             <ButtonWithEmotion />
           </div>
         </div>
+        <div>
+          <div>
+            <span>StyleX</span>
+          </div>
+          <div>
+            <ButtonWithStyleX />
+          </div>
+        </div>
       </main>
     </>
   )
ビルドして動作を確認します。
npm run build
npm run start
http://localhost:3000/ を開くと、下図のように StyleX で記述したコンポーネントが正しく表示されました。Emotion で記述したコンポーネントも問題なく表示されています。
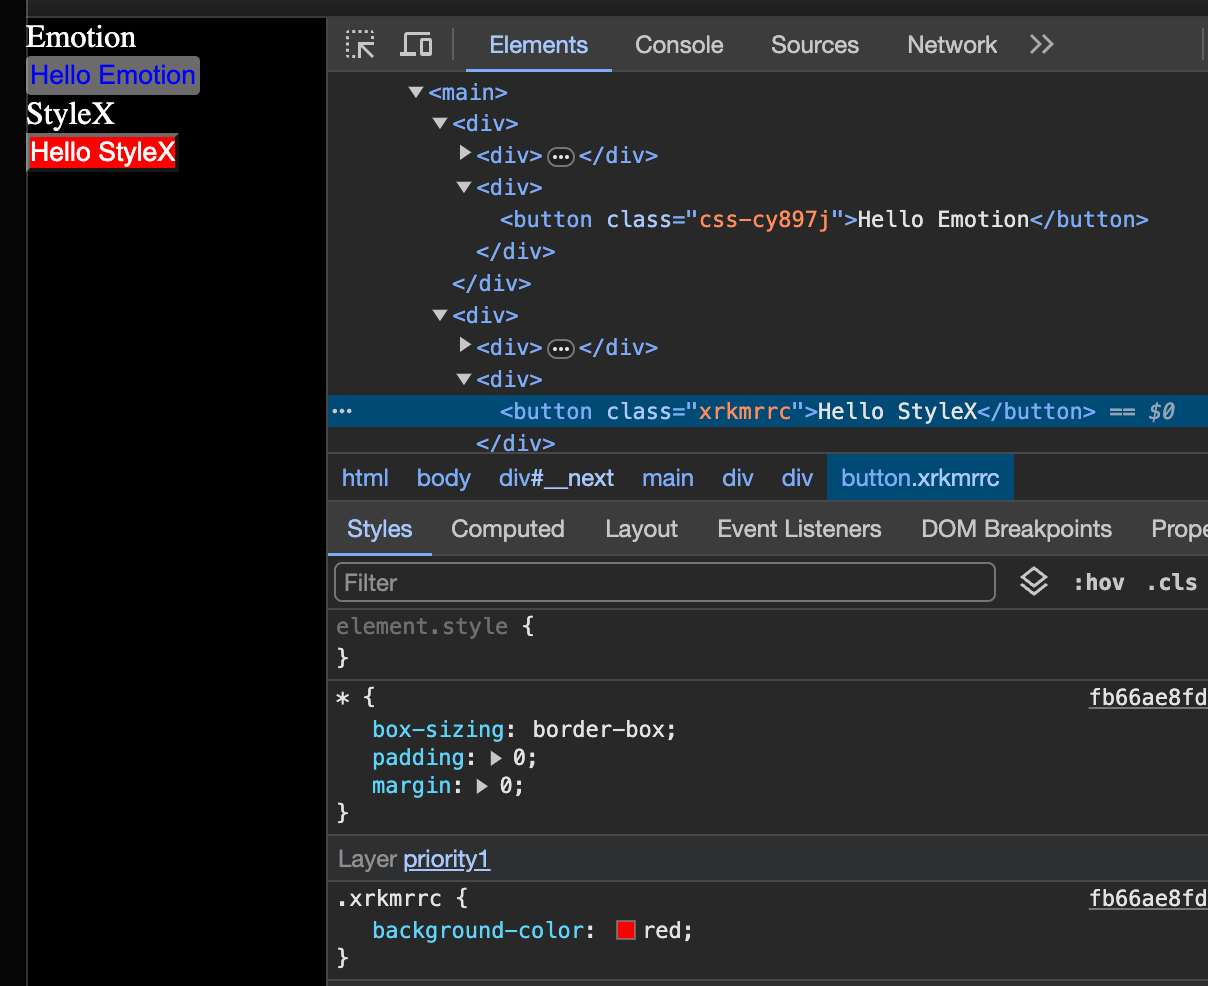
StyleX で記述したコンポーネントの実行結果
まとめ
どこかで思わぬコンフリクトが発生するのではないかと思いましたが、少なくとも今回のような単純なアプリケーションではうまく動作しました。
構築したアプリケーションのリポジトリはこちらです。
通常、ひとつのアプリケーション内では、用途に合わせて最適な CSS ライブラリを選定すべきでしょう。複数の CSS ライブラリが使用できたとしても、複雑性の増加・可読性の低下・スタイルの衝突・メンテナンスコストの増加などのデメリットが大きくなるからです。
しかし、限定的な以下の状況では共存させるメリットがあります。
- 異なる CSS ライブラリを使用したコンポーネントがあり、書きかえのコストを払えない
- 一部のコンポーネントでは CSS ライブラリごとの特長を最大限に活かしたい
- 一方の CSS ライブラリから他方へ段階的に移行したい
この記事が皆さんの開発に少しでも役立つことを願っています。もし何か質問やコメントがあれば、ぜひ聞かせてください。また、他の面白い技術の組み合わせなどもシェアしていただけると嬉しいです。
2024 年も挑戦と成長に満ちた良い年にしていきましょう!!!

Discussion