概要
Better Svelte Emailは、HTMLメールに最適化されたコードをSvelteで記述できるライブラリです。
React Emailをご存知の方であれば、そのSvelte版だと考えるとイメージしやすいでしょう。

公式サンプルのキャプチャ。こうしたリッチなメールが作成可能です。
本記事で紹介するソースコード
なお、この記事はSvelte Advent Calendar 2025の10日目の記事です。
準備
- Svelte環境を初期化します。Tailwind CSSも併せて追加してください。
npx sv create honyarara

# What would you like to add to your project?
▫️ tailwindcss # Spaceキーで選択して続行
-
better-svelte-emailを追加します。
pnpm add better-svelte-email
プレビュー環境の構築
続いて、メールコンポーネントの作成と、それを確認するためのプレビュー環境を用意します。
以下の3つのファイルを作成してください。
src/routes/email-preview/[...email]/+page.svelte
<script lang="ts">
	import { EmailPreview } from 'better-svelte-email/preview';
	import { page } from '$app/state';
</script>

<EmailPreview {page} />
src/routes/email-preview/[...email]/+page.server.ts
import { emailList, createEmail } from 'better-svelte-email/preview';

export function load() {
	const emails = emailList({
		path: '/src/lib/emails'
	});

	return { emails };
}

export const actions = {
	...createEmail()
};
src/lib/emails/Minimum.svelte
<script lang="ts">
	import {
		Html,
		Head,
		Body,
		Preview,
		Container,
		Section,
		Row,
		Column,
		Heading,
		Text,
		Link,
		Button,
		Img,
		Hr
	} from 'better-svelte-email';

	interface Props {
		name?: string;
	}

	let { name = 'ゲスト' }: Props = $props();

	const previewText = $derived(`${name}さん、チュートリアル用の最小メールです`);
</script>

<Html lang="ja">
	<Head />

	<Body class="bg-[#f7f7f7] font-sans">
		<Preview preview={previewText} />

		<Container class="max-w-[480px] mx-auto my-5 bg-white p-5 rounded">

			<Section class="text-center">
				<Img
					src="https://placehold.jp/40x40.png?text=Logo"
					width="40"
					height="40"
					alt="ロゴ"
					class="mx-auto"
				/>
			</Section>

			<Section>
				<Heading
					as="h1"
					class="text-xl text-center mt-6 mb-0 font-semibold text-slate-900"
				>
					こんにちは、{name} さん 👋
				</Heading>
			</Section>

			<Section>
				<Text class="text-[14px] leading-6 text-gray-700 mt-3">
					このメールは <strong>better-svelte-email</strong> の各コンポーネントを使った、
					最小チュートリアル用テンプレートです。
				</Text>
			</Section>

			<Section class="mt-4">
				<Row>
					<Column align="left">
						<Text class="text-xs text-gray-600">左カラム</Text>
					</Column>
					<Column align="right">
						<Text class="text-xs text-gray-600">右カラム</Text>
					</Column>
				</Row>
			</Section>

			<Section class="mt-6 text-center">
				<Button
					href="https://example.com"
					pX={16}
					pY={10}
					class="bg-black text-white text-[14px] rounded no-underline inline-block"
				>
					例のページを開く
				</Button>
			</Section>

			<Section class="mt-3">
				<Text class="text-xs text-center text-gray-600">
					ボタンが押せない場合:
					<Link href="https://example.com" class="text-blue-600 no-underline">
						https://example.com
					</Link>
				</Text>
			</Section>

			<Hr class="my-6 border border-gray-200" />

			<Section>
				<Text class="text-xs text-gray-500 text-center">
					このメールはチュートリアル目的で送信されています。
				</Text>
			</Section>
		</Container>
	</Body>
</Html>
開発サーバーを立ち上げ(pnpm dev)、http://localhost:5173/email-previewへアクセスします。
左サイドバーからMinimumを選択し、正常に表示されれば完了です。
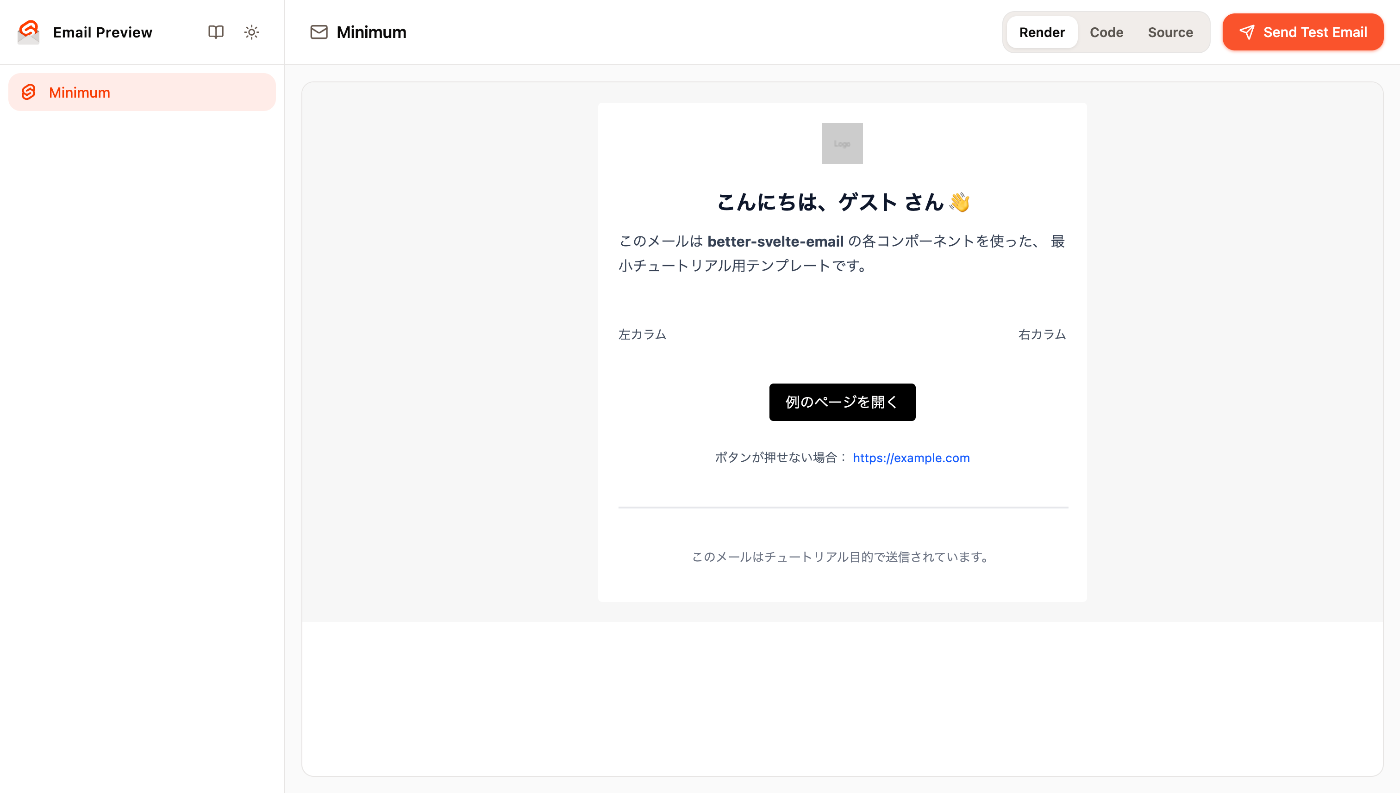
実際の表示画面
各コンポーネントの解説
better-svelte-emailには、以下のコンポーネントが含まれています。
Html, Head, Body, Preview, Container, Section, Row, Column, Heading, Text, Button, Link, Img, Hr
公式ドキュメントをベースに、主要な機能を紹介します。
基本構造
Htmlコンポーネントをルートとし、その中にHeadとBodyを配置します。必要に応じてPreview(プレビューテキスト)も配置可能です。
- Html: 全体のラッパー(
lang属性などを指定)。 - Head: メタタグやスタイル定義用。
- Body: メール本文のコンテンツ領域。
- Preview: 受信トレイの一覧で表示されるテキスト(最大150文字)。
レイアウト
Bodyコンポーネントの内部でレイアウト用のコンポーネントで構造を整えます。
- Container: コンテンツ全体の幅を調整(最大幅 37.5em のデフォルトスタイル付き)。
- Section: コンテンツをまとめるラッパー。
- Column: テーブルセル内にコンテンツを配置。
- Row: Columnを水平方向に配置。
テキスト・装飾
コンテンツを構成するコンポーネント群です。
- Heading:
h1〜h6を指定可能。mx,myプロパティでマージン調整が容易です。 - Text: 通常のテキスト(デフォルトは
pタグ)。 - Button:
hrefに加え、pX/pYプロパティでパディング調整が可能。 - Link:
href必須のリンクコンポーネント。 - Img: 画像。
src,altに加え、widthとheightの指定が推奨されます。 - Hr: 区切り線。
各プロパティの詳細は、公式ドキュメントを参照してください。
テストメールの送信
作成したプレビューページから、直接メールのテスト送信が行えます。
事前設定
メールプロバイダーとしてResendを使うか、それ以外かで設定手順が異なります。
Resendを使う場合
Resendでアカウント登録し、発行されたAPIキーを環境変数 RESEND_API_KEY に設定してください。
その後、ファイルを以下のように修正します。
- import { emailList, createEmail } from 'better-svelte-email/preview';
+ import { emailList, createEmail, sendEmail } from 'better-svelte-email/preview';
+ import { env } from '$env/dynamic/private';

...

export const actions = {
	...createEmail(),
+	...sendEmail({ resendApiKey: env.RESEND_API_KEY })
};
その他のメールプロバイダーを使う場合
to, subject, htmlを引数で受け取り、送信結果として {success: true} または {success: false, error: エラー内容} を返すカスタム関数を定義します。
nodemailerを使う例
import { env } from '$env/dynamic/private';
import nodemailer from 'nodemailer';
import { emailList, createEmail, sendEmail } from 'better-svelte-email/preview';

const smtpPort = Number(env.SMTP_PORT) || 587;
const smtpSecure = env.SMTP_SECURE?.toLowerCase() === 'true' || smtpPort === 465;

type EmailPayload = {
	from: string;
	to: string;
	subject: string;
	html: string;
};

const transporter = env.SMTP_HOST
	? nodemailer.createTransport({
			host: env.SMTP_HOST,
			port: smtpPort,
			secure: smtpSecure,
			auth:
				env.SMTP_USER && env.SMTP_PASSWORD
					? { user: env.SMTP_USER, pass: env.SMTP_PASSWORD }
					: undefined
		})
	: null;

const customSendEmailFunction = async ({ to, subject, html }: EmailPayload) => {
	if (!transporter) {
		return {
			success: false,
			error: {
				message:
					'SMTP transport is not configured. Please set SMTP_HOST, SMTP_PORT, SMTP_USER, and SMTP_PASSWORD.'
			}
		};
	}

	try {
		const info = await transporter.sendMail({
			from: env.SMTP_FROM,
			to,
			subject,
			html
		});

		console.log('SMTP message sent', info.messageId);
		return { success: true, error: null };
	} catch (error) {
		console.error('Error sending email via SMTP:', error);
		return { success: false, error };
	}
};

export function load() {
	const emails = emailList({
		path: '/src/lib/emails'
	});

	return { emails };
}

export const actions = {
	...createEmail(),
	...sendEmail({ customSendEmailFunction })
};
送信する
プレビューページ右上の「Send Test Email」から送信できます。
プロダクション環境でのメール送信
実際のアプリケーションに組み込んでメール配信を行う際は、大きく以下の2ステップとなります。
1. メールをHTMLへレンダリング
better-svelte-email/renderに含まれるRendererを使用して、メールコンポーネントをHTML文字列へ変換します。
import Renderer, { toPlainText } from 'better-svelte-email/render';

const renderer = new Renderer();
const html = await renderer.render(Minimum, {
    // メールコンポーネントに渡すpropsはここで指定
    props: { name }
});

// HTMLを表示できない環境向けの、メールのプレーンテキスト
const text = toPlainText(html);
※その他のオプションについては公式ドキュメントを参照してください。
2. メールプロバイダ経由で配信
レンダリングされたHTMLやテキストを、任意のメールプロバイダを利用して配信します。
一般的にはAWS SESやSendgridなどを利用してSMTPサーバーを用意し、nodemailer経由でリクエストを送信する構成が多いでしょう。
(ちなみに、弊社LiquitousではAzure Communication Servicesを利用しています。)
実装サンプル
SvelteKit Form actionsで受け取り、nodemailerを使って送信する例
import Renderer, { toPlainText } from 'better-svelte-email/render';
import nodemailer from 'nodemailer';
import { env } from '$env/dynamic/private';
import Minimum from '$lib/emails/Minimum.svelte';
import { fail } from '@sveltejs/kit';

const smtpPort = Number(env.SMTP_PORT) || 587;
const smtpSecure = env.SMTP_SECURE?.toLowerCase() === 'true' || smtpPort === 465;

const transporter = env.SMTP_HOST
	? nodemailer.createTransport({
			host: env.SMTP_HOST,
			port: smtpPort,
			secure: smtpSecure,
			auth:
				env.SMTP_USER && env.SMTP_PASSWORD
					? { user: env.SMTP_USER, pass: env.SMTP_PASSWORD }
					: undefined
		})
	: null;

export const actions = {
	default: async ({ request }) => {
		if (!transporter) {
			return fail(
				500,
				'SMTP transport is not configured. Please set SMTP_HOST, SMTP_PORT, SMTP_USER, and SMTP_PASSWORD.'
			);
		}
		const formData = await request.formData();
		const to = formData.get('to') as string;
		const subject = formData.get('subject') as string;
		const name = formData.get('name') as string;

		const renderer = new Renderer();
		const html = await renderer.render(Minimum, {
			props: { name }
		});
		const text = toPlainText(html);

		try {
			const info = await transporter.sendMail({
				from: env.SMTP_FROM,
				to,
				subject,
				text,
				html
			});

			console.log('SMTP message sent', info.messageId);
			return { success: true };
		} catch (error) {
			console.error('Error sending email via SMTP:', error);
			return fail(500, 'Error sending email.');
		}
	}
};
おわりに
以上、Better Svelte Emailを使用したメール作成のフローを紹介しました。
レガシーになりがちなメール開発ですが、Svelte × Tailwind CSSというモダンな環境での開発をぜひ試してみてください。
最後に再掲になりますが、本記事はSvelte Advent Calendar 2025の10日目の記事でした。他の記事もぜひご覧ください!

Discussion