アニメーションを再生した後に画面遷移する方法


この記事でやること
添付動画のような画面遷移の実装方法を解説します.
動画上に現れる数字は以下の数字と一致します.
下記のながれに沿って記事の内容を展開していきます.
1. ボタンを押してアニメーションスタート
2. 動画再生の土台となるshowGeneralDialogを召喚
3. 動画再生 → 動画の再生Completeの状態を取得しCallBack呼び出し
4. 画面遷移アニメーションスタート
2番と3番でそれぞれアニメーションをスタートさせている通り、今回の例では動画のアニメーション → 画面遷移中のアニメーションの流れでアニメーションが二段階で展開される.
実装方法
1. ボタンを押してアニメーションスタート
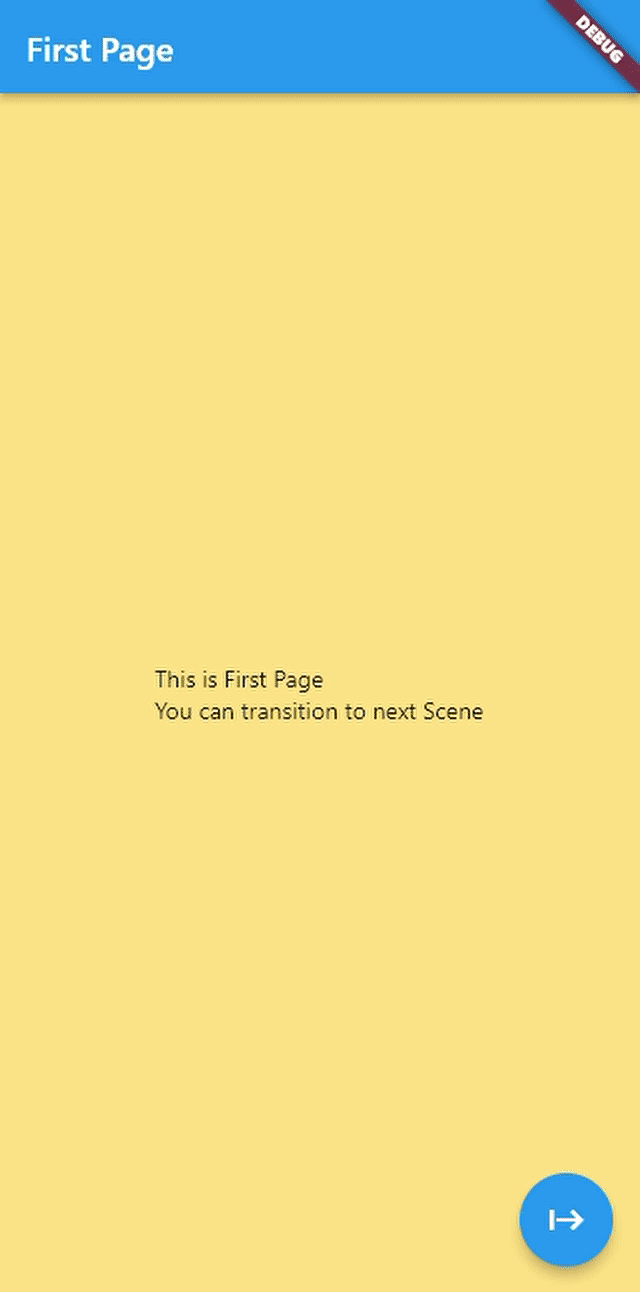
初期画面(FirstPage)に配置しているFloatingActionButtonよりアニメーションをスタートさせる.
以下で呼び出しているscreenTransitionAnimationにより画面遷移前の動画を再生する.このアニメーションについては2、3の章を参照してください.そして、このアニメーションの終了が完了した後、画面遷移が始まる.画面遷移中もFadeInの容量でアニメーションが再生されるが、このアニメーションの詳細については4章にて説明する.
class FirstPage extends StatefulWidget {
const FirstPage({Key? key, required this.title}) : super(key: key);
State<FirstPage> createState() => _FirstPageState();
}
class _FirstPageState extends State<FirstPage> {
Widget build(BuildContext context) {
// アニメーション開始ボタンを押した時に呼び出される関数
void _onPressedFunction() {
// 画面遷移前に再生させるアニメーション(2〜3章に関連)
screenTransitionAnimation(context, () {
// 画面遷移(4章に関連)
Navigator.of(context).push(_createRoute());
});
}
return Scaffold(
...//割愛
floatingActionButton: FloatingActionButton(
onPressed: _onPressedFunction,
... //割愛
),
);
}
}
2. 動画再生の土台となるshowGeneralDialogを召喚
今回の例では、画面遷移が始まる前に再生されるアニメーションは画面いっぱいにそのアニメーションを展開することを前提としている.この場合アニメーションが再生されている間は画面タッチ等に要入力を受けたくないためshowGeneralDialogを土台にしてアニメーションを再生する.
void screenTransitionAnimation(BuildContext context, Function screenTransFunc) {
  // アニメーションの土台となるDialogを表示
  showGeneralDialog(
    context: context,
    barrierDismissible: false,    // 入力を受け付けない設定
    barrierLabel: MaterialLocalizations.of(context).modalBarrierDismissLabel,
    pageBuilder: (context, animation, secondAnimation) {
      return Center(
        child: _LottieAnimation(onAinimCompleted: () {
	    // アニメーションを再生する(後述)
          screenTransFunc();
        }),
      );
    },
  );
}
3. 動画再生 → 動画の再生Completeの状態を取得しCallBack呼び出し
アニメーションはLottieのライブラリを活用して実装します.
まず、アニメーションの再生をするWidgetをStateFulWidgetで定義します.
そして、再生するアニメーションはAnimationControllerで制御します. このAnimationControllerでアニメーションの再生状況(順再生・逆再生・再生完了等)を取得することができますが、これを取得するにはフレーム更新ごとにsetStateでAnimationControllerにアクセスして確認する必要があるため、StatefulWidgetで定義する必要があります.
実際に実装した内容が以下の通り
class _LottieAnimation extends StatefulWidget {
const _LottieAnimation({Key? key, required this.onAinimCompleted})
: super(key: key);
// Lottieで再生されたアニメーションが終了した時に呼び出される関数
final Function onAinimCompleted;
State<_LottieAnimation> createState() => _LottieAnimationState();
}
class _LottieAnimationState extends State<_LottieAnimation>
with TickerProviderStateMixin {
late final AnimationController _controller;
void initState() {
super.initState();
_controller = AnimationController(vsync: this)
..value = 0 // valueは再生位置を[0:1]で正規化.この行で初期再生位置を0にする.
// アニメーションの再生状況を監視するリスナの登録
..addListener(() {
// デバッグ用に参照する`_controller.value`の値を更新するために必要.消してもOK
setState(() {});
})
// アニメーションの再生状況を監視.Completeになった時にInvokeする.
..addStatusListener((status) {
print(status);
if (status == AnimationStatus.completed) {
widget.onAinimCompleted();
}
});
}
// super.dispose()の前に`_controller`をdispose()しなければいけない.
void dispose() {
_controller.dispose();
super.dispose();
}
Widget build(BuildContext context) {
return Center(
child: Column(children: <Widget>[
Lottie.asset(
// 再生したいアニメーションを定義
'assets/LottieLogo1.json',
controller: _controller,
onLoaded: (composition) {
setState(() {
_controller.duration = composition.duration;
});
// ロード完了後にアニメーションを再生
_controller.forward();
},
),
// アニメーションの再生位置を表示させるデバッグ用のテキスト
Text(_controller.value.toStringAsFixed(2)),
]),
);
}
}
4. 画面遷移スタート
2番のアニメーション終了した後は、前の画面から次の画面に遷移する際にFadeInの容量で画面を遷移させる.
画面遷移のアニメーションは、2番のようなイラストのアニメーションではなく、Widgetの動きを操作するアニメーションとなり、この場合はTweenを活用してコーディングでアニメーションを定義する必要がある.
画面遷移でアニメーションを行う際はPageRouteBuilderなるものを活用して定義する必要があり、今回の例であれば以下のような形でRoute型の返すような関数を定義する[^1].
Route _createRoute() {
  return PageRouteBuilder(
      // 画面遷移アニメーションの長さをここで指定
      transitionDuration: const Duration(seconds: 1),
      // 遷移先の画面を指定
      pageBuilder: ((context, animation, secondaryAnimation) =>
          const SecondPage(title: 'Second Page')),
            // tweenを使って遷移アニメーションを定義
      transitionsBuilder: (context, animation, secondaryAnimation, child) {
          // 今回の場合は不透明度をリニアの容量で変化させたアニメーションを定義
        var tween =
            Tween(begin: 0.0, end: 1.0).chain(CurveTween(curve: Curves.linear));
            // FadeInのアニメーションを実装したいため`FadeTransition`を活用
        return FadeTransition(
          opacity: animation.drive(tween),
          child: child,
        );
      });
}
まとめ
ここで紹介したスクリプトは以下のリポジトリよりCloneできます.ぜひご活用ください.
Discussion