🔖
Zenn Editorとの出会い
Zennへの編集、投稿をVS CODEでできないか??と、今までなぜ思わなかったのか。。。
この出会いに感謝します。
ということで、普段Zennへの執筆はZennのWeb画面から行なっていますが、VS CODE経由で編集投稿ができるそうなので、環境構築したいと思います。
GitHubリポジトリの作成
まずはZennの記事を管理するリポジトリを作成します。
私はZennというリポジトリを作成しました。

GitHubとZennの連携
こちらから連携設定を行います。
リポジトリを連携するをクリックします

GitHubに遷移しますで「連携へ進む」をクリックします

「Only select repositories」にチェックを入れ、対象のリポジトリを選択します
「Install & Authorizw」をクリックします

Zenn CLIのインストール
% curl -L git.io/nodebrew | perl - setup
環境変数にPATHを登録
export PATH="/usr/local/bin:/$HOME/.nodebrew/current/bin:$PATH"
% touch .zshrc
% vim .zshrc
環境変数の再読み込み
% source ~/.zshrc
nodebrewのバージョン確認
バージョンが1.0.1ならOK
% nodebrew help
nodebrew 1.0.1

Usage:
    nodebrew help                         Show this message
    nodebrew install <version>            Download and install <version> (from binary)
    nodebrew compile <version>            Download and install <version> (from source)
    nodebrew install-binary <version>     Alias of `install` (For backword compatibility)
    nodebrew uninstall <version>          Uninstall <version>
    nodebrew use <version>                Use <version>
    nodebrew list                         List installed versions
    nodebrew ls                           Alias for `list`
    nodebrew ls-remote                    List remote versions
    nodebrew ls-all                       List remote and installed versions
    nodebrew alias <key> <value>          Set alias
    nodebrew unalias <key>                Remove alias
    nodebrew clean <version> | all        Remove source file
    nodebrew selfupdate                   Update nodebrew
    nodebrew migrate-package <version>    Install global NPM packages contained in <version> to current version
    nodebrew exec <version> -- <command>  Execute <command> using specified <version>

Example:
    # install
    nodebrew install v8.9.4

    # use a specific version number
    nodebrew use v8.9.4
% nodebrew install stable
% nodebrew install stable
Fetching: https://nodejs.org/dist/v18.12.1/node-v18.12.1-darwin-x64.tar.gz
############################################################################################################################################ 100.0%
Installed successfully
% nodebrew use v18.12.1
use v18.12.1
% node -v
v18.12.1
% npm -v
8.19.2
% git clone https://github.com/kyamisama/Zenn.git
cd Zenn
npm init --yes
npm install zenn-cli
% npx zenn init
Generating README.md skipped.

  🎉  Done!
  早速コンテンツを作成しましょう

  👇  新しい記事を作成する
  $ zenn new:article

  👇  新しい本を作成する
  $ zenn new:book

  👇  投稿をプレビューする
  $ zenn preview
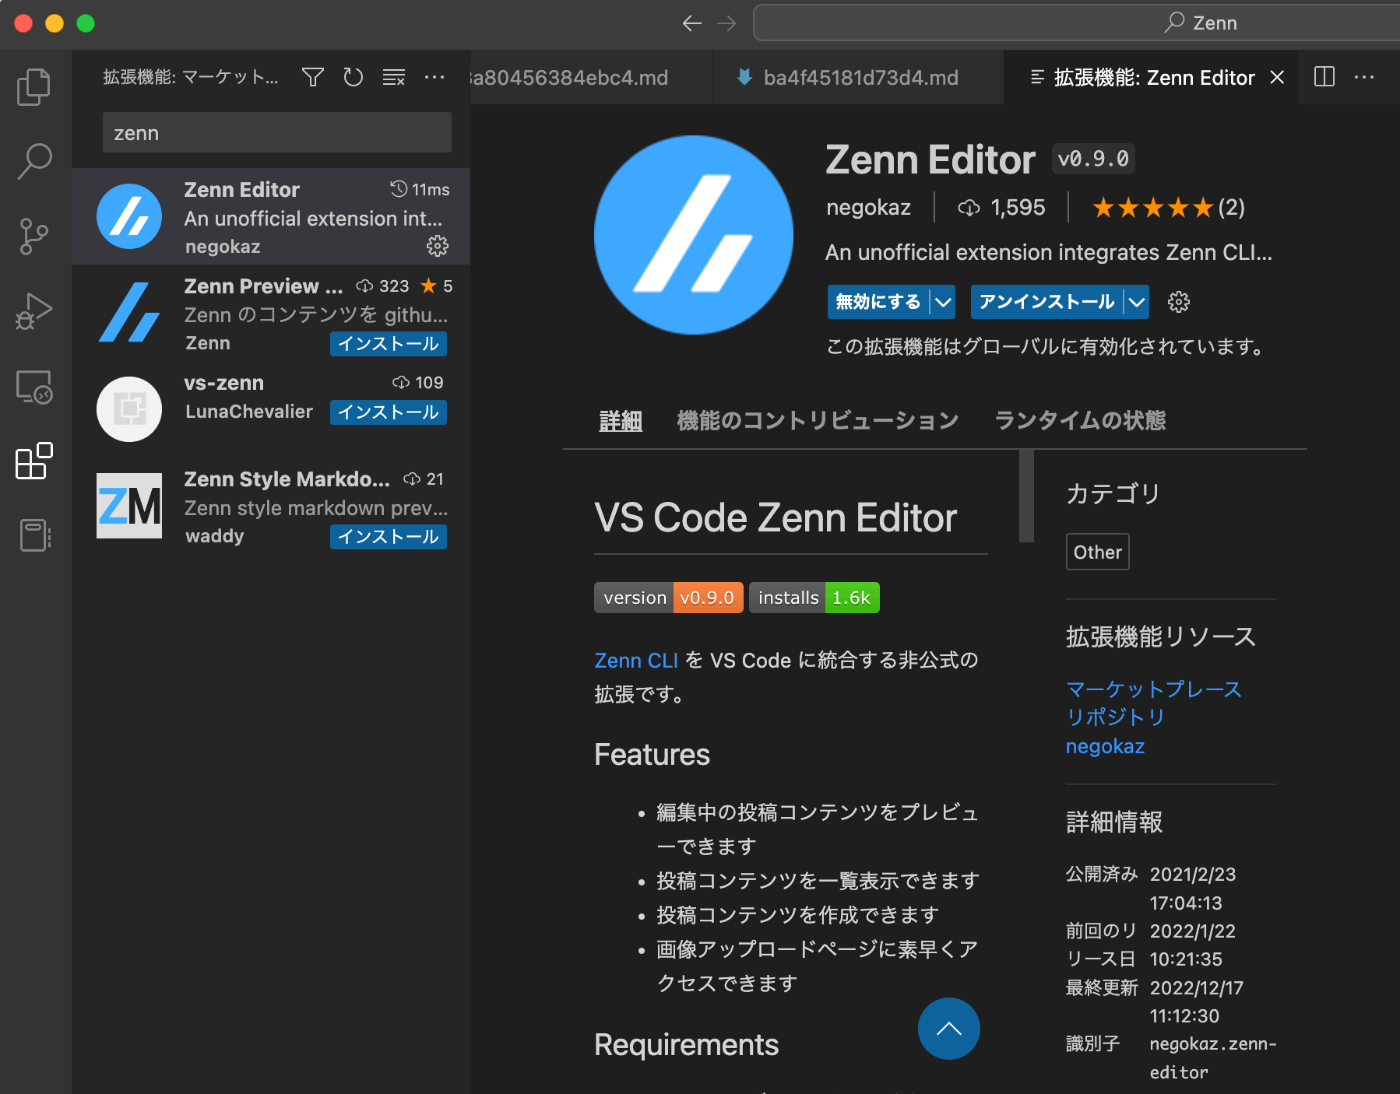
vscode拡張機能の「zenn editor」をインストールします

リポジトリをローカルPCにクローンします
% git clone https://github.com/xxxxxx/Zenn.git
vscodeでリポジトリディレクトリを開きます
作業画面としてま以下の様な感じです。
画面右にはプレビューも行えます。

git pushしZennに記事をアップロードする
% git push
Enumerating objects: 6, done.
Counting objects: 100% (6/6), done.
Delta compression using up to 6 threads
Compressing objects: 100% (4/4), done.
Writing objects: 100% (4/4), 515 bytes | 515.00 KiB/s, done.
Total 4 (delta 2), reused 0 (delta 0)
remote: Resolving deltas: 100% (2/2), completed with 2 local objects.
To https://github.com/xxxxxx/Zenn.git
   1060a43..341a6f8  main -> main
Zennの管理画面に表示されました。

Zenn CLIを使って記事を公開してみる
こちらの記事で実際に公開してみました。


Discussion