Storybook for React tutorial をやる
- Storybookを学ぶために2024年10月1日時点でのReactでのチュートリアルをやる
- 業務でReact使ってるしReact以外のFWわからないのでReactでやる
- 日本語版も提供されているが「Get started」の時点で英語版と違いがあり動かないコマンドが記載されていたので注意が必要
Get started
Set up React Storybook
最初のコマンドは以下のように記載されている。なぜかyarnがインストールされている前提になっており、yarnがインストールされてないと当然失敗する。各々インストールが必要なはず。
# Clone the template
npx degit chromaui/intro-storybook-react-template taskbox

cd taskbox

# Install dependencies
yarn
ちなみに自分はVoltaユーザーなので以下のようにyarnをインストールした。
volta install yarn
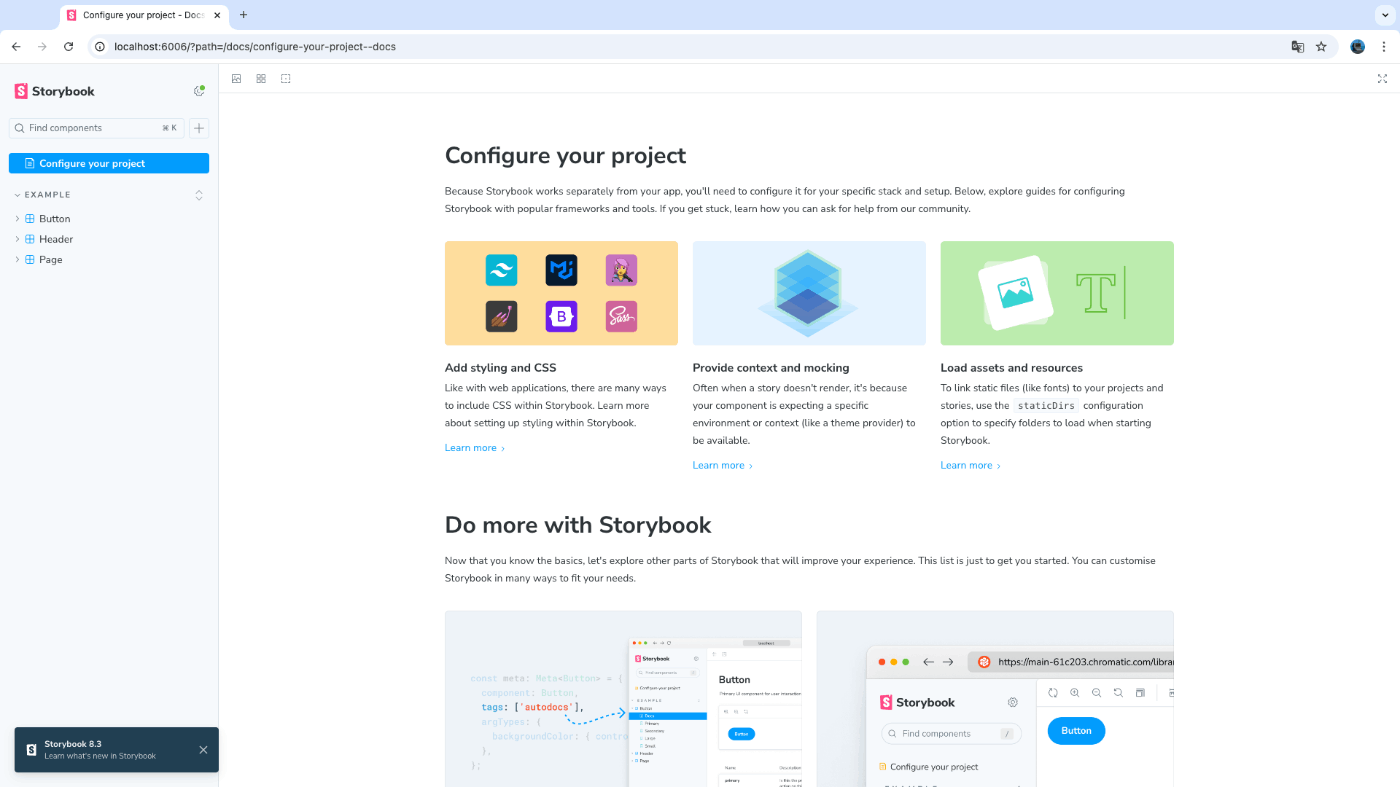
次に、コマンドを実行してアプリが動くか確認。以下の画面が確認できる想定。
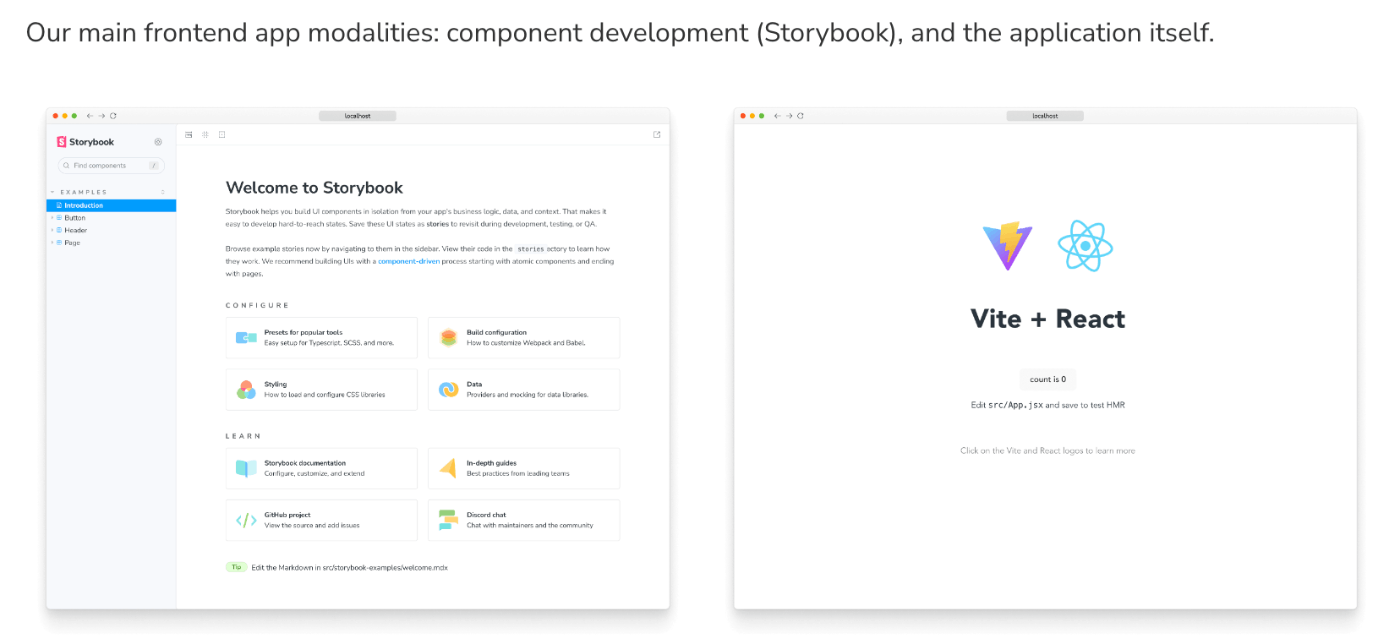
# Start the component explorer on port 6006:
yarn storybook
それっぽい画面が表示されたのでOK。
# Run the frontend app proper on port 5173:
yarn dev
なんか想定と見た目違うしめっちゃ青いけどおそらくOK。

Commit changes
Gitにコミットしておきましょうのコーナーで、特別なことは何もなくコミットして終わり。チュートリアルにはないが、GitHubにリポジトリを作ってプッシュしておいた。
Prettierの導入 ※tutorialにはない
自動のコードフォーマットがないのが辛いのでPrettierを導入する。
ちなみにESLintを最初から入っていた。
公式ドキュメント通りにインストールし、.prettierrc と .prettierignore を作成。さらにVSCodeで保存時に実行されるように設定した。
後は全体にPrettierを実行して完了。
yarn prettier . --write
Build a simple component
Get set up
とりあえず書かれている通りに src/components/Task.jsx と src/components/Task.stories.jsx を作る。動かしてみないとわからないので一旦次へ進む。
Config
とりあえず書かれている通りに .storybook/main.js と .storybook/preview.js を弄ることで
Once we’ve done this, restarting the Storybook server should yield test cases for the three Task states:
とのことなので確認してみる。
yarn storybook
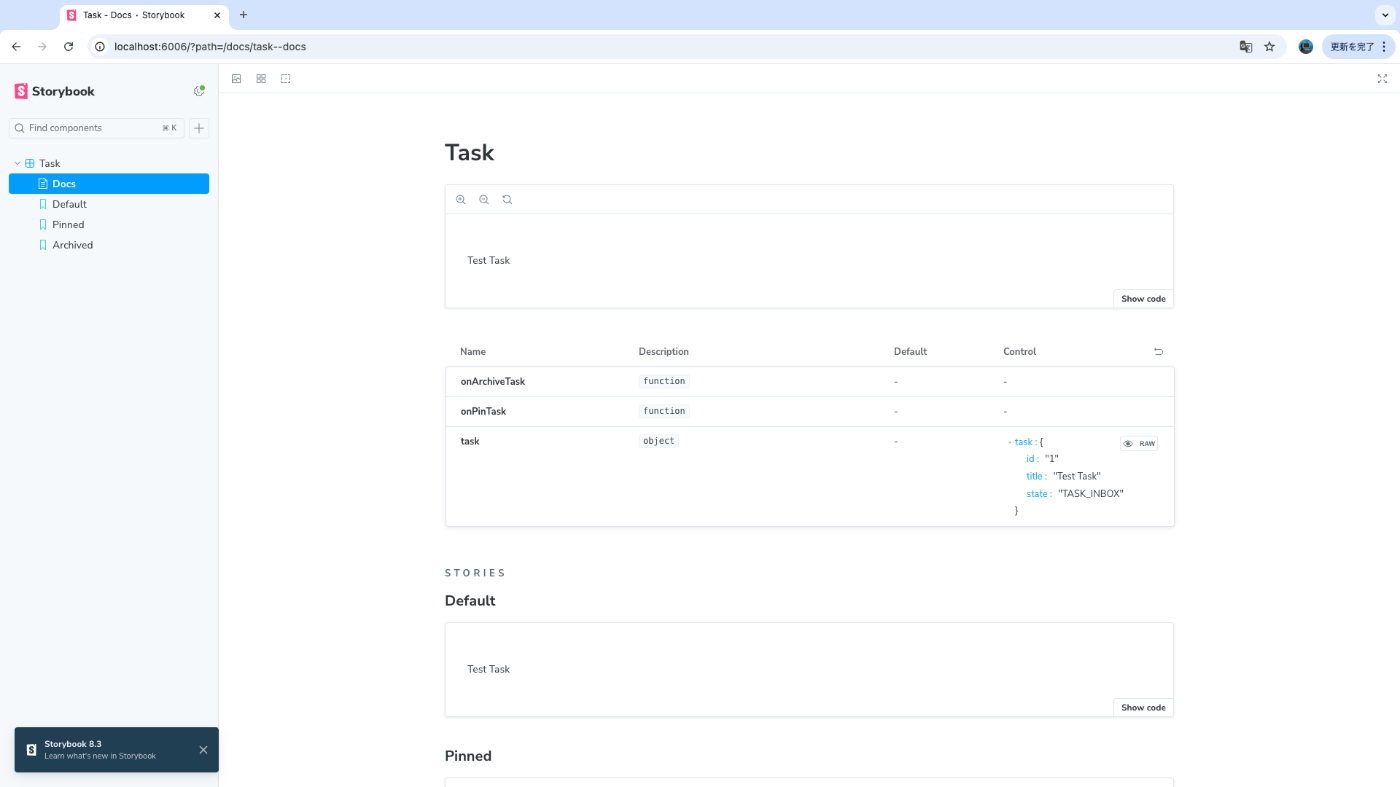
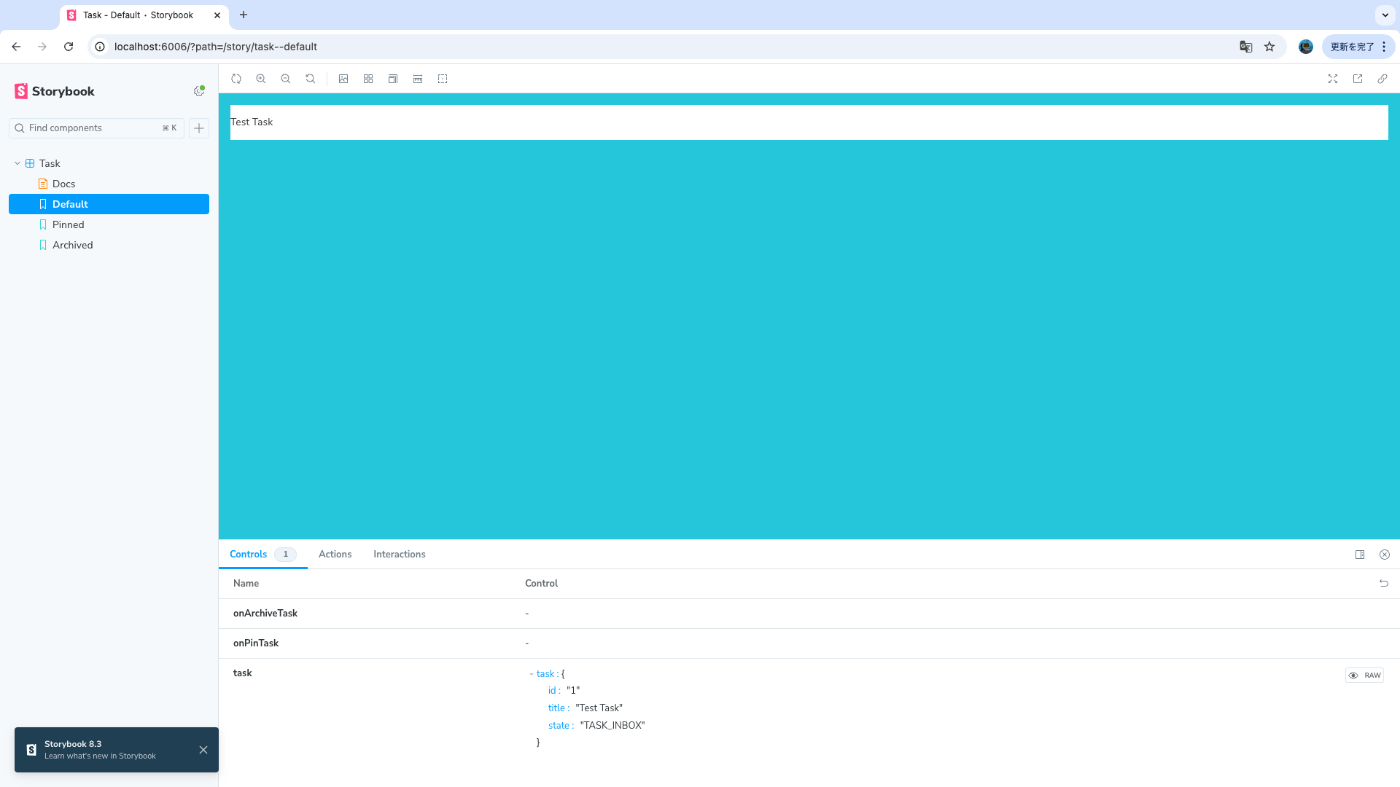
チュートリアルの想定通りの表示になった。 src/components/Task.stories.jsx との紐付き方は少しわかったが、まだこれからっぽいので理解よりも進めることを優先する。
Build out the states
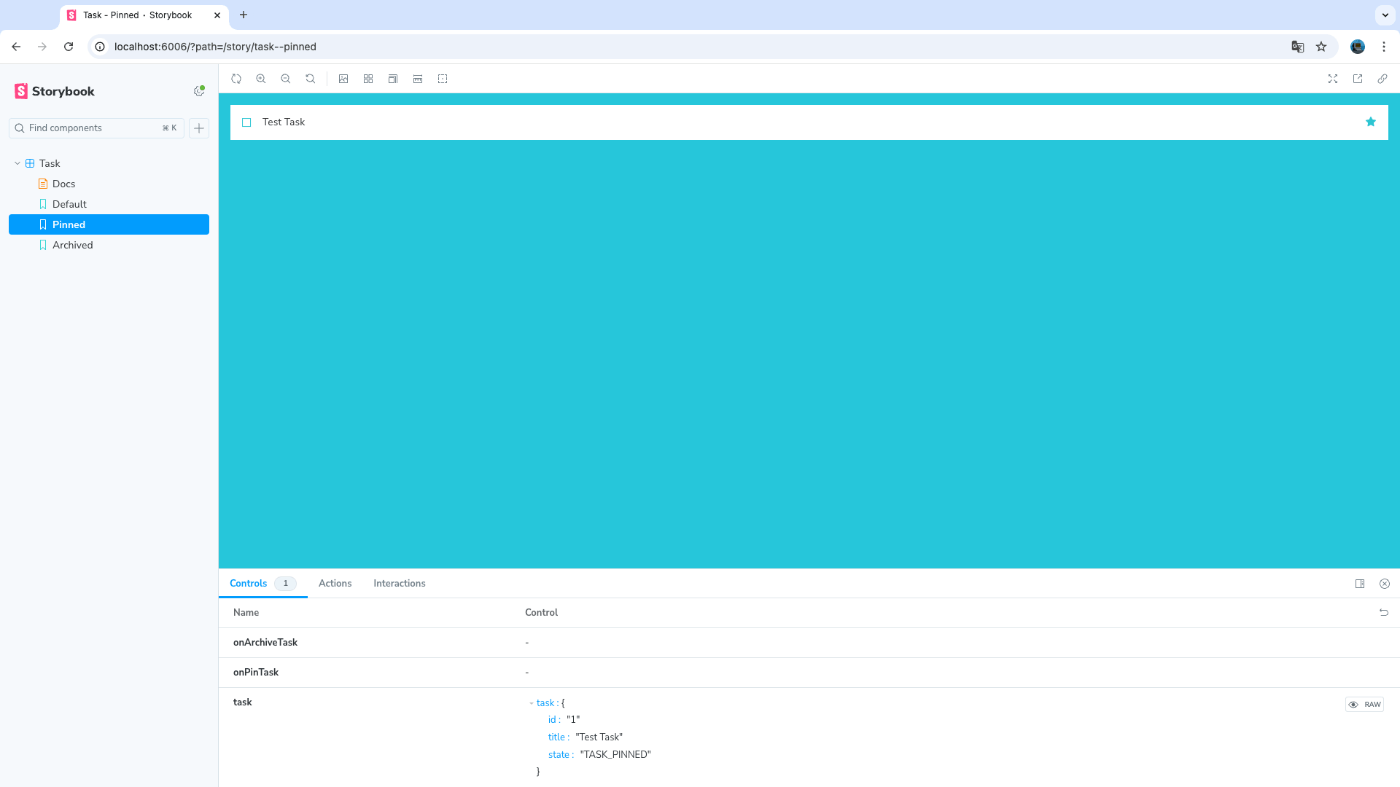
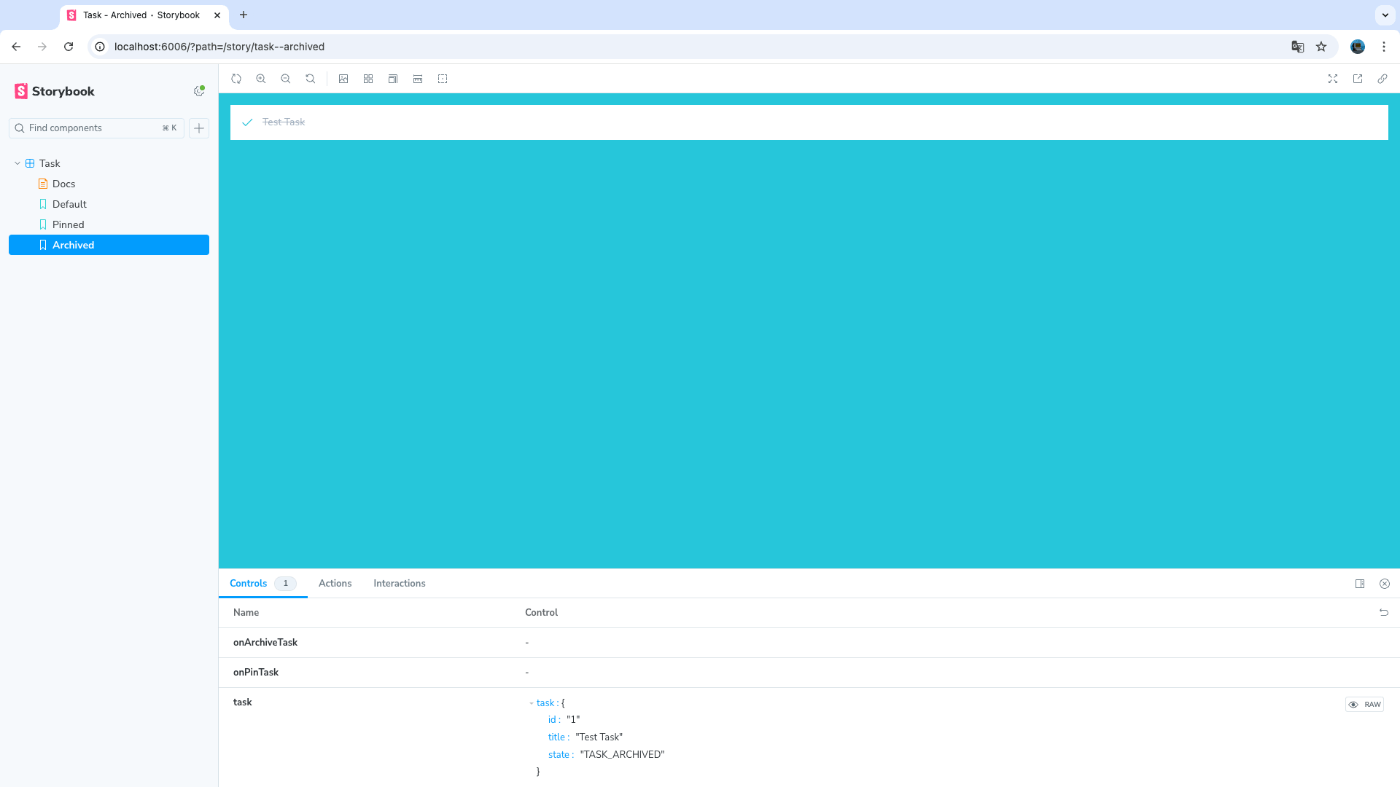
stateに合わせた見た目になるように調整されたコードをコピペする。state毎の見た目を確認できる、それっぽい感じになってきた。
Specify data requirements
propsの型定義をするところだが、JavaScriptで書く場合はpropTypesを使うのが一般的なのかな?ライブラリの更新止まってるけど…TypeScriptでしか書いたことないので謎だがとりあえず従う。
Catch accessibility issues
アクセシビリティの問題を検出できるとのことなのでやってみる。
パッケージを追加し設定に追加する。
yarn add --dev @storybook/addon-a11y
/** @type { import('@storybook/react-vite').StorybookConfig } */
const config = {
  stories: ["../src/components/**/*.stories.@(js|jsx)"],
  staticDirs: ["../public"],
  addons: [
    "@storybook/addon-links",
    "@storybook/addon-essentials",
    "@storybook/addon-interactions",
    "@storybook/addon-a11y", // 追加
  ],
  framework: {
    name: "@storybook/react-vite",
    options: {},
  },
};
export default config;
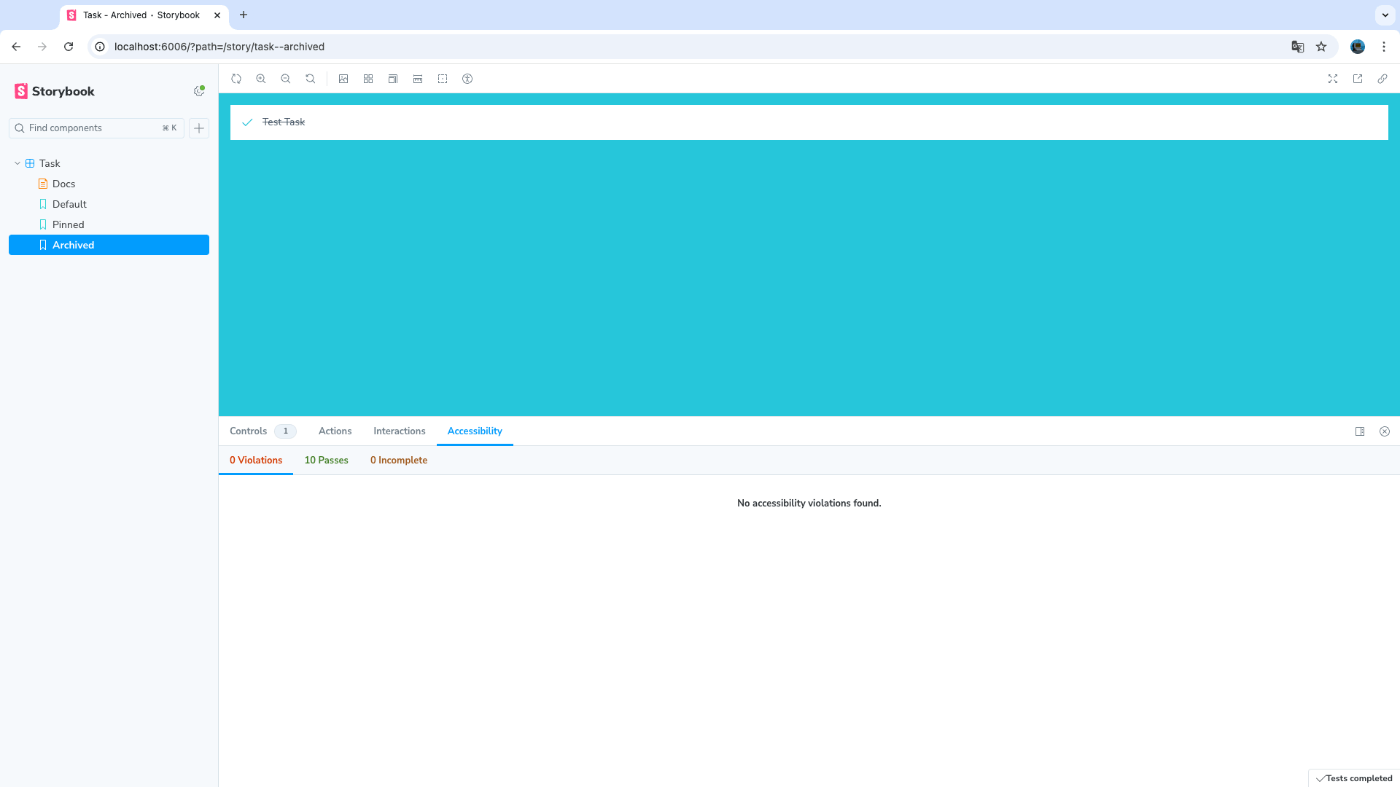
これで各ストーリーにAccessibilityタブが表示されるようになった。クリックするとAccessibilityの問題を確認できる。
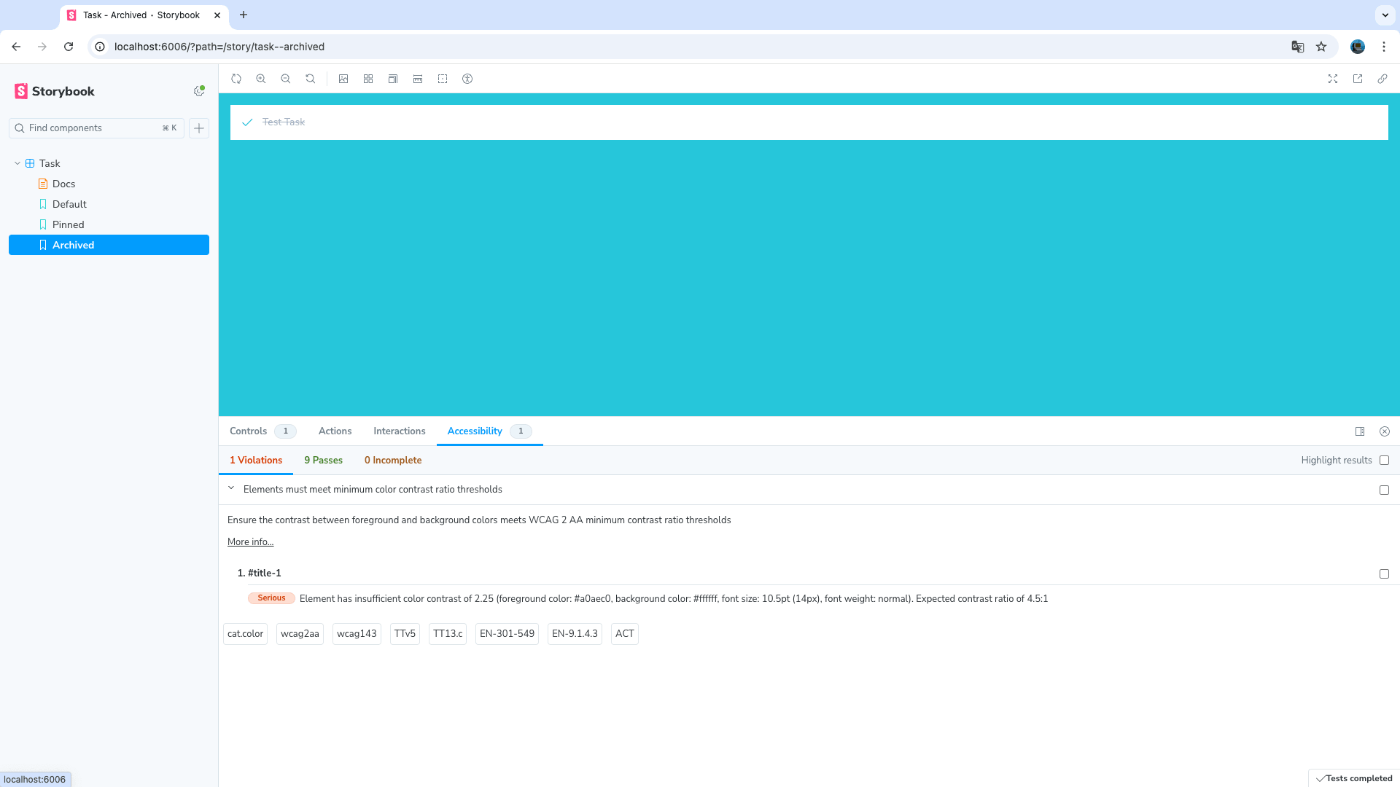
今回はチュートリアル通りに色を修正して完了!
Assemble a composite component
Get set up
書かれている通りに src/components/TaskList.jsx と src/components/TaskList.stories.jsx を作る。これでとりあえずTaskListコンポーネントがStorybookで確認できるようになった。decoratorsは各ストーリーで表示するコンポーネントを任意のタグやコンポーネントでラップするための機能なんだなーとなんとなく理解した。
export default {
  component: TaskList,
  title: "TaskList",
  decorators: [(story) => <div style={{ margin: "3rem" }}>{story()}</div>],
  tags: ["autodocs"],
  args: {
    ...TaskStories.ActionsData,
  },
};
Decorators are a way to provide arbitrary wrappers to stories. In this case we’re using a decorator key on the default export to add some marginaround the rendered component. They can also be used to wrap stories in “providers”-–i.e., library components that set React context.
デコレーターは、ストーリーに任意のラッパーを提供する方法です。このケースでは、レンダリングされたコンポーネントの周囲に余白を追加するために、デフォルトのエクスポートでデコレーター・キーを使用している。また、ストーリーを「プロバイダ」(Reactのコンテキストを設定するライブラリコンポーネント)でラップするためにも使用できる。
Build out the states
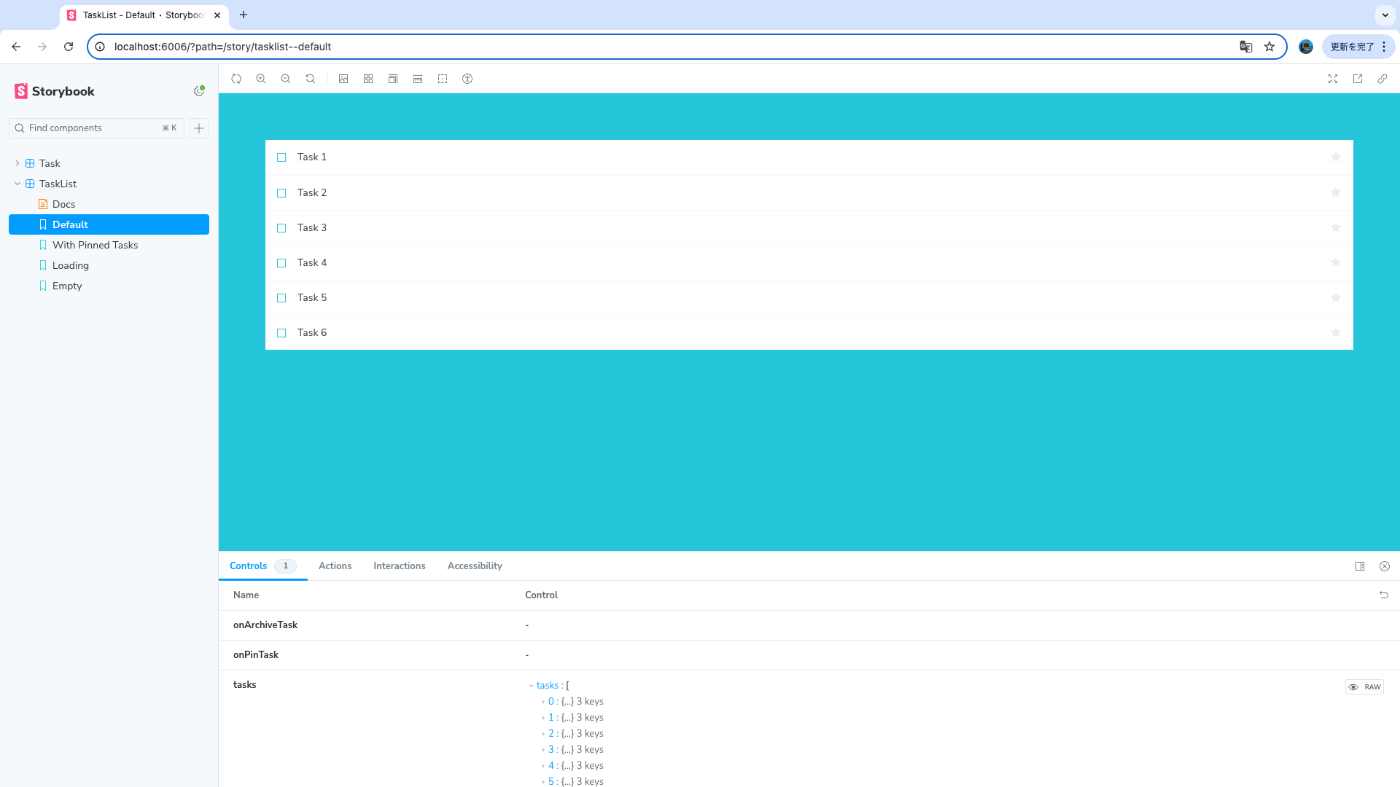
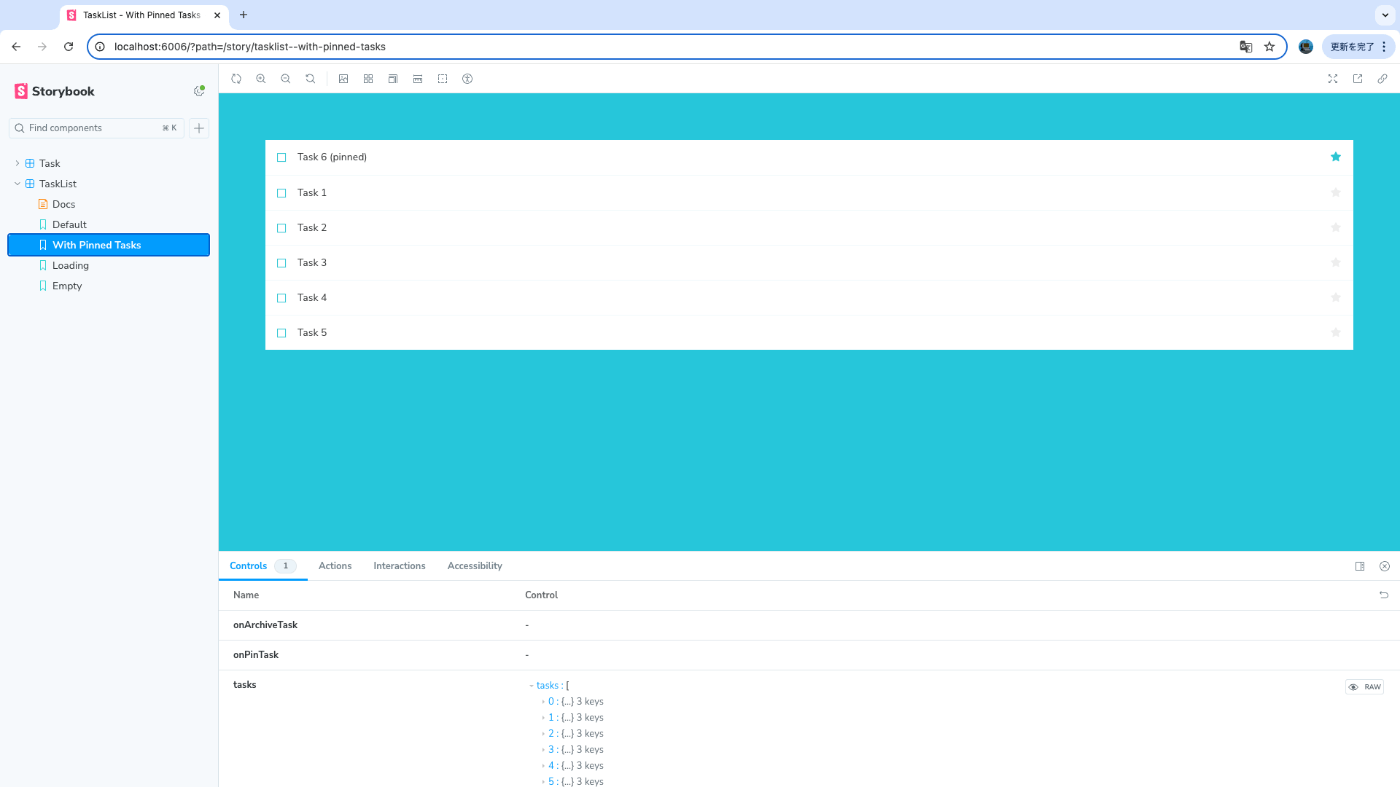
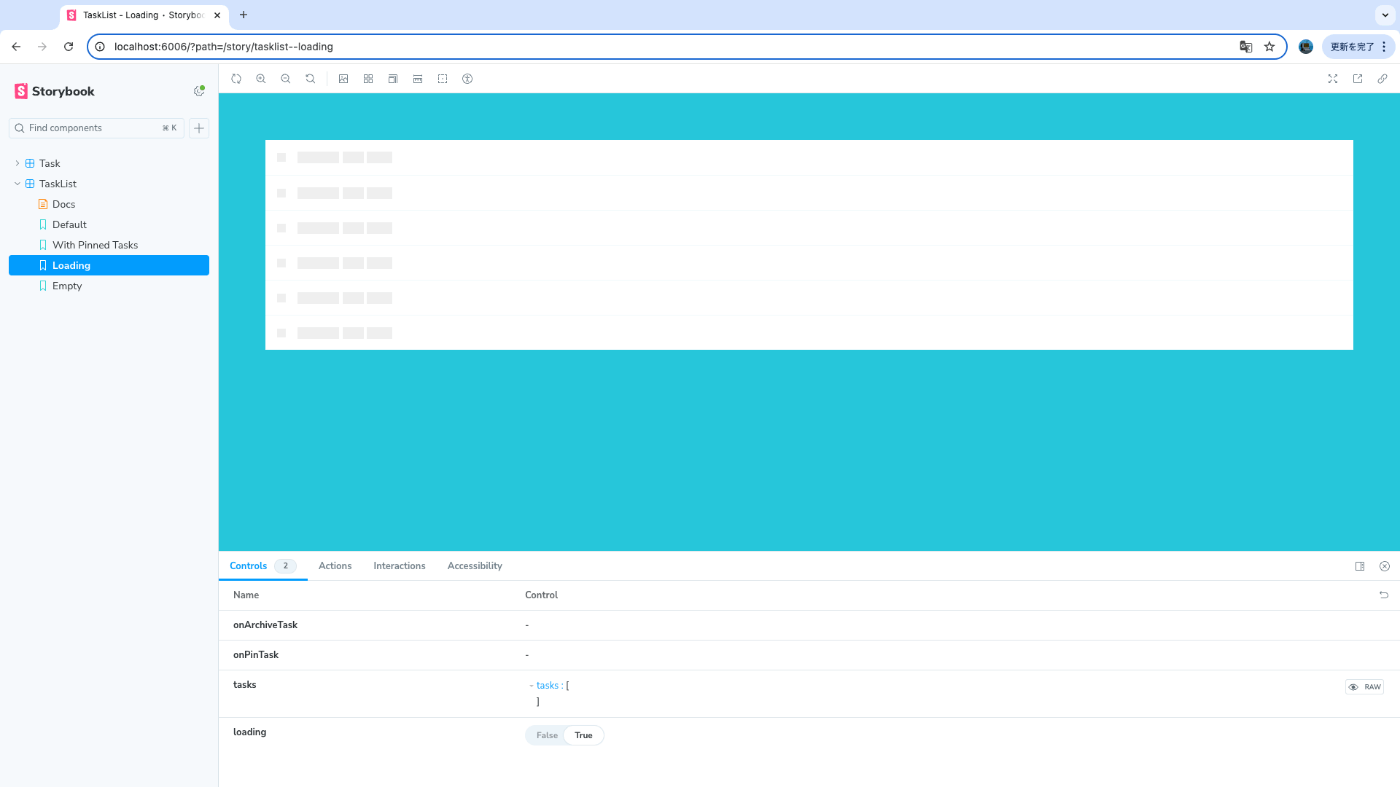
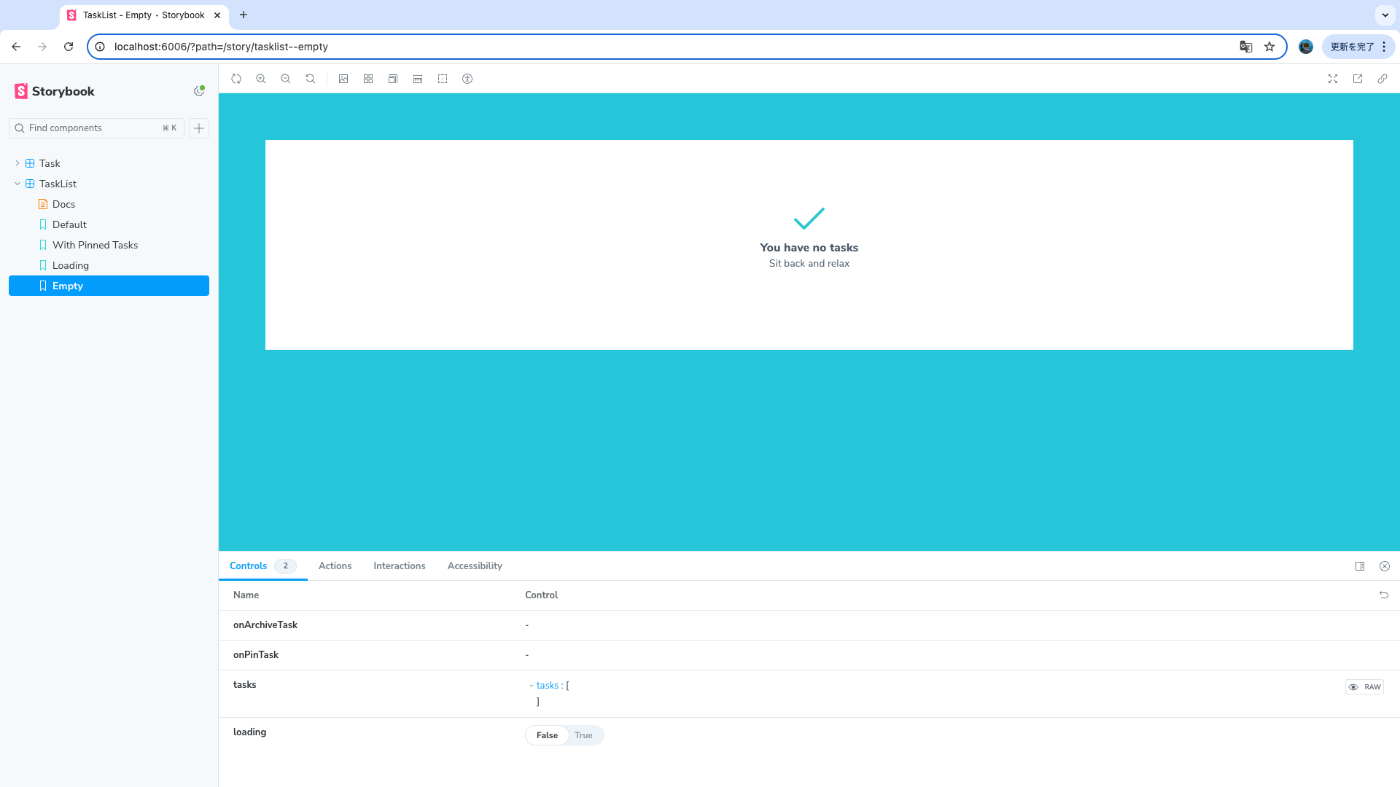
一つ前のチャプターと同じ流れ。stateに合わせた見た目になるように調整されたコードをコピペしてそれっぽい見た目になった。
Data requirements and props
一つ前のチャプターと同じ流れ。propsの型定義をする。
ここでこのチャプターは終わりになっているが、次以降でも引き続きTaskListコンポーネントを使っていくっぽい。
Wire in data
一つ前のチャプターで作ったTaskListをReduxを使うように書き換える。状態管理ライブラリはRecoilしか使ったことないのでReduxは全くわからないが、雰囲気で理解した。
チュートリアルをそのままコピペだとおそらく src/components/TaskList.jsx でMockstoreのPropsの型が定義されてないのでLintエラーになる。エラーのままだと気持ち悪いのでpropTypesの定義を追加したが、既存の値から予想しただけなのでこの後書き換えるかもしれない。特にerrorはTaskListで使われておらずnullを許容する以外謎なため、とりあえず文字列かnullにしている。
import PropTypes from "prop-types";
import Task from "./Task";

Mockstore.propTypes = {
  taskboxState: PropTypes.shape({
    tasks: PropTypes.arrayOf(Task.propTypes.task).isRequired,
    status: PropTypes.string,
    error: PropTypes.oneOfType([PropTypes.string, PropTypes.null]),
  }).isRequired,
  children: PropTypes.node.isRequired,
};
Construct a screen
Connected screens
画面の作成に加え、APIにリクエストし結果を表示するように書き換える。APIはJSONPlaceholderを使っているので準備は不要。
import InboxScreen from './InboxScreen';
import store from '../lib/store';

import { Provider } from 'react-redux';

export default {
  component: InboxScreen,
  title: 'InboxScreen',
  decorators: [(story) => <Provider store={store}>{story()}</Provider>],
  tags: ['autodocs'],
};

export const Default = {};

export const Error = {};
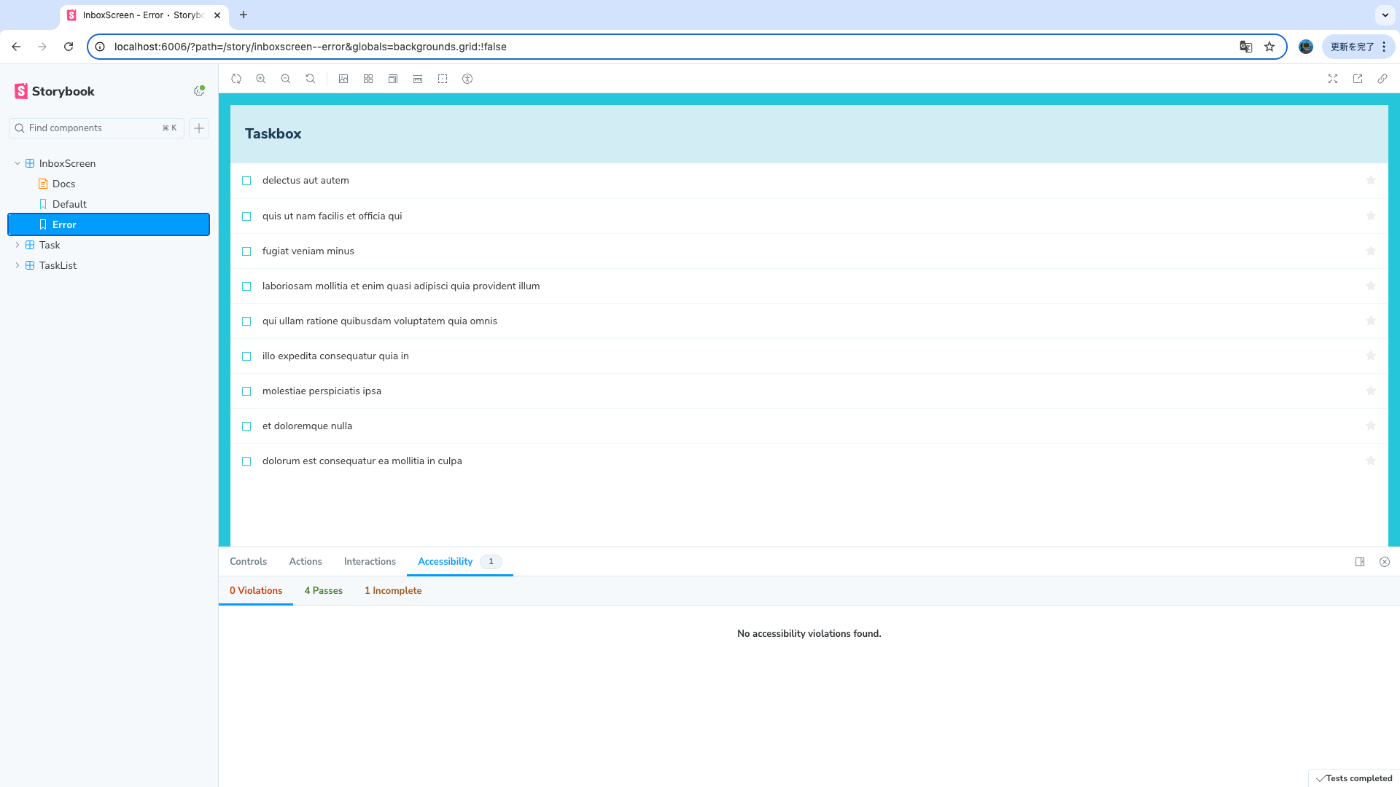
上記はエラーのストーリーでエラーの表示ができていないので対応する必要がある。つまりAPIにエラーを返してもらうようにする。
We can quickly spot an issue with the error story. Instead of displaying the right state, it shows a list of tasks. One way to sidestep this issue would be to provide a mocked version for each state, similar to what we did in the last chapter. Instead, we'll use a well-known API mocking library alongside a Storybook addon to help us solve this issue.
ここで、エラーストーリーに問題があることがわかります。適切な状態を表示する代わりに、タスクリストが表示されています。この問題を回避する方法の1つとして、各状態に対してモックバージョン(テスト用のデータを使用した仮のバージョン)を提供することが挙げられます。これは、前章で行ったことと似ています。ただし、今回は一般的に知られているAPIモックライブラリとStorybookのアドオンを使用してこの問題を解決します。
Mocking API Services
MSWを使って解決する。
import InboxScreen from "./InboxScreen";

import store from "../lib/store";

import { http, HttpResponse } from "msw";

import { MockedState } from "./TaskList.stories";

import { Provider } from "react-redux";

export default {
  component: InboxScreen,
  title: "InboxScreen",
  decorators: [(story) => <Provider store={store}>{story()}</Provider>],
  tags: ["autodocs"],
};

export const Default = {
  parameters: {
    msw: {
      handlers: [
        http.get("https://jsonplaceholder.typicode.com/todos?userId=1", () => {
          return HttpResponse.json(MockedState.tasks);
        }),
      ],
    },
  },
};

export const Error = {
  parameters: {
    msw: {
      handlers: [
        http.get("https://jsonplaceholder.typicode.com/todos?userId=1", () => {
          return new HttpResponse(null, {
            status: 403,
          });
        }),
      ],
    },
  },
};
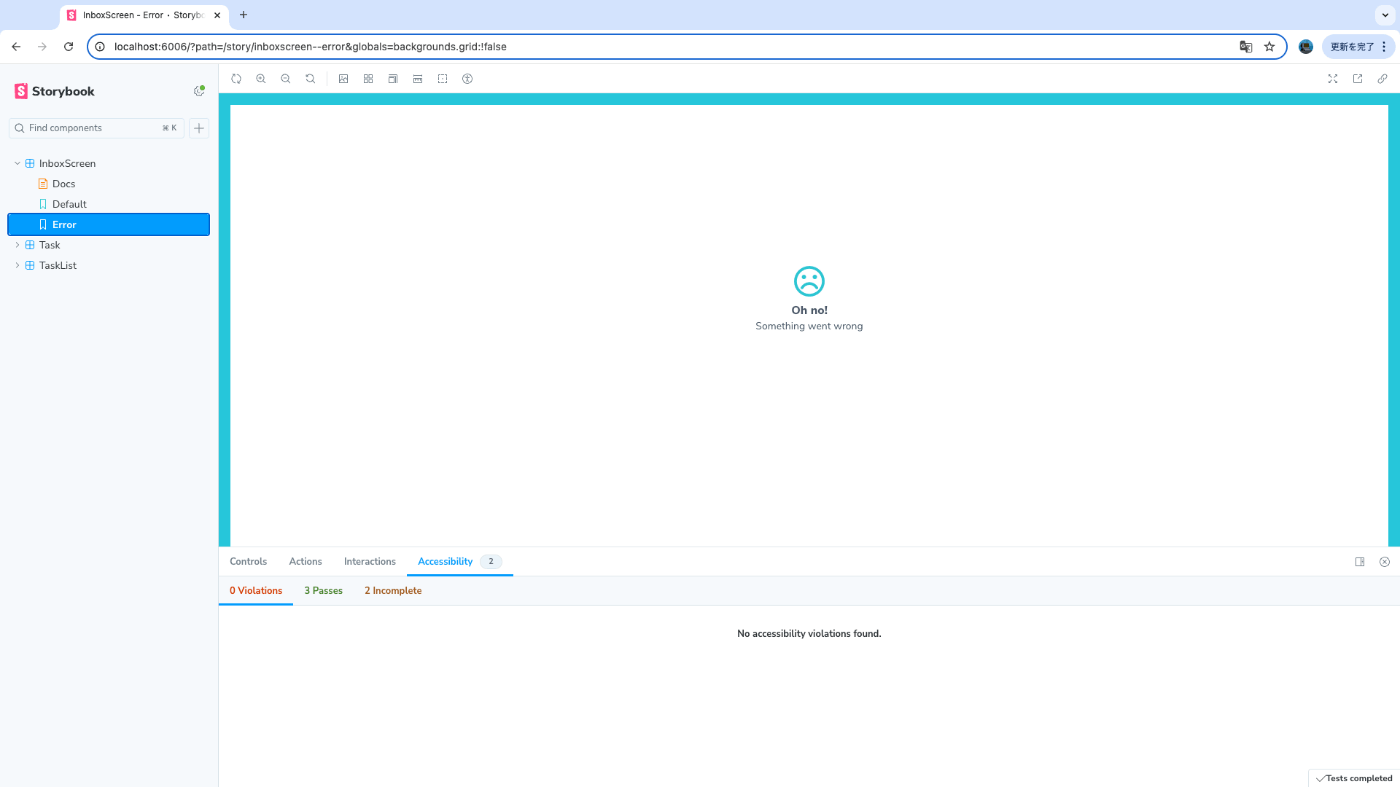
これでAPIにリクエストした結果、エラーだった場合の表示を確認できるようになった。
Interaction tests
初期から気になっていた「UIをストーリー毎に確認できるようになるのはわかるけどどうテストするの?」問題。書いてある通り毎回自分の目で確認するのは辛い。
So far, we've been able to build a fully functional application from the ground up, starting from a simple component up to a screen and continuously testing each change using our stories. But each new story also requires a manual check on all the other stories to ensure the UI doesn't break. That's a lot of extra work.
Can't we automate this workflow and test our component interactions automatically?
ここまでで、シンプルなコンポーネントから画面全体に至るまで、各変更をストーリーを使ってテストしながら、完全に機能するアプリケーションを一から構築してきました。しかし、新しいストーリーを作るたびに、他のすべてのストーリーを手動で確認し、UIが壊れていないかを確認する必要があります。これは非常に手間のかかる作業です。
この作業を自動化して、コンポーネントのインタラクションを自動でテストすることはできないでしょうか?
Write an interaction test using the play function
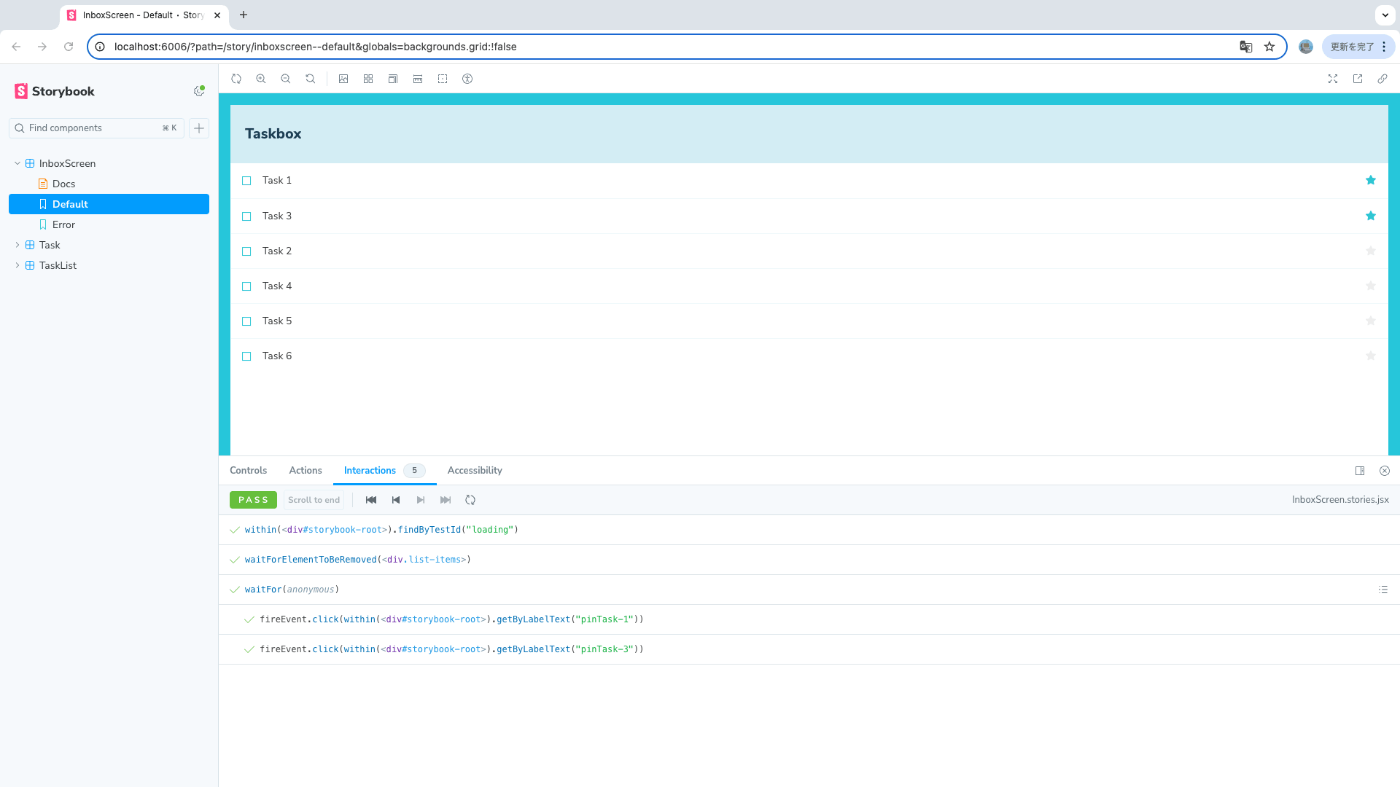
Storybookの話題でよく見かけるplay関数が登場。Storybook上でストーリーを表示すると自動で実行してくれているっぽい。コマンドでの実行は次の章。
import InboxScreen from "./InboxScreen";

import store from "../lib/store";

import { http, HttpResponse } from "msw";

import { MockedState } from "./TaskList.stories";

import { Provider } from "react-redux";

import {
  fireEvent,
  waitFor,
  within,
  waitForElementToBeRemoved,
} from "@storybook/test";

export default {
  component: InboxScreen,
  title: "InboxScreen",
  decorators: [(story) => <Provider store={store}>{story()}</Provider>],
  tags: ["autodocs"],
};

export const Default = {
  parameters: {
    msw: {
      handlers: [
        http.get("https://jsonplaceholder.typicode.com/todos?userId=1", () => {
          return HttpResponse.json(MockedState.tasks);
        }),
      ],
    },
  },
  play: async ({ canvasElement }) => {
    const canvas = within(canvasElement);
    // Waits for the component to transition from the loading state
    await waitForElementToBeRemoved(await canvas.findByTestId("loading"));
    // Waits for the component to be updated based on the store
    await waitFor(async () => {
      // Simulates pinning the first task
      await fireEvent.click(canvas.getByLabelText("pinTask-1"));
      // Simulates pinning the third task
      await fireEvent.click(canvas.getByLabelText("pinTask-3"));
    });
  },
};

export const Error = {
  parameters: {
    msw: {
      handlers: [
        http.get("https://jsonplaceholder.typicode.com/todos?userId=1", () => {
          return new HttpResponse(null, {
            status: 403,
          });
        }),
      ],
    },
  },
};
Automate tests with the test runner
以下のコマンドでテストを実行する。
yarn test-storybook --watch
Storybookを停止した状態でコマンドを実行したら以下のエラーが出た。
(node:32126) [DEP0040] DeprecationWarning: The `punycode` module is deprecated. Please use a userland alternative instead.
(Use `node --trace-deprecation ...` to show where the warning was created)
[test-storybook] It seems that your Storybook instance is not running at: http://127.0.0.1:6006. Are you sure it's running?

If you're not running Storybook on the default 6006 port or want to run the tests against any custom URL, you can pass the --url flag like so:

yarn test-storybook --url http://127.0.0.1:9009

More info at https://github.com/storybookjs/test-runner#getting-started
Storybookを起動してコマンドを実行したら解決し次のエラーへ。
Playwrightでのテスト実行に必要なブラウザがないというエラー。内部でPlaywrightを使ってるからこうなってしまうのだと思っている。
Test Suites: 0 of 2 total
Tests:       0 total
Snapshots:   0 total
Time:        0.119 s
Ran all test suites related to changed files.


  ● Test suite failed to run

    Executable doesn't exist at /Users/hiroki/Library/Caches/ms-playwright/chromium-1140/chrome-mac/Chromium.app/Contents/MacOS/Chromium
    ╔═════════════════════════════════════════════════════════════════════════╗
    ║ Looks like Playwright Test or Playwright was just installed or updated. ║
    ║ Please run the following command to download new browsers:              ║
    ║                                                                         ║
    ║     yarn playwright install                                             ║
    ║                                                                         ║
    ║ <3 Playwright Team                                                      ║
    ╚═════════════════════════════════════════════════════════════════════════╝ Failed to launch browser.

      at executablePathOrDie (node_modules/playwright-core/lib/server/registry/index.js:360:15)
      at Object.executablePathOrDie (node_modules/playwright-core/lib/server/registry/index.js:373:43)
      at Chromium._launchProcess (node_modules/playwright-core/lib/server/browserType.js:203:39)
      at async Chromium._innerLaunch (node_modules/playwright-core/lib/server/browserType.js:139:9)
      at async Chromium._innerLaunchWithRetries (node_modules/playwright-core/lib/server/browserType.js:120:14)
      at async ProgressController.run (node_modules/playwright-core/lib/server/progress.js:82:22)
      at async Chromium.launch (node_modules/playwright-core/lib/server/browserType.js:79:21)
      at async BrowserServerLauncherImpl.launchServer (node_modules/playwright-core/lib/browserServerImpl.js:48:21)
      at async BrowserType.launchServer (node_modules/playwright-core/lib/client/browserType.js:82:12)
      at async PlaywrightRunner.launchServer (node_modules/jest-playwright-preset/lib/PlaywrightRunner.js:69:44)
yarn playwright installを実行するように書いてあるが、playwrightがscriptsに定義されてないとエラーになるのでは…?というかエラーになった。ということでnpx playwright installを実行したら解決。これでエラーなく実行されるようになった。
しかし、Taskだけテストが実行されていない。
 PASS   browser: chromium  src/components/TaskList.stories.jsx
 PASS   browser: chromium  src/components/InboxScreen.stories.jsx

Test Suites: 2 passed, 2 total
Tests:       6 passed, 6 total
Snapshots:   0 total
Time:        2.028 s
Ran all test suites related to changed files.

Watch Usage
 › Press a to run all tests.
 › Press f to run only failed tests.
 › Press q to quit watch mode.
 › Press p to filter by a filename regex pattern.
 › Press t to filter by a test name regex pattern.
 › Press Enter to trigger a test run.
オプションの--watchが原因っぽく、このオプションは変更があったストーリー?コンポーネント?のみが対象になる。TaskListそのものも変更はないが、TaskListから呼び出している関数などに変更があれば、変更があったと見做されて実行されるっぽい。オプションのを--watchAll`にしたり、オプションをつけなければ全て実行された。
 PASS   browser: chromium  src/components/Task.stories.jsx
 PASS   browser: chromium  src/components/InboxScreen.stories.jsx
 PASS   browser: chromium  src/components/TaskList.stories.jsx

Test Suites: 3 passed, 3 total
Tests:       9 passed, 9 total
Snapshots:   0 total
Time:        2.354 s
Ran all test suites.

Watch Usage
 › Press f to run only failed tests.
 › Press o to only run tests related to changed files.
 › Press q to quit watch mode.
 › Press p to filter by a filename regex pattern.
 › Press t to filter by a test name regex pattern.
 › Press Enter to trigger a test run.
ちなみに自分は実行時に以下の警告が出るが、Node.jsのバージョンの問題らしい。自分はv22.9.0を使っており、v20にすれば警告が消えるらしいが現状では問題ないので試していない。
(node:33104) [DEP0040] DeprecationWarning: The `punycode` module is deprecated. Please use a userland alternative instead.
(Use `node --trace-deprecation ...` to show where the warning was created)
Deploy Storybook
ChromaticにデプロイしてStorybookを公開し、GitHub Actionsでプッシュ時に自動デプロイまで。Chromaticは今回初めて知ったが結構良さそう。Playwrightとの連携も気になる。
Publish Storybook
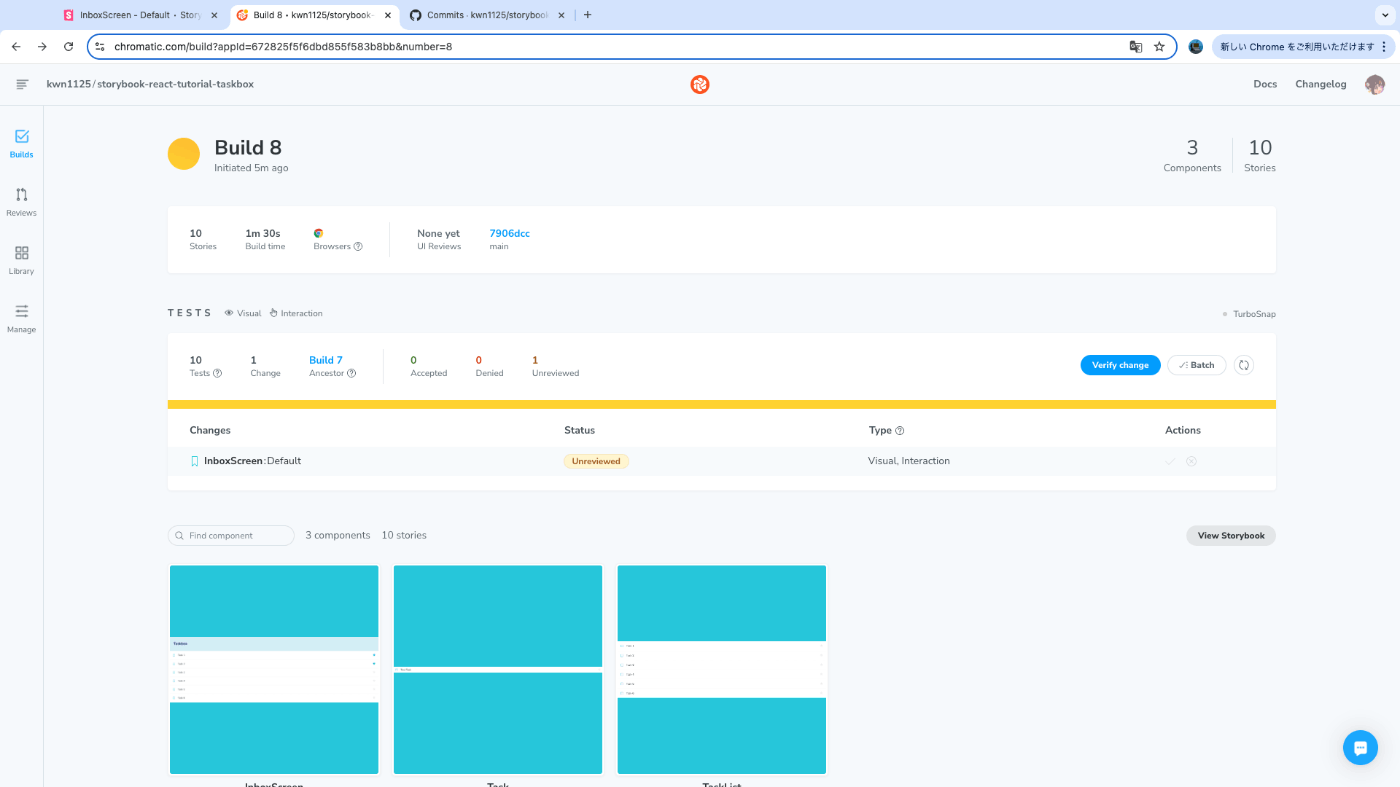
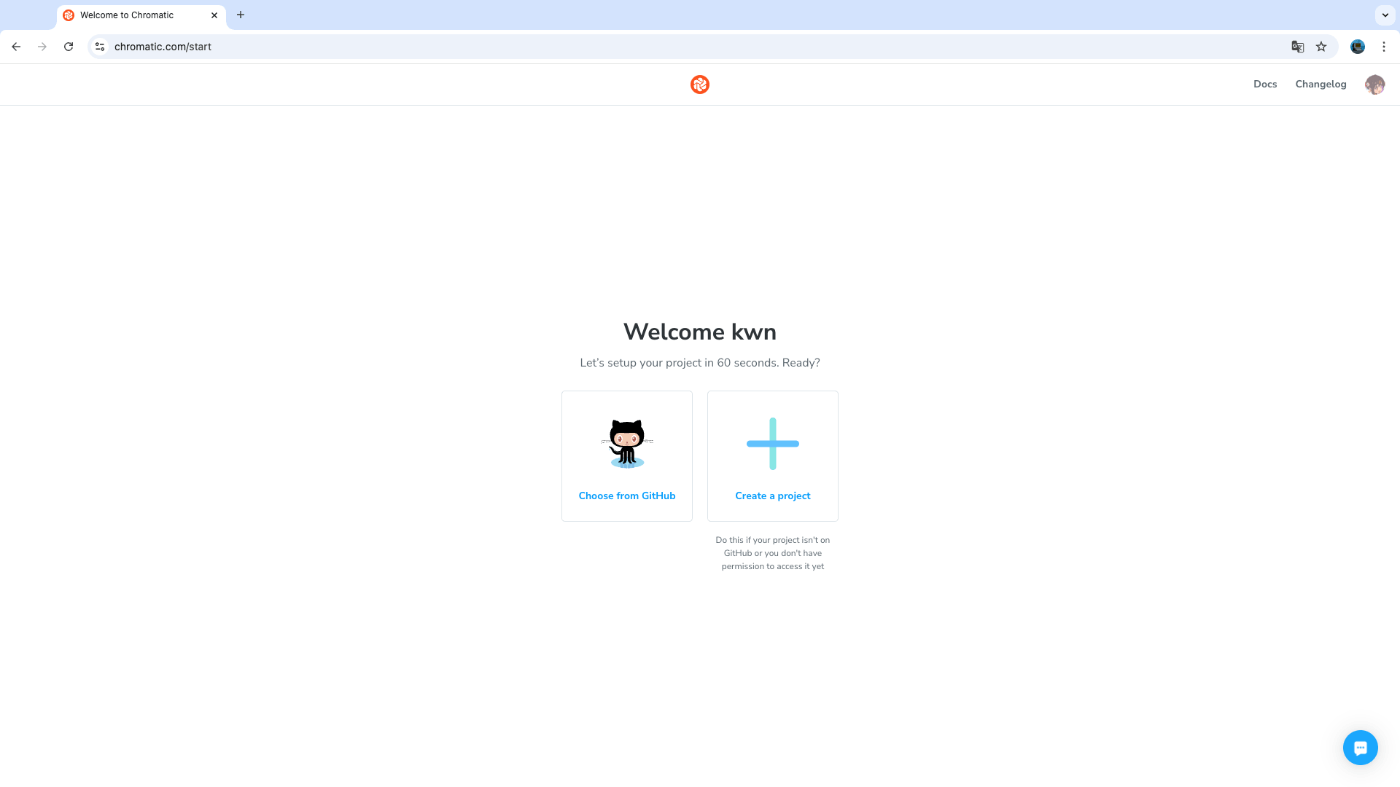
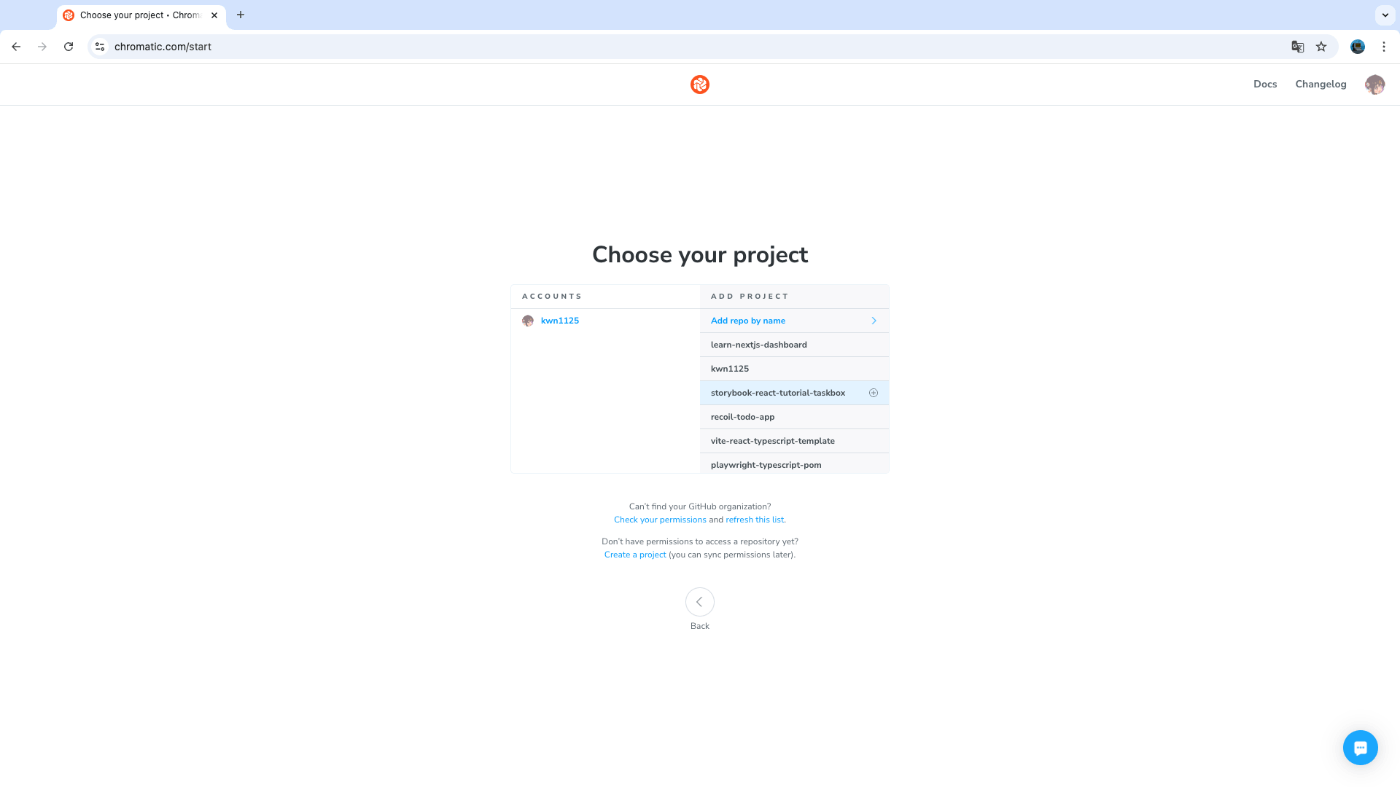
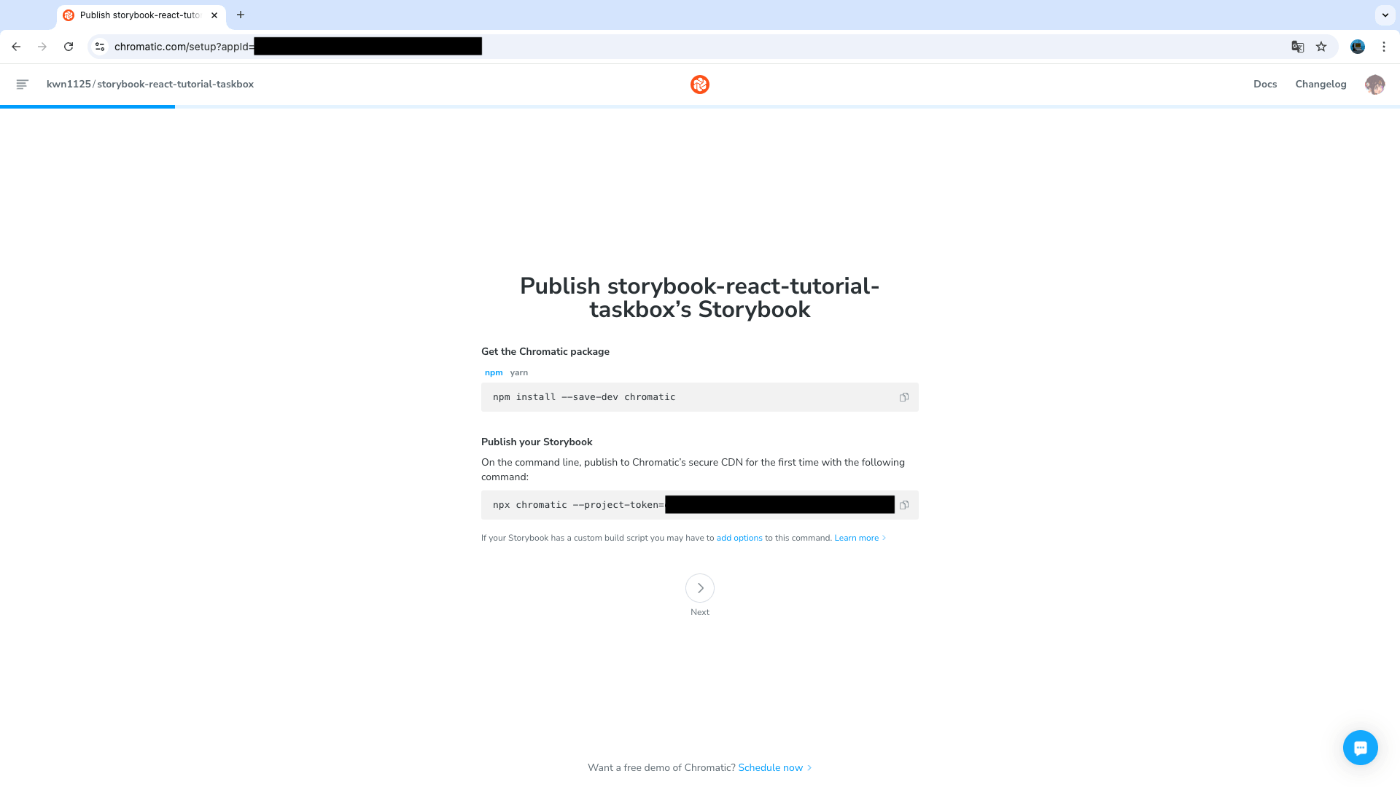
特に詰まるところはなかったが、Chromaticのプロジェクトセットアップ時のUIがチュートリアルと少し違った。以下のスクショ3枚目がチュートリアルにはなかったがそれ以外は同じはず。

Continuous deployment with Chromatic
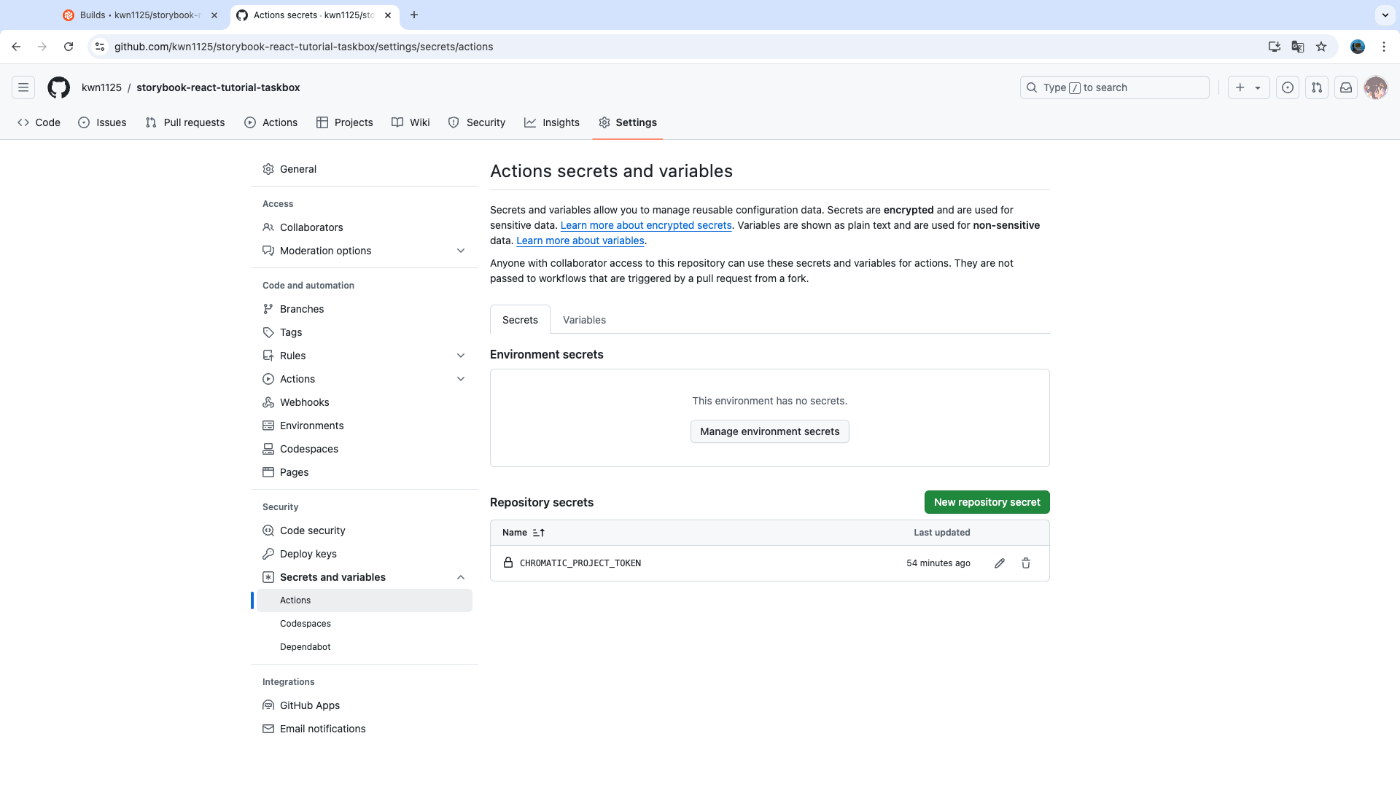
sercretsの追加については省略されている。一応スクショを残しておく。
For brevity purposes GitHub secrets weren't mentioned. Secrets are secure environment variables provided by GitHub so that you don't need to hard code the project-token.
Visual Tests
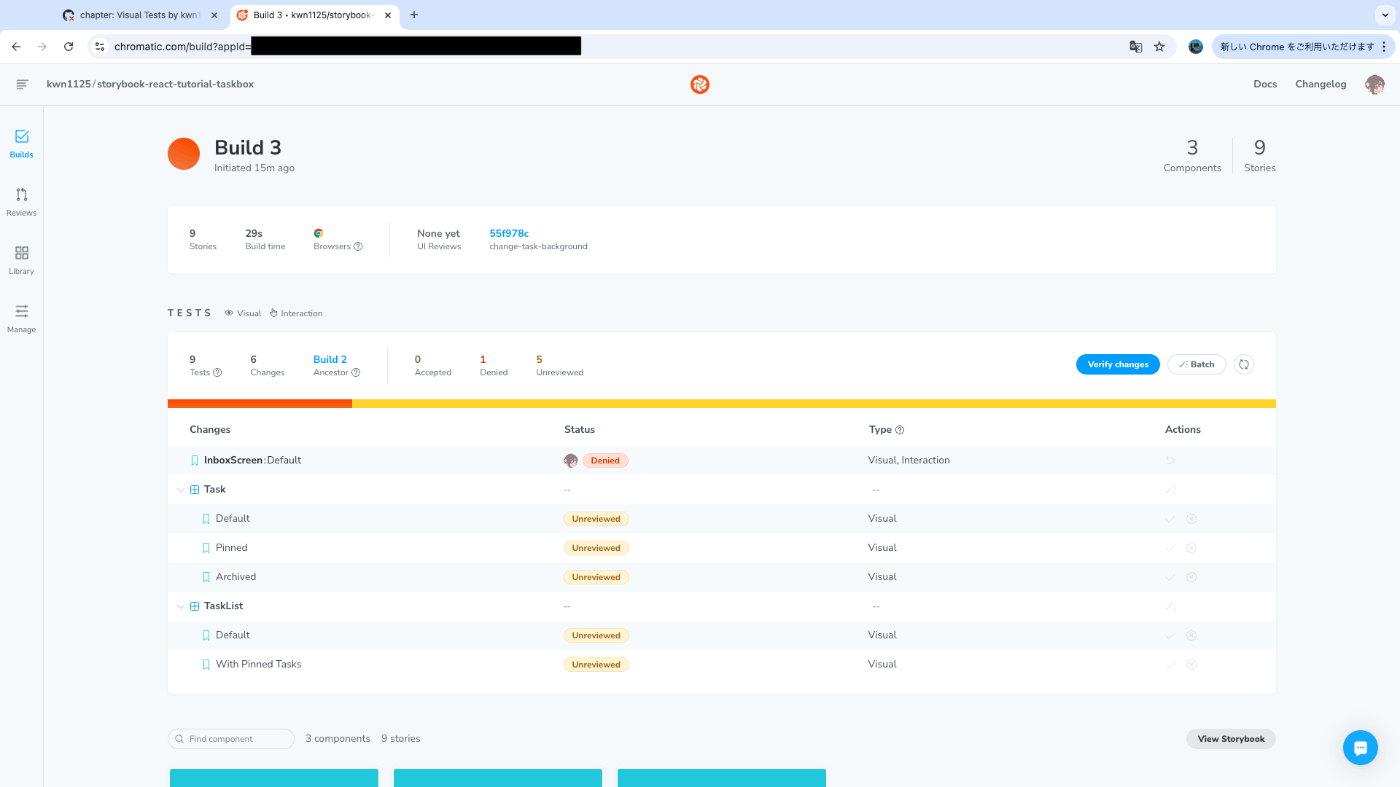
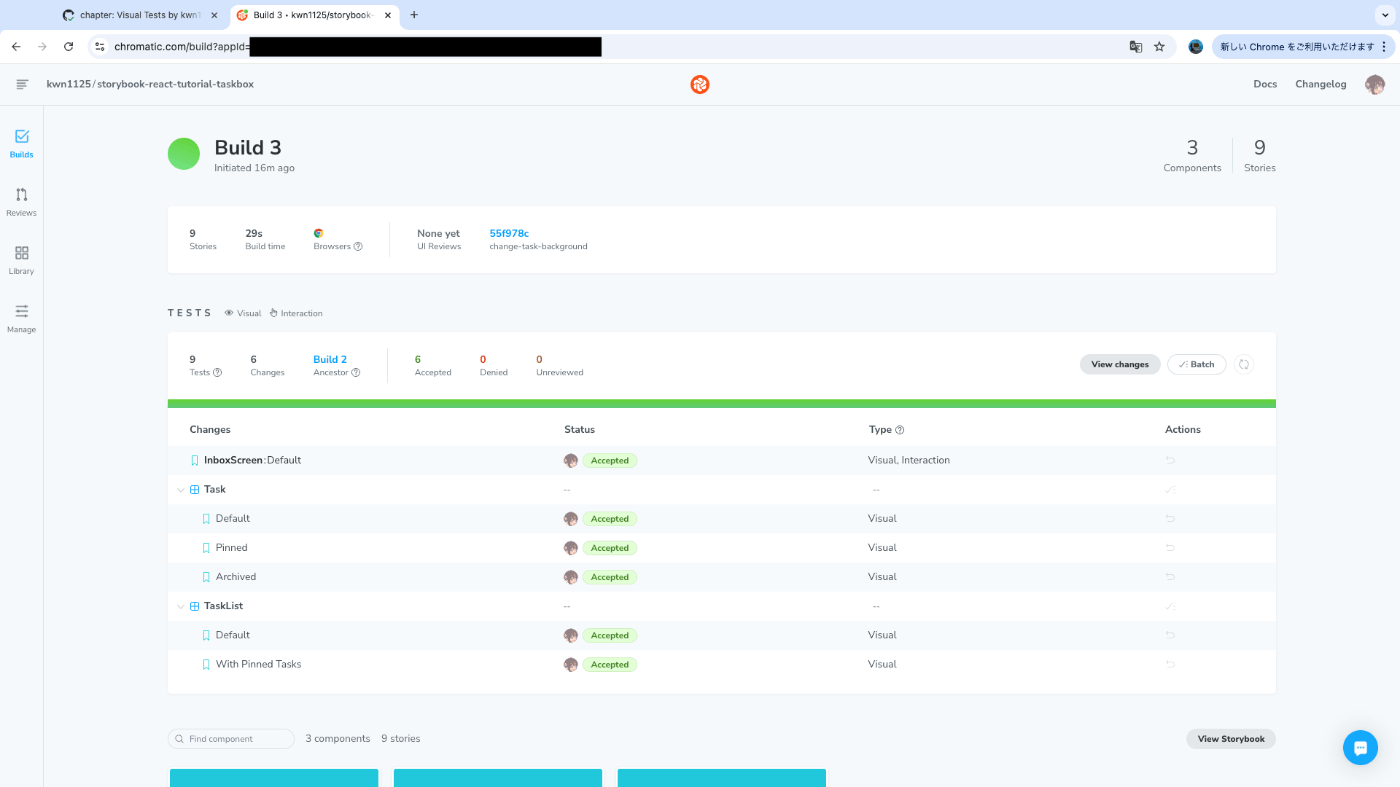
所謂VRT(Visual Regression Test)をStorybook + Chromaticで行う。書いてある通りにプルリク作成まで進める。
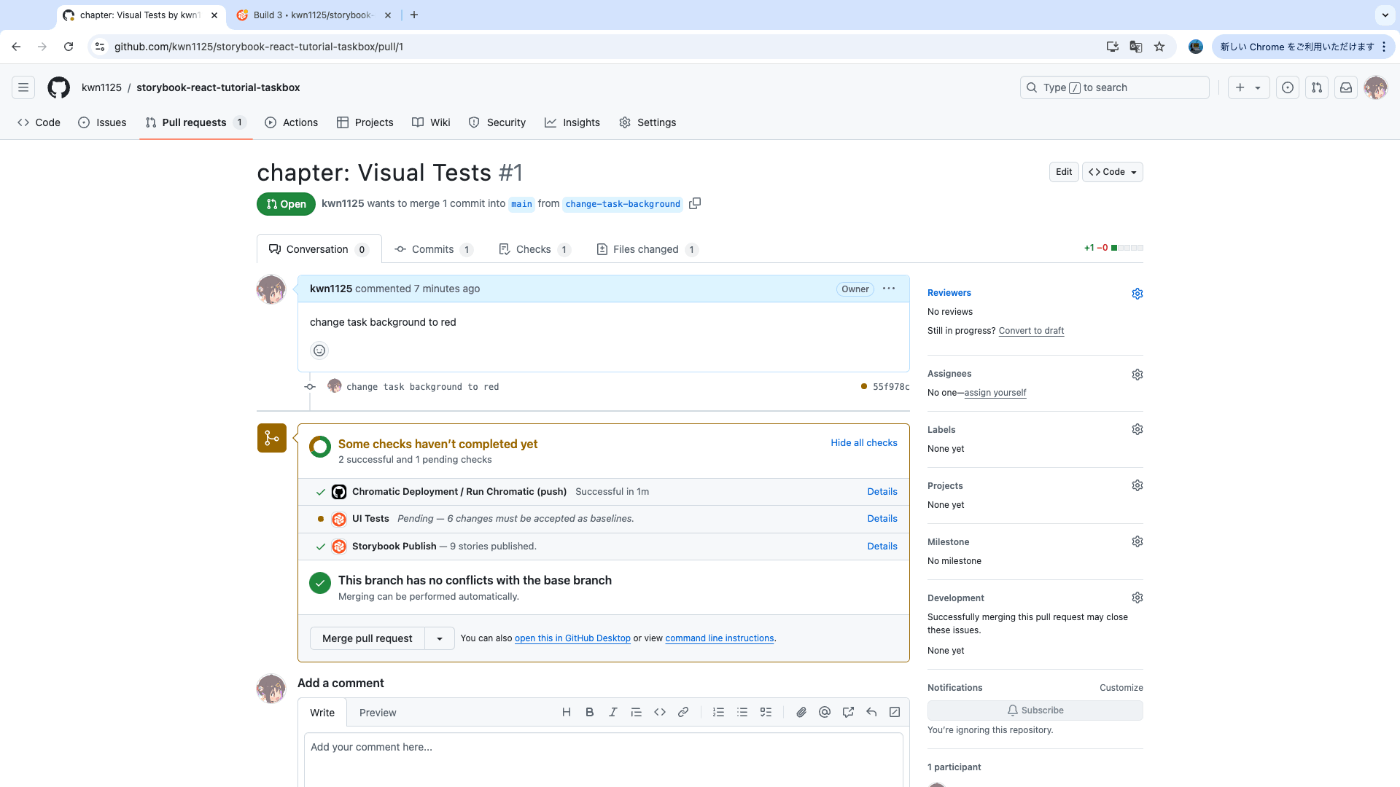
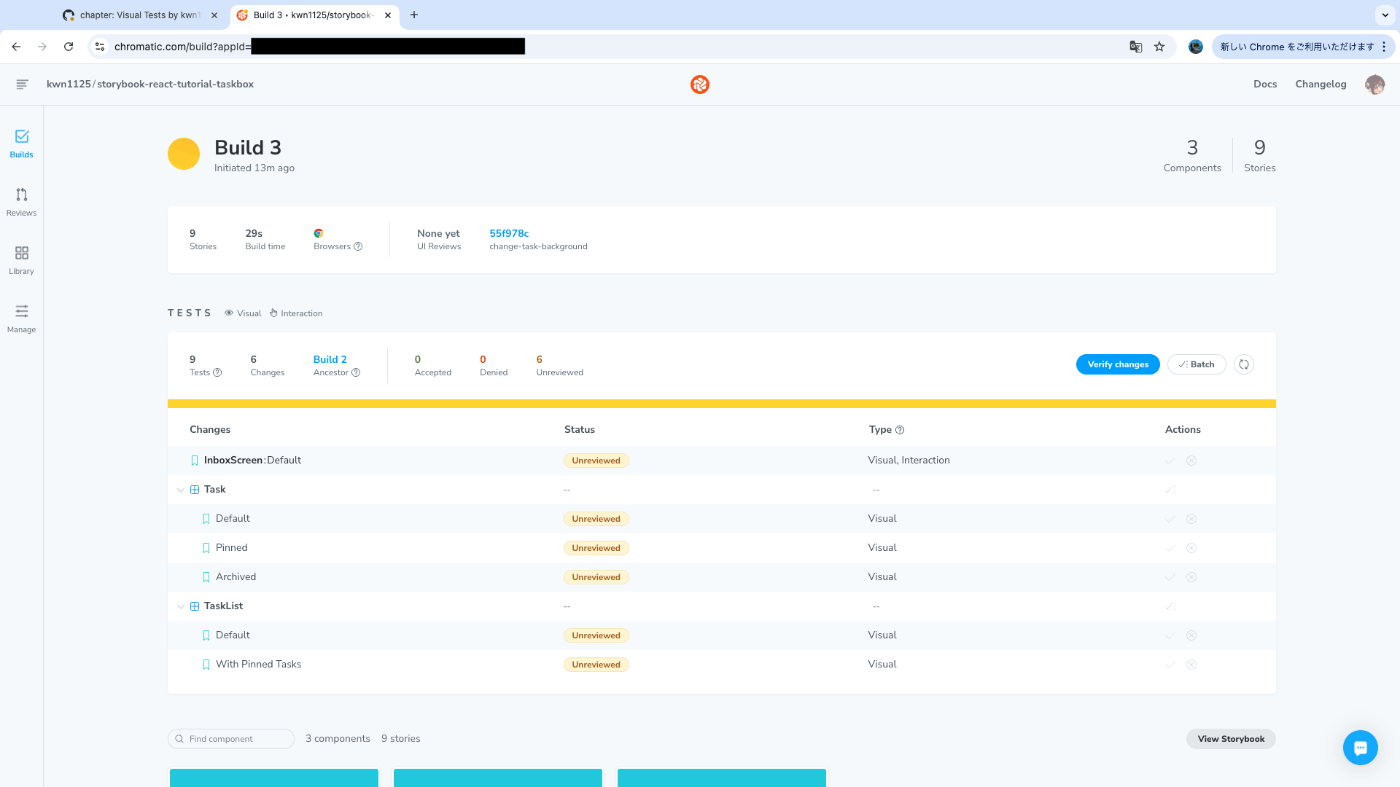
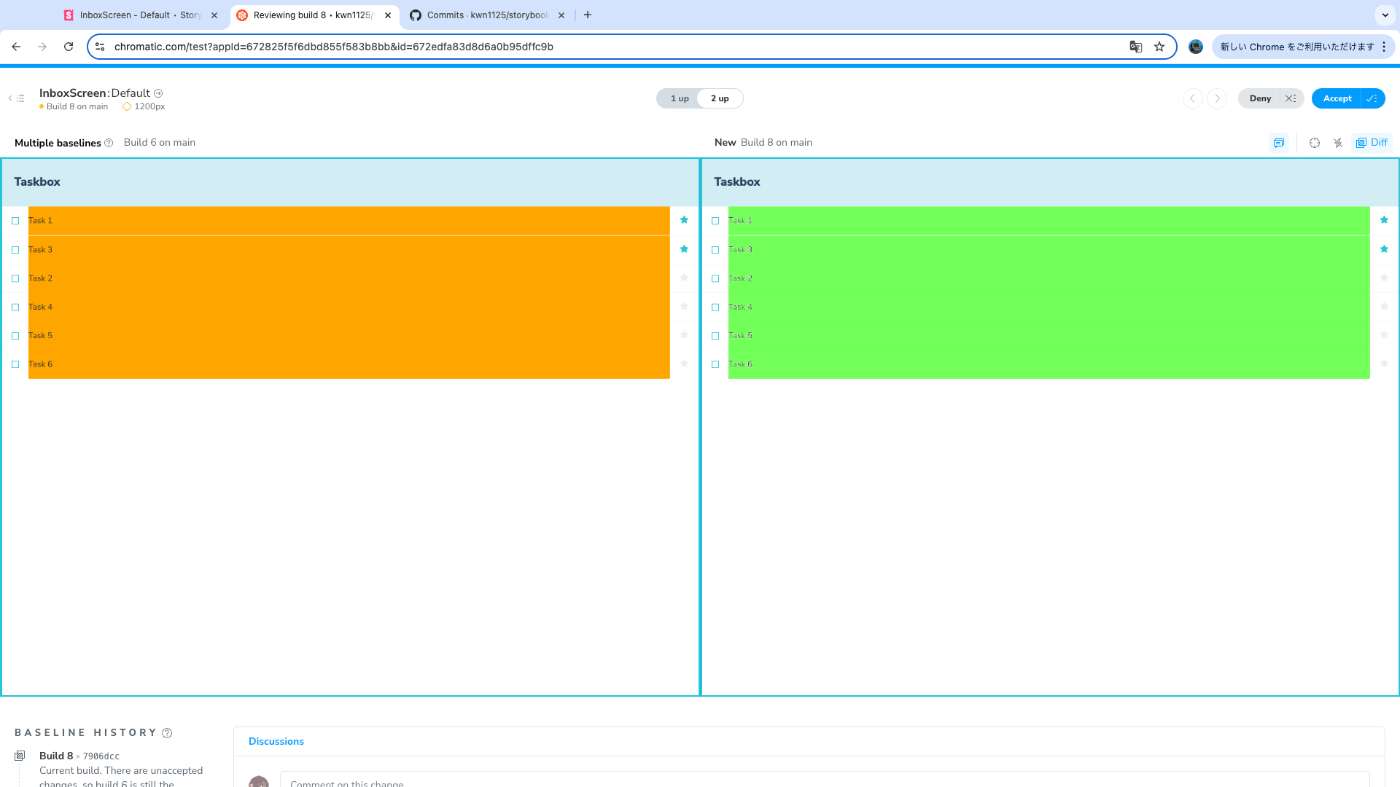
Chromaticの画面上でUIの差分を確認することができ、承認or拒否ができる。コメントやdiff確認もできるのでほぼGitHubのプルリク。
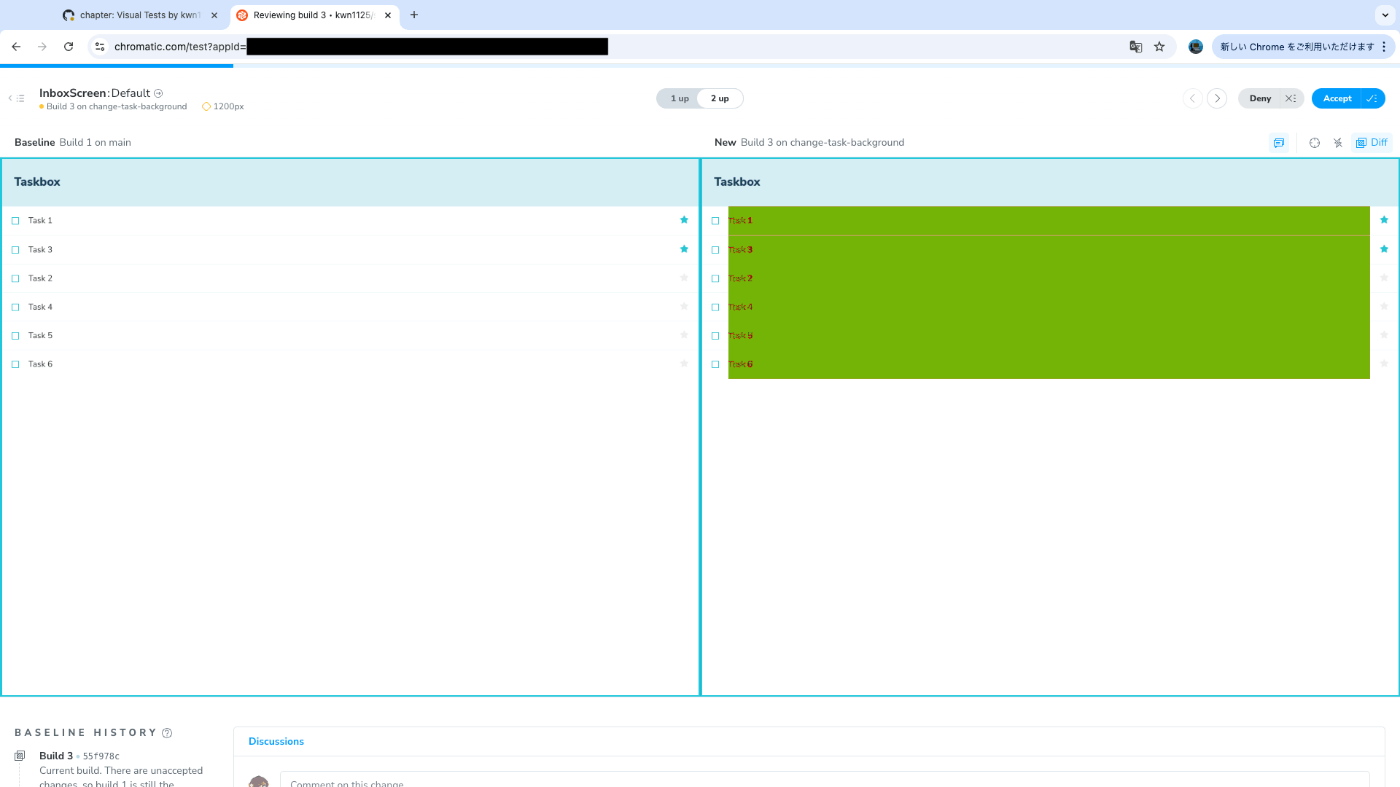
試しに1つ拒否してみた。

全て承認してみた。
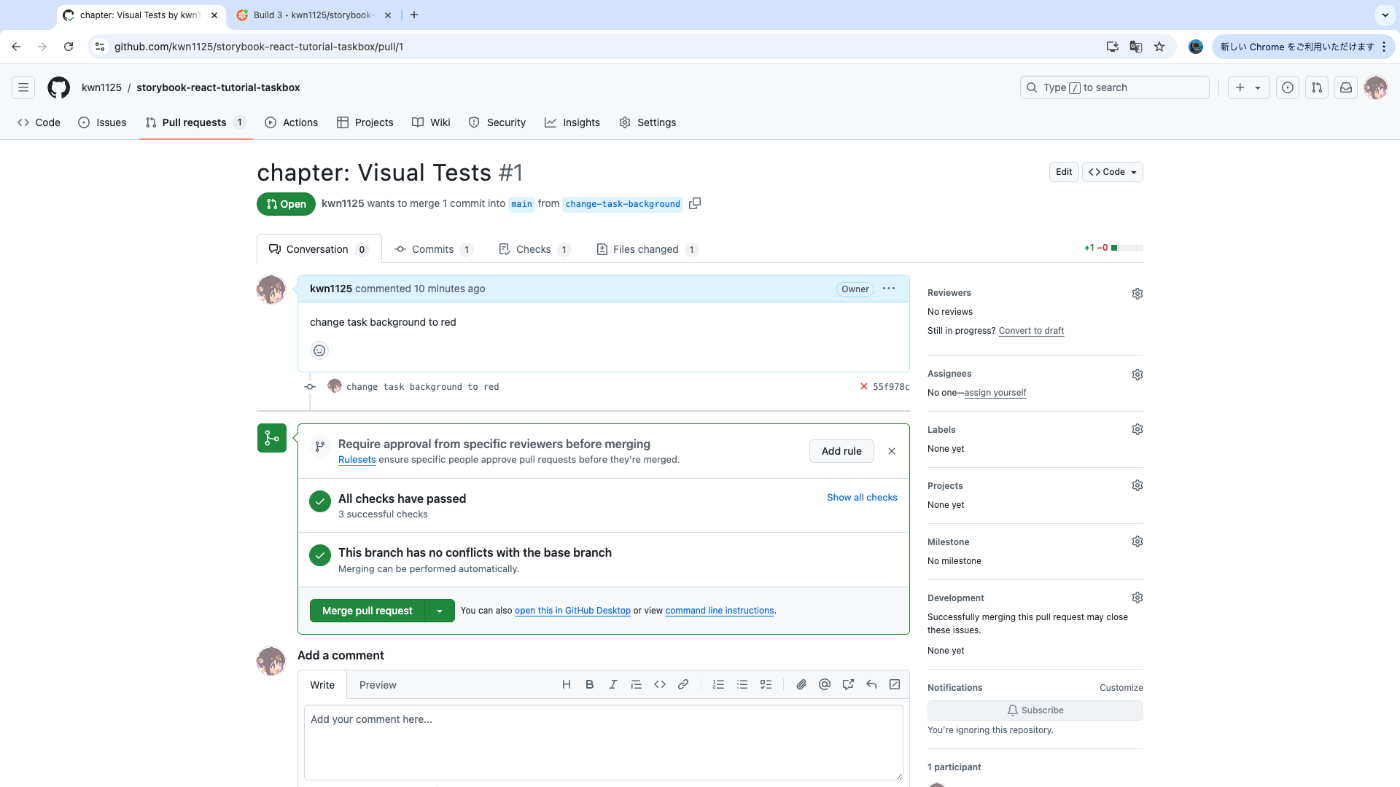
(投稿してから思ったけどChromaticのURLマスクする必要なかったな…リポジトリ公開してるから誰でもそこからアクセスできるし)
Addons
Controlsという機能を使ってめっちゃ長いタイトルだった場合の見た目を確認する。はみ出た分の文字が切れてしまっているので、3点リーダーで表示されるように修正する。最後にタイトルが長い場合のストーリーを追加して終了。
ConclusionとContributeは案内のみなので一読し全チャプター完了!
おまけ: Visual Tests addon for Storybook
全チャプター完了後に偶然見つけた @chromatic-com/storybook が気になったので試した。ローカルのStorybookでChromaticを使ったVRTを実行できるとのこと。
書いてある通りに導入しStorybookを起動すると、テスト実行のボタンやタブが増えている。
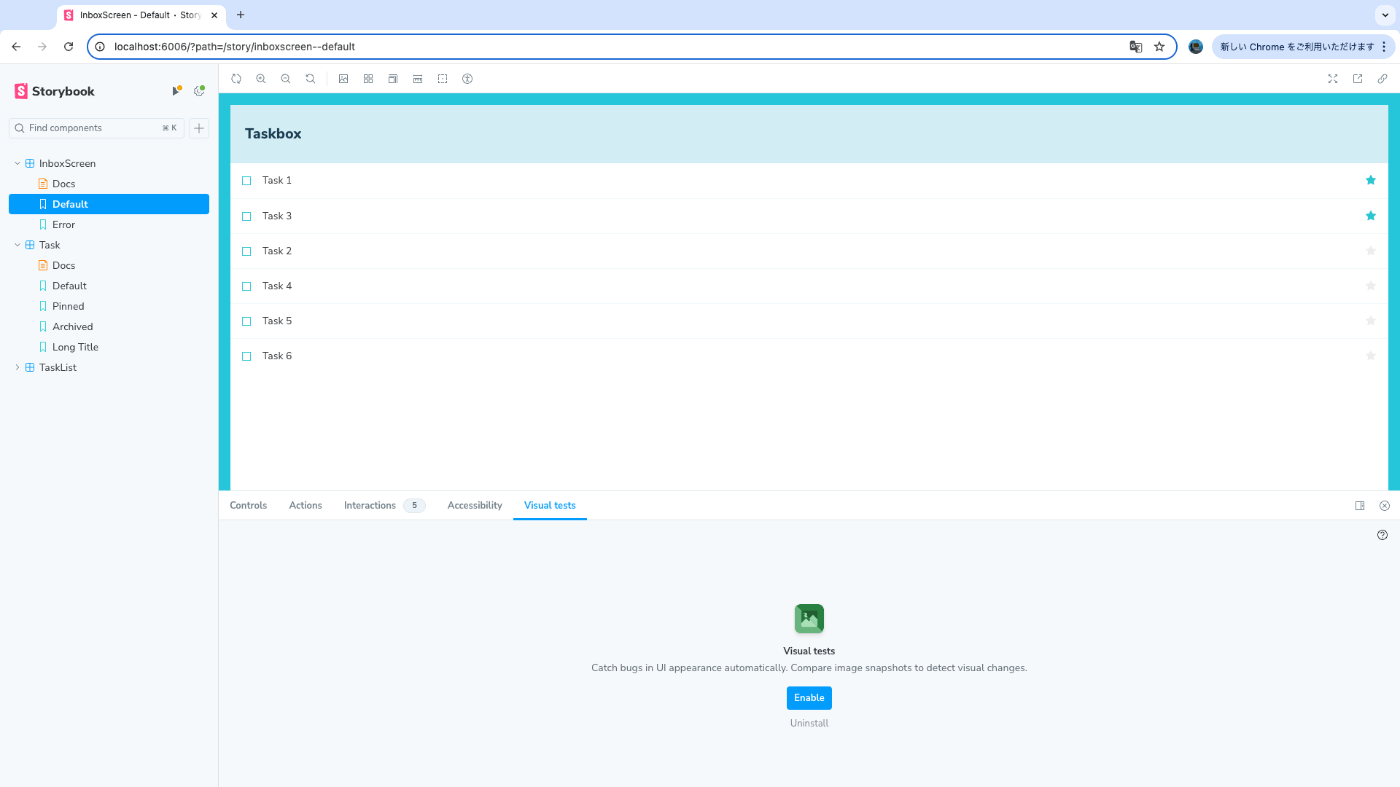
Visual testsタブのEnableを押してChromaticとの連携を済ませると変更待ち状態?に。
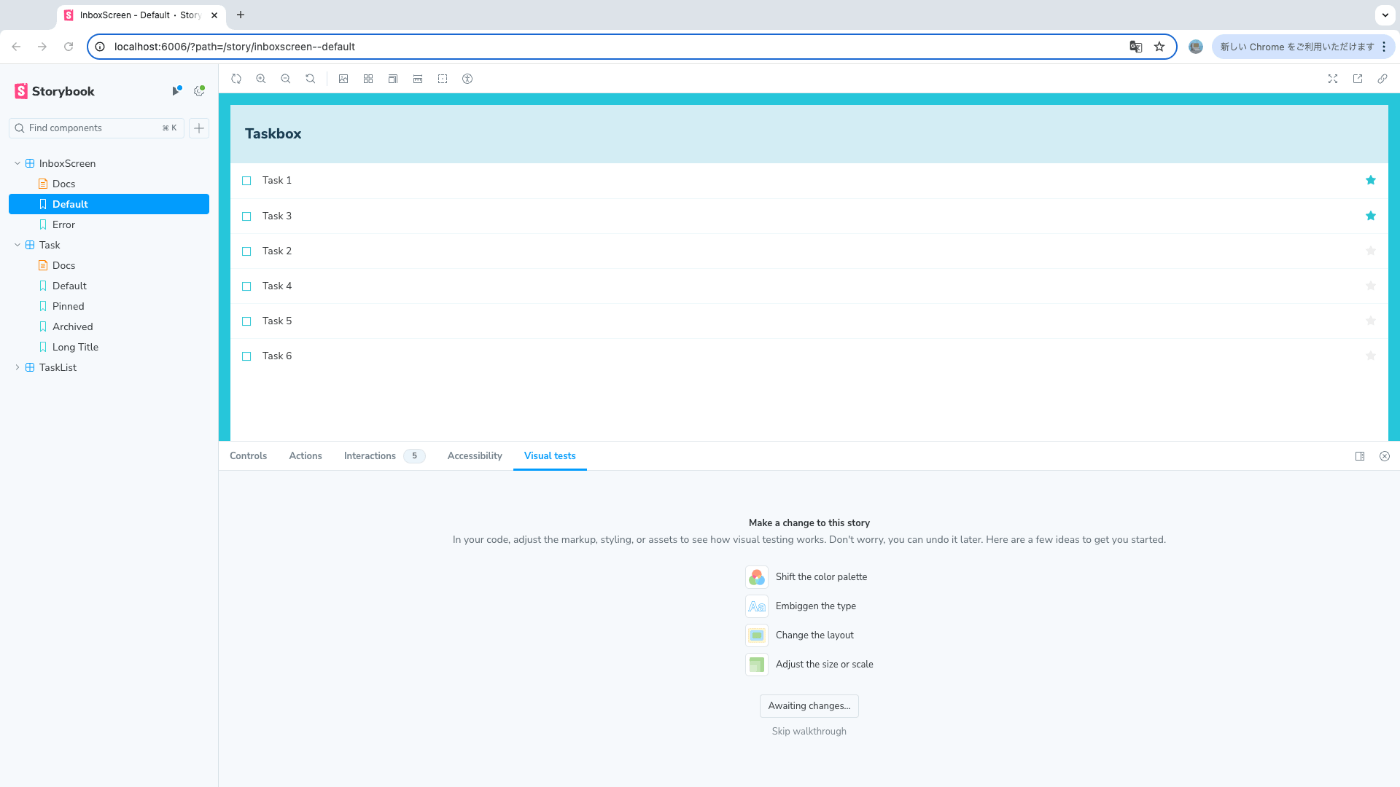
何も変更せず左上のテスト実行ボタンを押してみる。
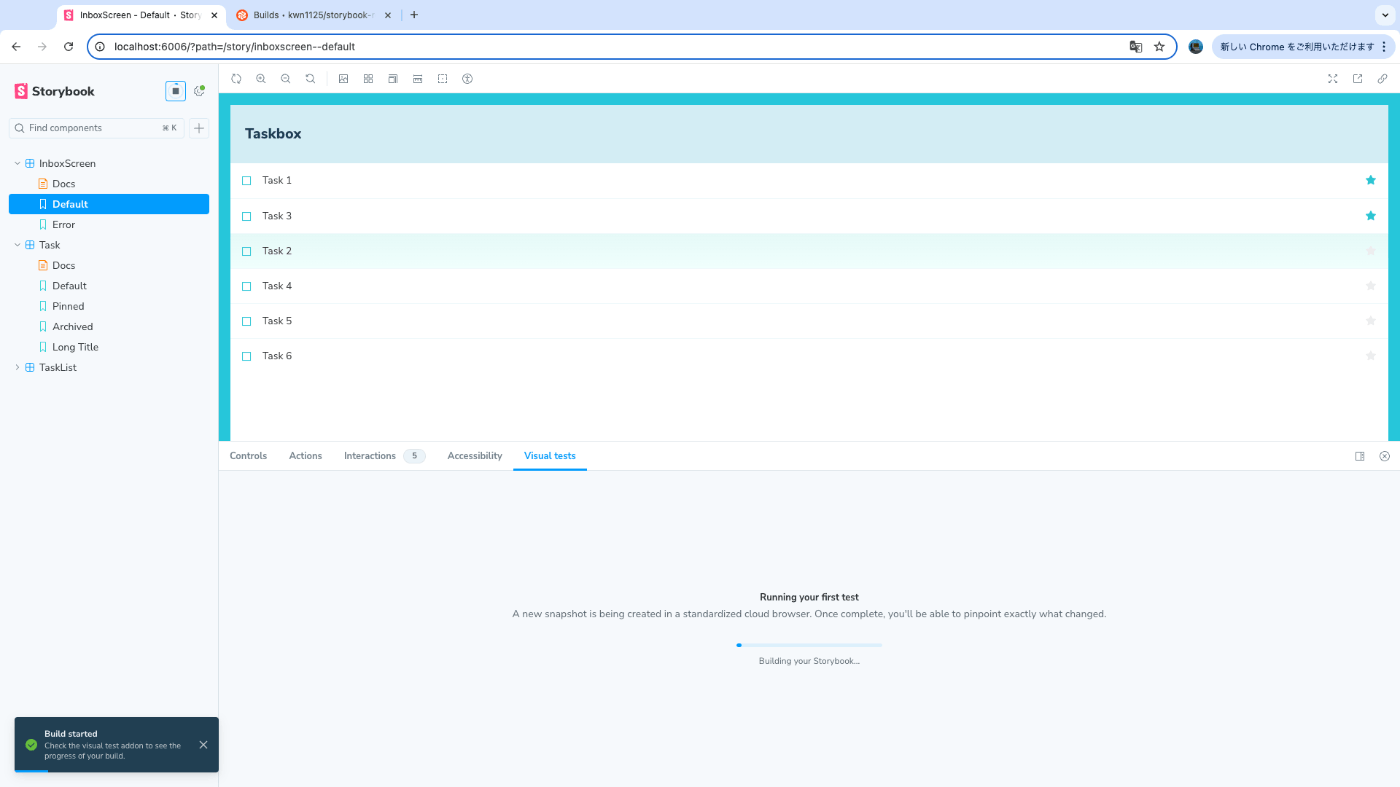
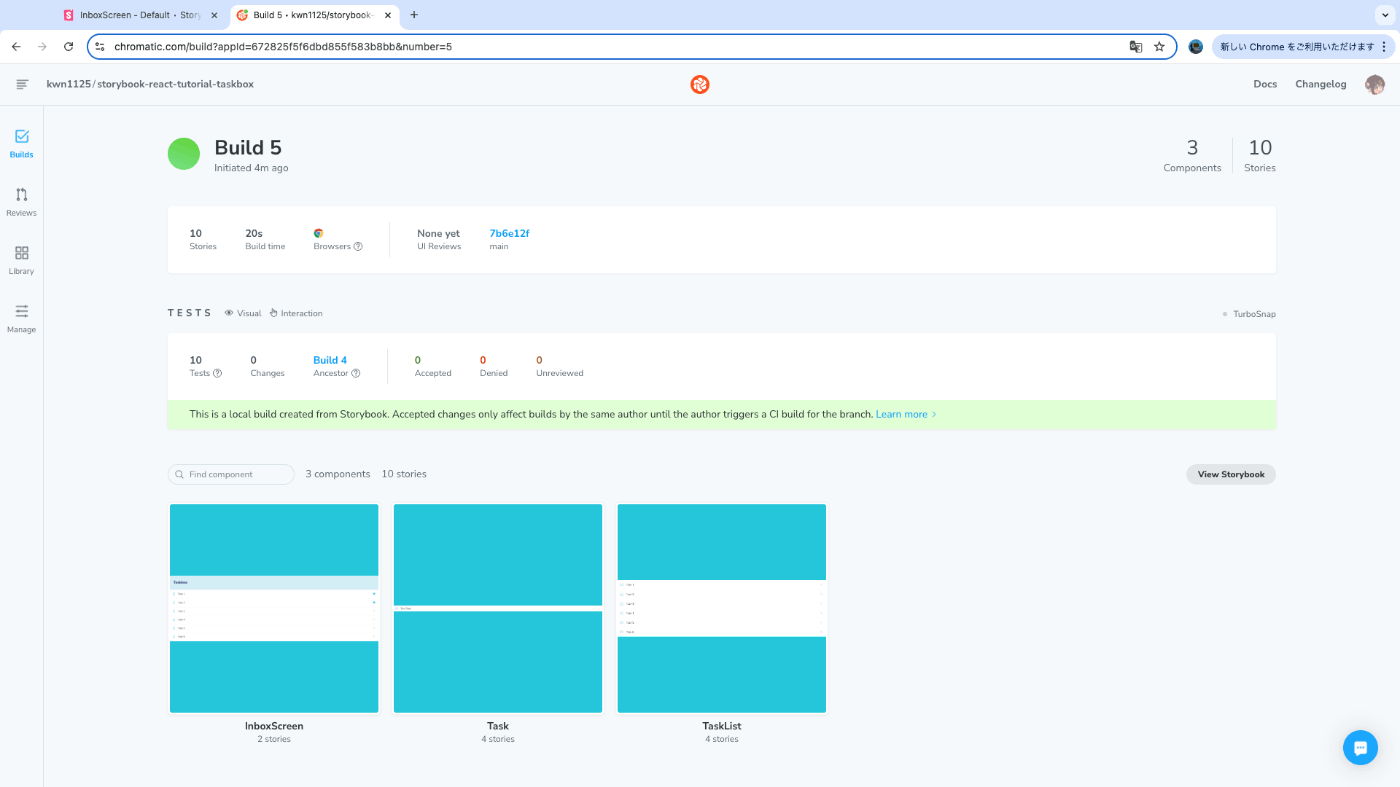
ビルドされてChromaticに反映された。何も変更してないので当然問題なしとなる。ローカルでのビルドであることがわかるようになっている。

今度は試しにTaskのタイトルの背景色をオレンジにしてみる。
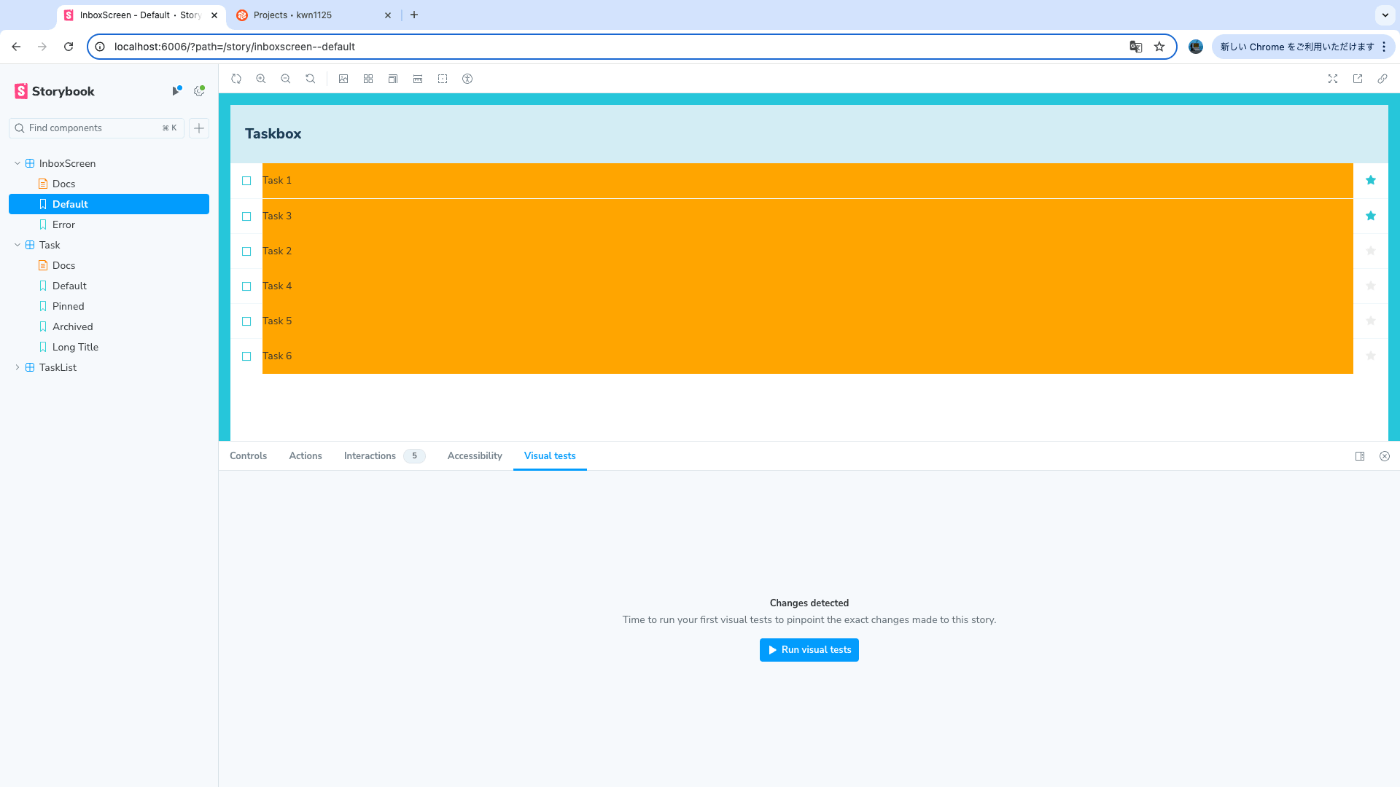
テストを実行する。左のサイドバーを見ると、影響箇所?があるストーリーがわかる。
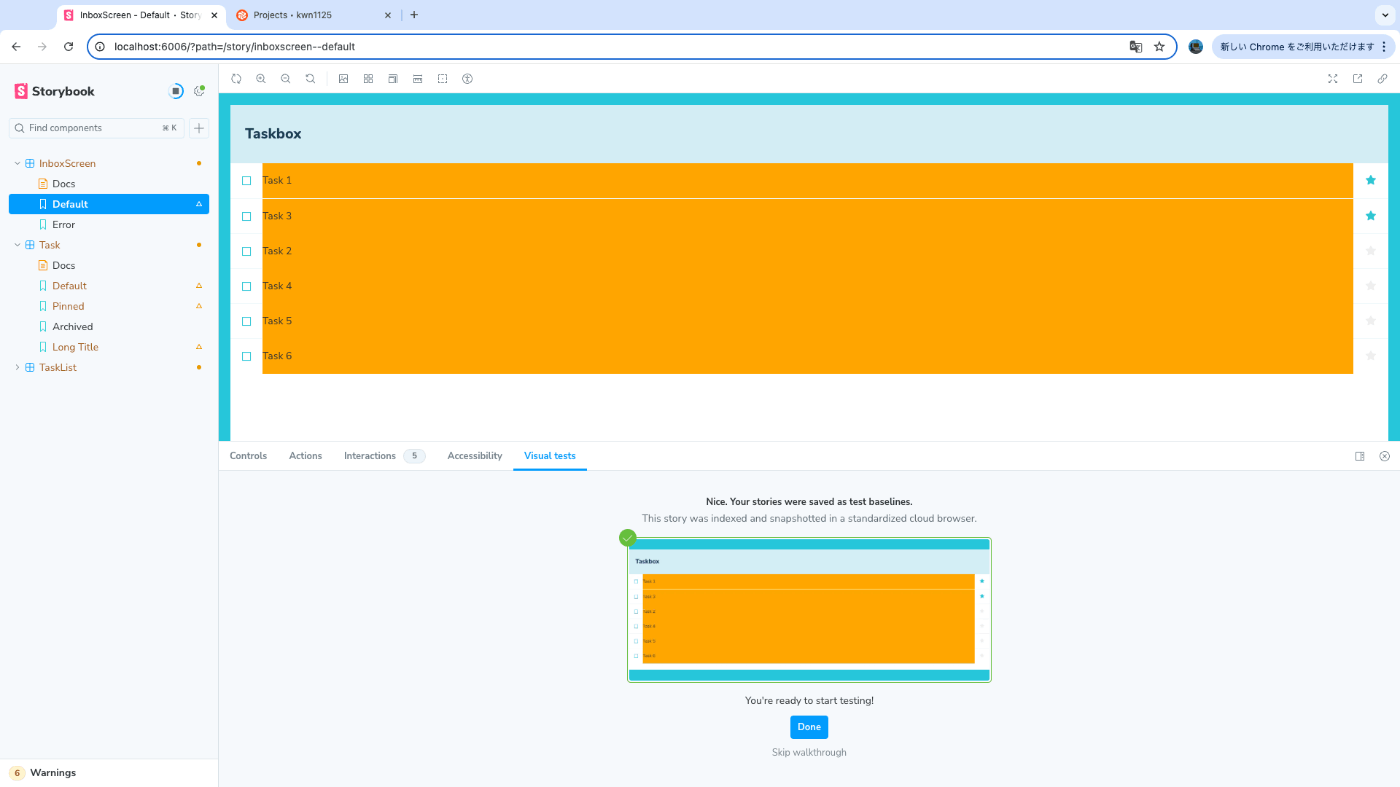
画面更新したらタブの表示内容が変わってしまったが、Storybook内で承認ができる。拒否のボタンが見当たらないので、承認するか放置かの2択なのかも。

試しに1つ承認してみると、Chromaticにもちゃんと反映されている。
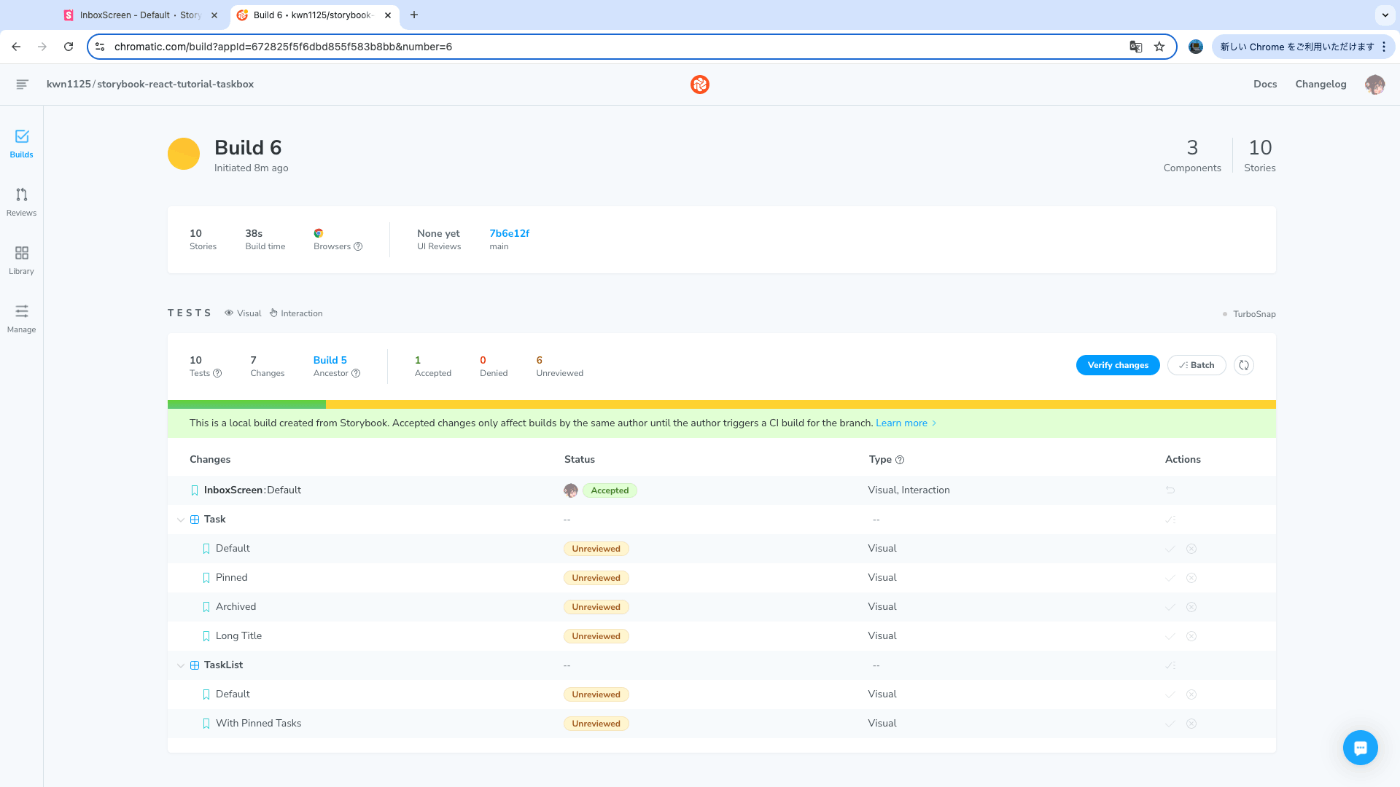
承認するとそのスナップショットがベースラインになる。つまり比較対象が更新され、次にテストを実行した時に承認したスナップショットとの比較になる。以下はドキュメントから引用。
Use the “Visual Tests” addon tab to see which pixels changed. If the changes are intentional, accept them as baselines. If they’re not intentional, fix the story and run the tests again with the ▶️ Play button.
試しにオレンジにした背景色を元に戻す。承認したスナップショットは背景色がオレンジなので差分として検出され、承認していないスナップショットはオレンジにする前のままベースラインを更新していないので変更なしと判断される。
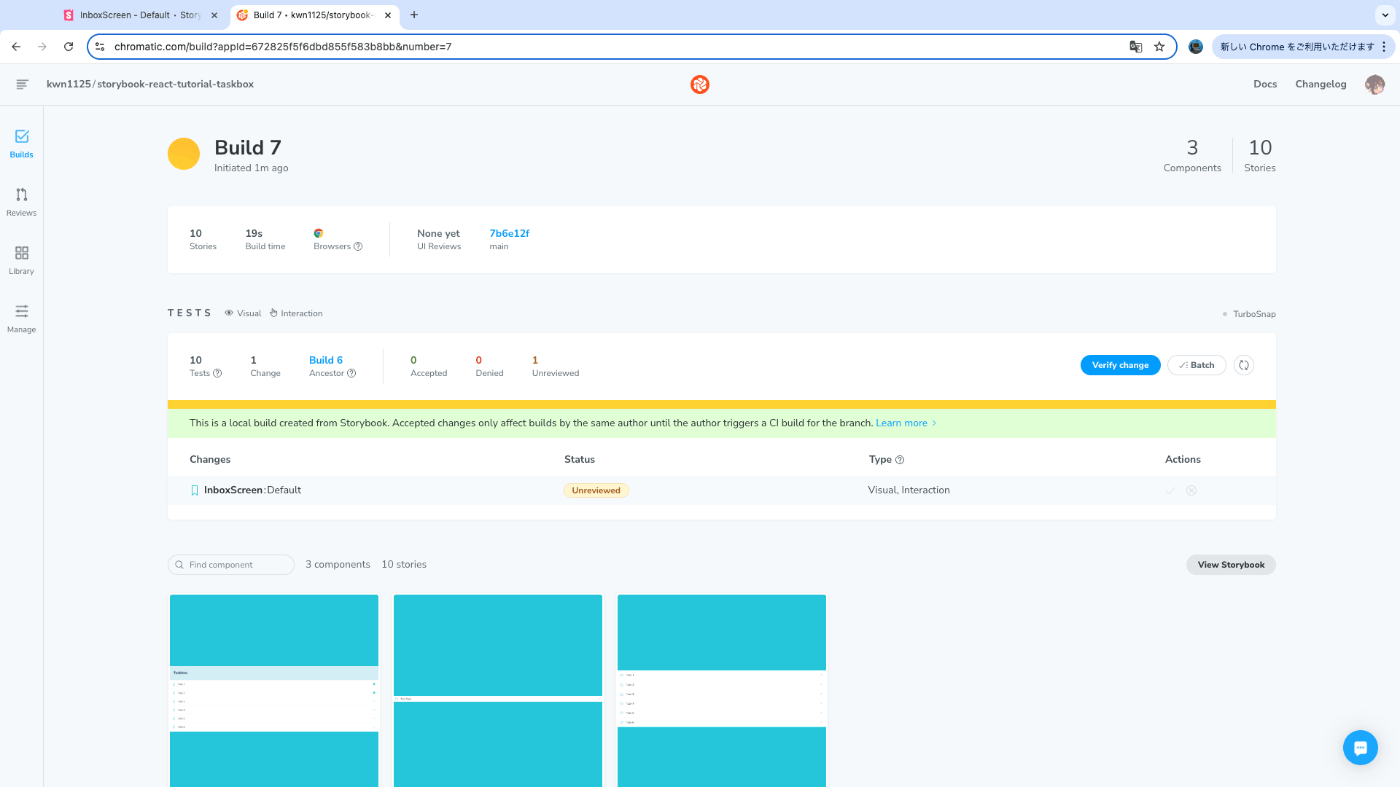
このままプッシュすれば、ローカルで承認したスナップショットとの比較になる。
