Cloudflare Workers > Get started > Guide
2023年8月18日時点でのCloudflare WorkersのGet started guideをやる
- Cloudflareのアカウントは作成済み
- npm v9.4.2
- Node.js v18.14.0
1. Create a new Worker project
C3(create-cloudflare-cli)を使ってプロジェクトを作成する。
npm create cloudflare@latest
create-cloudflareが必要なのでインストールしていいか聞かれる。
「y」と入力。
Need to install the following packages:
  create-cloudflare@2.1.1
Ok to proceed? (y) y
どのディレクトリにアプリを作るか聞かれる。
「hello-cloudflare-workers」と入力。
In which directory do you want to create your application?
dir ./hello-cloudflare-workers
どのような種類のアプリケーションを作りたいか聞かれる。
「"Hello World" Worker」を選択。
What type of application do you want to create?
● "Hello World" Worker
TypeScriptを使うか聞かれる。
「No」を選択。
Do you want to use TypeScript?
Yes / No
Gitを使うか聞かれる。
「No」を選択。
Do you want to use git for version control?
Yes / No
デプロイするか聞かれる。
「Yes」を選択。
Do you want to deploy your application?
Yes / No
認証画面が表示されるので「Allow」を押下する。
デプロイが完了し、アプリがブラウザで開かれ「Hello World!」と表示されていることを確認できる。
作成後のプロジェクトは以下のようになっている。
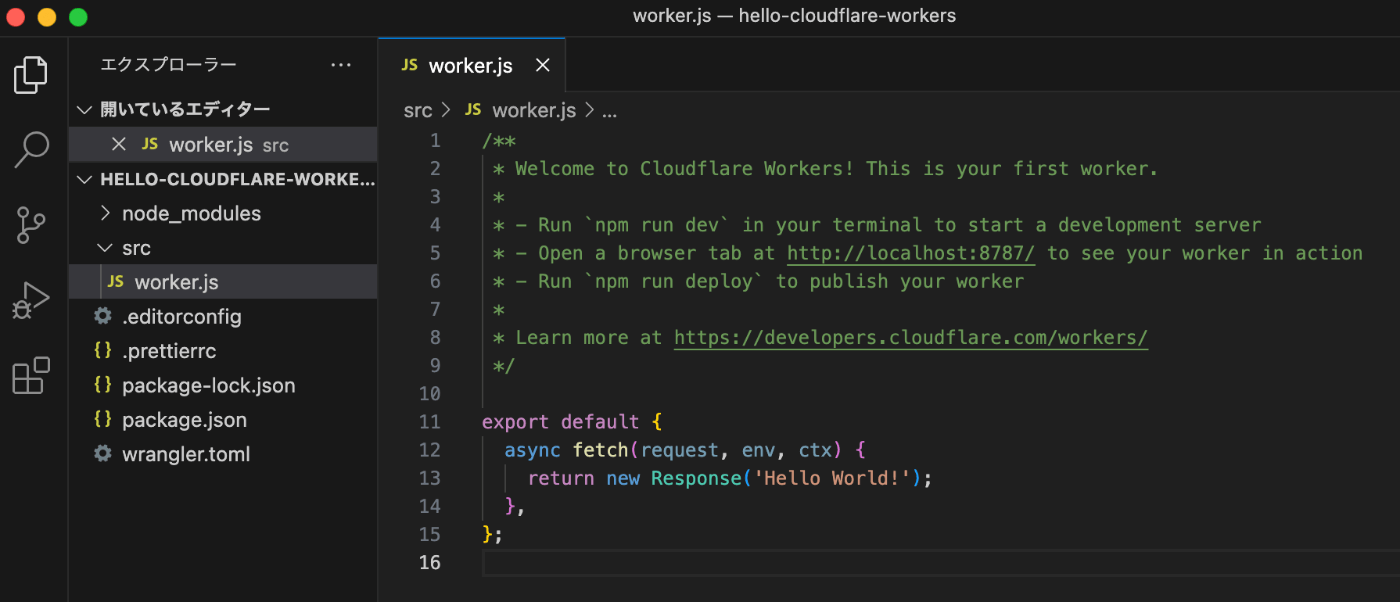
ドキュメントから引用。
- wrangler.toml: Your Wrangler configuration file.
- worker.js (in /src): A minimal 'Hello World!' Worker written in ES module syntax.
- package.json: A minimal Node dependencies configuration file.
- package-lock.json: Refer to npm documentation on package-lock.json.
- node_modules: Refer to npm documentation node_modules.
2. Develop with Wrangler CLI
ローカルで起動させる。
npx wrangler dev
wranglerが必要なのでインストールしていいか聞かれる。
「y」を入力。
Need to install the following packages:
  wrangler@3.5.1
Ok to proceed? (y) y
メトリクスをCloudflareに送信するか聞かれる。
「y」を入力。
Would you like to help improve Wrangler by sending usage metrics to Cloudflare?
y / n
http://localhost:8787にアクセスすると「Hello World!」と表示されていることを確認できる。
3. Write code
最初に生成された以下のコードについての説明がされている。
export default {
  async fetch(request, env, ctx) {
    return new Response('Hello World!');
  },
};
ドキュメントから引用。
- The export statement: export default
export default is JavaScript syntax required for defining JavaScript modules. Your Worker has to have a default export of an object, with properties corresponding to the events your Worker should handle.- The event handler: async fetch(request)
This event handler will be called when your Worker receives a fetch event. You can define additional event handlers in the exported object to respond to different types of events. For example, add an async scheduled(event) {} function definition to respond to scheduled events.- Parameters: request, env, context
The fetch event handler will always get three parameters passed into it: request, env and context.
"Hello World!"を"Hello Worker!"に変更して保存。
export default {
  async fetch(request, env, ctx) {
    return new Response('Hello Worker!');
  },
};
http://localhost:8787をリロードすると「Hello Worker!」と表示されていることを確認できる。
4. Deploy your project
デプロイする。
npx wrangler deploy
https://hello-cloudflare-workers.<YOUR_SUBDOMAIN>.workers.devにアクセスすると「Hello Worker!」と表示されていることを確認できる。デフォルトだと<YOUR_SUBDOMAIN>にはメールアドレスのローカルパートが入っている。
色々記事を見てると「wrangler publish」でデプロイしてる記事が多かったので調べてみたところ、wranglerのv3ではpublishは非推奨になっており削除が予定されているとのこと。
ドキュメントから引用。
This command has been deprecated as of v3 in favor of npx wrangler deploy. It will be removed in v4.
5. Write tests
テストコードのサンプルが書かれている。
テストランナーや実行方法について書かれていないので、とりあえずjestを入れて試す。
npm install --save-dev jest
test/worker.test.jsを作り、テストコードを書く。
ここまで使ってきたプロジェクトにサンプルのテストコードを使うとエラーになるので少し修正。
const { unstable_dev } = require("wrangler");

describe("Worker", () => {
  let worker;

  beforeAll(async () => {
    worker = await unstable_dev("src/worker.js", {
      experimental: { disableExperimentalWarning: true },
    });
  });

  afterAll(async () => {
    await worker.stop();
  });

  it("should return Hello Worker", async () => {
    const resp = await worker.fetch();
    if (resp) {
      const text = await resp.text();
      expect(text).toMatchInlineSnapshot(`"Hello Worker!"`);
    }
  });
});
テストを実行する。
npx jest
以下の通り出力され成功を確認できた。
 PASS  test/worker.test.js
  Worker
    ✓ should return Hello Worker (27 ms)

Test Suites: 1 passed, 1 total
Tests:       1 passed, 1 total
Snapshots:   1 passed, 1 total
Time:        1.679 s
Ran all test suites.