Playwright + VueをDockerで実行する
はじめに
テストライブラリであるPlaywrightを使用して、Dockerコンテナ内でVueのテストを行う方法を紹介します。
ソースコード:https://github.com/kurokimaru/playwright-introduction
この記事を読んでほしい人
- Playwrightの使い方を知りたい人
- PlaywrightをDockerコンテナ内で実行する方法が知りたい人
- Playwrightに興味がある人
テストを行う前準備
まずは、Vueアプリを作成してきます。今回は、Vueアプリ作成時に、Playwrightは入れません。後からPlaywrightを追加します。
$ npm init vue@latest

Vue.js - The Progressive JavaScript Framework

✔ Project name: … playwright-introduction
✔ Add TypeScript? … No / Yes
✔ Add JSX Support? … No / Yes
✔ Add Vue Router for Single Page Application development? … No / Yes
✔ Add Pinia for state management? … No / Yes
✔ Add Vitest for Unit Testing? … No / Yes
✔ Add an End-to-End Testing Solution? › No
✔ Add ESLint for code quality? … No / Yes
✔ Add Prettier for code formatting? … No / Yes
ここで、Playwrightを追加します。
$ npm init playwright@latest
Getting started with writing end-to-end tests with Playwright:
Initializing project in '.'
✔ Do you want to use TypeScript or JavaScript? · TypeScript
✔ Where to put your end-to-end tests? · tests
✔ Add a GitHub Actions workflow? (y/N) · false
✔ Install Playwright browsers (can be done manually via 'npx playwright install')? (Y/n) · true
Initializing NPM project (npm init -y)…
ライブラリをインストールします。
$ npm install
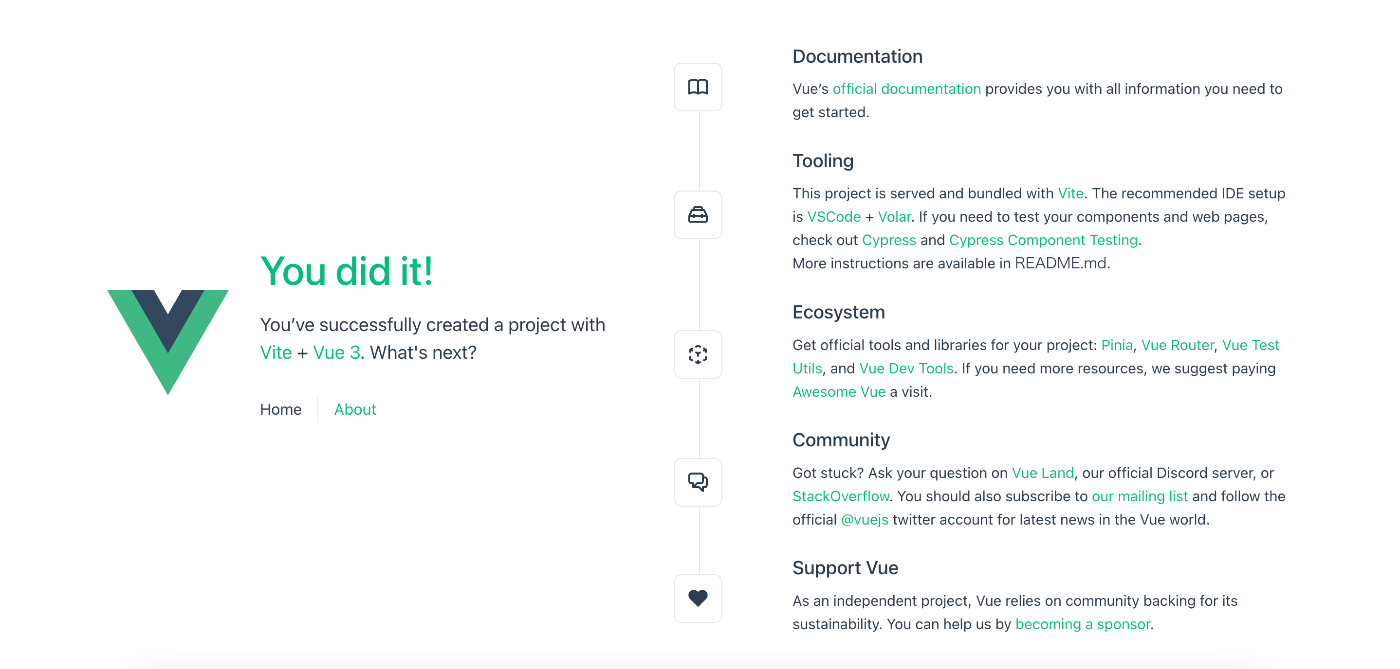
ここまでできたら、サーバーを起動し、http://localhost:5173/ で以下のような画面が表示されることを確認しましょう。
$ npm run dev
Playwrightを追加した際に、自動的に生成されたtests-examplesと、tests/example.spec.tsは使用しないので、削除します。
$ rm -rf tests-examples/
$ rm tests/example.spec.ts
Playwrightの設定を行う
まずは、Playwrightの設定を行います。デフォルトの設定のままでも大丈夫ですが、今回はローカルでサーバーを起動して、テストするため、その設定を追加します。playwright.config.tsを以下のように修正してください。
playwright.config.ts
import type { PlaywrightTestConfig } from '@playwright/test'
import { devices } from '@playwright/test'

/**
 * Read environment variables from file.
 * https://github.com/motdotla/dotenv
 */
// require('dotenv').config();

/**
 * See https://playwright.dev/docs/test-configuration.
 */
const config: PlaywrightTestConfig = {
  testDir: './tests',
  /* Maximum time one test can run for. */
  timeout: 30 * 1000,
  expect: {
    /**
     * Maximum time expect() should wait for the condition to be met.
     * For example in `await expect(locator).toHaveText();`
     */
    timeout: 5000
  },
  /* Fail the build on CI if you accidentally left test.only in the source code. */
  forbidOnly: true,
  /* Retry on CI only */
  retries: 0,
  /* Opt out of parallel tests on CI. */
  workers: undefined,
  /* Reporter to use. See https://playwright.dev/docs/test-reporters */
  reporter: 'html',
  /* Shared settings for all the projects below. See https://playwright.dev/docs/api/class-testoptions. */
  use: {
    /* Maximum time each action such as `click()` can take. Defaults to 0 (no limit). */
    actionTimeout: 0,
    /* Base URL to use in actions like `await page.goto('/')`. */
    baseURL: 'http://localhost:5173',

    /* Collect trace when retrying the failed test. See https://playwright.dev/docs/trace-viewer */
    trace: 'on-first-retry',

    /* Only on CI systems run the tests headless */
    headless: false
  },

  /* Configure projects for major browsers */
  projects: [
    {
      name: 'chromium',
      use: {
        ...devices['Desktop Chrome']
      }
    },
    {
      name: 'firefox',
      use: {
        ...devices['Desktop Firefox']
      }
    },
    {
      name: 'webkit',
      use: {
        ...devices['Desktop Safari']
      }
    }

    /* Test against mobile viewports. */
    // {
    //   name: 'Mobile Chrome',
    //   use: {
    //     ...devices['Pixel 5'],
    //   },
    // },
    // {
    //   name: 'Mobile Safari',
    //   use: {
    //     ...devices['iPhone 12'],
    //   },
    // },

    /* Test against branded browsers. */
    // {
    //   name: 'Microsoft Edge',
    //   use: {
    //     channel: 'msedge',
    //   },
    // },
    // {
    //   name: 'Google Chrome',
    //   use: {
    //     channel: 'chrome',
    //   },
    // },
  ],

  /* Folder for test artifacts such as screenshots, videos, traces, etc. */
  // outputDir: 'test-results/',

  /* Run your local dev server before starting the tests */
  webServer: {
    /**
     * Use the dev server by default for faster feedback loop.
     * Use the preview server on CI for more realistic testing.
    Playwright will re-use the local server if there is already a dev-server running.
     */
    command: 'npm run dev',
    port: 5173,
    reuseExistingServer: false
  }
}

export default config
重要な部分だけ説明すると、
- ここで、テストのオプションを設定しています。headless = falseにすると、テスト実行時にブラウザが表示され、テストが実行されます。
  use: {
    /* Maximum time each action such as `click()` can take. Defaults to 0 (no limit). */
    actionTimeout: 0,
    /* Base URL to use in actions like `await page.goto('/')`. */
    baseURL: 'http://localhost:5173',

    /* Collect trace when retrying the failed test. See https://playwright.dev/docs/trace-viewer */
    trace: 'on-first-retry',

    /* Only on CI systems run the tests headless */
    headless: false
  },
- ここで、localのサーバーの設定を行います。reuseExistingServer = trueにすると、すでにlocalでサーバーが立ち上がっている場合、新たにサーバーを起動せず、そのサーバー再利用します。今回は、再利用させないようにしておきます。
  webServer: {
    /**
     * Use the dev server by default for faster feedback loop.
     * Use the preview server on CI for more realistic testing.
    Playwright will re-use the local server if there is already a dev-server running.
     */
    command: 'npm run dev',
    port: 5173,
    reuseExistingServer: false
  }
また、package.jsonに、以下のコマンドを追加します。
+ "test": "playwright test",
ここまで、できたら設定は完了です。テストを書いてみましょう。
赤枠で囲んだように、タイトル部分に「You did it!」と表示されることをテストします。

tests/home_view.spec.ts というファイルを作り、「title check」という名前でテストコードを追加します。
$ touch tests/home_view.spec.ts
import { test, expect } from '@playwright/test'

test('title check', async ({ page }) => {
  await page.goto('/')
  await expect(page.locator('div.greetings > h1')).toHaveText('You did it!')
})
テストを実行してみましょう。「3 passed」と表示されれば、テスト成功です。
$ npm run test

> playwright-introduction@0.0.0 test
> playwright test


Running 3 tests using 2 workers
  3 passed (13.1s)

To open last HTML report run:

  npx playwright show-report
Dockerコンテナ内でPlaywrightを実行する
ここまでは、OS上でPlaywrightを実行していましたが、Dockerコンテナ内で実行するようにします。
Dockerfileとdocker-compose.yamlを追加し、以下のように編集します。
touch Dockerfile docker-compose.yaml
公式が用意しているImageを使用します。また、Image作成時にライブラリがインストールされるように、CMDを追加しておきます。
FROM mcr.microsoft.com/playwright:focal

WORKDIR /app

CMD [ "bash", "-c", "npm install && /bin/bash" ]
version: "3.7"
services:
  tests:
    build:
      context: ./
    volumes:
    - ./:/app
    - /app/node_modules
    ports:
      - "9323:9323"
    tty: true
ここまでできたら、コンテナを起動します。
$ docker-compose up -d
コンテナの中に入り、Playwrightを実行してみましょう。playwright-introduction-tests-1という名前でコンテナが起動していたので、このコンテナの中に入り、実行します。
$ docker ps
CONTAINER ID   IMAGE                           COMMAND                   CREATED          STATUS          PORTS                    NAMES
dae563b1b656   playwright-introduction-tests   "bash -c 'npm instal…"   31 minutes ago   Up 31 minutes   0.0.0.0:9323->9323/tcp   playwright-introduction-tests-1
実行すると、以下のようなエラーが出て、テストが失敗します。
$ docker exec -it playwright-introduction-tests-1 bash
root@dae563b1b656:/app# npm run test

// 省略
 ╔════════════════════════════════════════════════════════════════════════════════════════════════╗
    ║ Looks like you launched a headed browser without having a XServer running.                     ║
    ║ Set either 'headless: true' or use 'xvfb-run <your-playwright-app>' before running Playwright. ║
    ║                                                                                                ║
    ║ <3 Playwright Team                                                                             ║
    ╚════════════════════════════════════════════════════════════════════════════════════════════════╝

  3 failed

// 省略
このエラーは、headless = trueにするか、xvfb-run playwright testのコマンドで、テストを実行すると、解決します。今回は、xvfb-run playwright testのコマンドで、テストを実行するように変更します。
package.jsonに、以下のコマンドを追加します。
+ "test:docker": "xvfb-run playwright test",
再度、Dockerコンテナ内に入り、テストを実行してみましょう。今度は、テストが成功しました。
$ docker exec -it playwright-introduction-tests-1 bash
root@dae563b1b656:/app# npm run test:docker

> playwright-introduction@0.0.0 test:docker
> xvfb-run playwright test


Running 3 tests using 1 worker
  3 passed (11.3s)

To open last HTML report run:

  npx playwright show-report
レポートを開いてみましょう。以下のコマンドを実行して、レポートサーバーを起動します。
root@dae563b1b656:/app# npx playwright show-report

  Serving HTML report at http://localhost:9323. Press Ctrl+C to quit.
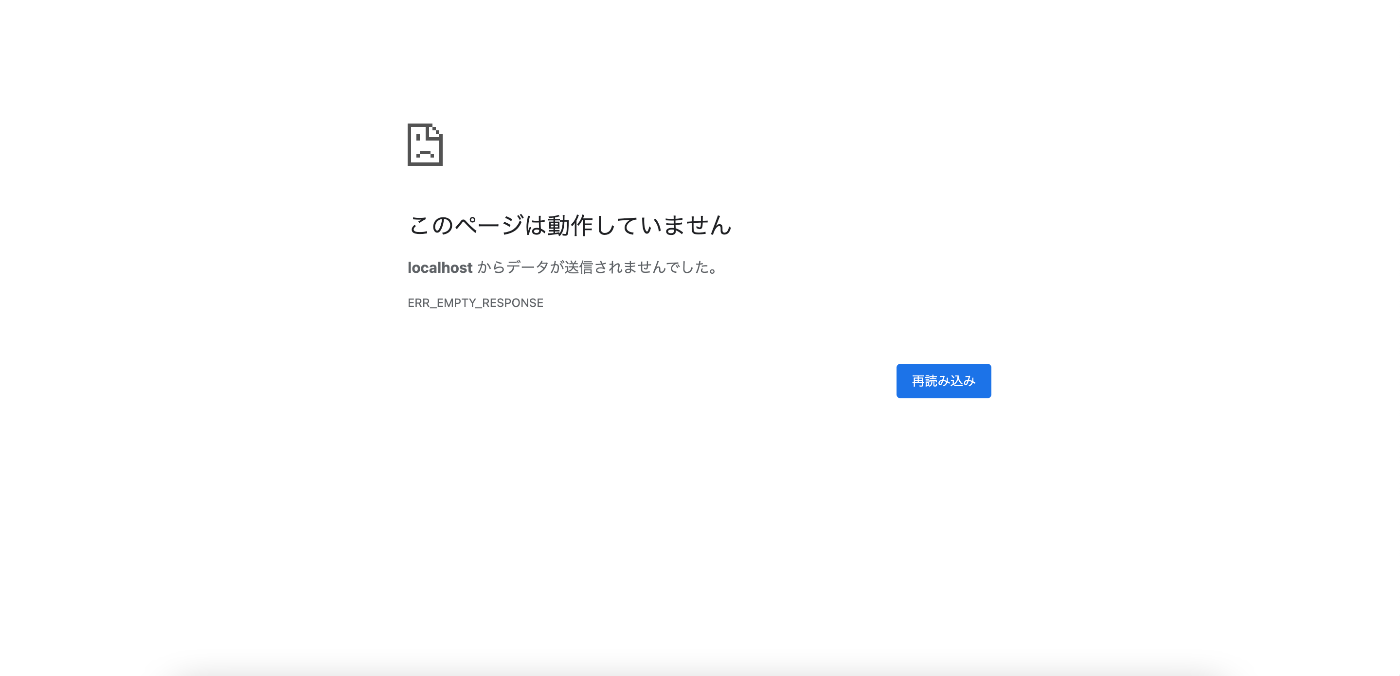
http://localhost:9323 にアクセスしても、レポートが見れません。ホストからDockerコンテナ内のレポートサーバーにアクセスできないようです。
ホストからDockerコンテナ内のレポートサーバーにアクセスできるように、playwright.config.tsを以下のように編集します。
これで、ホストからDockerコンテナ内のレポートサーバーにアクセスできるようになります。また、open: 'always'とすることで、テストの成功・失敗に関わらず、テスト実行後、常にレポートサーバーが起動するようにします。
- reporter: 'html',
+ reporter: [['html', { host: '0.0.0.0', port: '9323', open: 'always' }]],
再度、Dockerコンテナ内に入り、テストを実行してみます。
$ docker exec -it playwright-introduction-tests-1 bash
root@dae563b1b656:/app# npm run test:docker

> playwright-introduction@0.0.0 test:docker
> xvfb-run playwright test


Running 3 tests using 1 worker
  3 passed (10.2s)

  Serving HTML report at http://0.0.0.0:9323. Press Ctrl+C to quit.
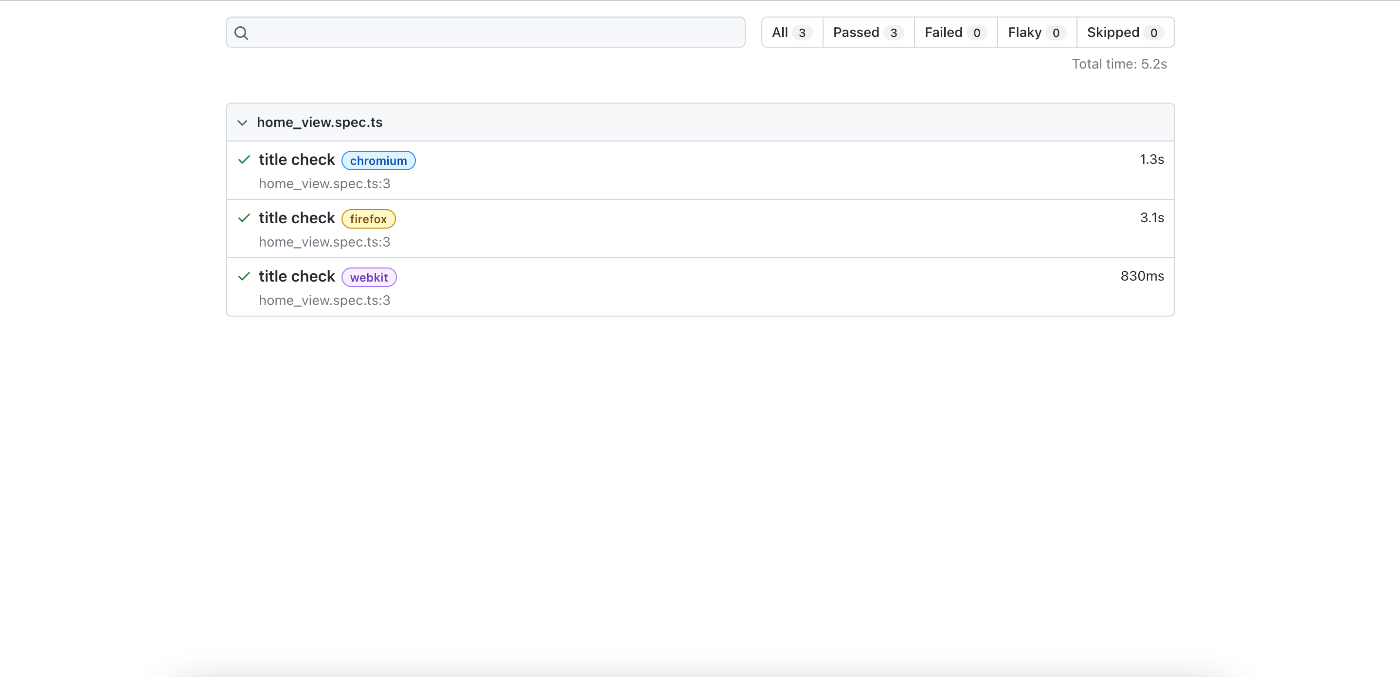
テストが成功し、レポートサーバーが起動しました。http://localhost:9323 にアクセスし、レポートを見てみます。今度はちゃんとレポートが見れました。
最後に
いかがだったでしょうか。難しい設定などは要らずに、PlaywrightをDockerコンテナ内で実行することができました。ソースコードは以下のリポジトリから確認できます。
ソースコード:https://github.com/kurokimaru/playwright-introduction
Discussion