Python実行環境を見直す(Poetry, rye, devcontainer)
この辺りを見て、pyenv-virtualenvからPoetryに乗り換えてみようと思った次第。devcontainerもあわせたい。
poetry
インストール
$ curl -sSL https://install.python-poetry.org | python3 -

Retrieving Poetry metadata

# Welcome to Poetry!

This will download and install the latest version of Poetry,
a dependency and package manager for Python.

It will add the `poetry` command to Poetry's bin directory, located at:

/home/kun432/.local/bin

You can uninstall at any time by executing this script with the --uninstall option,
and these changes will be reverted.

Installing Poetry (1.5.1): Done

Poetry (1.5.1) is installed now. Great!

To get started you need Poetry's bin directory (/home/kun432/.local/bin) in your `PATH`
environment variable.

Add `export PATH="/home/kun432/.local/bin:$PATH"` to your shell configuration file.

Alternatively, you can call Poetry explicitly with `/home/kun432/.local/bin/poetry`.

You can test that everything is set up by executing:
pyenv環境で使ってるけどインストール先大丈夫かと?と思ったのだけど、どうやら$HOME/.local以下にインストールされるので、問題ない様子。
.bashrcなどにパスを追加して再度読み込みなおす。
export PATH="/home/kun432/.local/bin:$PATH"
インストールできている。
$ poetry --version
Poetry (version 1.5.1)
タブ補完
$ mkdir -p ${XDG_DATA_HOME:-~/.local/share}/bash-completion/completions/
$ poetry completions bash > ${XDG_DATA_HOME:-~/.local/share}/bash-completion/completions/poetry
Poetryのアップデート
Poetryを最新化する場合。インストールしたてだからないかもだけど。
$ poetry self update

Updating Poetry version ...


Failed to unlock the collection!
なんかエラーになる。↓とか見てみたけど、ちょっと状況が違う気がするので、ここは一旦後で調べることにする。
プロジェクトの作成
Pythonのバージョンは予めpyenvでglobalに設定しておく。(ここはちょっとイマイチ感があるけどどうなんだろう・・・)
$ pyenv install  3.10.11
$ pyenv global  3.10.11
プロジェクトを作成。
$ poetry new poetry-demo
Created package poetry_demo in poetry-demo
ディレクトリ構成はこんな感じ。
$ tree poetry-demo/
poetry-demo/
├── README.md
├── poetry_demo
│   └── __init__.py
├── pyproject.toml
└── tests
    └── __init__.py

2 directories, 4 files
pyproject.tomlがプロジェクトの設定ファイルになる。デフォルトはこんな感じ。
[tool.poetry]
name = "poetry-demo"
version = "0.1.0"
description = ""
authors = ["kun432 <foo@example.com>"]
readme = "README.md"
packages = [{include = "poetry_demo"}]

[tool.poetry.dependencies]
python = "^3.9"


[build-system]
requires = ["poetry-core"]
build-backend = "poetry.core.masonry.api"
Pythonのバージョン指定はここで行うっぽいのだけど、3.9以上になってる。3.10にしたんだけどなー。恐らくここは環境に合わせるのではないかと思う。
poetry installで仮想環境を作成してパッケージをインストールする。
$ cd poetry-demo
$ poetry install
Creating virtualenv poetry-demo-XXXXXXXX-py3.9 in /home/kun432/.cache/pypoetry/virtualenvs
Updating dependencies
Resolving dependencies... (0.1s)

Writing lock file

Installing the current project: poetry-demo (0.1.0)
すると、poetry.lockというファイルが作成される。ここにパッケージ情報などが追加されて管理される模様。
# This file is automatically @generated by Poetry 1.5.1 and should not be changed by hand.
package = []

[metadata]
lock-version = "2.0"
python-versions = "^3.9"
content-hash = "XXXXXXXXXXXXXXXXXXXXXXXXXXXXXXXXXXXXXXXXXXXXXXXXXXXXXXXX"
パッケージの追加はpoetry addで。streamlitを追加してみる。
$ poetry add streamlit

Failed to unlock the collection!
うむ、やはりおかしい。ということでworkaround。
$ export PYTHON_KEYRING_BACKEND=keyring.backends.null.Keyring
再度やったらpythonとstreamlitのバージョンと合わなかったらしい。
$ poetry add streamlit

Using version ^1.24.1 for streamlit

Updating dependencies
Resolving dependencies... (0.1s)

The current project's Python requirement (>=3.9,<4.0) is not compatible with some of the required packages Python requirement:
  - streamlit requires Python >=3.8, !=3.9.7, so it will not be satisfied for Python 3.9.7

Because no versions of streamlit match >1.24.1,<2.0.0
 and streamlit (1.24.1) requires Python >=3.8, !=3.9.7, streamlit is forbidden.
So, because poetry-demo depends on streamlit (^1.24.1), version solving failed.

  • Check your dependencies Python requirement: The Python requirement can be specified via the `python` or `markers` properties

    For streamlit, a possible solution would be to set the `python` property to ">=3.9,<3.9.7 || >3.9.7,<4.0"

    https://python-poetry.org/docs/dependency-specification/#python-restricted-dependencies,
    https://python-poetry.org/docs/dependency-specification/#using-environment-markers
やはりpyproject.tomlでバージョン指定しておくべきってことね。
ということでpyproject.tomlを修正すればいいのかな?と思ったけど、poetry envというのがあった。
$ poetry env use 3.10
Creating virtualenv poetry-demo-SUv9Crzz-py3.10 in /home/kun432/.cache/pypoetry/virtualenvs
Using virtualenv: /home/kun432/.cache/pypoetry/virtualenvs/poetry-demo-XXXXXXXXX-py3.10
ただし、単に環境がスイッチしただけなので、pyproject.tomlやpoetry.lockは更新されていなかった。pyproject.tomlのバージョンを修正してpoetry updateしたら更新された。
[tool.poetry.dependencies]
python = "^3.10"
$ poetry update

$ cat poetry.lock
# This file is automatically @generated by Poetry 1.5.1 and should not be changed by hand.
package = []

[metadata]
lock-version = "2.0"
python-versions = "^3.10"
いろいろ調べてみた限り、
-
poetry config virtualenvs.prefer-active-python trueを設定しておいた上でpoetry new/initする。 - あと、関係ないけど、
virtualenvs.in-project = trueも設定しておくとvitrutalenv環境はプロジェクトディレクトリ内に作成されるらしい。gitignoreしとけばいいし、この方がいいのかな・・・
って感じ。ややこしい。。。
気を取り直して、再度poetry add
$ poetry add streamlit
Using version ^1.24.1 for streamlit

Updating dependencies
Resolving dependencies... Downloading https://files.pythonhosted.org/packages/30/3c/68e9896ce47dd4acdb7e2
Resolving dependencies... Downloading https://files.pythonhosted.org/packages/fa/07/c6980120967a9fc76138e
(snip)

  • Installing validators (0.20.0)
  • Installing watchdog (3.0.0)
  • Installing streamlit (1.24.1)

Writing lock file
poetry.lockを見てみるとちゃんと記載されている。
(snip)
[[package]]
name = "streamlit"
version = "1.24.1"
description = "A faster way to build and share data apps"
optional = false
python-versions = ">=3.8, !=3.9.7"
files = [
    {file = "streamlit-1.24.1-py2.py3-none-any.whl", hash = "sha256:569211b426ca078c0c2959a6c9a1413c2e81eca23e769fbf12308ba5bffd1f49"},
    {file = "streamlit-1.24.1.tar.gz", hash = "sha256:fd5f0b64798e9706364408fb589b77595314a6315d13b2d750b963c7ae97f362"},
]
(snip)
ではかんたんなstreamlitのアプリを動かしてみる。公式のサンプルを使う。poetry_demo/streamlit_app.pyとする。
実行する。poetryで実行する場合は、poetry runを使う。
$ poetry run python -V
Python 3.10.11

$ poetry run streamlit run poetry_demo/streamlit_app.py


Collecting usage statistics. To deactivate, set browser.gatherUsageStats to False.


  You can now view your Streamlit app in your browser.

  Network URL: http://XXX.XXX.XXX.XXX:8504
  External URL: http://YYY.YYY.YYY.YYY:8504
ブラウザでアクセスできればOK。pythonのバージョンもちゃんと想定通りになってる。
別の方法としてはpoetry shellを使って仮想環境に入ってから実行するという方もある。
Spawning shell within /home/kun432/.cache/pypoetry/virtualenvs/poetry-demo-XXXXXXXXX-py3.10
. /home/kun432/.cache/pypoetry/virtualenvs/poetry-demo-XXXXXXXXX-py3.10/bin/activate
kun432@example.internal:/sample/poetry-demo$ . /home/kun432/.cache/pypoetry/virtualenvs/poetry-demo-XXXXXXXXX-py3.10/bin/activate
(poetry-demo-py3.10) kun432@example.internal:/data/repository/poetry-demo$ python -V
Python 3.10.11
(poetry-demo-py3.10) kun432@example.internal:/data/repository/poetry-demo$ streamlit run poetry_demo/streamlit_app.py
他にも機能はあるみたいだけど、しばらく使ってみないとなんとも。ちょっといろいろ躓いたのは気になるところかな。。。
こっちのほうが使いやすそう。
rye試してみる。
※以下はやり方間違ってるので参考にならないです。
以下を見ると「pyenvは消しておく」とあるけど理由がわからなかったのと、ryeのインストール手順にバイナリ置くだけの手順もあったので、とりあえず影響しないだろ、という前提でやってみる。
公式のインストール手順
$ cd /tmp
$ wget https://github.com/mitsuhiko/rye/releases/latest/download/rye-x86_64-linux.gz
$ gunzip rye-x86_64-linux.gz
$ chmod +x ./rye-x86_64-linux
$ mv rye-x86_64-linux ~/.local/bin/rye
$ echo 'source "$HOME/.rye/env"' >> ~/.bashrc
$ source ~/.bashrc
-bash: /home/kun432/.rye/env: そのようなファイルやディレクトリはありません
んー、まあいいか。
$ rye --version
rye 0.11.0
commit: 0.11.0 (f6f63d6c1 2023-07-18)
platform: linux (x86_64)
self-python: cpython@3.11
symlink support: true
プロジェクトを作成
$ rye init rye-sample-project
success: Initialized project in /data/repository/rye-sample-project
  Run `rye sync` to get started
$ cd rye-sample-project
こんな感じのディレクトリ構成になる
$ tree -a
.
├── .git
│   ├── HEAD
│   ├── branches
│   ├── config
│   ├── description
│   ├── hooks
│   │   ├── applypatch-msg.sample
│   │   ├── commit-msg.sample
│   │   ├── fsmonitor-watchman.sample
│   │   ├── post-update.sample
│   │   ├── pre-applypatch.sample
│   │   ├── pre-commit.sample
│   │   ├── pre-merge-commit.sample
│   │   ├── pre-push.sample
│   │   ├── pre-rebase.sample
│   │   ├── pre-receive.sample
│   │   ├── prepare-commit-msg.sample
│   │   ├── push-to-checkout.sample
│   │   └── update.sample
│   ├── info
│   │   └── exclude
│   ├── objects
│   │   ├── info
│   │   └── pack
│   └── refs
│       ├── heads
│       └── tags
├── .gitignore
├── .python-version
├── README.md
├── pyproject.toml
└── src
    └── rye_sample_project
        └── __init__.py

12 directories, 22 files
環境作成
$ rye sync
Bootstrapping rye internals
Downloading cpython@3.11.3
Checking checksum
success: Downloaded cpython@3.11.3
Upgrading pip
Installing internal dependencies
Initializing new virtualenv in /data/repository/rye-sample-project/.venv
Python version: cpython@3.11.3
Generating production lockfile: /data/repository/rye-sample-project/requirements.lock
Creating virtualenv for pip-tools
Generating dev lockfile: /data/repository/rye-sample-project/requirements-dev.lock
Installing dependencies
Looking in indexes: https://pypi.org/simple/
Obtaining file:///. (from -r /tmp/tmpi8n2ytrc (line 1))
  Installing build dependencies ... done
  Checking if build backend supports build_editable ... done
  Getting requirements to build editable ... done
  Preparing editable metadata (pyproject.toml) ... done
Building wheels for collected packages: rye-sample-project
  Building editable for rye-sample-project (pyproject.toml) ... done
  Created wheel for rye-sample-project: filename=rye_sample_project-0.1.0-py3-none-any.whl size=1147 sha256=1246abd263be4ac97ef5bee47e8588ad7bdf263557a0202c529db8226e38a2ec
  Stored in directory: /tmp/pip-ephem-wheel-cache-k106d01z/wheels/97/54/f5/d849319cdfa096e074df352654ee2e7c919da8951f090690c6
Successfully built rye-sample-project
Installing collected packages: rye-sample-project
Successfully installed rye-sample-project-0.1.0
Done!
これでPythonインタプリタと仮想環境がプロジェクト内に用意される。
├── .venv
│   ├── .gitignore
│   ├── bin
│   │   ├── activate
│   │   ├── activate.csh
│   │   ├── activate.fish
│   │   ├── activate.nu
│   │   ├── activate.ps1
│   │   ├── activate_this.py
│   │   ├── python -> /home/kun432/.rye/py/cpython@3.11.3/install/bin/python3
│   │   ├── python3 -> python
│   │   └── python3.11 -> python
│   ├── lib
│   │   └── python3.11
│   │       └── site-packages
│   │           ├── __pycache__
│   │           │   └── _virtualenv.cpython-311.pyc
│   │           ├── _rye_sample_project.pth
│   │           ├── _tcl-init.pth
│   │           ├── _virtualenv.pth
│   │           ├── _virtualenv.py
│   │           └── rye_sample_project-0.1.0.dist-info
│   │               ├── INSTALLER
│   │               ├── METADATA
│   │               ├── RECORD
│   │               ├── REQUESTED
│   │               ├── WHEEL
│   │               └── direct_url.json
│   ├── pyvenv.cfg
│   └── rye-venv.json
依存関係のパッケージを追加していく。例として、シンプルなjupyter-lab環境を作ってみる。
$ rye add jupyterlab
Added jupyterlab>=4.0.4 as regular dependency
$ rye add pandas plotly
Added pandas>=2.0.3 as regular dependency
Added plotly>=5.16.0 as regular dependency
開発向けは以下。
$ rye add black isort --dev
Added black>=23.7.0 as dev dependency
Added isort>=5.12.0 as dev dependency
pyproject.tomlに追記される。
(snip)
dependencies = [
    "jupyterlab>=4.0.4",
    "pandas>=2.0.3",
    "plotly>=5.16.0",
]

(snip)

[tool.rye]
managed = true
dev-dependencies = [
    "black>=23.7.0",
    "isort>=5.12.0",
]
(snip)
パッケージをインストールする。インストールされたパッケージのバージョンはrequirements.lock、 requirements-dev.lock に記録される。
$ rye sync
Reusing already existing virtualenv
Generating production lockfile: /data/repository/rye-sample-project/requirements.lock
Generating dev lockfile: /data/repository/rye-sample-project/requirements-dev.lock
Installing dependencies
(snip)
Done!
jupyterを起動してみる。
$ rye run jupyter-lab --ip=* --no-browser
仮想環境に入ってみる。
$ rye shell
Spawning virtualenv shell from /data/repository/rye-sample-project/.venv
Leave shell with 'exit'
bash: /home/kun432/.rye/env: そのようなファイルやディレクトリはありません
$ which python
/home/kun432/.pyenv/shims/python
$ rye shell
error: cannot invoke recursive rye shell
なるほど、たしかにこれはpyenvがあると駄目っぽい。pyenvを止めた別のシェルで立ち上げてみた。
$ rye shell
Spawning virtualenv shell from /data/repository/rye-sample-project/.venv
Leave shell with 'exit'
bash: /home/kun432/.rye/env: そのようなファイルやディレクトリはありません
$ which python
/data/repository/rye-sample-project/.venv/bin/python
ちゃんと.venv内のpythonを呼べてる。rye shellじゃなくて普通にvenvでも。
$ . .venv/bin/activate
(.venv) kun432@hoge:/data/repository/rye-sample-project$  which python
/data/repository/rye-sample-project/.venv/bin/python
こっちのほうがプロンプトで見分けがつくのでいいかも。
ところでこれ。
bash: /home/kun432/.rye/env: そのようなファイルやディレクトリはありません
改めてドキュメントを見てみる。
Alternatively if you don't trust this approach, you can download the latest release binary. **On first run it will install itself.**
ん?
gunzip rye-x86_64-linux.gz
chmod +x ./rye-x86_64-linux
./rye-x86_64-linux
もしかして。。。一旦プロジェクトも~/.ryeも全部消してやり直してみる。
$ rm -rf rye-sample-project ~/.rye

$ rye
Welcome to Rye!

Rye has detected that it's not installed on this computer yet and
automatically started the installer for you.  For more information
read https://rye-up.com/guide/installation/

This installer will install rye to /home/kun432/.rye
This path can be changed by exporting the RYE_HOME environment variable.

Details:
  Rye Version: 0.11.0
  Platform: linux (x86_64)

Continue? [y/n]
あー、そういうことかー、バイナリ持ってくるパターンだと、一発目に何もオプションつけずに実行すると一通りセットアップしてくれるってことか。インストールスクリプト使うと多分この辺も全部やってくれるのかもしれない。
yesで続ける。
Continue? yes
Installed binary to /home/kun432/.rye/shims/rye
Bootstrapping rye internals
Downloading cpython@3.11.3
Checking checksum
success: Downloaded cpython@3.11.3
Upgrading pip
Installing internal dependencies
Updated self-python installation at /home/kun432/.rye/self

The rye directory /home/kun432/.rye/shims was not detected on PATH.
It is highly recommended that you add it.
Add this at the end of your .profile, .zprofile or similar:

    source "$HOME/.rye/env"

Note: after adding rye to your path, restart your shell for it to take effect.
For more information read https://mitsuhiko.github.io/rye/guide/installation

All done!
うむ、できてる。
$ ls $HOME/.rye
env  py  self  shims
$ cat $HOME/.rye/env

# rye shell setup
case ":${PATH}:" in
  *:"$HOME/.rye/shims":*)
    ;;
  *)
    export PATH="$HOME/.rye/shims:$PATH"
    ;;
esac
$ source ~/.bashrc
$ which python
/home/kun432/.rye/shims/python
ふむ。プロジェクト作ってみる。
$ rye init rye-sample-project2
$ cd rye-sample-project2
$ rye shell
Spawning virtualenv shell from /data/repository/rye-sample-project2/.venv
Leave shell with 'exit'
$ which python
/data/repository/rye-sample-project2/.venv/bin/python
$ ls -lt /data/repository/rye-sample-project2/.venv/bin/python
lrwxrwxrwx 1 kun432 kun432 55  8月 12 19:09 /data/repository/rye-sample-project2/.venv/bin/python -> /home/kun432/.rye/py/cpython@3.11.3/install/bin/python3
なるほど。
とりあえず手順間違ってたのでアレなんだけど、たしかにこれだとpyenvと同居はできなさそう。
pyenvと同居できないとなるといろいろ考える必要がある。
- うちの場合、pyenv/pyenv-virtualenvで作った環境がそこそこあるので、完全移行はちょっと躊躇するところ。
- うちの使い方はあくまでも仮想環境としての使い方がほとんどなのだけど、gitレポジトリがすでにあるような既存のプロジェクトをryeで管理したいような場合はどうしたらいいんだろうか。
- たとえばstable-diffusion-web-ui用に環境用意したいとかそういうイメージ。
- src以下にgit cloneすればいいような気がする
なんとなくryeのほうが便利そうには思えるので、完全にゼロからpython環境作るとかならよさそう。
ということで移行が面倒なので、新しいユーザーを作ってそっちでryeを使うことにした。ま、自分しか使わないので何も困らないし。
$ curl -sSf https://rye-up.com/get | bash
$ echo 'source "$HOME/.rye/env"' >> ~/.bashrc
$ exec $SHELL -l
お試し
$ rye init chat-sample
$ cd chat-sample
$ rye add openai fastapi uvicorn tenacity
$ rye sync
サンプルはこんな感じ。
import os
import sys
from pydantic import BaseModel
from fastapi import FastAPI
import openai
import logging
from tenacity import (
    retry,
    wait_fixed,
    stop_after_attempt,
    wait_random_exponential,
    before_log,
    after_log
)

openai.api_key="sk-XXXXXXXXXX"

logging.basicConfig(
    stream=sys.stdout,
    level=logging.DEBUG,
    force=True)
logger = logging.getLogger(__name__)

@retry(wait=wait_fixed(5), stop=stop_after_attempt(5),before=before_log(logger, logging.DEBUG),after=after_log(logger, logging.DEBUG))
def completion_with_backoff(**kwargs):
    return openai.ChatCompletion.create(**kwargs)

class ChatInput(BaseModel):
    text: str

app = FastAPI()

@app.post("/chat")
def chat(input: ChatInput):

    user_message = {'role': 'user', 'content': input.text}
    messages = [user_message]

    response = completion_with_backoff(
        model='gpt-3.5-turbo',
        messages=messages,
        temperature=0.7
    )

    return response['choices'][0]['message']['content']
起動
$ cd src/chat-sample
$ rye run uvicorn main:app --host 0.0.0.0 --port 8000
curlでアクセスしてみる
$ curl -s -X POST -H "Content-Type:application/json" http://0.0.0.0:8000/chat -d '{"text":"日本の総理大臣は誰"}'
2022年10月現在、日本の総理大臣は岸田文雄(きしだ ふみお)です。
ryeとは関係ないけど、APIドキュメントも。/docsにアクセスしてみる。
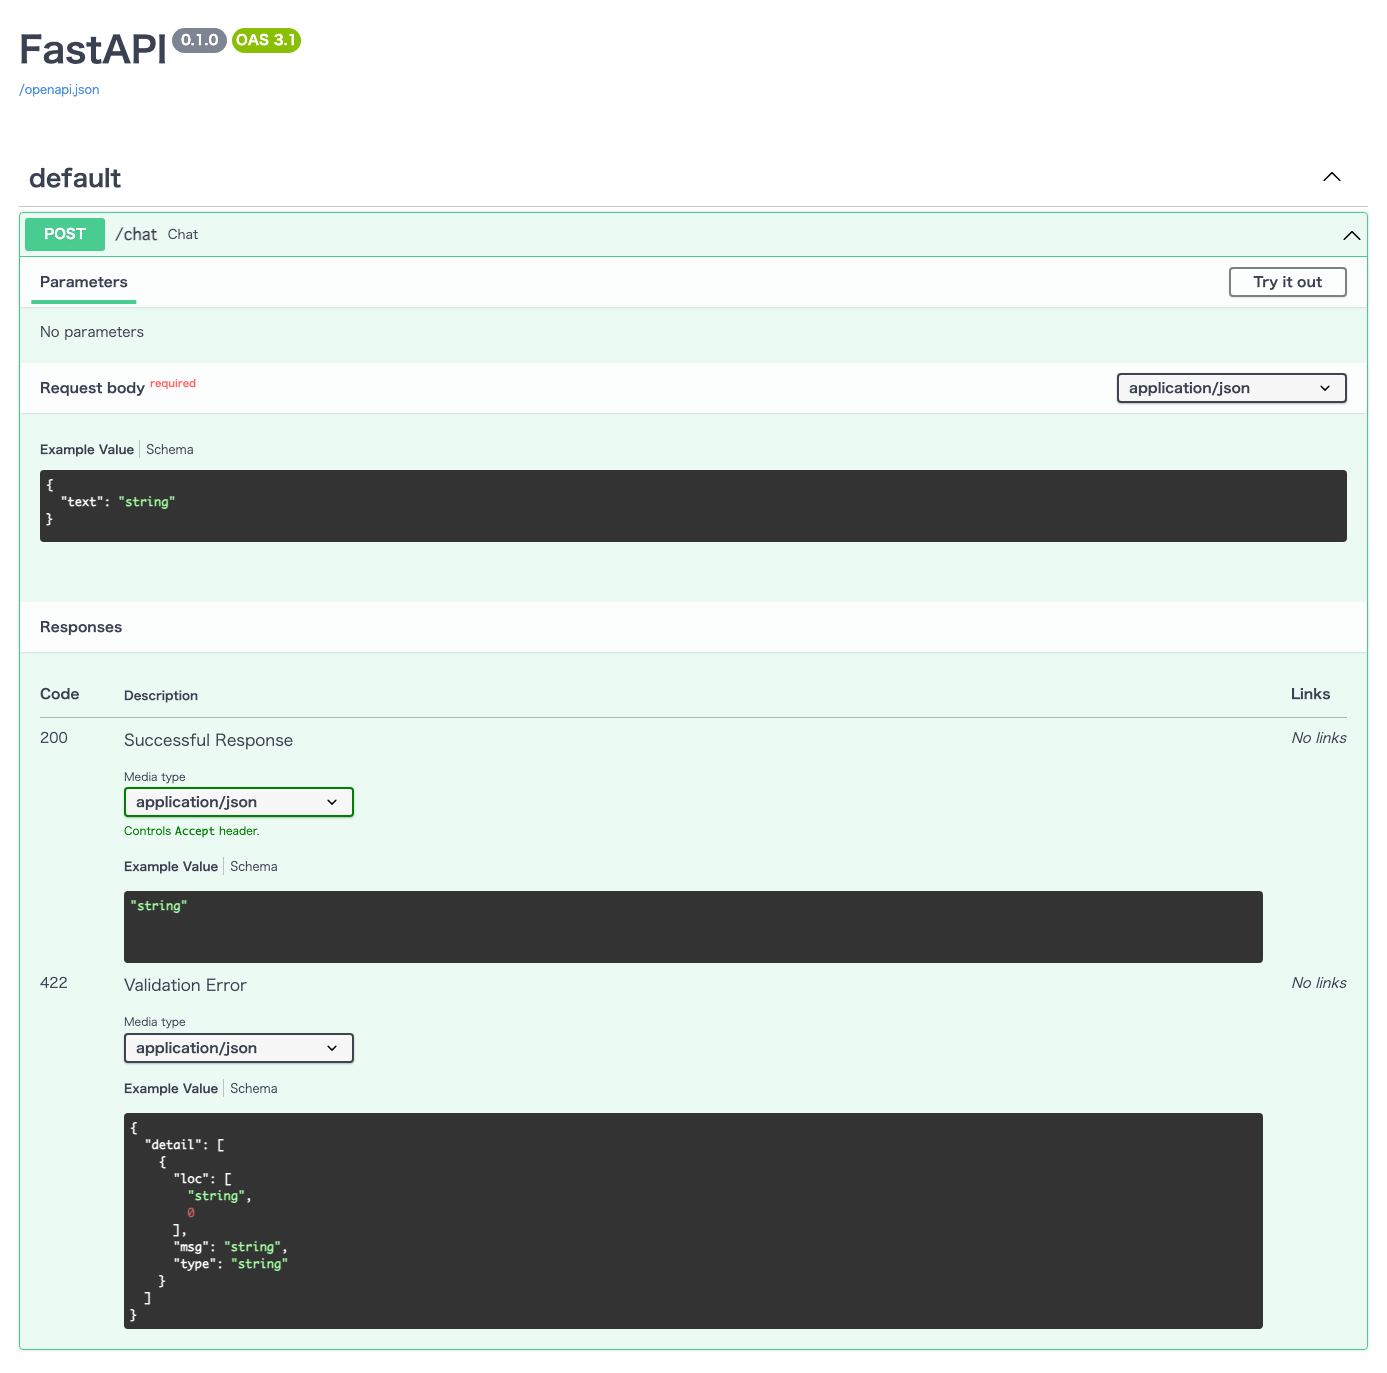
良きですな