今更ながらflaskに入門してみる
GitHubレポジトリ
Flask
Flaskは軽量なWSGIウェブアプリケーションフレームワークです。簡単に始められるように設計されており、複雑なアプリケーションにも拡張できる柔軟性を持っています。FlaskはもともとWerkzeugとJinjaをラップする簡単なツールとして誕生し、現在ではPythonのウェブアプリケーションフレームワークの中で最も人気のあるものの一つとなっています。
Flaskは、開発者に対して基本的なガイドラインやベストプラクティスを提案はしますが、依存関係やプロジェクトの構成を厳密に定めるものではありません。どのツールやライブラリを使うか、またプロジェクトをどう設計するかは開発者自身の選択に委ねられています。また、コミュニティによって提供される多数の拡張機能があり、新しい機能を簡単に追加することが可能です。
ドキュメント(v3.0.X)
日本語翻訳を提供されている方がいる。ただし、v2.2.Xベースのようなので、今だと公式のほうがいいかも。
インストール
ローカルのMacでやる。自分はmiseで仮想環境を作ってそこで実施する。
作業ディレクトリ作成
mkdir flask-test && cd flask-test
python-3.12で。
mise use python@3.12
仮想環境作成
cat << 'EOS' >> .mise.toml

[env]
_.python.venv = { path = ".venv", create = true }
EOS
mise trust
パッケージインストール
pip install Flask
pip freeze | grep -i flask
Flask==3.0.3
Quickstart
from flask import Flask

app = Flask(__name__)

@app.route("/")
def hello_world():
    return "<p>こんにちは、Flask!</p>"
実行
flask --app hello run
 * Serving Flask app 'hello'
 * Debug mode: off
WARNING: This is a development server. Do not use it in a production deployment. Use a production WSGI server instead.
 * Running on http://127.0.0.1:5000
Press CTRL+C to quit
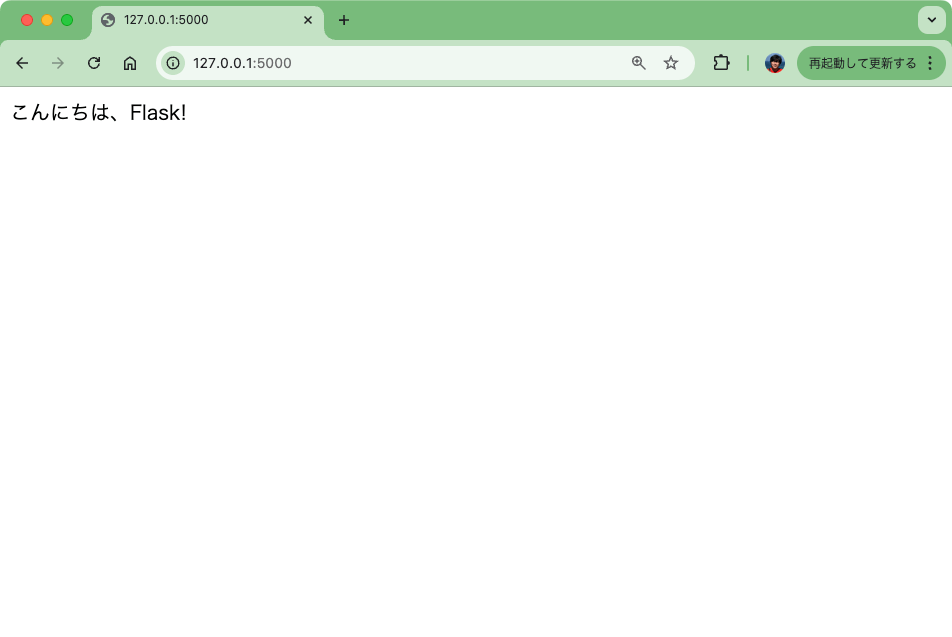
サーバが立ち上がって5000番ポートで待ち受けている。ブラウザでアクセス。

標準出力にアクセスがきていることがわかる。
127.0.0.1 - - [08/Nov/2024 05:46:57] "GET / HTTP/1.1" 200 -
127.0.0.1 - - [08/Nov/2024 05:46:57] "GET /favicon.ico HTTP/1.1" 404 -
- ファイル名が
app.pyまたはwsgi.pyであれば--appは不要 - ポートを変える場合は
--portで指定。例:--port 8080 - デフォルトは
127.0.0.1からのアクセスのみとなる。ネットワークアクセスを許可するには--hostを使う。例:--host=0.0.0.0
デバッグモード
デバッグモードを有効化するとホットリロードが有効になるっぽい。一旦止めて--debugで起動し直す。
flask --app hello run --debug
 * Serving Flask app 'hello'
 * Debug mode: on
WARNING: This is a development server. Do not use it in a production deployment. Use a production WSGI server instead.
 * Running on http://127.0.0.1:5000
Press CTRL+C to quit
 * Restarting with stat
 * Debugger is active!
 * Debugger PIN:XXX-XXX-XXX
別ターミナルでコードを書き換えて保存。
(snip)

@app.route("/")
def hello_world():
    return "<p>こんにちは、Flask! 現在デバッグ中です。</p>"
標準出力では変更を検知してリロードされており、サーバとしてはリロードされているのだけど、ブラウザは特に変わらず。
 * Detected change in '/Users/kun432/work/flask-test/hello.py', reloading
 * Restarting with stat
 * Debugger is active!
 * Debugger PIN: XXX-XXX-XXX
ブラウザをリロードしてやれば反映されていることは確認できる。

あえてエラーを起こすようにコードを修正すると、サーバ側でリロード時にエラーが起きているのがわかるし、ブラウザでも以下のような表示になる。

なお、ブラウザ側のホットリロードについてざっと調べてみた限り、標準だとできないので以下を使うってのが多いみたい。
参考)
URLルーティング
from flask import Flask

app = Flask(__name__)

@app.route("/")
def index():
    return "<p>トップページです。</p>"

@app.route("/hello")
def hello_world():
    return "<p>こんにちは、Flask!</p>"


パスパラメータ。<>でパスに変数を指定、routeデコレータに紐づいている関数でそれを受け取れる。escapeでテキストにエスケープする。
(snip)

 @app.route("/id/<int:user_id>")
 def user_id(user_id):
     return f"<p>IDは、{user_id}です。</p>"

@app.route("/path/<path:sub_path>")
 def subpath(sub_path):
     return f"<p>サブパスDは、{escape(sub_path)}です。</p>"

変数はコンバーターを使って型指定することができる。対応しているコンバーターは以下。
stringintfloat-
path: 文字列と似ているがスラッシュ(/)も受け取れる -
uuid: UUID文字列を受け取る
IDに数値を渡してみると正しく受け取れる。

IDに文字列を渡すと受け取れない。

パスを受け取る場合

末尾に/が付く場合とつかない場合の挙動の違い。
(snip)

@app.route('/projects/')
def projects():
    return 'プロジェクトのページ'

@app.route('/about')
def about():
    return 'アバウトのページ'
/をつけてルーティング定義すると、/なしの場合は/付きでリダイレクトする。cURLで試すとわかる。
curl -D - http://127.0.0.1:5000/projects
HTTP/1.1 308 PERMANENT REDIRECT
Server: Werkzeug/3.1.2 Python/3.12.7
Date: Fri, 08 Nov 2024 11:57:50 GMT
Content-Type: text/html; charset=utf-8
Content-Length: 249
Location: http://127.0.0.1:5000/projects/
Connection: close
curl -D - http://127.0.0.1:5000/projects/
HTTP/1.1 200 OK
Server: Werkzeug/3.1.2 Python/3.12.7
Date: Fri, 08 Nov 2024 12:02:28 GMT
Content-Type: text/html; charset=utf-8
Content-Length: 30
Connection: close

プロジェクトのページ
/をつけずに定義した場合、/をつけてアクセスすると404になる。
curl -D - http://127.0.0.1:5000/about/
HTTP/1.1 404 NOT FOUND
Server: Werkzeug/3.1.2 Python/3.12.7
Date: Fri, 08 Nov 2024 12:03:09 GMT
Content-Type: text/html; charset=utf-8
Content-Length: 207
Connection: close

<!doctype html>
<html lang=en>
<title>404 Not Found</title>
<h1>Not Found</h1>
<p>The requested URL was not found on the server. If you entered the URL manually please check your spelling and try again.</p>
curl -D - http://127.0.0.1:5000/about
HTTP/1.1 200 OK
Server: Werkzeug/3.1.2 Python/3.12.7
Date: Fri, 08 Nov 2024 12:03:43 GMT
Content-Type: text/html; charset=utf-8
Content-Length: 24
Connection: close

アバウトのページ
ファイルシステムにおけるファイルとディレクトリと同じような動きだと思えば良さそう。
URL Buildingのところはドキュメントを読んでもイマイチ理解ができなかったけど、url_for()を使うと特定の関数を呼ぶルートを動的に生成できる、ということだと思う。例えばこう。
from flask import Flask, url_for

app = Flask(__name__)

@app.route('/')
def index():
    about_url = url_for('about')
    profile_url = url_for('profile', username='kun432')
    return (
        '<h1>ホームページ</h1>'
        '<ul>'
        f'<li><a href="{about_url}">アバウトはこちら</a></li>'
        f'<li><a href="{profile_url}">プロフィールはこちら</a></li>'
        '</ul>'
    )

@app.route('/about')
def about():
    return 'アバウトのページ'

@app.route('/user/<username>')
def profile(username):
    return f"{username}さんのプロフィールのページ"
/ にアクセスしてみる。

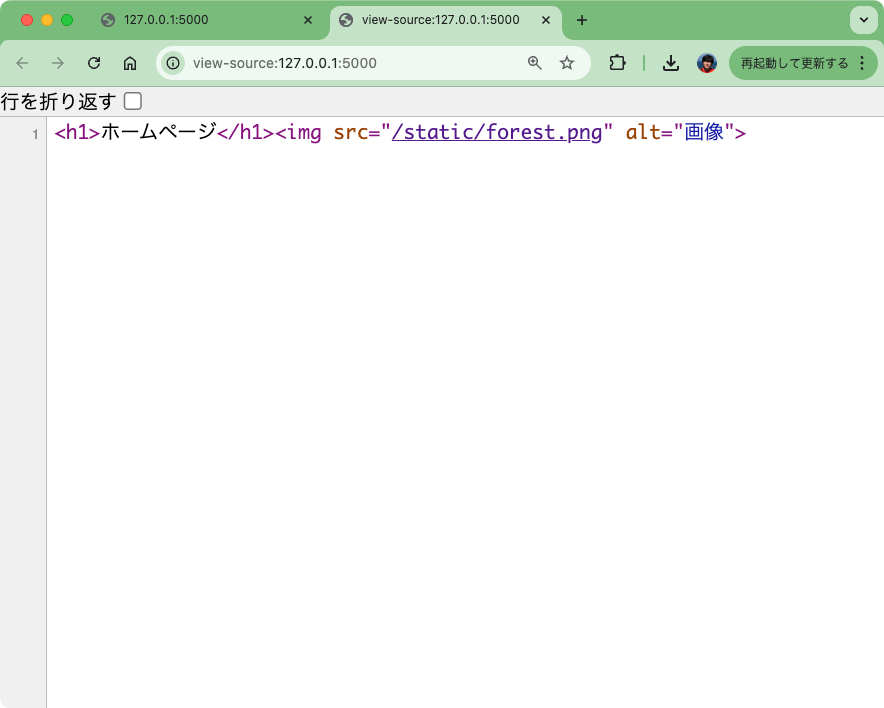
ソースを見てみる。

url_for()で指定した関数に紐づいたルーティングのURLが生成されているのがわかる。
with app.test_request_context():で実行するようにすると、リクエストを送らなくても、サーバ起動時・リロード時などに出力される。
from flask import Flask, url_for

app = Flask(__name__)

@app.route('/')
def index():
    about_url = url_for('about')
    profile_url = url_for('profile', username='kun432')
    return (
        '<h1>ホームページ</h1>\n'
        '<ul>\n'
        f'<li><a href="{about_url}">アバウトはこちら</a></li>\n'
        f'<li><a href="{profile_url}">プロフィールはこちら</a></li>\n'
        '</ul>'
    )

@app.route('/about')
def about():
    return 'アバウトのページ'

@app.route('/user/<username>')
def profile(username):
    return f"{username}さんのプロフィールのページ"

with app.test_request_context():
    print(url_for('about'))
    print(url_for('profile', username='kun432'))
これで保存すると、サーバの標準出力に以下のように表示される。
 * Detected change in '/Users/kun432/work/flask-test/hello.py', reloading
 * Restarting with stat
/about
/user/kun432
HTTPメソッド
1つのルートでGETとPOSTを受けて中で判別する場合
from flask import Flask, request

app = Flask(__name__)

@app.route('/', methods=['GET', 'POST'])
def detect_method():
    if request.method == 'POST':
        return "POSTでした"
    else:
        return "GETでした"
GET
curl http://127.0.0.1:5000
GETでした
POST
curl -X POST http://127.0.0.1:5000
POSTでした
それぞれ別々に定義する場合
from flask import Flask

app = Flask(__name__)

@app.get('/')
def req_get():
    return "GETでした"

@app.post('/')
def req_post():
    return "POSTでした"
GET
curl http://127.0.0.1:5000
GETでした
POST
curl -X POST http://127.0.0.1:5000
POSTでした
静的ファイル
画像、JS、CSS等の静的ファイルはstaticディレクトリを用意してそこに配置、url_for('static', filename="ファイル名")で呼び出す。
以下のようにディレクトリを作成して画像を配置する。
.
├── hello.py
└── static
    └── forest.png
from flask import Flask, url_for

app = Flask(__name__)

@app.route('/')
def index():
    logo_url = url_for('static', filename='forest.png')
    return f'<h1>ホームページ</h1><img src="{logo_url}" alt="画像">'

/staticでURLが生成される

当然直接アクセスできる

staticは特別な名前として扱われる。例えばimagesとかcssとかみたいに変えたりはできない。
テンプレート
テンプレートのレンダリング。こういうディレクトリ構成になる。
.
├── hello.py
└── templates
    └── hello.html
ということで、templatesディレクトリを作成して、その配下にJinja2 HTMLテンプレートを用意。
mkdir templates
<!doctype html>
<title>Flaskからのあいさつ</title>
{% if person %}
  <h1>こんにちは!{{ person }}さん!</h1>
{% else %}
  <h1>こんにちは!Flaskへようこそ!</h1>
{% endif %}
hello.pyはこういう感じ
from flask import Flask, render_template

app = Flask(__name__)

@app.route('/hello/')
@app.route('/hello/<name>')
def hello(name=None):
    return render_template('hello.html', person=name)
render_templateでtemplatesディレクトリ内のファイルを指定、テンプレート変数を渡すこともできる。
では/helloにアクセス

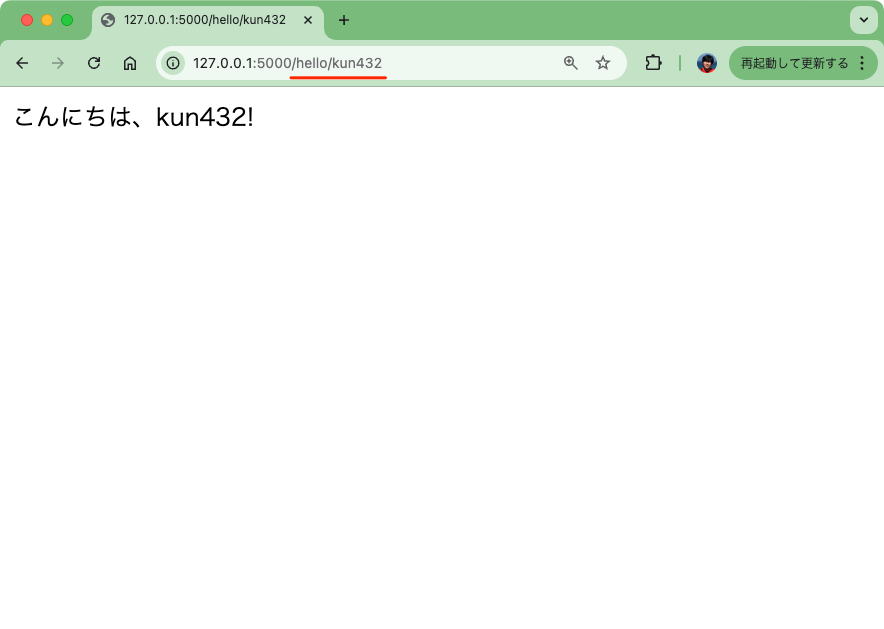
次に/hello/kun432にアクセス

テンプレート内では以下のオブジェクトや関数が利用できる。細かいところはここでは触れない。
-
config: 設定ファイルで定義した変数を呼び出せるらしい -
request: リクエスト時のメソッドなど -
session: セッション変数 -
g: アプリケーションのグローバルなコンテキスト url_for()get_flashed_messages()
テンプレートは継承ができる。例えばコンポーネントごとにテンプレートを定義して、テンプレートからそのテンプレートを呼び出す、といった使い方が可能。
なお、テンプレートに渡す変数にHTMLが含まれている場合、.html / .htm / .xml / .xhtml だと自動的にエスケープされるようだが、それ以外の場合はエスケープされない。Markupクラスを使って自分でエスケープする必要がある様子。
リクエストデータへのアクセス
上で少し触れたが、requestを使えばリクエストされたデータにアクセスできる。
以下のような構成を作る
.
├── hello.py
└── templates
    └── login.html
<!doctype html>
<html lang="en">
<head>
    <meta charset="UTF-8">
    <title>ログイン</title>
</head>
<body>
    <h1>ログインページ</h1>
    <form method="post" action="/login">
        <p>Username: <input type="text" name="username"></p>
        <p>Password: <input type="password" name="password"></p>
        <p><input type="submit" value="Login"></p>
        {% if error %}
            <p style="color: red;">{{ error }}</p>
        {% endif %}
    </form>
</body>
</html>
リクエストメソッドはrequest.method、フォーム変数はrequest.formで取得する
from flask import Flask, request, render_template

app = Flask(__name__)

# ログインページ
@app.route('/login', methods=['POST', 'GET'])
def login():
    error = None
    if request.method == 'POST':
        username = request.form.get('username')
        password = request.form.get('password')

        # 簡単なバリデーション(例)
        if username == 'kun432' and password == 'pass':
            return f"<h1>会員ページ</h1><hr/>{username}さん、こんにちは!"
        else:
            error = 'IDまたはパスワードが間違っています'

    # GETリクエストやエラー時にテンプレートを表示
    return render_template('login.html', error=error)
-
requestオブジェクトから、フォーム変数とメソッドを取り出し- メソッドがPOST、かつ、フォーム変数から取り出したID・PWがあっていればログインOKを表示
- メソッドがGET、もしくは、POSTでも送られてきたID・PWが間違っていればログインNGとして再度ログインページを表示
まずGETの場合

フォームから送信、つまりPOSTで、正しいID・PWの場合


POSTで送信されたID・PWが間違っている場合


クエリパラメータの場合。こういうディレクトリ構成を作る。
.
├── hello.py
└── templates
    └── search.html
<!doctype html>
<html lang="ja">
<head>
    <meta charset="UTF-8">
    <title>Search</title>
</head>
<body>
    <h1>検索結果</h1>
    {% if error %}
        <p style="color: red;">{{ error }}</p>
    {% else %}
        <p>検索クエリ: {{ search_query }}</p>
        <p>"{{ search_query }}"で検索しました。</p>
    {% endif %}
</body>
</html>
クエリパラメータはrequest.argsで取得する。
from flask import Flask, request, render_template

app = Flask(__name__)

# 検索ページ
@app.route('/search')
def search():
    try:
        # 'q'パラメータが存在しない場合にKeyErrorをキャッチ
        search_query = request.args['q']
    except KeyError:
        # KeyErrorが発生した場合、エラーメッセージを表示
        error = "検索クエリが指定されていません。"
        return render_template('search.html', error=error)

    return render_template('search.html', search_query=search_query)
クエリパラメータがない場合

クエリパラメータが指定されている場合

ファイルアップロード
こういうディレクトリ構成を作成
.
├── templates/
│   └── upload.html
├── upload.py
└── uploads/
テンプレート
<!DOCTYPE html>
<html lang="ja">
<head>
    <meta charset="UTF-8">
    <title>File Upload</title>
</head>
<body>
    <h1>ファイルアップロード</h1>

    {% if message %}
        <p style="color: {{ 'red' if message_type == 'error' else 'blue' }};">{{ message }}</p>
    {% endif %}

    <form action="/upload" method="post" enctype="multipart/form-data">
        <input type="file" name="file">
        <input type="submit" value="Upload">
    </form>
</body>
</html>
スクリプト
from flask import Flask, request, render_template
from werkzeug.utils import secure_filename
import os

app = Flask(__name__)

# アップロードされたファイルを保存するディレクトリを指定
UPLOAD_FOLDER = './uploads'
app.config['UPLOAD_FOLDER'] = UPLOAD_FOLDER

# 保存先のディレクトリが存在しない場合は作成
os.makedirs(UPLOAD_FOLDER, exist_ok=True)

# アップロード許可されている拡張子か?を確認
ALLOWED_EXTENSIONS = {'txt', 'pdf', 'png', 'jpg', 'jpeg', 'gif'}

def allowed_file(filename):
    return '.' in filename and filename.rsplit('.', 1)[1].lower() in ALLOWED_EXTENSIONS

@app.route('/')
def index():
    return render_template('upload.html')

@app.route('/upload', methods=['POST'])
def upload_file():
    # リクエストにfileパートが含まれているかを確認
    if 'file' not in request.files:
        return render_template('upload.html', message="ファイルが送信されていません", message_type="error")

    file = request.files['file']

    # ファイルが選択されているかと許可された拡張子であるかを確認
    if file.filename == '':
        return render_template('upload.html', message="ファイルが選択されていません", message_type="error")
    if file and allowed_file(file.filename):
        # ファイル名を安全にする
        filename = secure_filename(file.filename)
        # ファイルを指定のフォルダに保存
        file.save(os.path.join(app.config['UPLOAD_FOLDER'], filename))
        return render_template('upload.html', message=f"ファイルがアップロードされました: {filename}", message_type="success")
    else:
        return render_template('upload.html', message="許可されていないファイル形式です", message_type="error")
HTML側でenctype="multipart/form-data"、つまりマルチパートで送信されてくるので、fileパートを取り出す。また、ユーザがファイルを選択せずにSubmitすると、ブラウザはファイル名なしで空のファイルを送信してくる。このあたりをチェックする必要がある。
またファイル名はディレクトリトラバーサルを防ぐためにsecure_filenameで安全な文字列に置き換える。
では起動
flask --app upload run --debug
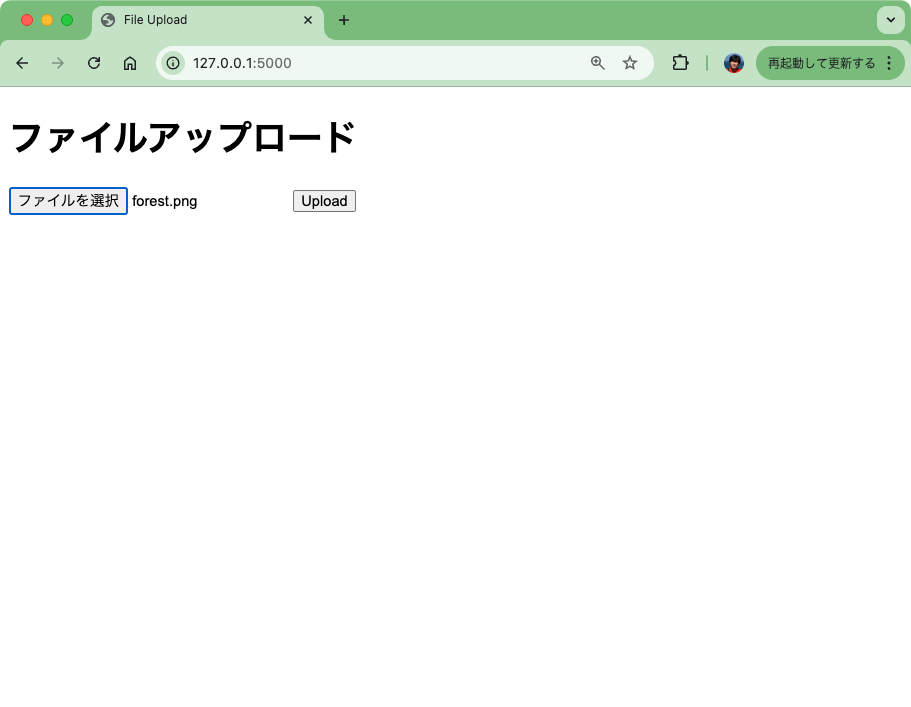
/ にアクセスして、何もアップロードせずに送信。


許可されていない拡張子のファイルをアップロード


許可されている拡張子のファイルをアップロード


アップロードされていることを確認
.
├── templates
│   └── upload.html
├── upload.py
└── uploads
    └── forest.png
アップロードしたファイルをそのまま表示させるとか、ファイルサイズを制限するとか、のサンプルはここにもある
Cookies
基本的にはセッションを使うべきだが、一応。cookieはset_cookieでセットしてcookiesアトリビュートで呼び出せる。
こんな構成。
.
├── cookie.py
└── templates
    ├── index.html
    ├── cookie_set.html
    └── cookie_delete.html
メインのスクリプト
from flask import Flask, request, make_response, render_template

app = Flask(__name__)

@app.route('/', methods=['GET', 'POST'])
def index():
    if request.method == 'POST':
        username = request.form.get('username')
        if username:
            resp = make_response(render_template('set_cookie.html', username=username))
            resp.set_cookie('username', username, max_age=60*60*24)  # 1日有効
            return resp

    # GETリクエスト: Cookieの取得
    username = request.cookies.get('username')
    return render_template('index.html', username=username)

@app.route('/delete_cookie')
def delete_cookie():
    resp = make_response(render_template('delete_cookie.html'))
    resp.set_cookie('username', '', max_age=0)  # Cookie削除
    return resp
各テンプレート
<!DOCTYPE html>
<html lang="ja">
<head>
    <meta charset="UTF-8">
    <meta name="viewport" content="width=device-width, initial-scale=1.0">
    <title>Cookie Demo</title>
</head>
<body>
    <h1>{{ 'おかえりなさい!' + username + 'さん!' if username else 'ユーザ名を入力してください。' }}</h1>

    <form method="post" action="/">
        <label for="username">ユーザ名:</label>
        <input type="text" id="username" name="username" required>
        <button type="submit">送信</button>
    </form>

    {% if username %}
    <p><a href="/delete_cookie">Cookieを削除</a></p>
    {% endif %}
</body>
</html>
<!DOCTYPE html>
<html lang="ja">
<head>
    <meta charset="UTF-8">
    <meta name="viewport" content="width=device-width, initial-scale=1.0">
    <title>Cookieのセット</title>
</head>
<body>
    <h1>Cookieをセットしました。ユーザ名: {{ username }}</h1>
    <p><a href="/">トップに戻る</a></p>
</body>
</html>
<!DOCTYPE html>
<html lang="ja">
<head>
    <meta charset="UTF-8">
    <meta name="viewport" content="width=device-width, initial-scale=1.0">
    <title>Cookieの削除</title>
</head>
<body>
    <h1>Cookieを削除しました。</h1>
    <p><a href="/">トップに戻る</a></p>
</body>
</html>
実行
flask --app cookie run --debug
/ にアクセスすると初期状態ではCookieがセットされていないためユーザ名は表示されない。ユーザ名を送信。

Cookieがセットされる。トップに戻ってみる。

Cookieからユーザ名を呼んで表示できている。削除する。

Cookieが削除された。再度トップに戻る。

Cookieが削除されたのでユーザ名が表示されなくなる

リダイレクトとエラー処理
リダイレクトはredirect()、エラー処理はabort()を使う。
from flask import Flask, abort, redirect, url_for

app = Flask(__name__)

@app.route('/')
def index():
    return redirect(url_for('login'))

@app.route('/login')
def login():
    abort(401)
    return "ここは実行されない"
起動
flask --app redirect_and_error run --debug
cURLでアクセスしてみる。まず/。
curl -v http://127.0.0.1:5000/
$ curl -v http://127.0.0.1:5000/
*   Trying 127.0.0.1:5000...
* Connected to 127.0.0.1 (127.0.0.1) port 5000
> GET / HTTP/1.1
> Host: 127.0.0.1:5000
> User-Agent: curl/8.7.1
> Accept: */*
>
* Request completely sent off
< HTTP/1.1 302 FOUND
< Server: Werkzeug/3.1.2 Python/3.12.7
< Date: Wed, 20 Nov 2024 00:06:36 GMT
< Content-Type: text/html; charset=utf-8
< Content-Length: 199
< Location: /login
< Connection: close
<
<!doctype html>
<html lang=en>
<title>Redirecting...</title>
<h1>Redirecting...</h1>
<p>You should be redirected automatically to the target URL: <a href="/login">/login</a>. If not, click the link.
* Closing connection
次に/login
curl -v http://127.0.0.1:5000/login
* Trying 127.0.0.1:5000...
* Connected to 127.0.0.1 (127.0.0.1) port 5000
> GET /login HTTP/1.1
> Host: 127.0.0.1:5000
> User-Agent: curl/8.7.1
> Accept: */*
>
* Request completely sent off
< HTTP/1.1 401 UNAUTHORIZED
< Server: Werkzeug/3.1.2 Python/3.12.7
< Date: Wed, 20 Nov 2024 00:07:23 GMT
< Content-Type: text/html; charset=utf-8
< Content-Length: 317
< Connection: close
<
<!doctype html>
<html lang=en>
<title>401 Unauthorized</title>
<h1>Unauthorized</h1>
<p>The server could not verify that you are authorized to access the URL requested. You either supplied the wrong credentials (e.g. a bad password), or your browser doesn't understand how to supply the credentials required.</p>
* Closing connection
デフォルトだとこういうページが表示される。

カスタムなエラーページを使う場合はerror_handlerデコレータを使う。
from flask import Flask, abort, redirect, url_for, render_template

app = Flask(__name__)

@app.route('/')
def index():
    return redirect(url_for('login'))

@app.route('/login')
def login():
    abort(401)
    return "ここは実行されない"

@app.errorhandler(401)
def page_not_found(error):
    return render_template('401.html'), 401
テンプレートも用意
<!DOCTYPE html>
<html lang="ja">
<head>
    <meta charset="UTF-8">
    <meta name="viewport" content="width=device-width, initial-scale=1.0">
    <title>401 - Unauthorized</title>
</head>
<body>
    <h1>401: Unauthorized</h1>
    <p>エラー!権限がありません</p>
</body>
</html>
