Shopify-CLIでアプリを爆速で立ち上げてみた
はじめに
Shopifyの環境構築(Node.js + React)で大コケしたところに、shopify-cliに救われた。。。
本記事は以下のShopifyDevsさんが出している動画、
How to Build a Shopify App with Node and React
を参考に環境構築、アプリ作成。
コマンドだけでアプリが構築されるのは快感です。
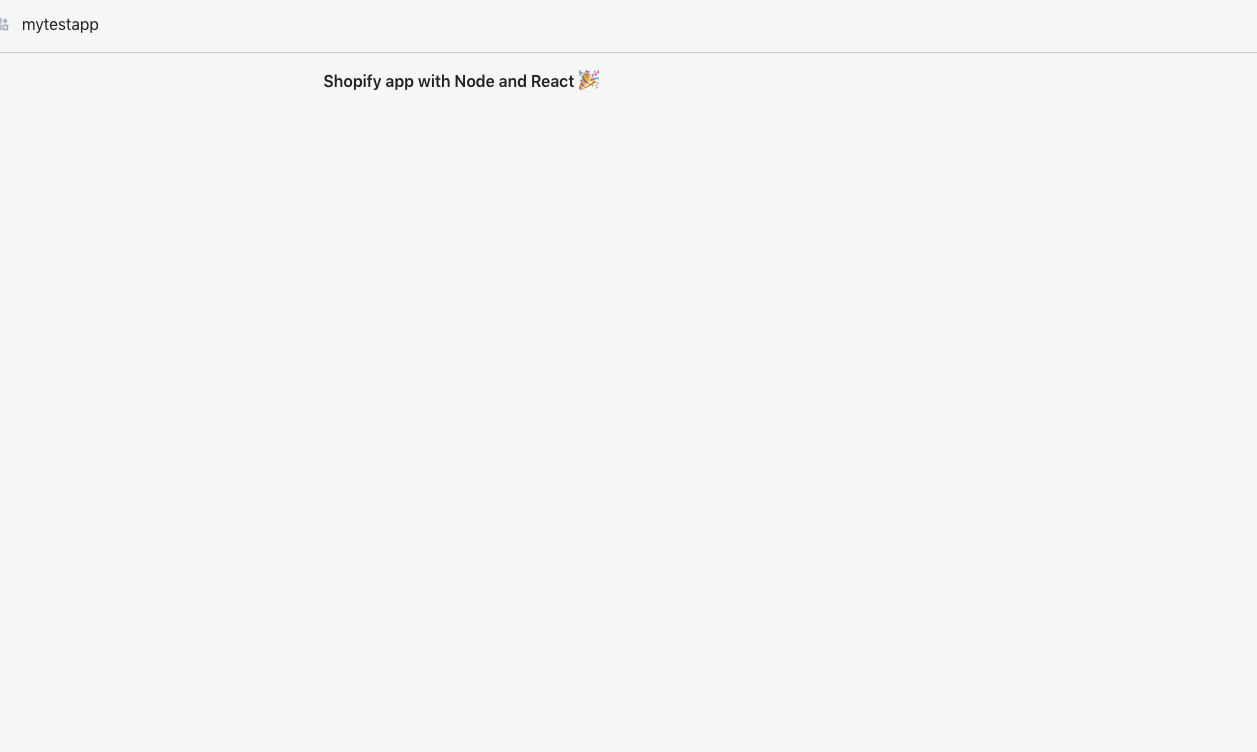
完成形
商品一覧を取得し、選択するだけのアプリを作成 🎉
前作業
Shopifyパートナーアカウントを作成し、開発ストアを作成しておく必要があります。
まだの場合は、Shopify partnersからアカウント作成します。
環境構築
Shopifyで動作するアプリを作成するための環境構築をします。
必要な環境は以下
ここではShopify App CLIを使用して環境構築を行います。
Windows, MacOS共にコマンドが公式サイトに書いてあるため、自分の環境にあったコマンドを叩く。
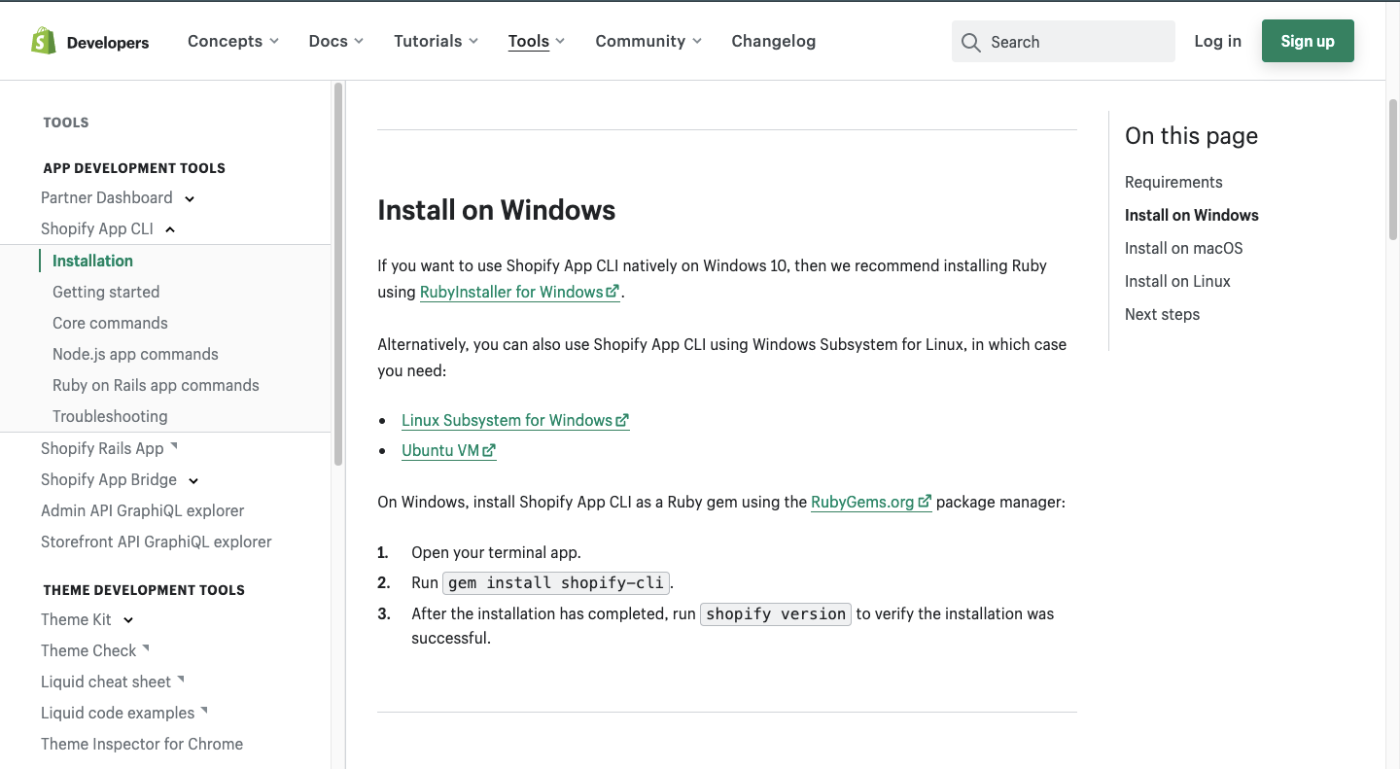
windows
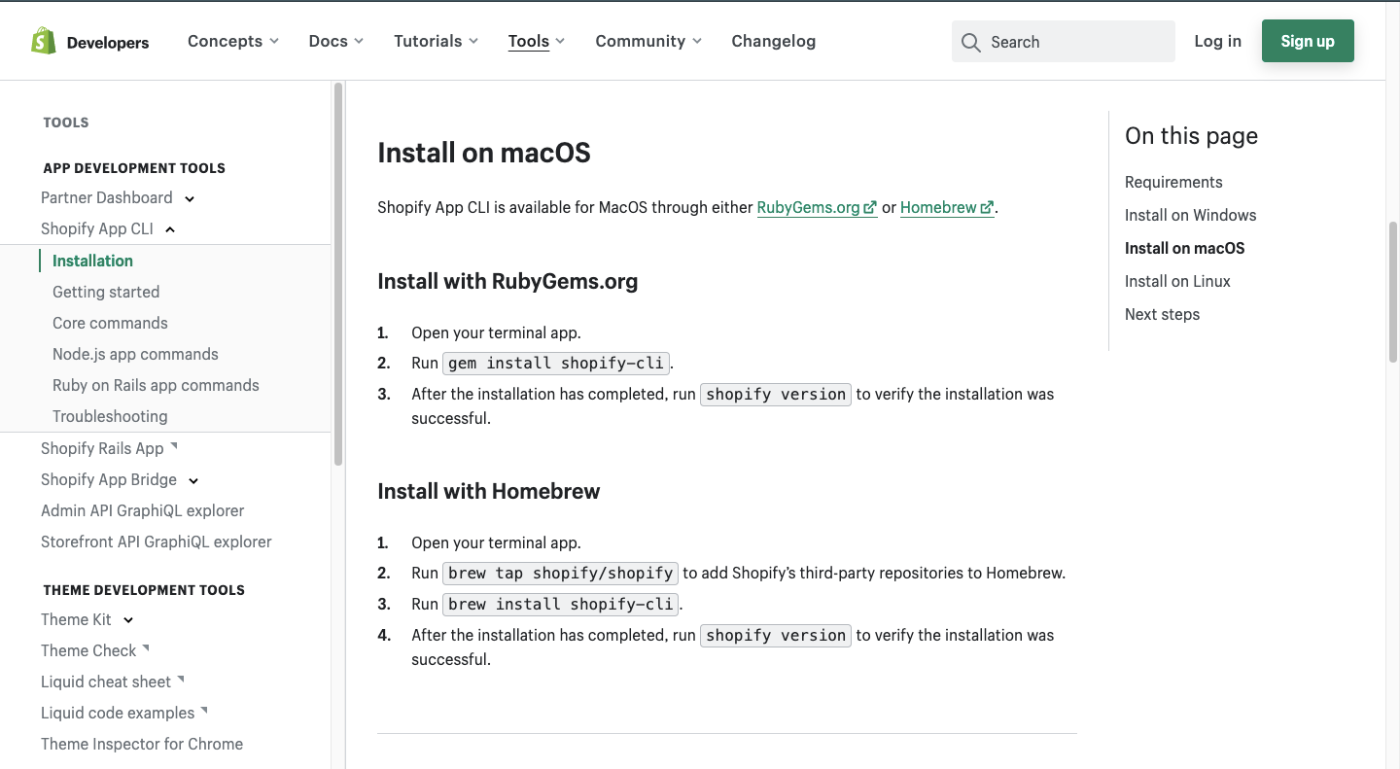
mac
CLIでアプリ作成
ターミナルで上記をダウンロードしたら、早速アプリ作成へ。
手順1
ターミナル(or コマンドライン)から
shopify node create
$ shopify node create
? App name
  MytestApp //任意の名前
? What type of app are you building? (Choose with ↑ ↓ enter filter with 'f'
? 1. Public: An app built for a side marchant audience //これを選択
? 2. Custom: An app custom built for a single client
この後に複数storeがある場合は、使用するstoreを選択
※1つしかない場合は自動的に選択されます
Partner organization {yourStoreName}(11111)
Using development store {yourStoreURL}
✔️ node v12.13.0
✔️ npm 6.12.0
Cloning....
Installing dependencies with npm...
✔️ .env saved to project root
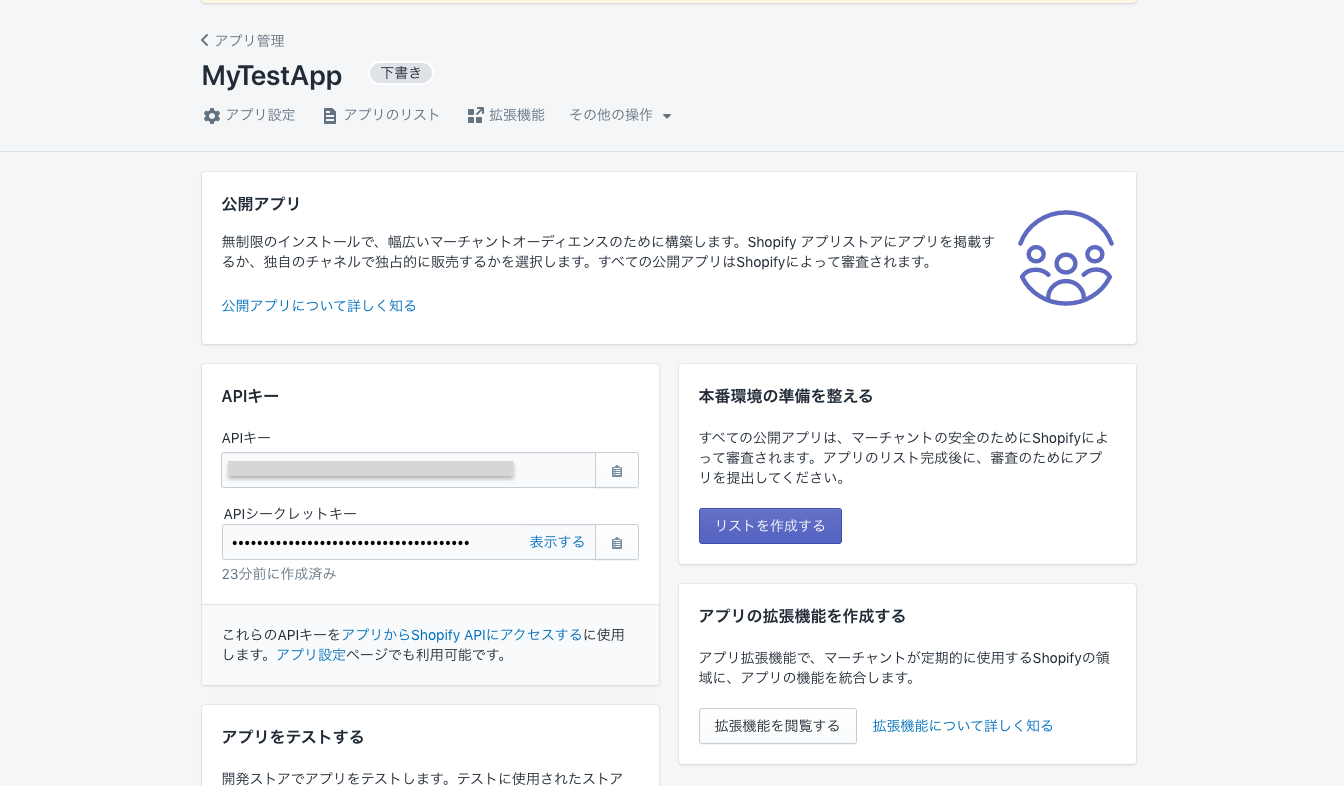
✔️ MyTestApp was created in the organization's Partner Dashboard {yourDashboardURL}
* Change director to your new project folder mytestapp and run shopify serve to start a local server
* Then, visit {yourURL} to install MyTestApp on your Dev Store
ダッシュボードのURLを開いてみると、以下のように作成されていることが確認できます。
手順2
ターミナルに戻り、プロジェクトフォルダを変更・ローカルサーバを起動します。
$ cd MyTestApp
MyTestApp$ shopify serve
✔️ ngrok tunnel running at https://{ramdomStrings}.ngrok.io
* This tunnel will timeout in 1 hours 59 minutes
* To avoid tunnels that timeout, it is recommended to signup for a free ngrok
account at https://ngrok.com/signup. After you signup, instal your personalized authorization token using shopify tunnel auth <token>.
✔️ .env saved to project root
? Do you want to update your application url?(Choose with ↑ ↓ enter)
> 1. yes    //選択
  2. no
✔️ Whitelist URLS updated in Partners Dashboard

* To install and start using your app, open the URL in your browser;
https://{randomStrings}.ngrok.io/auth?shop={yourShopDomain}

Runnning server...
> shopify-app-node@1.0.0 dev {directoryPass}
> cross-env NODE_ENV=development nodemon ./server/index.js --watch ./server/index.js

[nodemon] 2.0.6
[nodemon] to restart at any time, enter 'rs'
[nodemon] watching path(s): server/index.js
[nodemon] watching extensions: js.mjs.json
[nodemon] starting `node ./server/index.js`
Browserslist: caniuse-lite is outdated. Please run:
npx browserslist@latest --update-db
Loaded env from {DirectoryPass}
event - compiled successfully
> Ready on http://localhost:8081
* To install and start using your app, open the URL in your browser;
部分のURLを開く
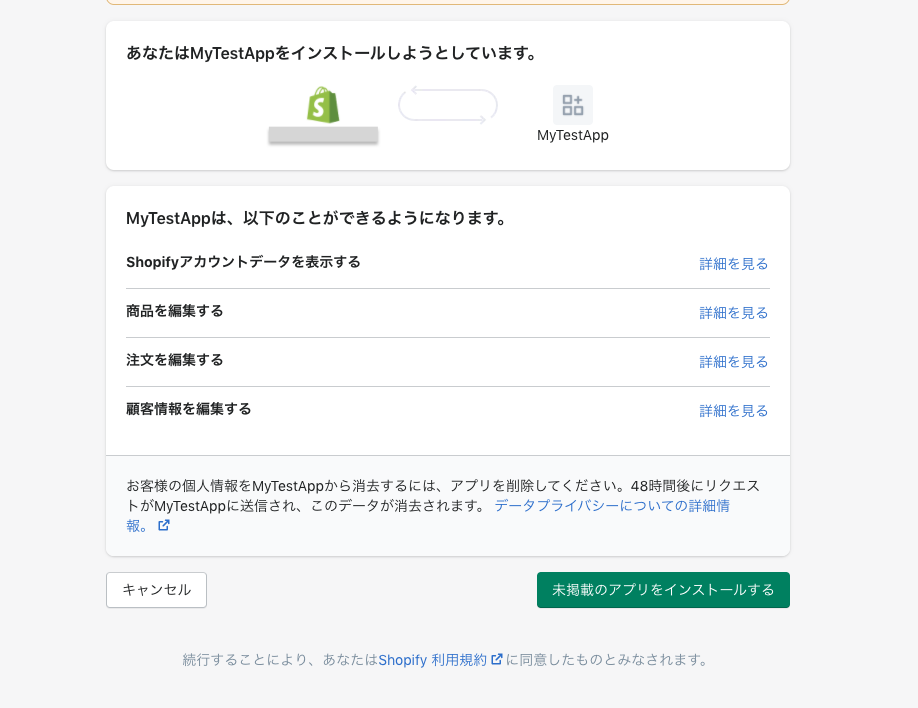
インストールをクリック
するとリダイレクトされ、埋め込みアプリが表示されます🎉
商品選択ボタンを作成する
Polarisを利用して、UIコンポーネントを配置します。
まずはindex.htmlのコードを以下のように変更します。
import { Page } from "@shopify/polaris";

const Index = () => {
  <Page
    title='Product selector'
    primaryAction={{
      content: 'Select products',
      onAction: () => console.log('onclicked')
    }}
  />
};

export default Index;
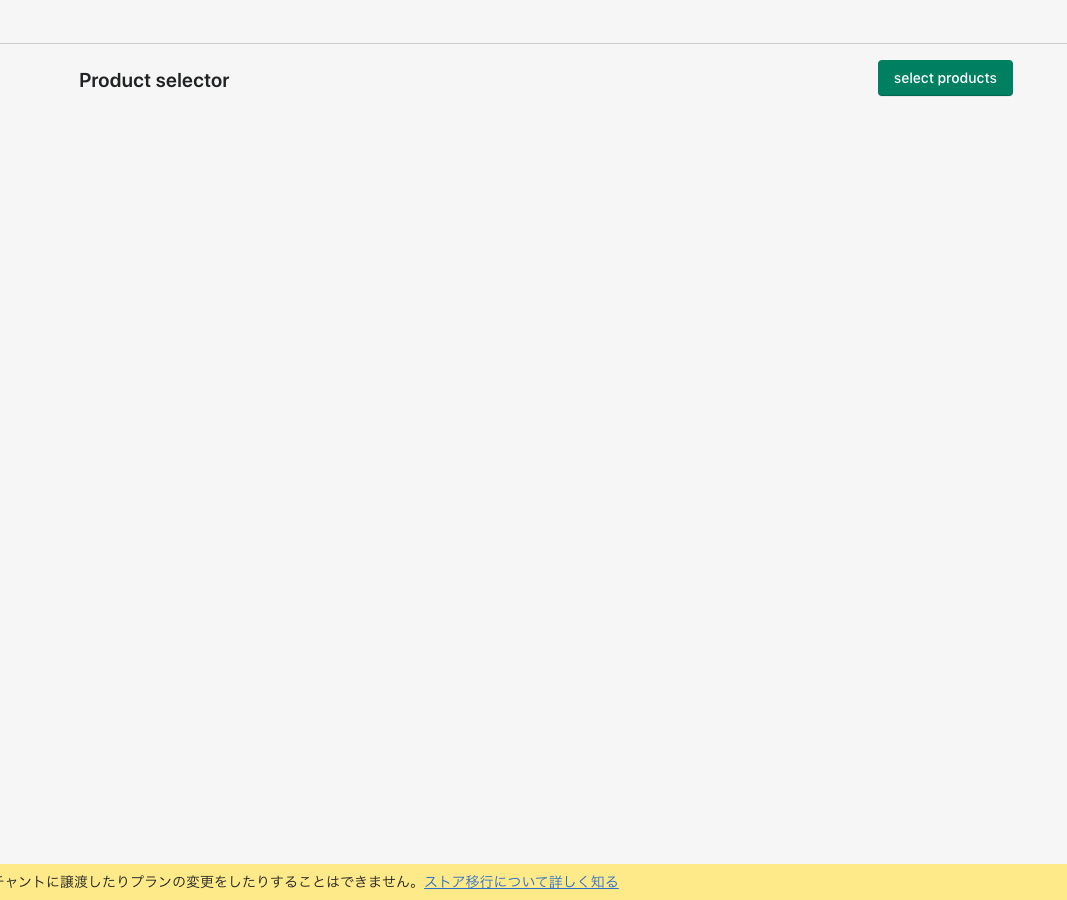
アプリに戻ると表示が変わり、コンポーネントが現れます。

ちゃんとクリックイベントも動いています。

サンプル商品の登録
ここで商品選択するための「商品」をCLIで登録します。デフォルトでは5個追加され、変更することも可能です。
一度サーバを止めて、以下のコマンドを叩きましょう。
shopify populate products
$ shopify populate products
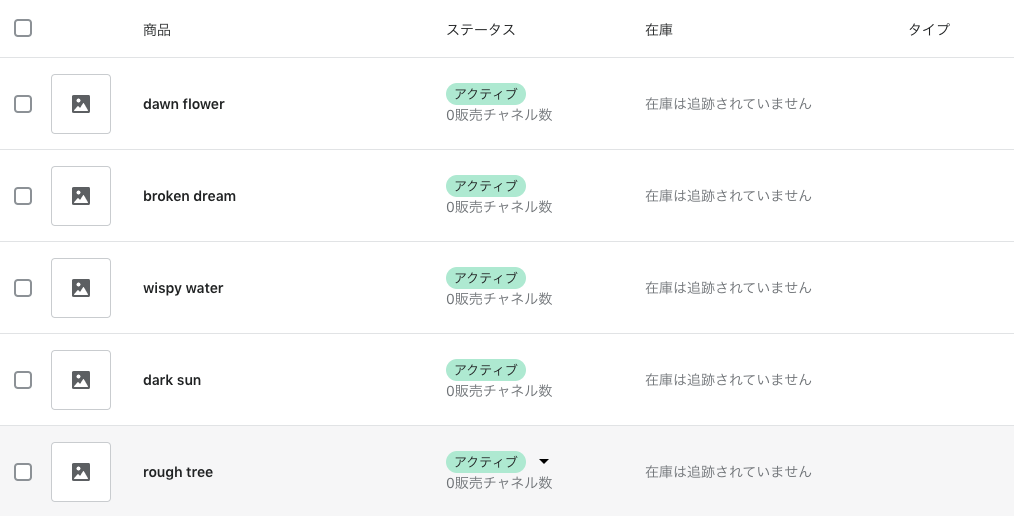
✔️ rough tree added to {storeDomain} at {storeURL}
✔️ dark sun added to {storeDomain} at {storeURL}
✔️ wispy water added to {storeDomain} at {storeURL}
✔️ broken dream added to {storeDomain} at {storeURL}
✔️ down flower added to {storeDomain} at {storeURL}
Successfully added 5 products to {storeDomain}
* View all Products at https://{storeDomain}/admin/products
無事登録されました 🎉
モーダルの追加
製品が登録できたので、App Bridgeを使用してモーダルを作成します。
import { Page } from "@shopify/polaris";
import { ResourcePicker } from "@shopify/app-bridge-react";

class Index extends React.Component {
  state = { open: false }
  render() {
    return (
      <Page
        title='Product selector'
        primaryAction={{
          content: 'Select products',
          onAction: () => this.setState({open: true})
        }}
      >
        <ResourcePicker
	  resourceType='Product'
	  open={this.state.open}
	/>
      </Page>
    )
  }
};

export default Index;
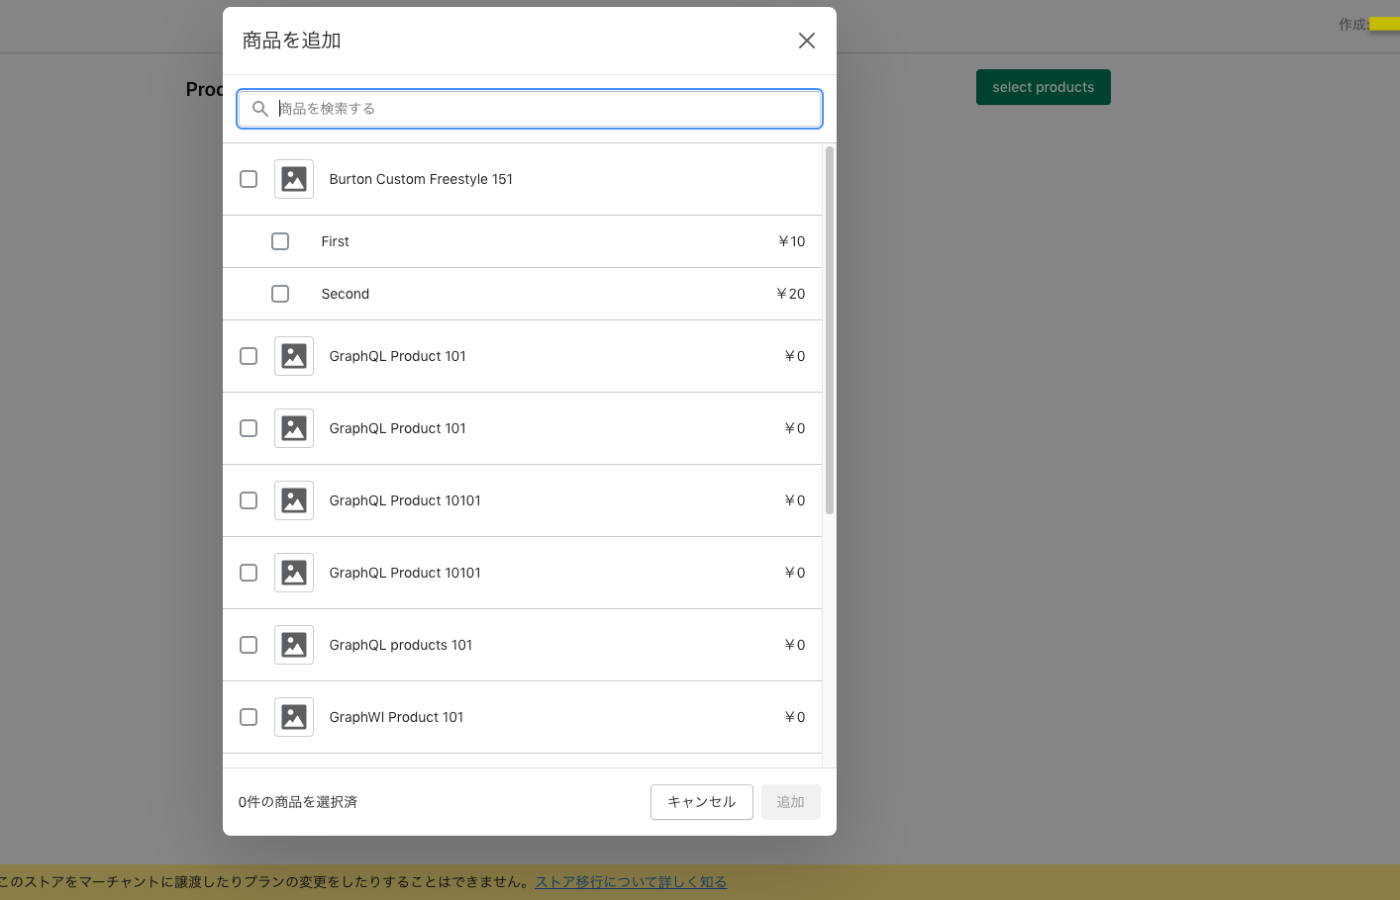
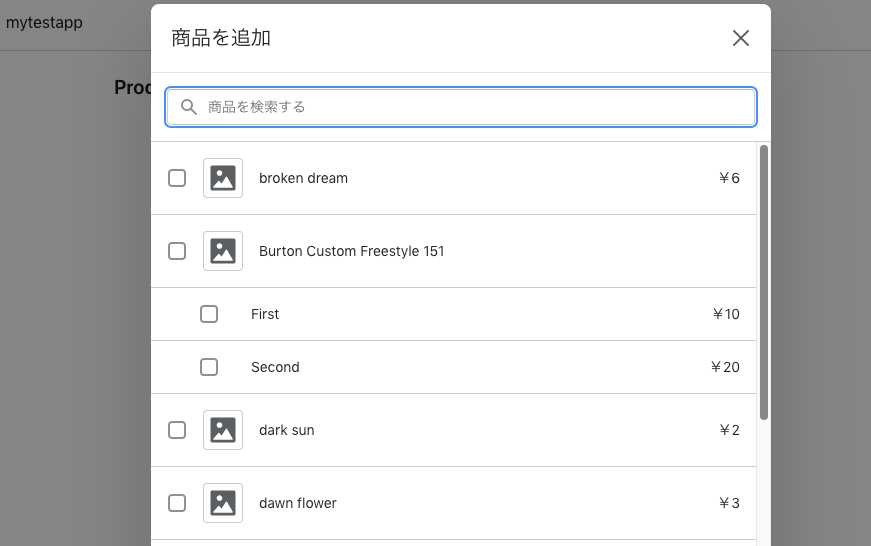
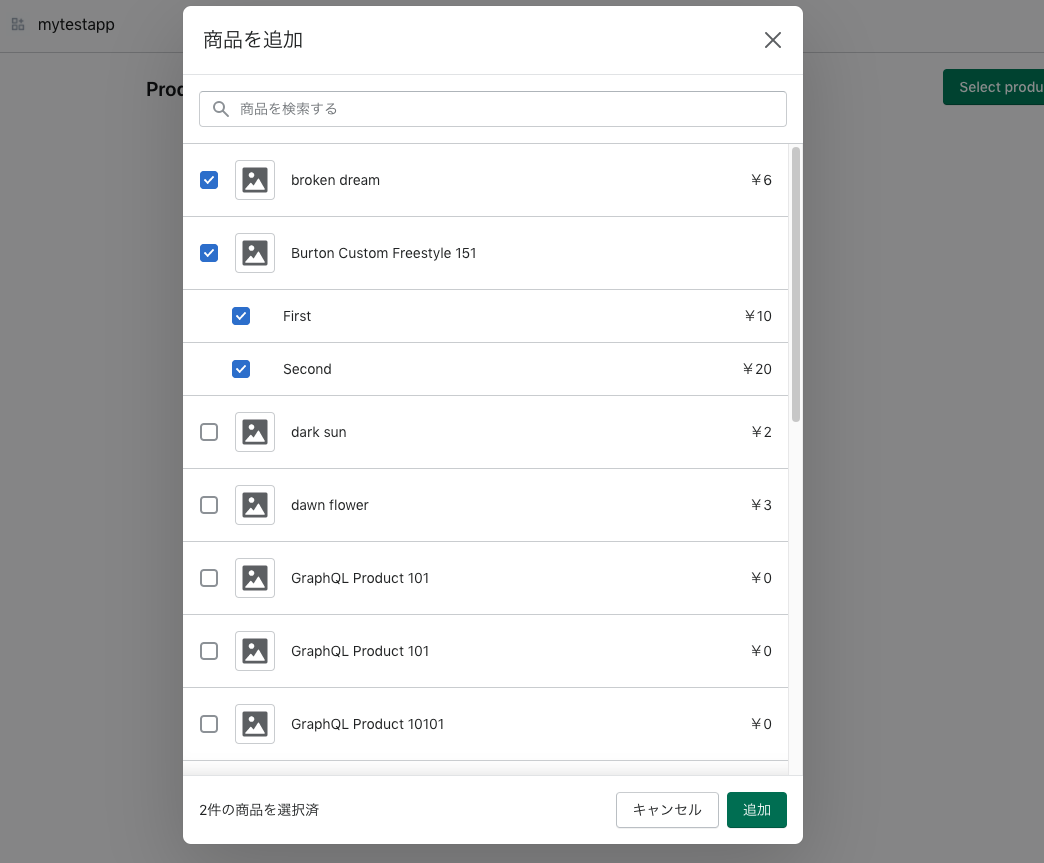
モーダル完成 🎉
選択した商品を取得する
現状では商品を選択しても何も起こらないため、選択した際に商品を取得する処理を加えます。
import { Page } from "@shopify/polaris";
import { ResourcePicker } from "@shopify/app-bridge-react";

class Index extends React.Component {
  state = { open: false }
  render() {
    return (
      <Page
        title='Product selector'
        primaryAction={{
          content: 'Select products',
          onAction: () => this.setState({open: true})
        }}
      >
        <ResourcePicker
	  resourceType='Product'
	  open={this.state.open}
	  onCancel={() => this.setState({open: false})}
	  onSelection={(resource) => this.handleSelection(resource)}
	/>
      </Page>
    )
  }
  handleSelection = (resource) => {
    this.setState({open: false})
    console.log(resource)
  }
};

export default Index;
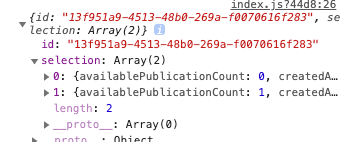
選択後、consoleに商品情報を表示されることができました🎉
あとがき
Shopify-App-cliを使用することで素早くアプリを構築することができました。
今回は商品取得でしたが、応用すればもう少し有用性のあるアプリが作れそうです。
Discussion
記事参考になりました!ありがとうござます!
細かい指摘なのですが,
shopify create nodeではなく,shopify node createです🙉ご指摘ありがとうございます!ただいま修正いたしました🙇♂️