AngularでGoogleログイン認証をする
Googleアカウント認証の実装メモ。初zenn投稿です🎉
実装内容
- Firebase AuthenticationによるGoogle認証
- アカウント情報をFirestoreに保存
- Guardで認証の確認
環境
- macOS Catalina
- Angular CLI: 11.0.6
- Node: 12.16.3
Firebaseでプロジェクト作成
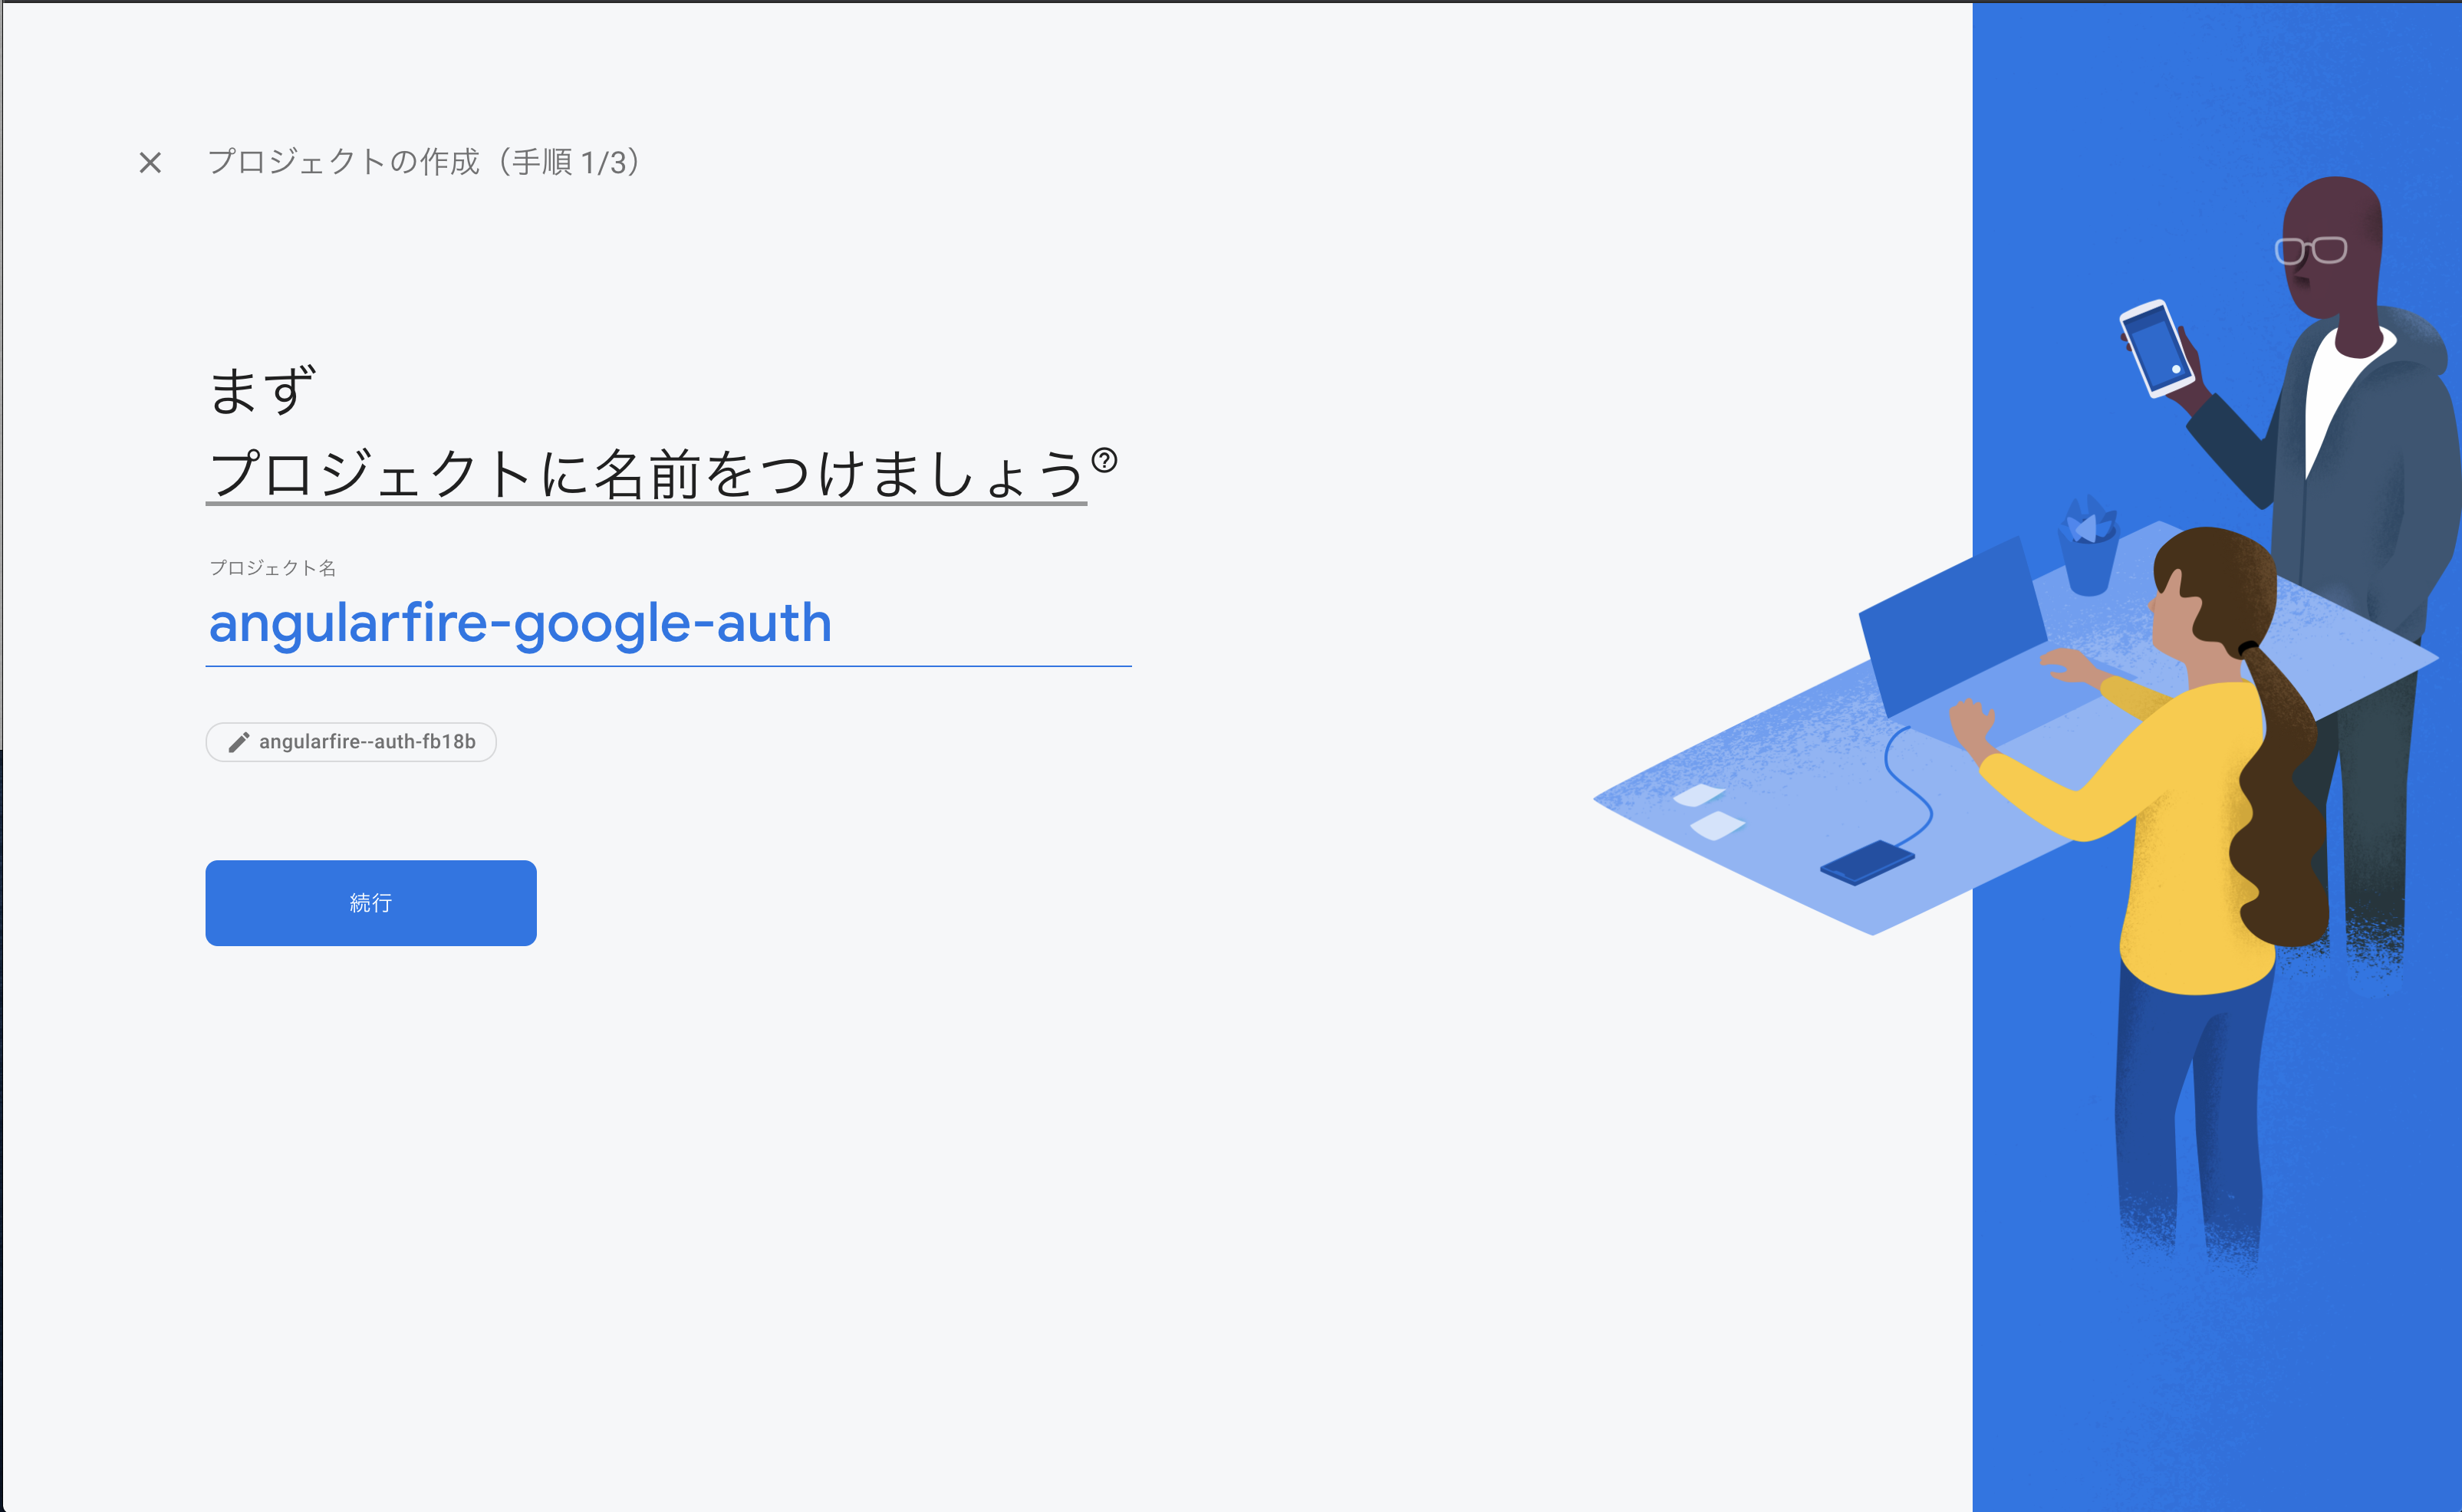
プロジェクト作成
コンソールから新規作成する。
今回は、angularfire-google-authとした。続行するとGoogleアナリティクスについての設問が出てくるがどんどん続行する。

Firebase Authentication
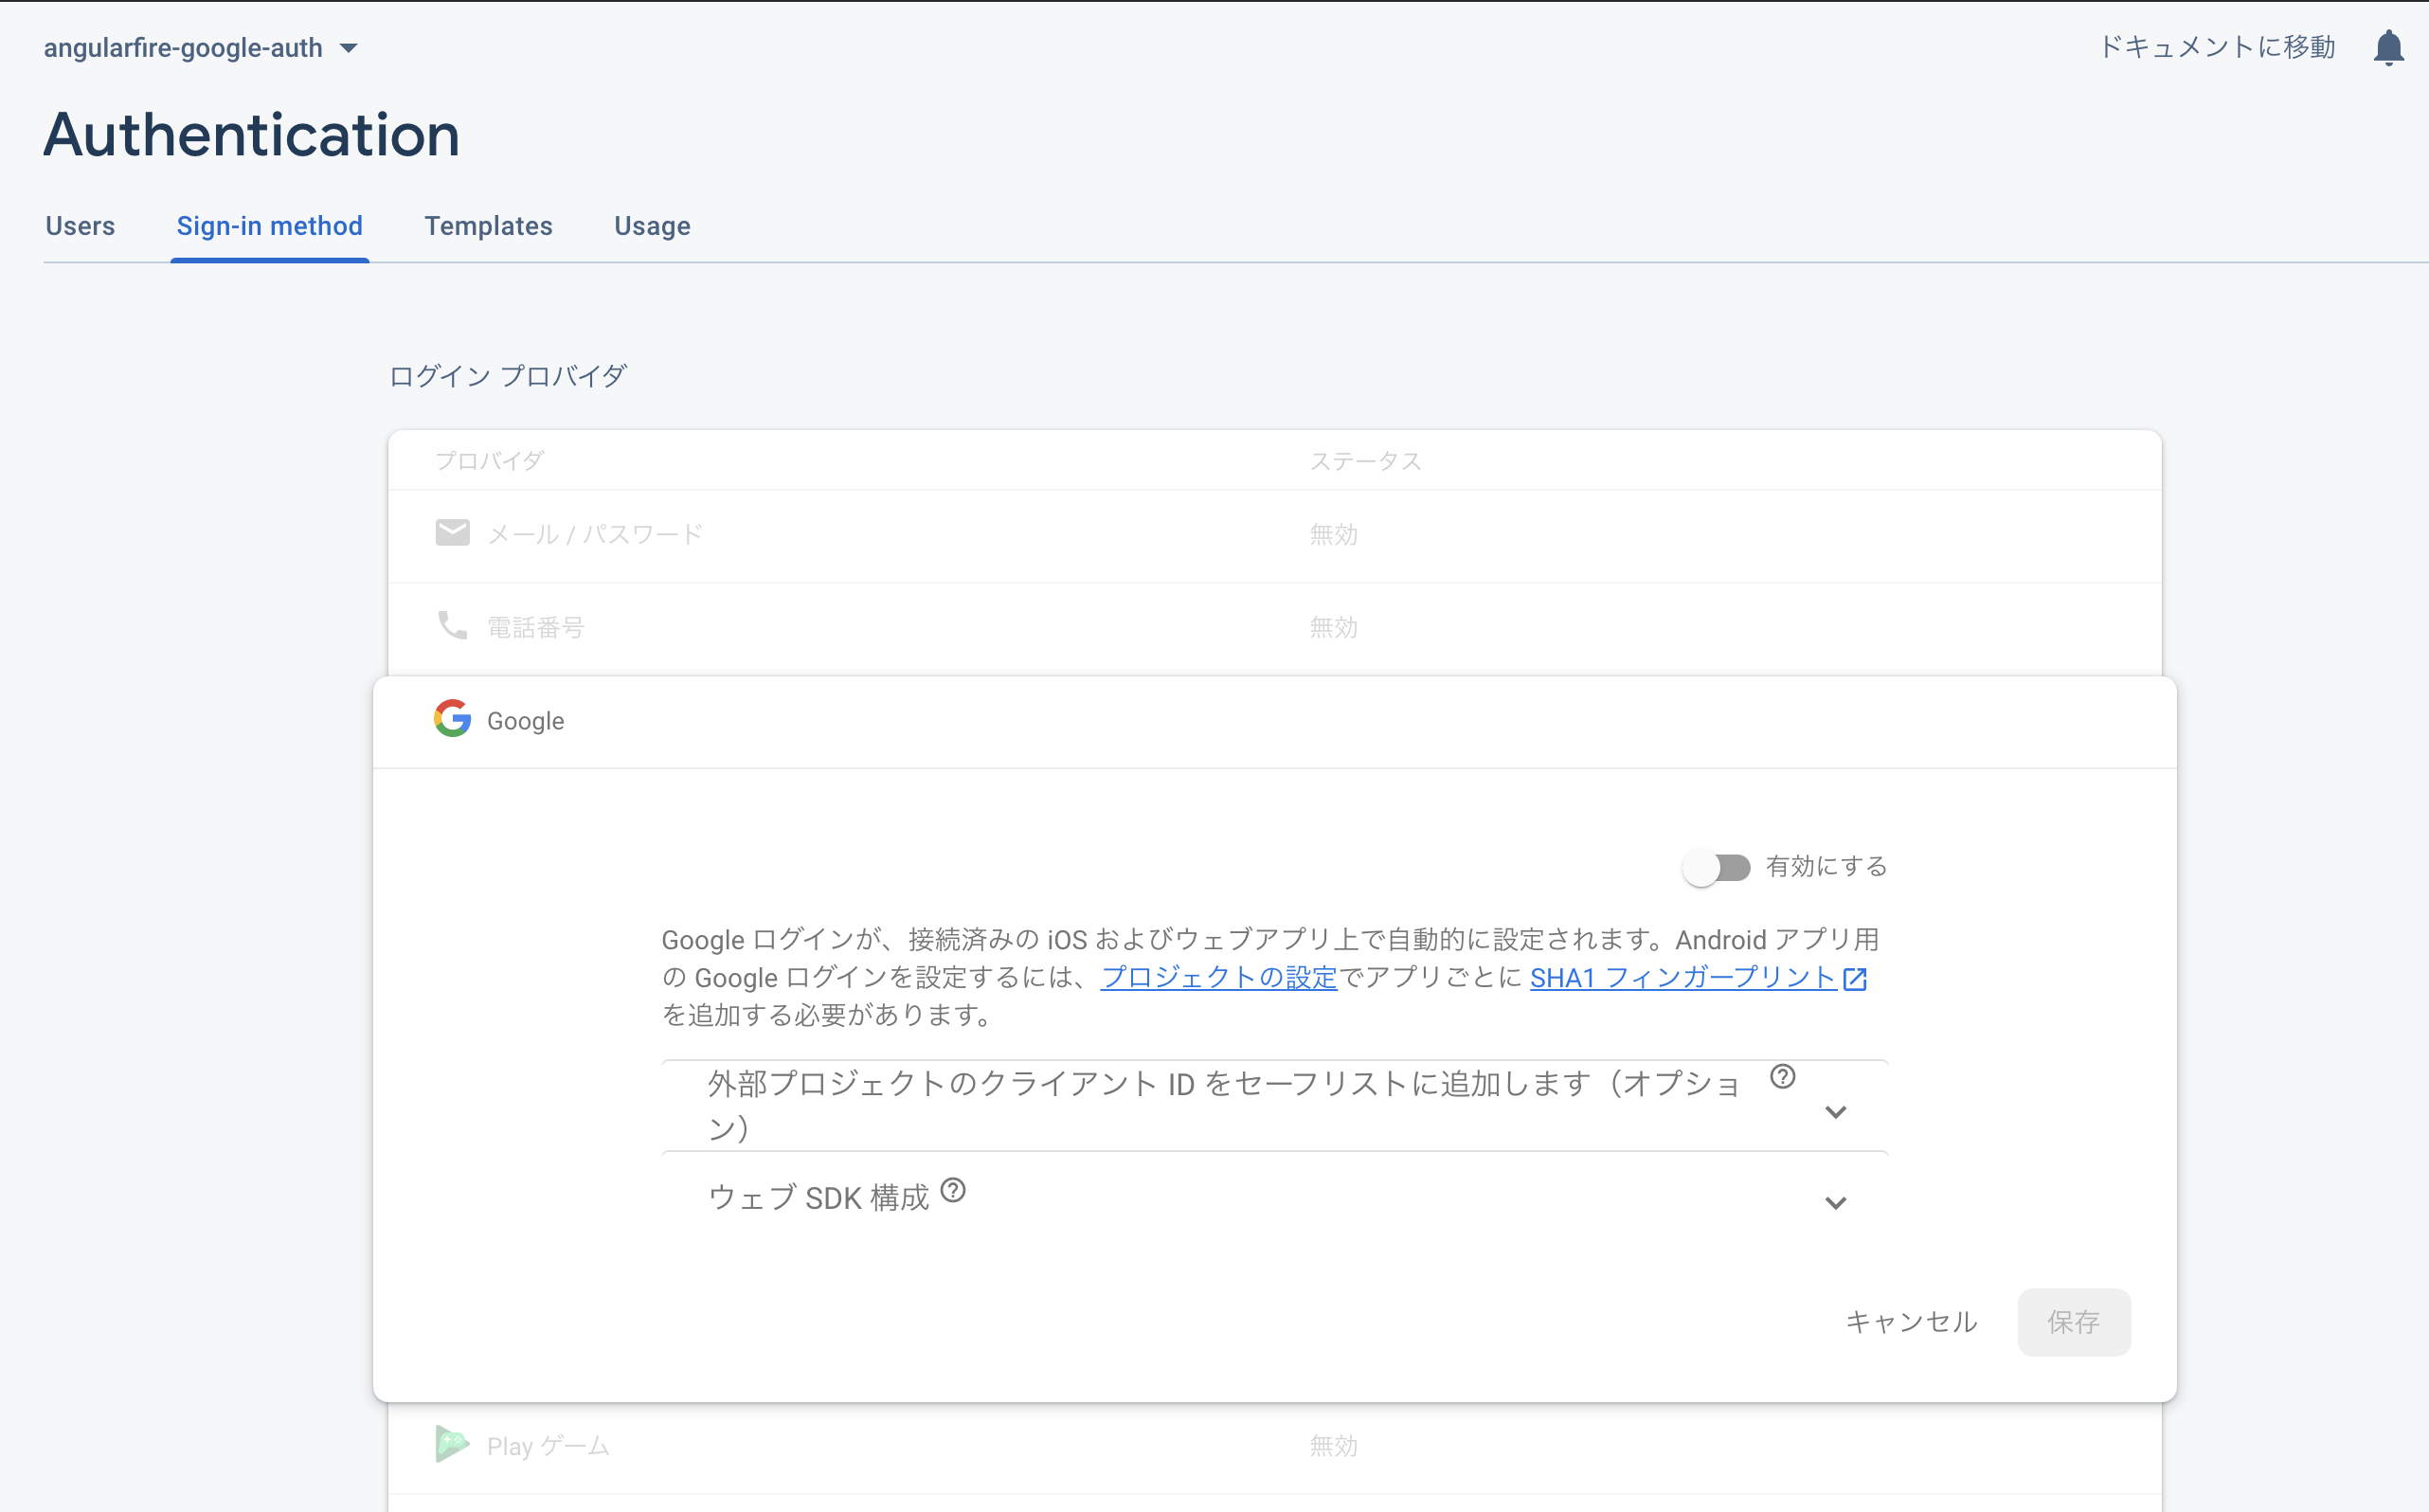
左サイドメニューのAuthenticationからログインプロバイダを選択。
Googleを有効にする。

これで🆗
config keyの発行
左サイドメニューの プロジェクトの概要 > プロジェクトを設定 > マイアプリ
Webを選択し、任意のアプリ名を入力する。
Firebase SDK snippetからfirebaseConfigを確認することが出来る。確認したkeyは、Angularの環境設定ファイルに記述する(後述)。
AngularCLIでテンプレート作成
AngularCLIのインストールをしていない場合→npm install -g @angular/cli
ng new angularfire-google-auth

# いろいろ聞かれる
? Do you want to enforce stricter type checking and stricter bundle budgets in the workspace? (y/N) N
? Would you like to add Angular routing? (y/N) y
とりあえずAngular routerが入っていれば🆗
パッケージのインストール
npm install @angular/fire firebase --save
実装
作成したテンプレートを修正してログインするところまで実装する。
Angularの環境設定ファイルにfirebase keyを追加する
発行したfirebaseConfigをsrc/app/environment.tsに記述。
export const environment = {
  production: false,
  firebase: {
    apiKey: '#####',
    authDomain: '#####',
    projectId: '#####',
    storageBucket: '#####',
    messagingSenderId: '#####',
    appId: '#####',
    measurementId: '#####'
  }
};
使用するモジュールをインポート
firebase keyを用いて初期化もしている。
型定義
Firestoreに保存するデータの型を定義する。以下コマンドでinterfaceを作成。
ng g interface services/user
export interface User {
  uid: string;
  email: string;
  photoURL?: string;
  displayName?: string;
}
認証周りのサービス
ここでサインインやサインアウト、ログイン状態の確認を実装する。まずは、サービステンプレートの作成。
ng g service services/auth
auth.service.ts
import { Injectable } from '@angular/core';
import { Router } from '@angular/router';

import firebase from 'firebase/app';
import { AngularFireAuth } from '@angular/fire/auth';
import { AngularFirestore, AngularFirestoreDocument } from '@angular/fire/firestore';

import { Observable, of } from 'rxjs';
import { switchMap } from 'rxjs/operators';

import { User } from './user.model';

@Injectable({
  providedIn: 'root'
})
export class AuthService {
  user$: Observable<User>;
  constructor(
    private angularFireAuth: AngularFireAuth,
    private angularFireStore: AngularFirestore,
    private router: Router
  ) {
    this.user$ = this.angularFireAuth.authState.pipe(
      switchMap(user => {
        // Logged in
        if (user) {
          return this.angularFireStore.doc<User>(`users/${user.uid}`).valueChanges();
        } else {
          // Logged out
          return of(null);  // 空のObservableを返す
        }
      })
    );
  }

  async googleSignin() {
    const provider = new firebase.auth.GoogleAuthProvider();
    const credential = await this.angularFireAuth.signInWithPopup(provider);
    return this.updateUserData(credential.user);
  }

  async signOut() {
    await this.angularFireAuth.signOut();
    this.router.navigate(['/']);
  }

  private updateUserData(user: User) {
    // ログイン痔にfirestoreにuser dataを追加する
    const userRef: AngularFirestoreDocument<User> = this.angularFireStore.doc(`users/${user.uid}`);

    const data = {
      uid: user.uid,
      email: user.email,
      displayName: user.displayName,
      photoURL: user.photoURL
    }
    return userRef.set(data, { merge: true })
  }
}
参考サイトとライブラリバージョンが異なるのか多少メソッドが異なるところがある。
コンポーネントに繋ぎこむ
src/app/app.component.tsにAuthServiceをimport
app.component.ts
import { Component } from '@angular/core';
import { AuthService } from './services/auth.service';

@Component({
  selector: 'app-root',
  templateUrl: './app.component.html',
  styleUrls: ['./app.component.scss']
})
export class AppComponent {
  constructor(public auth: AuthService) {}
}
app.component.htmlも編集してボタン等配置する。
app.component.html
<div *ngIf="auth.user$ | async as user; else login">
  <pre>
    {{ user | json }}
  </pre>

  <hr>
  <button class="button" (click)="auth.signOut()">SignOut</button>
</div>

<ng-template #login>
  <button class="button" (click)="auth.googleSignin()">Login with Google</button>
</ng-template>

<router-outlet></router-outlet>
ng serveしてhttp://localhost:4200 を見るとボタンが表示されてログインが出来る。ログインが成功するとjsonが表示される。
ログイン時のみ表示可能なページを作成
Guardを使用することでログインしているユーザかどうかを判定する。これにより認証がされていないユーザのアクセス可能なページを制限することが可能になる。
ng g guard auth
auth.guard.ts
import { Injectable } from '@angular/core';
import { CanActivate, ActivatedRouteSnapshot, RouterStateSnapshot, Router } from '@angular/router';
import { Observable } from 'rxjs';

import { AuthService } from './auth.service';
import { tap, map, take } from 'rxjs/operators';

@Injectable({
  providedIn: 'root'
})
export class AuthGuard implements CanActivate {
  constructor(private auth: AuthService, private router: Router) {}

  canActivate(next, state): Observable<boolean> {
    return this.auth.user$.pipe(
      take(1),
      map(user => !!user),
      tap(loggedIn => {
        if (!loggedIn) {
          console.log('access denied!!!!!');
          this.router.navigate(['/']);
        }
      })
    )
  }
}
メモはこれで終わり。ドキュメントや参考記事が多いのでお手軽だった。
他のログイン認証についても試していく予定。
参考
Discussion