🏋️
Elasticsearch をとりあえず手元で動かしたい
Links
- Install Elasticsearch with Docker | Elasticsearch Guide [8.3] | Elastic
- Python Elasticsearch 基本的な使い方まとめ - Qiita
概要
Elasticsearch を触ってみた。Elasticsearch が何か、という点については他の記事に譲るとしてこの記事では、とりあえず手元で動かすことをスコープにする。
具体的には、
- Docker を使って Elasticsearch を起動する
- Docker を使って Kibana を起動し、Elasticsearch の中身を可視化する
- Python Client を使って簡単な API を作成し、API 経由で Elasticsearch を叩いてみる
をやってみる。
Elasticsearch を起動 (Docker)
コンテナを引っ張ってきて実行。Kibana から確認するときのために network も作成しておく。
docker network create elastic
docker pull docker.elastic.co/elasticsearch/elasticsearch:8.3.3
docker run --name es-node01 --net elastic -p 9200:9200 -p 9300:9300 -t docker.elastic.co/elasticsearch/elasticsearch:8.3.3
7.17の場合。(後述の Python Client を使う際にはこちらのバージョンを利用)
docker run -p 127.0.0.1:9200:9200 -p 127.0.0.1:9300:9300 -e "discovery.type=single-node" docker.elastic.co/elasticsearch/elasticsearch:7.17.5
標準出力にパスワードが表示されるのでコピーしておく。後述の Kibana からの接続も試す場合、token も記録しておく。
-------------------------------------------------------------------------------------------------------------------------------------------------------------------------------------------------------------------------------
-> Elasticsearch security features have been automatically configured!
-> Authentication is enabled and cluster connections are encrypted.

->  Password for the elastic user (reset with `bin/elasticsearch-reset-password -u elastic`):
  xxxxxxxxxxxxxxxxxxxx

->  HTTP CA certificate SHA-256 fingerprint:
  XXXXXXXXXXXXXXXXXXXXXXXXXXXXXXXXXXXXXXXXXXXXXXXXXXXXXXXXXXXXXXXX

->  Configure Kibana to use this cluster:
* Run Kibana and click the configuration link in the terminal when Kibana starts.
* Copy the following enrollment token and paste it into Kibana in your browser (valid for the next 30 minutes):
  xxxxxxxxxxxxxxxxxxxxxxxxxxxxxxxxxxxxxxxxxxxxxxxxxxxxxxxxxxxxxxxxxxxxxxxxxxxxxxxxxxxxxxxxxxxxxxxxxxxxxxxxxxxxxxxxxxxxxxxxxxxxxxxxxxxxxxxxxxxxxxxxxxxxxxxxxxxxxxxxxxxxxxxxxxxxxxxxxxxxxxxxxxxxxxxxxxxxxxxxxxxxxxxxxxxxxxxxxxxxxxxx

-> Configure other nodes to join this cluster:
* Copy the following enrollment token and start new Elasticsearch nodes with `bin/elasticsearch --enrollment-token <token>` (valid for the next 30 minutes):
  xxxxxxxxxxxxxxxxxxxxxxxxxxxxxxxxxxxxxxxxxxxxxxxxxxxxxxxxxxxxxxxxxxxxxxxxxxxxxxxxxxxxxxxxxxxxxxxxxxxxxxxxxxxxxxxxxxxxxxxxxxxxxxxxxxxxxxxxxxxxxxxxxxxxxxxxxxxxxxxxxxxxxxxxxxxxxxxxxxxxxxxxxxxxxxxxxxxxxxxxxxxxxxxxxxxxxxxxxxxxxxxx

  If you're running in Docker, copy the enrollment token and run:
  `docker run -e "ENROLLMENT_TOKEN=<token>" docker.elastic.co/elasticsearch/elasticsearch:8.3.3`
-------------------------------------------------------------------------------------------------------------------------------------------------------------------------------------------------------------------------------
バージョン8の場合は、デフォルトでHTTPSになるので接続に必要な証明書をホスト側に持ってくる必要がある。以下のコマンドでローカルにコピーできる。
docker cp es-node01:/usr/share/elasticsearch/config/certs/http_ca.crt .
別のターミナルで以下を実行する。上記でコピーしたパスワードを入力する。
curl --cacert http_ca.crt -u elastic https://localhost:9200
{
  "name" : "ae249e268b47",
  "cluster_name" : "docker-cluster",
  "cluster_uuid" : "Fk4ykvafSPmkSTAkVvCs_g",
  "version" : {
    "number" : "8.3.3",
    "build_flavor" : "default",
    "build_type" : "docker",
    "build_hash" : "801fed82df74dbe537f89b71b098ccaff88d2c56",
    "build_date" : "2022-07-23T19:30:09.227964828Z",
    "build_snapshot" : false,
    "lucene_version" : "9.2.0",
    "minimum_wire_compatibility_version" : "7.17.0",
    "minimum_index_compatibility_version" : "7.0.0"
  },
  "tagline" : "You Know, for Search"
}
Kibana から見てみる (Docker)
Kibana も Docker でサクッと立ち上げることができる。network は上で作成したものを指定する。
docker run --name kib-01 --net elastic -p 5601:5601 docker.elastic.co/kibana/kibana:8.3.3
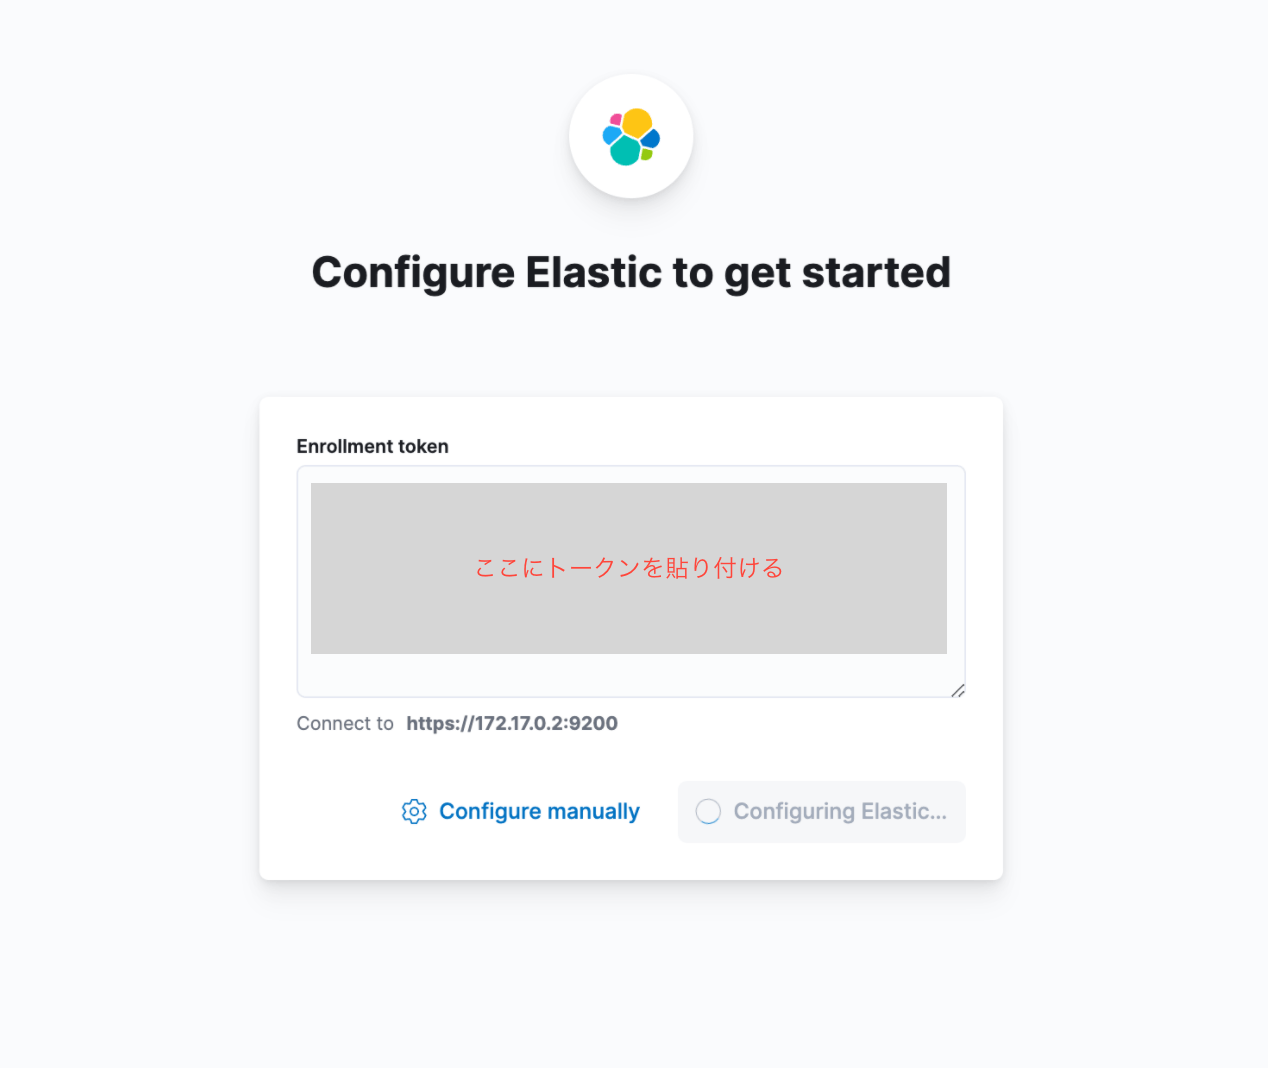
標準出力に URL が出るのでアクセスする。token に上記で出た値を入力する。
token のタイムアウトが来てしまっていたら再生成する。再生成は以下のコマンドでできる。
docker exec -it es-node01 /usr/share/elasticsearch/bin/elasticsearch-create-enrollment-token -s kibana

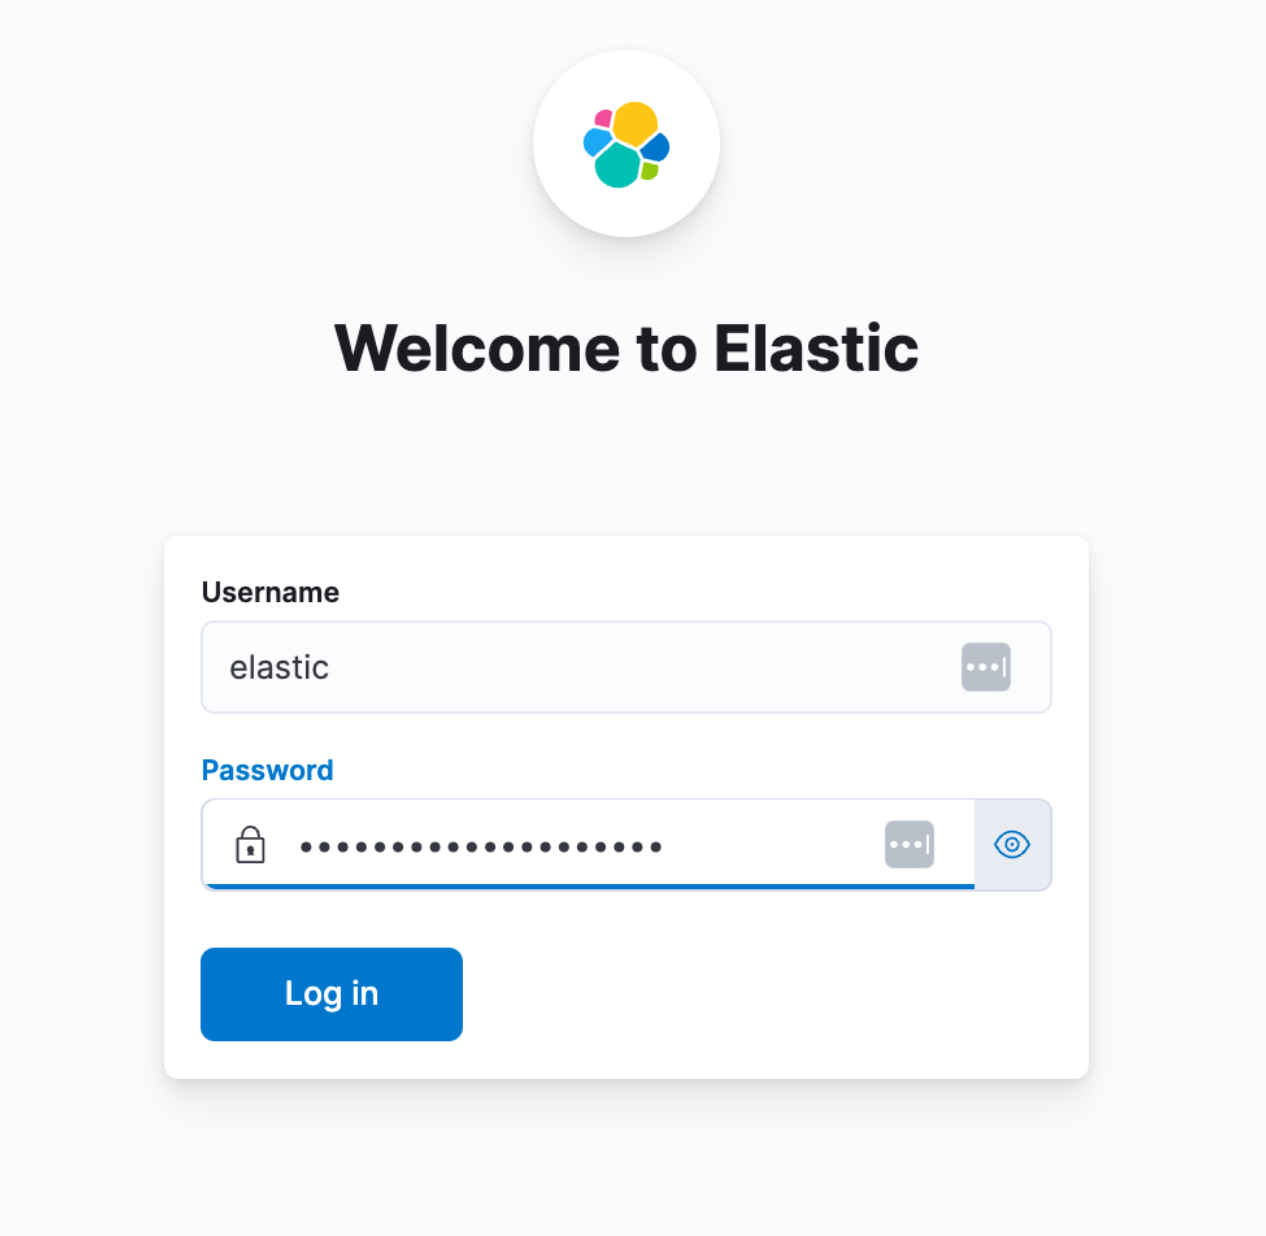
ログイン画面が出たらこれも前述の値を入れる。
サンプルデータを表示してみた。

Python Client を使って操作する
Python Client の使い方は下記参照。
証明書とかの設定をすっ飛ばしたかったのでバージョン7を使っている。
ライブラリをインストールすれば簡単にアクセスすることができる。
poetry add elasticsearch
from elasticsearch import Elasticsearch


es = Elasticsearch("http://localhost:9200")
es.info()
出力
<stdin>:1: ElasticsearchWarning: Elasticsearch built-in security features are not enabled. Without authentication, your cluster could be accessible to anyone. See https://www.elastic.co/guide/en/elasticsearch/reference/7.17/security-minimal-setup.html to enable security.
ObjectApiResponse({'name': 'bba40f7bd153', 'cluster_name': 'docker-cluster', 'cluster_uuid': 'oXfP5JraQoCVsxmOFEgCaQ', 'version': {'number': '7.17.5', 'build_flavor': 'default', 'build_type': 'docker', 'build_hash': '8d61b4f7ddf931f219e3745f295ed2bbc50c8e84', 'build_date': '2022-06-23T21:57:28.736740635Z', 'build_snapshot': False, 'lucene_version': '8.11.1', 'minimum_wire_compatibility_version': '6.8.0', 'minimum_index_compatibility_version': '6.0.0-beta1'}, 'tagline': 'You Know, for Search'})
簡単な API を生やしてみる
API が立ち上がる前に index を作成して、その index に対する操作などを各エンドポイントから行うことができる。
import os
import uuid

from elasticsearch import Elasticsearch
from fastapi import FastAPI
from pydantic import BaseModel


app = FastAPI()

host = os.getenv("HOST", "localhost")
port = os.getenv("PORT", "9200")
es = Elasticsearch(f"http://{host}:{port}")

@app.on_event("startup")
def prepare_es():
    index_name = "students"
    if es.indices.exists(index=index_name):
        print(f"{index_name} already exists.")
        return
    es.indices.create(index=index_name)


@app.get("/info")
def read_info() -> dict:
    info = es.info()
    return info.body


@app.get("/indices")
def read_indices():
    """
    curl http://localhost:8000/indices
    """
    return es.cat.indices(index='*', h='index').splitlines()


@app.get("/indices/{index_name}/mapping")
def read_mapping(index_name):
    """
    curl http://localhost:8000/indices/students/mapping
    """
    if not es.indices.exists(index=index_name):
        return {"error": f"{index_name} does not exist."}
    return es.indices.get_mapping(index=index_name).body


@app.post("/indices/{index_name}/doc")
def create_doc(index_name, doc: dict):
    """
    curl -XPOST \
        -H'Content-Type:application/json' \
        -d'{"name":"ktoyod","age":28,"email":"ktoyod@exammple.com"}' \
        http://localhost:8000/indices/students/doc
    """
    try:
        es.create(index=index_name, id=uuid.uuid4(), body=doc)
        return {"status": "ok"}
    except Exception as e:
        print(e)
        return {"status": "ng"}


@app.get("/indices/{index_name}/docs")
def read_docs(index_name, query: dict):
    """
    curl -XGET \
        -H'Content-Type:application/json' \
        -d'{"query": {"range": {"age": {"gt": 20}}}}' \
        http://localhost:8000/indices/students/docs
    """
    result = es.search(index=index_name, body=query, size=3)
    return list(map(lambda x: x["_source"], result["hits"]["hits"]))
コメントに記載した curl コマンドを実行すると結果が表示される。
Discussion