Baslerカメラの制御方法:GENICAMとHarvesterを用いた具体例
初めに
Basler社製のa2A3840-45ucPROカメラを使い、Pythonを利用してカメラを制御する方法を紹介します。この記事では、GENICAM規格とHarvesterライブラリを活用し、カメラの基本操作や画像取得までの流れを解説します。

※画像出典:株式会社テム
GENICAMとHarvesterについて
GENICAM
GENICAM(Generic Interface for Cameras)は、カメラ制御と画像取得のための統一規格です。メーカーやモデルに依存せずにカメラを制御できます。
Harvester
Harvesterは、GENICAM規格に準拠したカメラをPython環境で簡単に操作するためのライブラリです。
準備事項
Python環境の要件
- Pythonバージョン: 3.11以降(2024年12月時点の推奨バージョン)
必要なライブラリのインストール
-
GENICAMライブラリのインストール
以下のリンクからファイルをダウンロードしてください。 (2024年12月時点の最新バージョン)
https://pypi.org/project/genicam/#files
ファイル名(windows 64bit) :genicam-1.4.0-cp311-cp311-win_amd64.whlWindowsの場合:
pip install genicam-1.4.0-cp311-cp311-win_amd64.whl -
Harvesterライブラリのインストール
Harvesterは以下のコマンドでインストールできます。pip install harvesters -
追加ライブラリのインストール
Harvesterを動かすには以下のライブラリも必要です:pip install numpy opencv-python -
Basler pylonソフトウェアのインストール
Basler公式サイトからpylonソフトウェアをダウンロードし、CTIファイルを取得してください。
サンプルコード:カメラ制御と画像取得
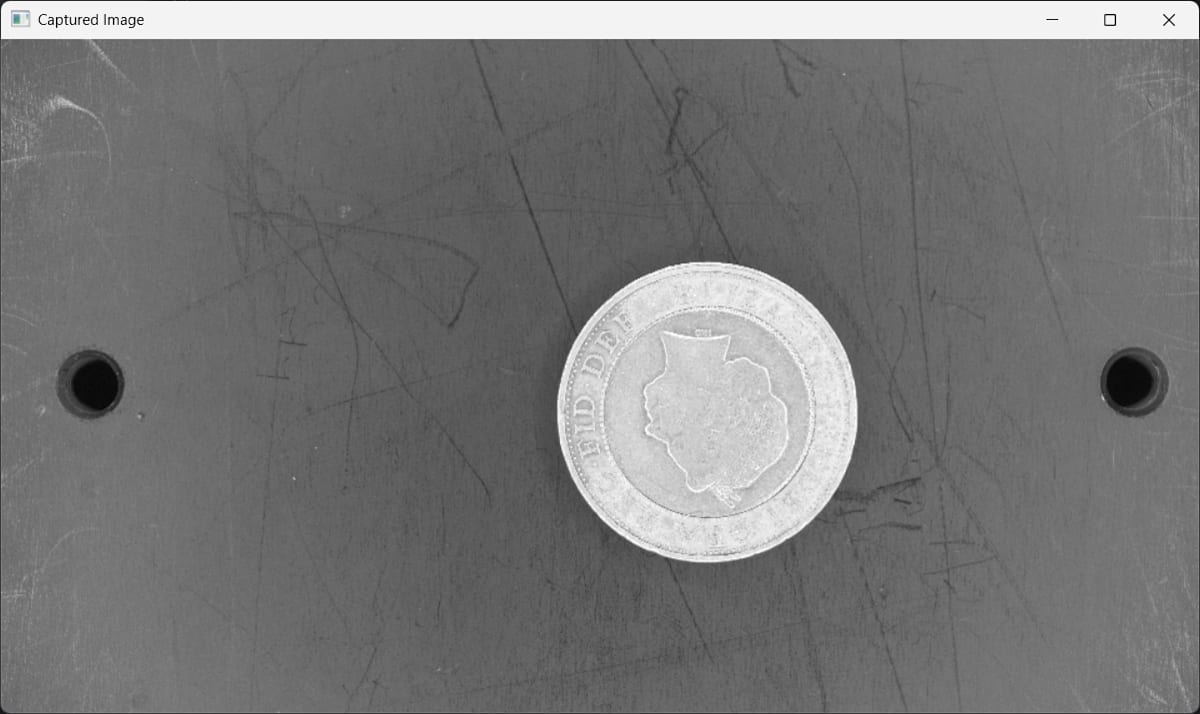
以下のコードでは、カメラの解像度や露光時間を設定し、画像を取得する手順を説明します。
from harvesters.core import Harvester
import cv2
import numpy as np

# Harvesterの初期化
h = Harvester()

# CTIファイルを追加
cti_file_path = r"C:\Program Files\Basler\pylon 7\Runtime\x64\ProducerU3V.cti"  # 適切なパスを設定
h.add_file(cti_file_path)

# カメラデバイスを検出
h.update()
if not h.device_info_list:
    print("No cameras detected. Check your CTI file and camera connection.")
else:
    print(f"Detected {len(h.device_info_list)} camera(s):")
    for device_info in h.device_info_list:
        print(f"  - Model: {device_info.model}, Vendor: {device_info.vendor}")

# 最初のカメラを選択
ia = h.create(0)

# カメラの設定
node_map = ia.remote_device.node_map
node_map.Width.value = 3840
node_map.Height.value = 2160
node_map.ExposureTime.value = 2000  # マイクロ秒
print(f"Width: {node_map.Width.value}, Height: {node_map.Height.value}")
print(f"ExposureTime: {node_map.ExposureTime.value}")

# 画像の取得
ia.start()
print("Acquiring an image...")
try:
    with ia.fetch() as buffer:
        image = buffer.payload.components[0].data
        height = node_map.Height.value
        width = node_map.Width.value
        reshaped_image = image.reshape(height, width)

        cv2.imshow('Captured Image', reshaped_image)
        cv2.waitKey(0)
finally:
    ia.stop()
    cv2.destroyAllWindows()

# 後処理
ia.destroy()
h.reset()
print("Camera operation completed.")
実行結果
Detected 1 camera(s):
  - Model: a2A3840-45ucPRO, Vendor: Basler
Width: 3840, Height: 2160
ExposureTime: 2001.0
Acquiring an image...
Image shape: (8294400,)

関連リソース
これで、BaslerカメラをGENICAMを用いて制御する手順が理解いただけたかと思います。質問やフィードバックがあればぜひコメントください!
Discussion