🐈
12 サーバー構築
12-2 Webサーバー
リポジトリのアップデート
sudo apt-get update
Nginxのインストール
sudo apt-get install nginx
インストール後の確認
sudo nginx -v
ポート80を許可します。
sudo ufw allow 80 ; sudo ufw reload
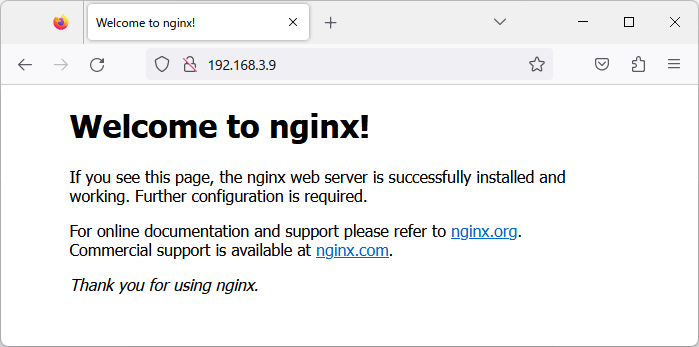
ブラウザから「http://サーバーのIPアドレス」にアクセスすると以下のようにNginxの初期画面が表示されます。

設定ファイル
/etc/nginx/nginx.conf
ディレクティブ
設定ファイルはディレクティブとそのパラメータで構成されます。ディレクティブは{}で囲み、パラメーターは;で終わります。
コンテキスト
コンテキストと呼ばれるいくつかのトップレベルのディレクティブは、異なるトラフィックタイプに適用されるディレクティブをまとめたものです。
| トップレベルディレクティブ | 説明 |
|---|---|
| http | 固有、または全ての仮想サーバー設定 |
| events | 接続処理の設定 |
| stream | TCP/UDPに固有の設定。全ての仮想サーバーに影響する |
仮想サーバーの設定
仮想サーバーの設定を行いブラウザからhtmlファイルへアクセスします。
使用しているディレクトリは以下の通りです。
| ディレクティブ | 説明 |
|---|---|
| server | 仮想サーバーの設定 |
| listen | ポート番号 |
| location | URIを処理するための設定 |
| root | 静的コンテンツを探し、提供する |
| index | インデックスファイルの名前を定義する |
/etc/nginx/nginx.confを以下のように変更します。
events{
}
http {
    server {
        listen 80 default_server;
        server_name localhost;
        location / {
            root /var/www/nginx_test;
            # alias /usr/share/nginx/html;
            index index.html index.htm;
        }
    }
}
/var/www/nginx_test/index.htmlを作成します。
今回は簡単なテスト用のhtmlを書いています。
<!doctype html>
<html lang="ja">
  <head>
      <meta charset="UTF-8">
      <title>Nginx</title>
      <meta name="description" content="test configration">
  </head>

  <body>
      <h1>Nginx Test</h1>
      <p>Hello Nginx</p>
      <img src="https://docs.nginx.com/images/icons/NGINX-Docs-horiz-white-type.svg" alt="NGINX-Docs">
  </body>
</html>
htmlファイルの作成後Nginxをリロードします。
systemctl reload nginx
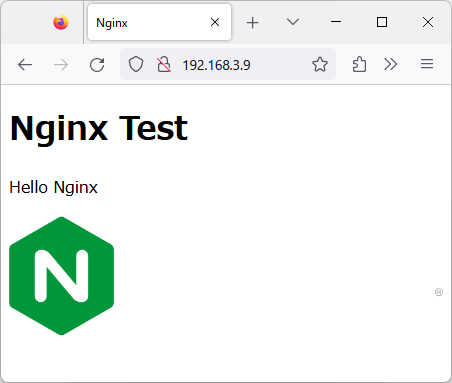
ブラウザからWebサーバーにアクセスするとhtmlの内容が表示されます。

機能固有の設定ファイル
保守をしやすくするために各設定をファイル毎に分割し、「/etc/nginx/conf.d」配下に保存し、インクルードディレクティブを使用し、設定を読み込むことが推奨されています。
include conf.d/http;
include conf.d/stream;
include conf.d/exchange-enhanced;
/etc/nginx/nginx.confを以下のように変更します。
events{
}
include conf.d/http;
/etc/nginx/conf.d/httpを作成し先程のnginx.confのhttpの内容をコピーします。
http {
    server {
        listen 80 default_server;
        server_name localhost;
        location / {
            root /var/www/nginx_test;
            # alias /usr/share/nginx/html;
            index index.html index.htm;
        }
    }
}
Nginxをリロードし、ブラウザからアクセスし、同じ画面が表示されれば成功です。
Discussion