【Swift】VisionOS で表示させるモデルにライトを追加する


初めに
今回は VisionOS で3Dモデルを表示させようとした際、表示されるモデルが暗かったのでライトを追加しようとしたのですが、苦戦したので共有したいと思います。
以下の記事を参照して解決しました。
記事の対象者
- Swift, SwiftUI 学習者
- Vision OS のモデルをカスタマイズしたい方
目的
改善前
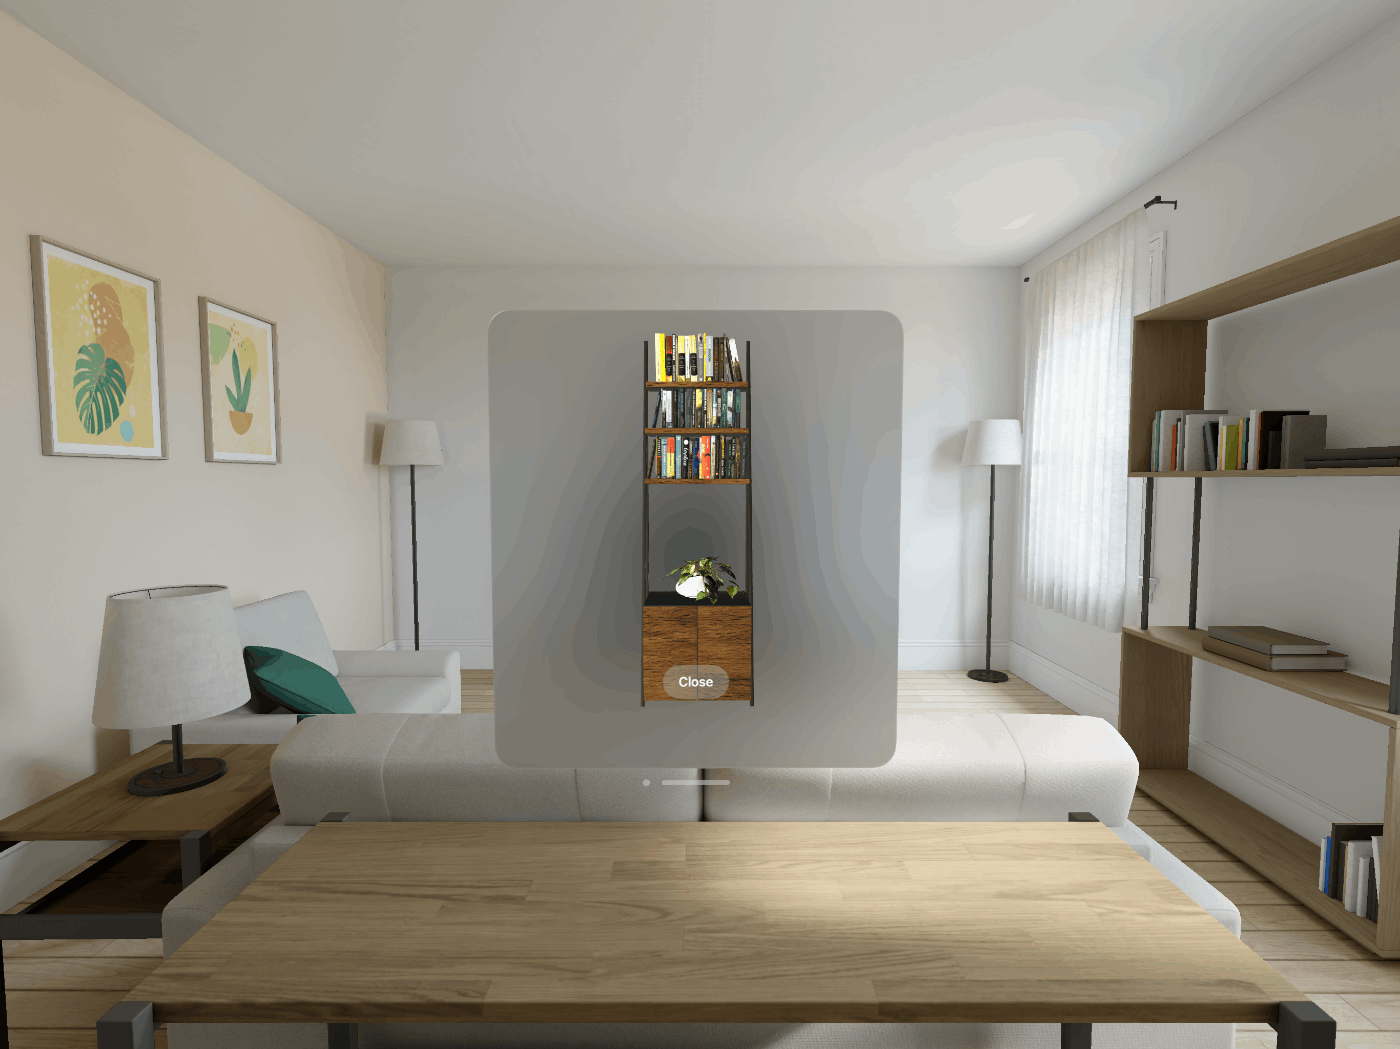
以下の画像のように表示させたいモデルが暗くてよく見えない
Blender 等でライトを含めてエクスポートしても変化しない

改善後
ライトを適切に追加することでモデル全体がよく見えるようになる
実装
改善前のコード
import SwiftUI
import RealityKit
import RealityKitContent

struct ShelfRealityArea: View {
    @Environment(\.dismissWindow) private var dismissWindow
    @ObservedObject private var model = AreaViewModel()
    let attachmentID = "attachmentID"
    var body: some View {
        RealityView { content, attachments in
            guard let entity = try? await Entity(named: "Shelf", in: realityKitContentBundle)
            else {
                fatalError("Unable to load completed scene model")
            }

            content.add(entity)

            if let sceneAttachment = attachments.entity(for: attachmentID) {
                sceneAttachment.position = SIMD3<Float>(0, -0.1, 0.15)
                sceneAttachment.transform.rotation = simd_quatf(angle: -0.5, axis: SIMD3<Float>(1,0,0))
                content.add(sceneAttachment)
            }
        } update: { content, attachments in
            print("RealityView changes detected ...")
        } placeholder: {
            ProgressView()
                .progressViewStyle(.circular)
                .controlSize(.large)
        } attachments: {
            Attachment(id: attachmentID) {
                Button(action: {
                    dismissWindow(id: model.shelfAreaId)
                }) {
                    Text("Close")
                }
            }
        }
    }
}
今回は棚のモデルを表示させています。
コード全体としては、棚のモデルを entity として RealityView に追加し、ウィンドウを閉じるボタンを attachments として表示させています。
改善後のコード
import SwiftUI
import RealityKit
import RealityKitContent

struct ShelfRealityArea: View {
    @Environment(\.dismissWindow) private var dismissWindow
    @ObservedObject private var model = AreaViewModel()
    let attachmentID = "attachmentID"
    var body: some View {
        RealityView { content, attachments in
            guard let entity = try? await Entity(named: "Shelf", in: realityKitContentBundle)
            else {
                fatalError("Unable to load completed scene model")
            }

+           guard let env = try? await EnvironmentResource(named: "Directional")
+           else { return }
+
+           let iblComponent = ImageBasedLightComponent(source: .single(env), intensityExponent: 10.0)
+
+           entity.components[ImageBasedLightComponent.self] = iblComponent
+           entity.components.set(ImageBasedLightReceiverComponent(imageBasedLight: entity))

            content.add(entity)

            if let sceneAttachment = attachments.entity(for: attachmentID) {
                sceneAttachment.position = SIMD3<Float>(0, -0.1, 0.15)
                sceneAttachment.transform.rotation = simd_quatf(angle: -0.5, axis: SIMD3<Float>(1,0,0))
                content.add(sceneAttachment)
            }
        } update: { content, attachments in
            print("RealityView changes detected ...")
        } placeholder: {
            ProgressView()
                .progressViewStyle(.circular)
                .controlSize(.large)
        } attachments: {
            Attachment(id: attachmentID) {
                Button(action: {
                    dismissWindow(id: model.shelfAreaId)
                }) {
                    Text("Close")
                }
            }
        }
    }
}
追加部分では、ImageBasedLightComponent というライトを追加しています。
詳細を見ていきましょう。
以下の部分では Directional というファイルを読み込んでいます。
guard let env = try? await EnvironmentResource(named: "Directional")
else { return }
なお、Directional と指定しているのは以下の画像を skyboxフォルダ配下に配置したものになります。

配置フォルダ

以下の部分では、先ほど指定した env を ImageBasedLightComponent として読み込んでいます。なお、source の部分は他にも blend を指定することができ、二つの画像を混ぜて光源とすることができるようです。
let iblComponent = ImageBasedLightComponent(source: .single(env), intensityExponent: 10.0)
また、 intensityExponent に関してはライトの強さと同じような役割であると考えられます。
説明を日本語訳すると以下のようになります。
「intensityExponent が 0 の場合は、拡散 / 反射強度をそのまま使用します。それ以外の場合、強度は 2 の intensityExponent 乗で計算されます。」
intensityExponent の値は2の指定された値乗(今回は 10.0 なので、2 の 10 乗)で計算されているため、値が少しでも変わるとライトの強さが大きく変わるかもしれません。この辺りは微調整が必要かと思います。
最後の以下の部分では先程まで定義した iblComponent を反映させています。
entity.components[ImageBasedLightComponent.self] = iblComponent
entity.components.set(ImageBasedLightReceiverComponent(imageBasedLight: entity))
以上で適切にライトが反映されたかと思います。
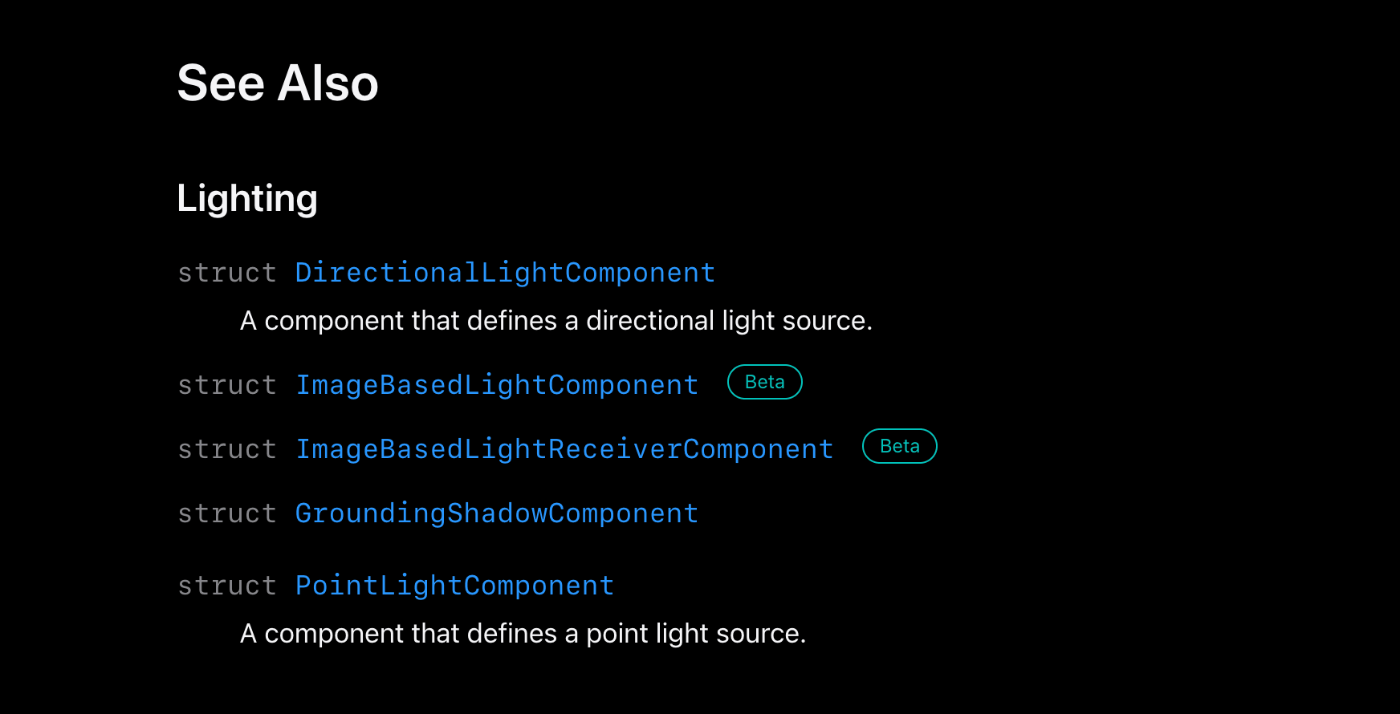
Apple の公式ドキュメントを見てみると、Lighting に関しては、今回使用した ImageBasedLightComponent ImageBasedLightReceiverComponent のみが Betaサポートつまり VisionOS で使用できるようになっており、その他の DirectionalLight や PointLight はまだサポートされていないことがわかりました。(2023/12/16 現在)
直感的にはポイントライトなどが先に実装されてもおかしくはないのかと思ったのですが、今は ImageBasedLightComponent で実装する必要があるようです。
その他の方法などあれば教えていただけると嬉しいです。
まとめ
最後まで読んでいただいてありがとうございました。
モデルにライトが当たらない問題は解決まで時間がかかってしまったので、誰かの役に立てれば嬉しいです。
誤っている点や他の実装方法等あればご指摘いただけると幸いです。
参考
Discussion