【Flutter】ローディング中のスケルトンUIを実装する
初めに
モバイルアプリを実装する上では、データを取得している間などユーザーを待たせる時間があるかと思います。その時に表示させるUIの一つにスケルトンUIがあります。
今回はローディング中に表示させるスケルトンUIを実装していきたいと思います。
記事の対象者
- Flutter 学習者
- スケルトンUIを作成したい方
- ローディング中のUIを作成したい方
完成イメージ
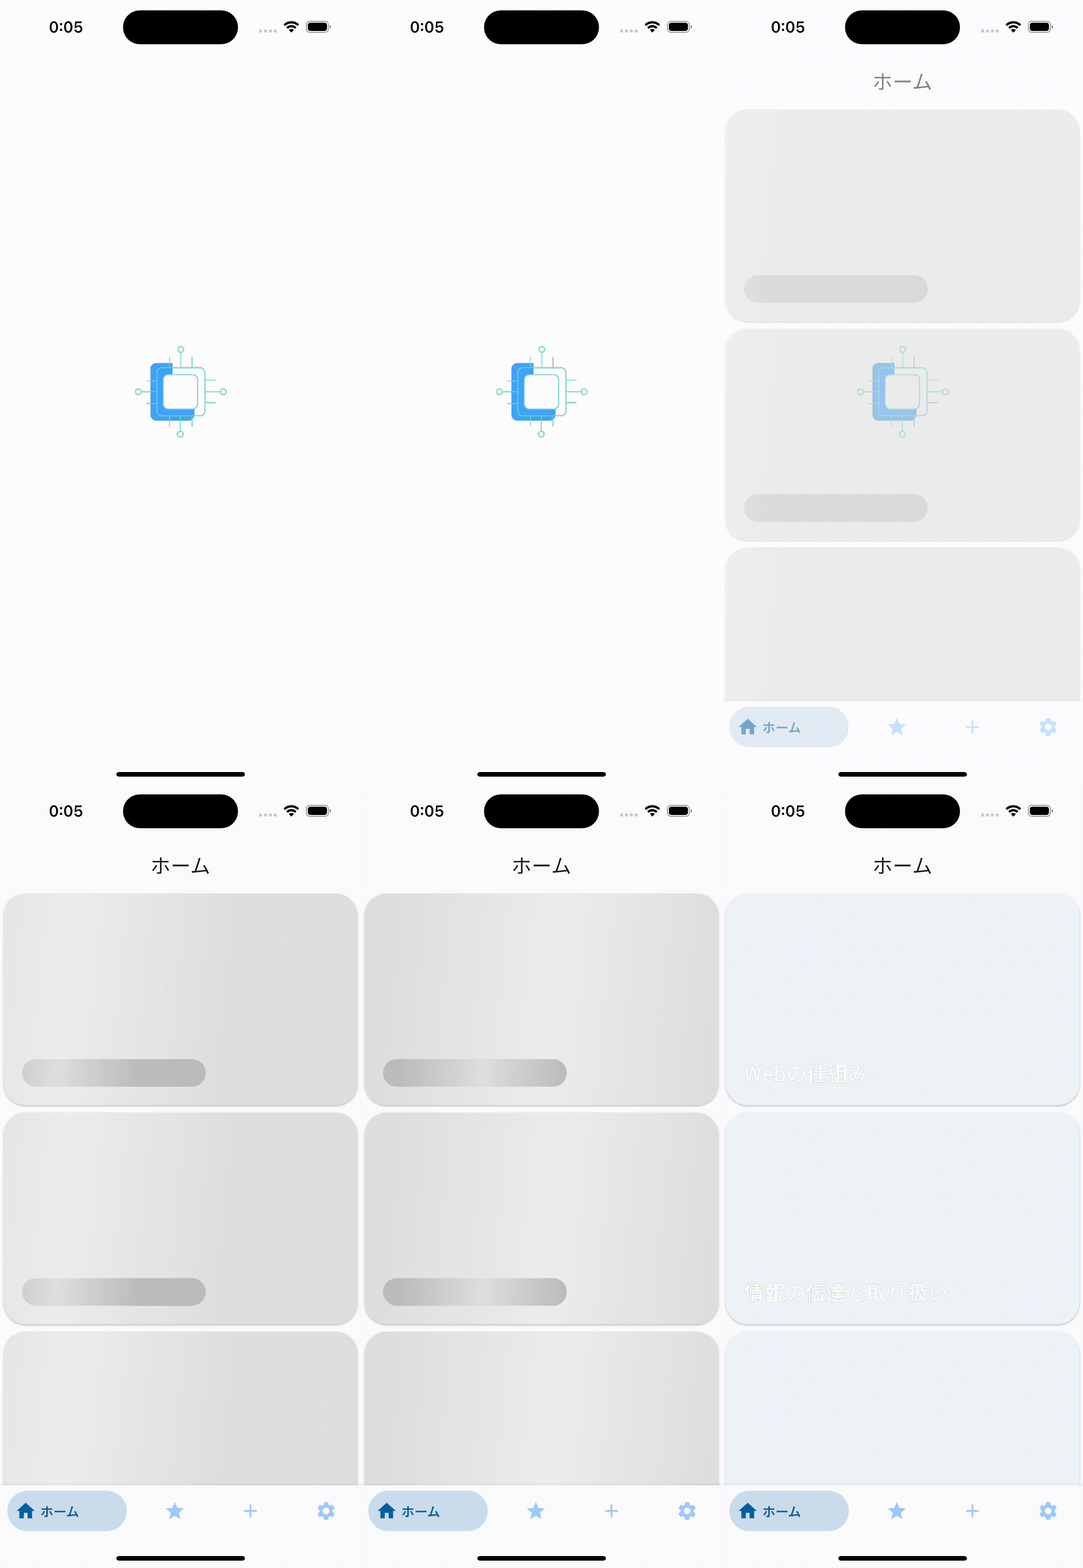
アプリを起動してからデータが読み込まれるまで以下のようなスケルトンUIを表示させたいと思います。

実装
導入
shimmer パッケージの最新バージョンを pubspec.yamlに記述
dependencies:
  flutter:
    sdk: flutter
  shimmer: ^3.0.0
または
以下をターミナルで実行
flutter pub add shimmer
スケルトンUIの作成
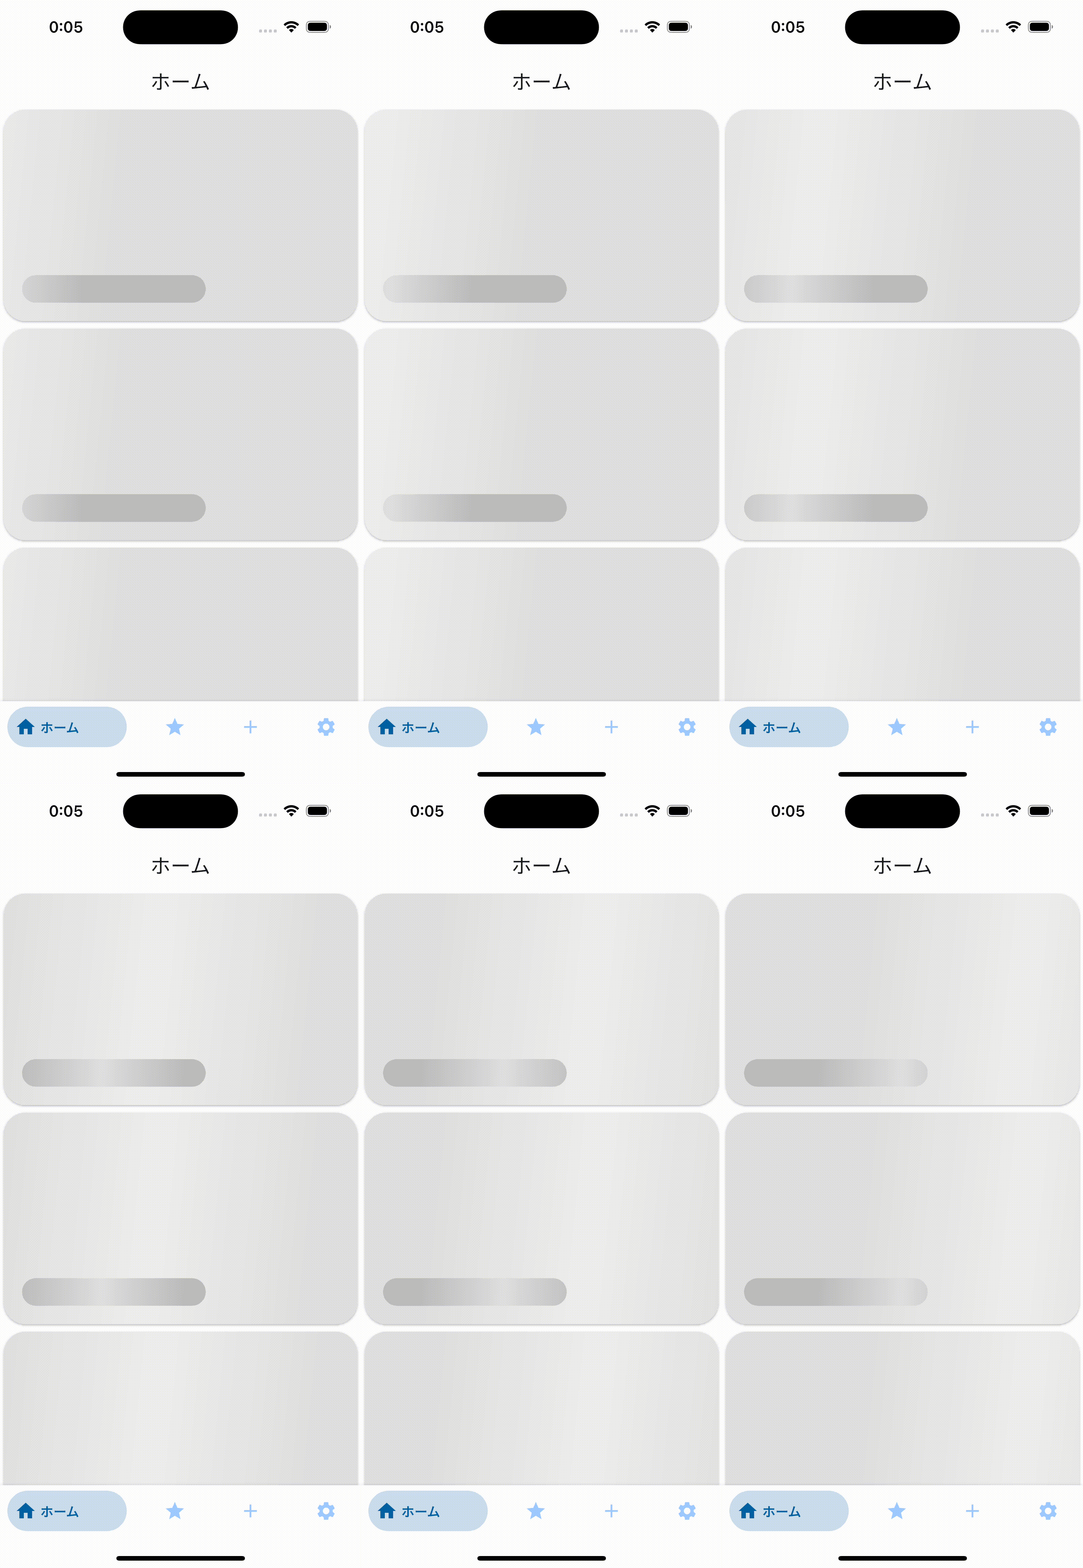
今回は以下の画像のロード中のスケルトンUIを作成したいと思います。

コードは以下のようになります。
スケルトンUIは基本的には、データが表示された際のUIと同じように作成し、色やハイライトを変更することで表現します。
import 'package:flutter/material.dart';
import 'package:shimmer/shimmer.dart';
class CategoryListSkeltonCard extends StatelessWidget {
const CategoryListSkeltonCard({super.key});
Widget build(BuildContext context) {
final screenHeight = MediaQuery.of(context).size.height;
return Card(
clipBehavior: Clip.antiAlias,
shape: RoundedRectangleBorder(
borderRadius: BorderRadius.circular(24),
),
child: Stack(
alignment: Alignment.center,
children: [
Shimmer.fromColors(
baseColor: Colors.grey[300]!,
highlightColor: Colors.grey[200]!,
child: Container(
height: screenHeight * 0.27,
color: Colors.grey[300]!,
),
),
Positioned(
bottom: 20,
left: 20,
child: Shimmer.fromColors(
baseColor: Colors.grey[400]!,
highlightColor: Colors.grey[300]!,
child: Container(
width: 200,
height: 30,
decoration: BoxDecoration(
color: Colors.grey[200]!,
borderRadius: BorderRadius.circular(24),
),
),
),
),
],
),
);
}
}
以下の部分で Shimmer を使ってスケルトンUIを作成しています。
Shimmer.fromColors(
  baseColor: Colors.grey[400]!,
  highlightColor: Colors.grey[300]!,
  child: Container(
    width: 200,
    height: 30,
    decoration: BoxDecoration(
      color: Colors.grey[200]!,
      borderRadius: BorderRadius.circular(24),
    ),
  ),
),
baseColor と highlightColor でスケルトンUIの色を指定することができます。
見た目は以下のようになっていて、baseColor よりも highlightColor の方が色が薄くなっているため、ハイライトの色が薄くなり、光っているようなUIにすることができます。

ローディング中に表示する
コードは以下のようになります。
今回はクイズのカテゴリーのリストを表示させる際のローディング画面に使用します。
class CategoryListScreen extends HookConsumerWidget {
const CategoryListScreen({Key? key}) : super(key: key);
Widget build(BuildContext context, WidgetRef ref) {
final categoryListState = ref.watch(categoryControllerProvider);
return SingleChildScrollView(
child: categoryListState.when(
data: (categories) => _buildDataState(categories, context),
error: (error, _) => _buildErrorState(context),
loading: () => _buildLoadingState(),
),
);
}
// _buildDataState, _buildErrorState 省略
Widget _buildLoadingState() {
return ListView.builder(
shrinkWrap: true,
physics: const NeverScrollableScrollPhysics(),
itemCount: 10,
itemBuilder: (BuildContext context, int index) {
return const CategoryListSkeltonCard(); // ここでスケルトンUIを使用
},
);
}
}
以下の部分では AsyncValue<List<Category>> 型の返り値を持つ categoryListState を定義しています。
final categoryListState = ref.watch(categoryControllerProvider);
以下の部分では categoryListState の値によって表示させるビューを変えています。
スケルトンUIは _buildLoadingState で定義して表示させています。
SingleChildScrollView(
  child: categoryListState.when(
    data: (categories) => _buildDataState(categories, context),
    error: (error, _) => _buildErrorState(context),
    loading: () => _buildLoadingState(),
  ),
);
見え方
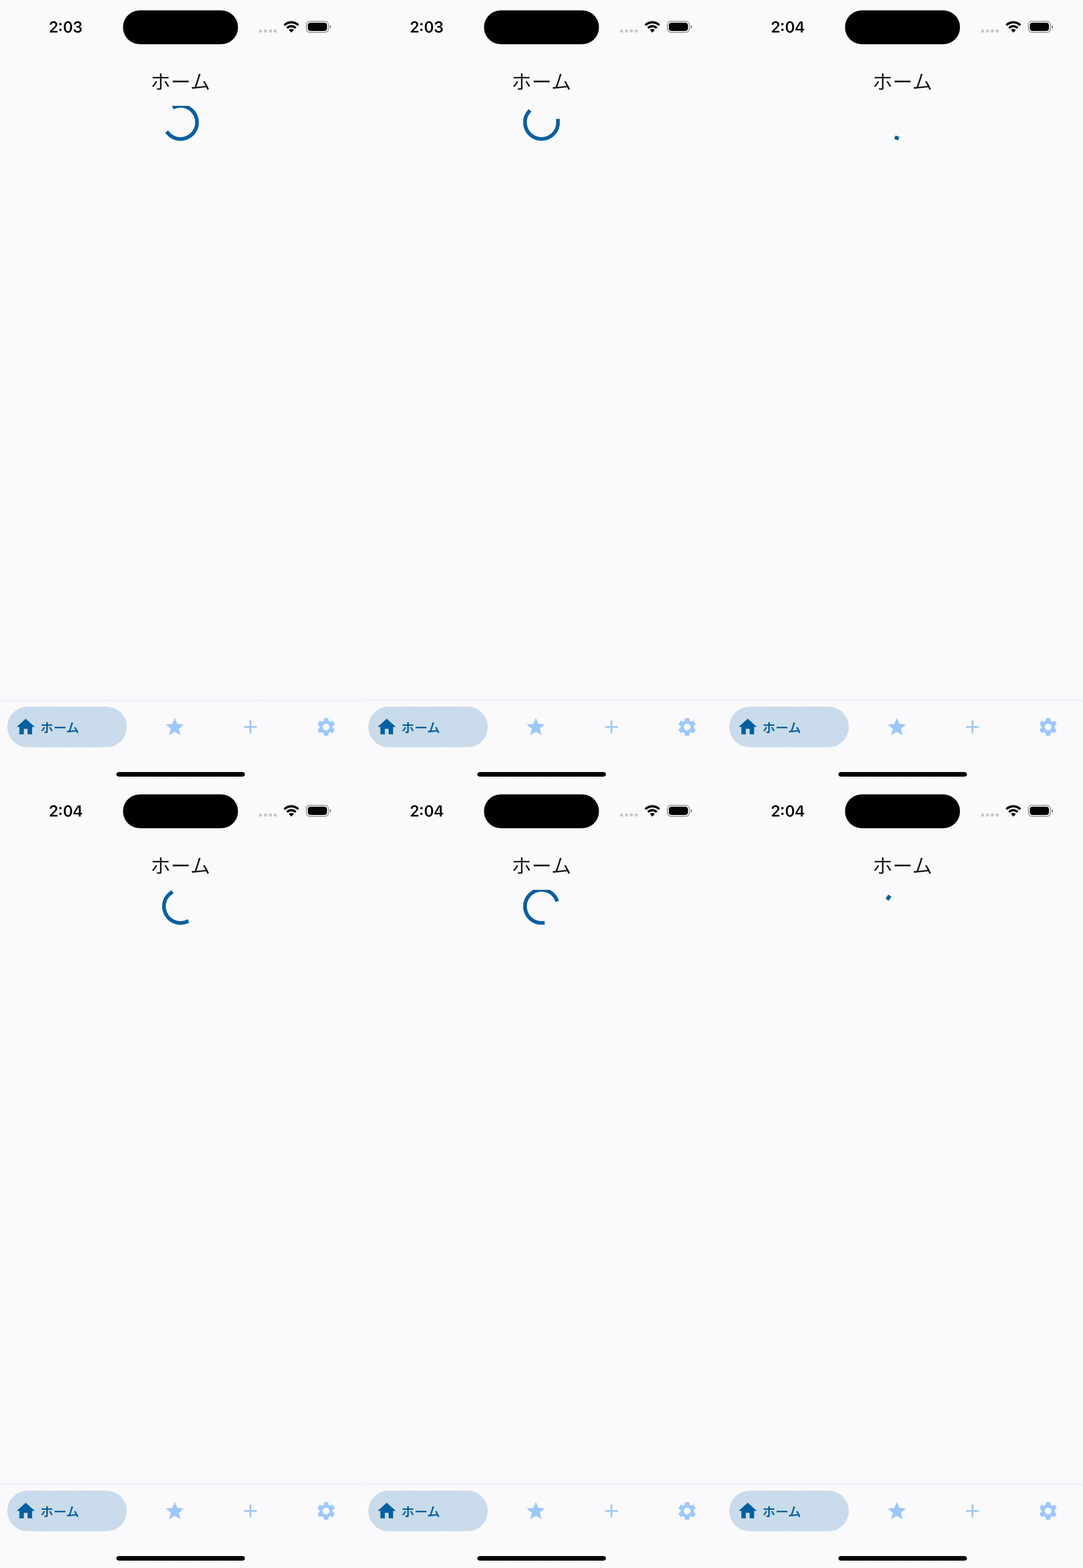
変更前

変更後

変更前の状態でもローディング中であることはわかりますが、無機質な印象も受けるので、見え方も考えると変更後の方が望ましいと言えるのではないでしょうか?
まとめ
最後まで読んでいただいてありがとうございました。
今回は簡単にスケルトンUIの実装を行いました。
単純な CircularProgressIndicator よりも見た目が改善するだけでなく、ビューが大きく切り替わる断絶も小さくなるのではないかと思います。
参考
Discussion