Next.jsでreact-pdf + react-konvaを使う
はじめに
ミチビク株式会社で開発に携わっております、Fiddler25と申します。
最近業務でreact-pdf, react-konvaを使う機会がありました。
画面上にPDFを表示し、PDF上で画像をドラッグ & ドロップする機能が必要だったのですが、Next.jsではインポートして利用できるようにするまでいくつかハマりポイントがあったため、解決方法を記したいと思います。
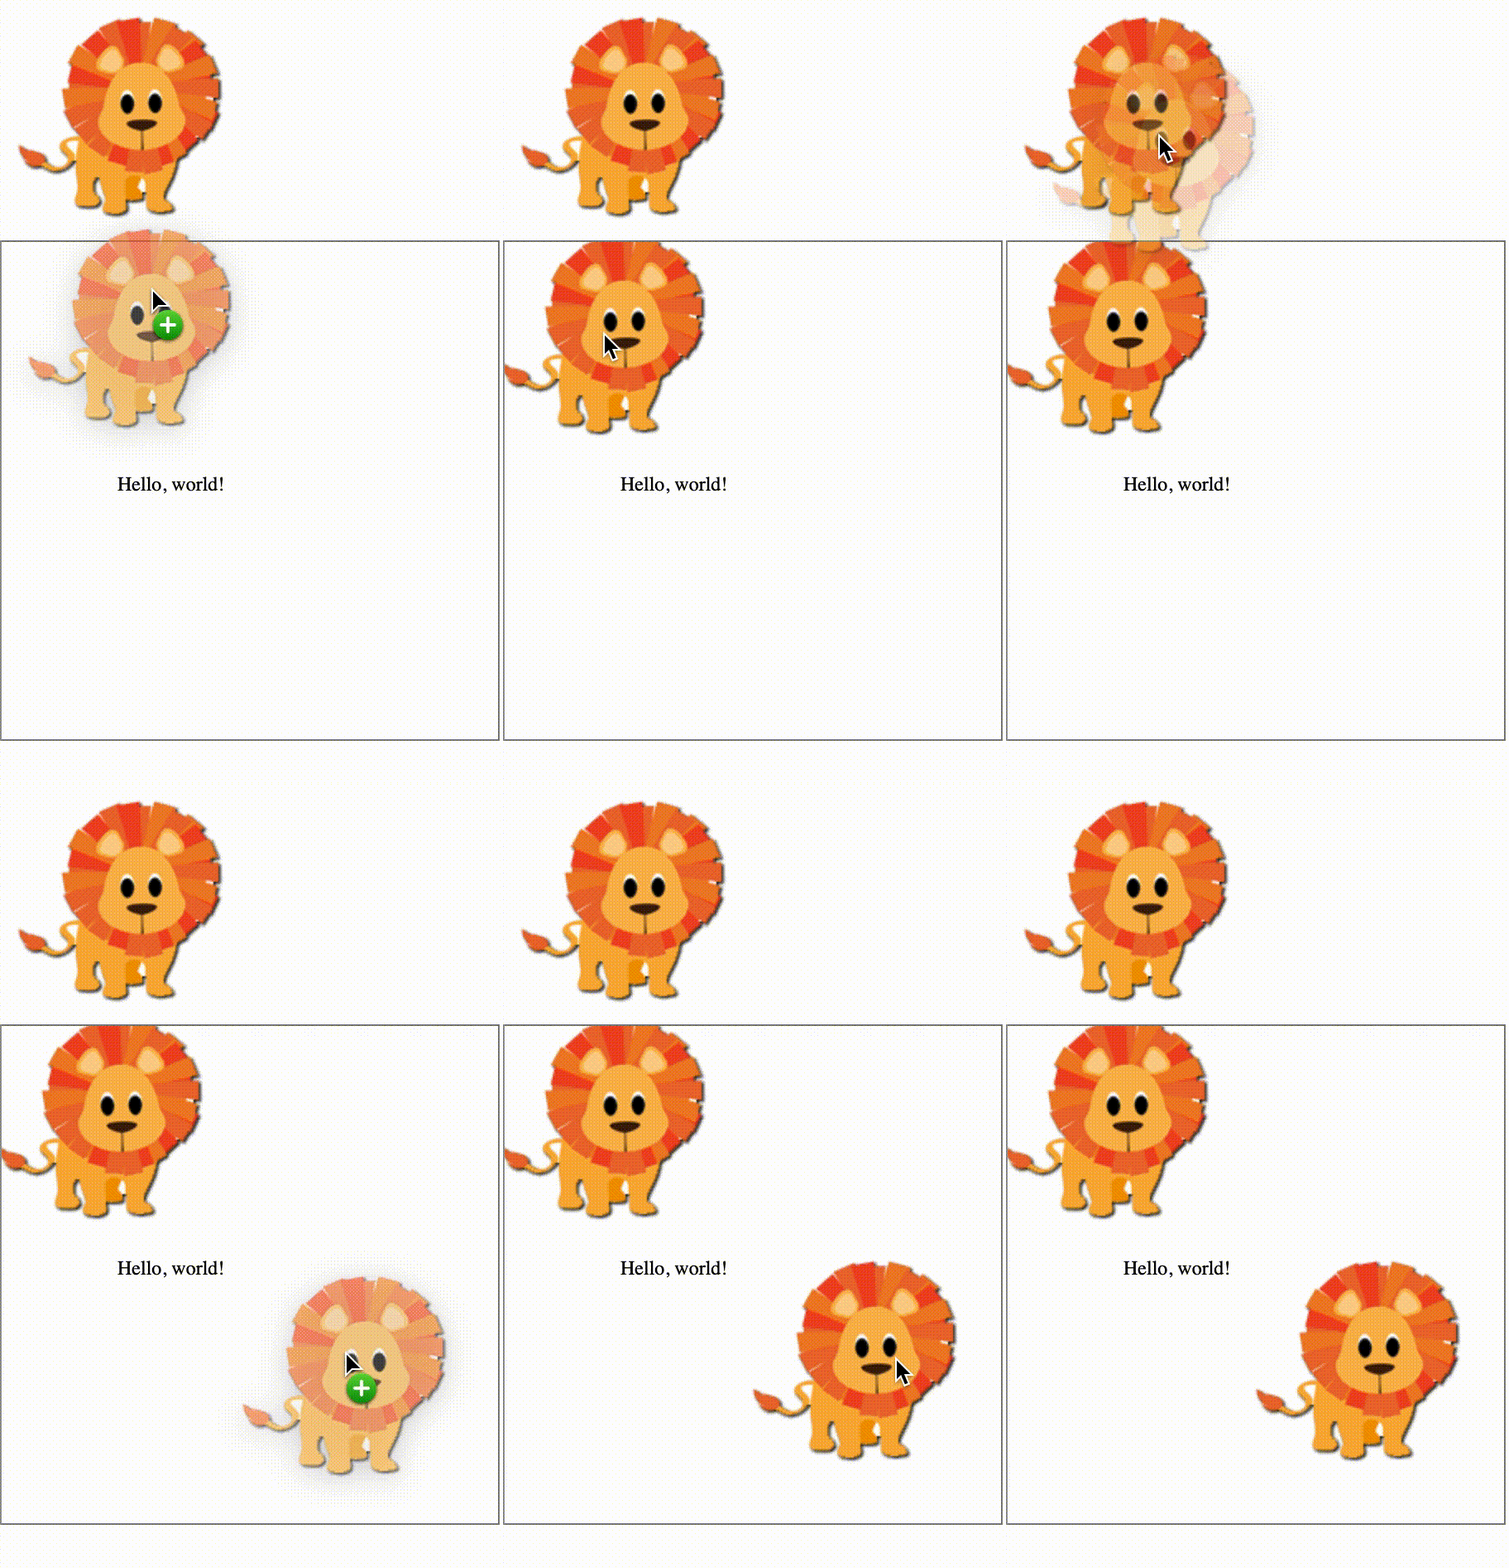
記事の最後にreact-pdf + react-konvaの簡単なサンプルコードを載せました。
こちらのコードで以下のような機能を作ることができます。

PDFはpdf.jsのExamplesにあるhelloworld.pdfを、
画像はKonva.jsのlion.pngを拝借しております。
目次
- はじめに
- 環境
- ディレクトリ構成
- インストール
- react-pdf初期設定
- PDF表示
- react-konva初期設定
- Drag and Drop
- おわりに
環境
next: 10.0.8
react: 17.0.2
react-pdf: 5.3.2
konva: 8.1.3
react-konva: 17.0.2-5
ディレクトリ構成
.
├── pages
│   ├── pdf
│       ├── index.tsx
├── components
│   ├── Pdf
│       ├── index.tsx
├── pdf-worker.js
├── package.json
├── next.config.js
インストール
各ライブラリをインストールします。
$ yarn add react-pdf
$ yarn add react-konva konva
react-pdf初期設定
以下のissueを参考に、react-pdfの初期設定を行います。
if (process.env.NODE_ENV === "production") {
  module.exports = require("pdfjs-dist/build/pdf.worker.min.js");
} else {
  module.exports = require("pdfjs-dist/build/pdf.worker.js");
}
// インストールされていない場合はインストールしてください。
"file-loader": "6.2.0",
module.exports = {
  webpack: (config) => {
    config.module.rules.unshift({
      test: /pdf\.worker\.(min\.)?js/,
      use: [
        {
          loader: 'file-loader',
          options: {
            name: '[contenthash].[ext]',
            publicPath: '/_next/static/worker',
            outputPath: 'static/worker',
          },
        },
      ],
    });

    return config;
  },
};
import { pdfjs } from 'react-pdf';
import pdfjsWorkerSrc from '../../pdf-worker';

pdfjs.GlobalWorkerOptions.workerSrc = pdfjsWorkerSrc;
// 以下だとPDFが表示されない
import { pdfjs } from 'react-pdf';
pdfjs.GlobalWorkerOptions.workerSrc = 'pdf.worker.min.js';
// 以下だとPDFは表示されるが、外部リソースの利用は避けたい
import { pdfjs } from 'react-pdf';
pdfjs.GlobalWorkerOptions.workerSrc = `//cdnjs.cloudflare.com/ajax/libs/pdf.js/${pdfjs.version}/pdf.worker.min.js`;
PDF表示
PDFを画面上に表示するサンプルコードは以下です。
import { NextPage } from 'next';
import React from 'react';
import { Document, Page, pdfjs } from 'react-pdf';

import pdfjsWorkerSrc from '../../pdf-worker';

pdfjs.GlobalWorkerOptions.workerSrc = pdfjsWorkerSrc;

const PdfPage: NextPage = () => {
  const url = 'https://raw.githubusercontent.com/mozilla/pdf.js/ba2edeae/examples/learning/helloworld.pdf';
  const [numPages, setNumPages] = React.useState(1);
  const onDocumentLoadSuccess = ({ numPages }: { numPages: number }) => {
    setNumPages(numPages);
  };

  return (
    <div>
      Hello world.pdf
      <Document file={url} onLoadSuccess={onDocumentLoadSuccess}>
        <div style={{ border: 'solid 1px gray', width: 300, height: 300 }}>
          <Page pageNumber={numPages} />
        </div>
      </Document>
    </div>
  );
};

export default PdfPage;
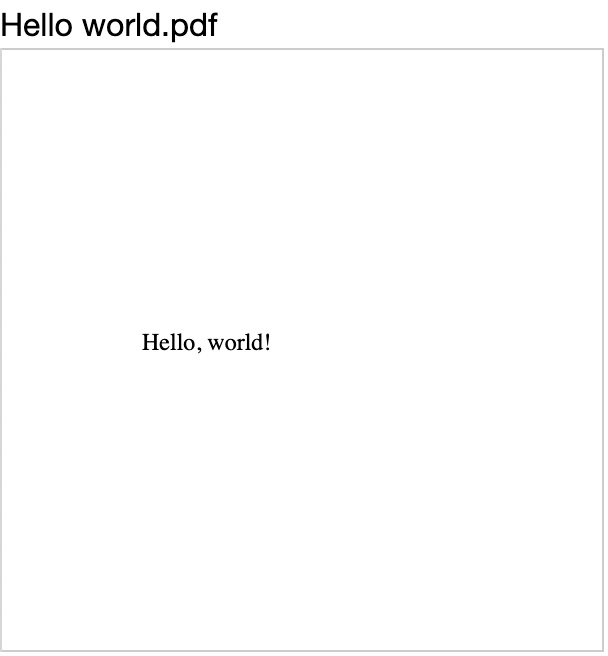
上記のコードで、以下のPDFが表示されます。

react-konva初期設定
以下のissueを参考に、react-konvaの初期設定を行います。
ここではkonvaを利用するためのPdfComponentを新たに作成します。
import React from 'react';
import { Stage, Layer } from 'react-konva';

const PdfComponent: React.VFC = () => {
  return (
    <div>
      Hello world
      <Stage style={{ border: 'solid 1px gray', width: 300, height: 300 }}>
        <Layer />
      </Stage>
    </div>
  );
};

export default PdfComponent;
import { NextPage } from 'next';
import dynamic from 'next/dynamic';
import React from 'react';

const PdfComponent = dynamic(() => import('../../components/Pdf/index'), { ssr: false });

const PdfPage: NextPage = () => {
    return (
    <div>
      <PdfComponent />
    </div>
  );
};

export default PdfPage;
react-pdf + react-konva
上記の設定により、Canvas内でreact-konvaの様々な機能が利用できるようになります。
react-pdfで表示したPDFにreact-konvaで生成したCanvasを重ねることで、PDF上でimageをドラッグ&ドロップできるようになります。
以下は公式デモにあるDrop DOM Image Into Canvasをhelloworld.pdfに重ねたサンプルコードです。
import { NextPage } from 'next';
import dynamic from 'next/dynamic';
import React from 'react';

const PdfComponent = dynamic(() => import('../../components/Pdf/index'), { ssr: false });

const PdfPage: NextPage = () => {
  return (
    <div>
      <PdfComponent />
    </div>
  );
};

export default PdfPage;
import React from 'react';
import { Stage, Layer, Image } from 'react-konva';
import { Document, Page, pdfjs } from 'react-pdf';
// インストールされていない場合はインストールしてください。
import useImage from 'use-image';

import pdfjsWorkerSrc from '../../pdf-worker';

pdfjs.GlobalWorkerOptions.workerSrc = pdfjsWorkerSrc;

const PdfComponent: React.VFC = () => {
  const url = 'https://raw.githubusercontent.com/mozilla/pdf.js/ba2edeae/examples/learning/helloworld.pdf';
  const src = 'https://konvajs.org/assets/lion.png';
  const [numPages, setNumPages] = React.useState(1);
  const onDocumentLoadSuccess = ({ numPages }: { numPages: number }) => {
    setNumPages(numPages);
  };
  const stageRef = React.useRef(null);
  const [images, setImages] = React.useState<HTMLImageElement[]>([]);

  const onDrop = (e: React.DragEvent<HTMLImageElement>) => {
    e.preventDefault();
    stageRef.current.setPointersPositions(e);
    setImages([...images, { ...stageRef.current.getPointerPosition(), src }]);
  };

  const URLImage = ({ image }: { image: HTMLImageElement }) => {
    const [img] = useImage(image.src);
    return (
      <Image image={img} x={image.x} y={image.y} offsetX={img ? img.width / 2 : 0} offsetY={img ? img.height / 2 : 0} />
    );
  };

  return (
    <div>
      <img alt="lion" src={src} draggable="true" />
      {/* 親要素にposition: 'relative'を指定 */}
      <div style={{ border: 'solid 1px gray', width: 300, height: 300, position: 'relative' }}>
        <Document file={url} onLoadSuccess={onDocumentLoadSuccess}>
          <Page pageNumber={numPages} />
        </Document>
        <div
          onDrop={(e: React.DragEvent<HTMLImageElement>) => onDrop(e)}
          onDragOver={(e: React.DragEvent<HTMLDivElement>) => e.preventDefault()}
        >
	  {/* position: 'absolute'を指定し、生成されたCanvasをPDFに重ねる */}
          <Stage width={300} height={300} style={{ position: 'absolute', top: 0, left: 0 }} ref={stageRef}>
            <Layer>
              {images.map((image, i) => {
                return <URLImage image={image} key={i} />;
              })}
            </Layer>
          </Stage>
        </div>
      </div>
    </div>
  );
};

export default PdfComponent;
おわりに
実際の業務ではreact-konvaのTextやGroup機能を使ったり、複数のimageをstateに応じて切り替えたりしたのですが、今回は導入部分を中心に書き記しました。
自分のハマったポイントが誰かの助けになれば幸いです。
最後までお読みいただきありがとうございました(_ _)
Discussion