MacでAirflow Breezeを動かす
はじめに
Aiflowをローカル環境で動かすためにAirflowのリポジトリにはAirflow Breezeというものがあります。
Airflowのリポジトリ(github/apache/airflow/BREEZE) にBreezeで動かすための手順が載っているので上から実行していきます。
今回はAirflowを起動するところまでやります。
環境
macOS Big Sur 11.6.2
チップ Apple M1
Docker for Desktop 4.3.2
Docker Engine 20.10.11
インストール
まずはAirflowのリポジトリ(airflow#getopt-and-gstat) の通りに
getoptとgstatが必要なためインストールします。
brew install gnu-getopt coreutils
インストールが完了したらパスを通します。
$ echo 'export PATH="$(brew --prefix)/opt/gnu-getopt/bin:$PATH"' >> ~/.zprofile
$ . ~/.zprofile
パスが通るとコマンドが認識されます。
$ getopt --version
getopt from util-linux 2.37.3

$ gstat --version
stat (GNU coreutils) 9.0
Copyright (C) 2021 Free Software Foundation, Inc.
License GPLv3+: GNU GPL version 3 or later <https://gnu.org/licenses/gpl.html>.
This is free software: you are free to change and redistribute it.
There is NO WARRANTY, to the extent permitted by law.

Written by Michael Meskes.
Macの場合DockerのMemoryを4GB以上、Diskの空きが40GB以上は必要のためDocker DesktopのResourcesから設定を行います。
Docker Desktopの設定方法
Airflowのコードをクローンします。
$ git clone https://github.com/apache/airflow.git
Airflow起動
コードをクローンしたらシェルかUIで起動します。(初回は10分くらいかかります)
- シェル:
$ ./breeze - UI(webserver、scheduler、ui、コンテナシェル):
$ ./breeze start-airflow
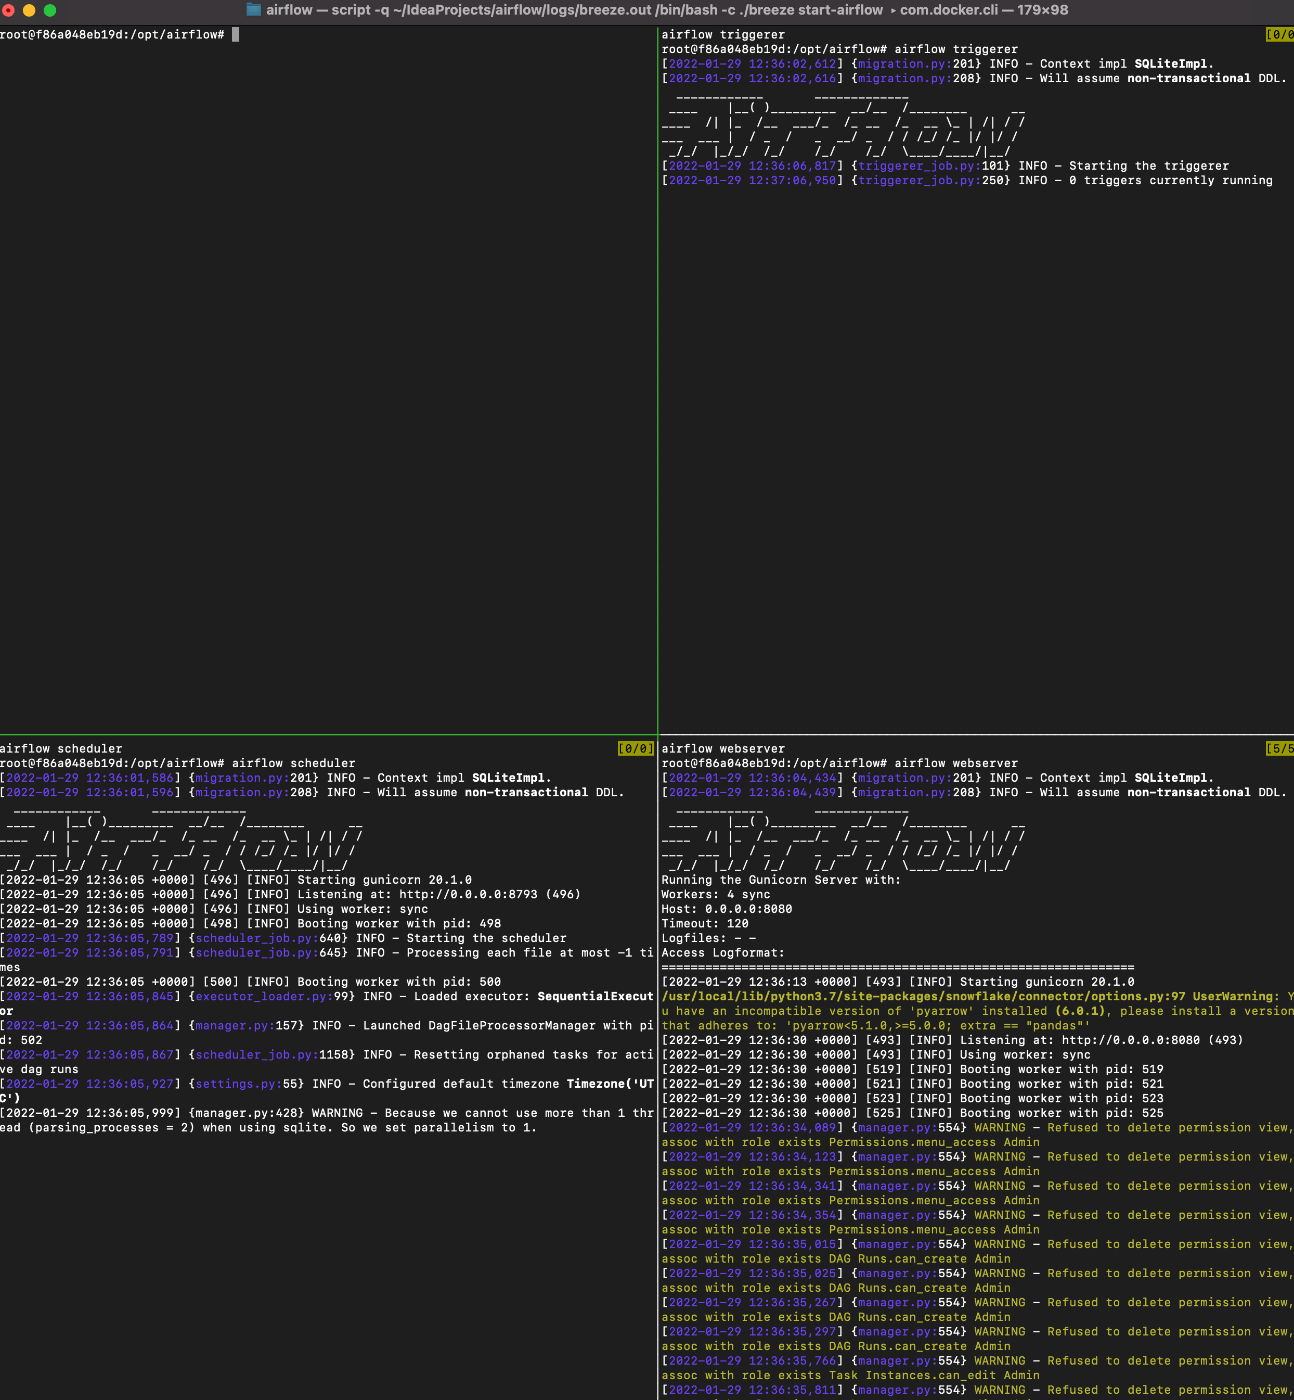
start-airflow で立ち上げた場合にはtmuxでターミナルが4分割された状態で立ち上がります。

この状態でlocalhost:28080にアクセスするとUIが確認できます。

DAGを追加するにはfiles/dags/にファイルを追加すると認識されます。
これでAirflowを起動することができましたので今回はここまでとします。
Discussion