はじめに
今までVSCodeのプラグインを作る機会が何度かあり、意外と手軽に作れるので、メモしておきます。
プロジェクトの作成
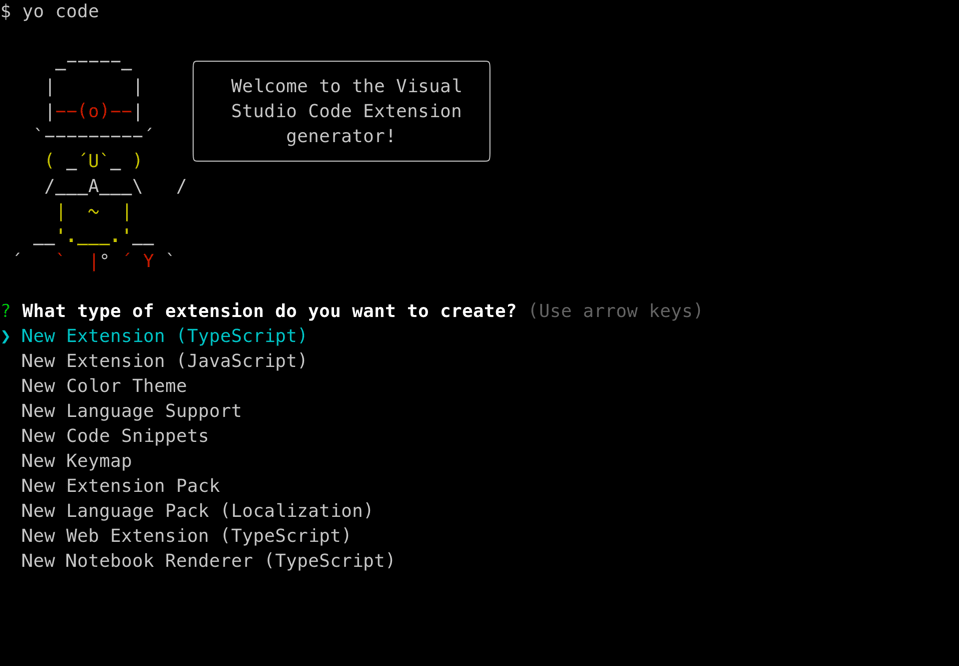
以下のように、VSCodeのプラグインのプロジェクトを作成します。
npm install -g yo generator-code
yo code
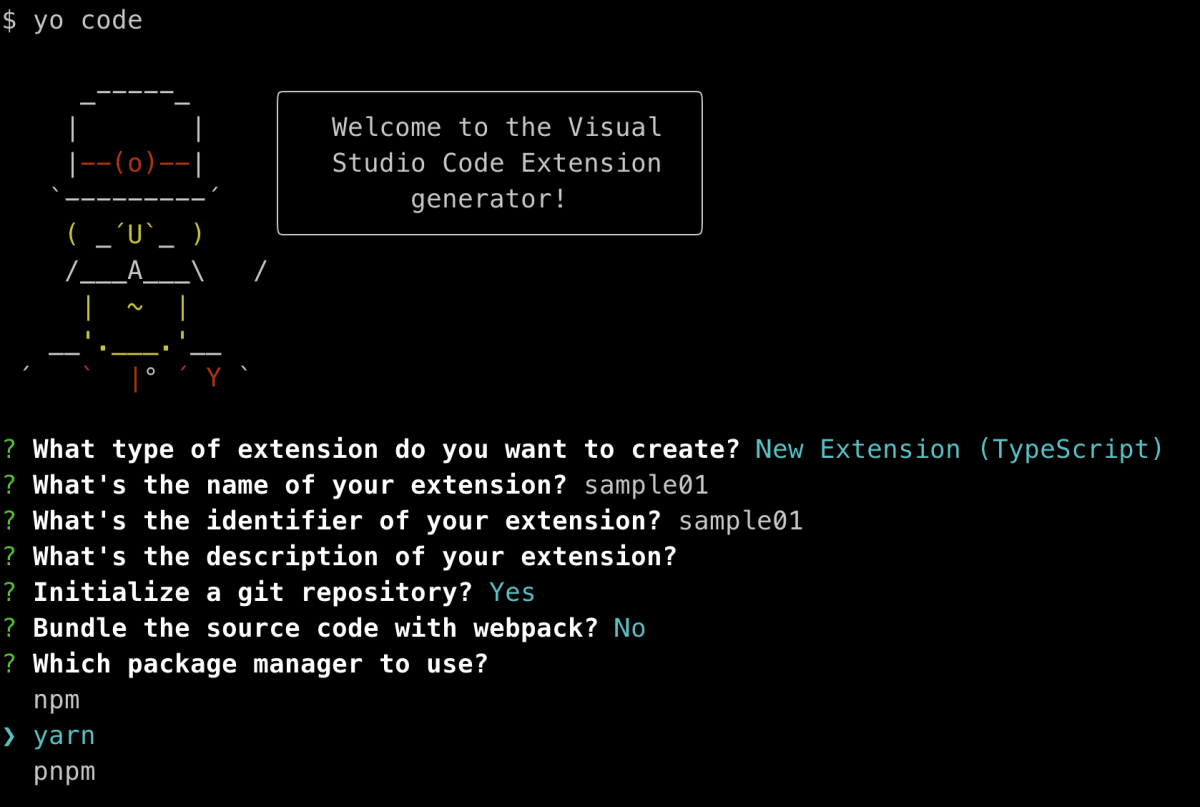
今回は、以下のように回答しました。
HelloWorldの動作確認
プロジェクトの作成を終えると、extension.tsには、以下のようにHello Worldが書かれています。
export function activate(context: vscode.ExtensionContext) {

    // Use the console to output diagnostic information (console.log) and errors (console.error)
    // This line of code will only be executed once when your extension is activated
    console.log('Congratulations, your extension "sample01" is now active!');

    // The command has been defined in the package.json file
    // Now provide the implementation of the command with registerCommand
    // The commandId parameter must match the command field in package.json
    let disposable = vscode.commands.registerCommand('sample01.helloWorld', () => {
        // The code you place here will be executed every time your command is executed
        // Display a message box to the user
        vscode.window.showInformationMessage('Hello World from sample01!');
    });

    context.subscriptions.push(disposable);
}
package.jsonに以下のコントリビューションが設定されています。
"contributes": {
    "commands": [
        {
            "command": "sample01.helloWorld",
            "title": "Hello World"
        }
    ]
}
Hello Worldのコマンドが設定されているので、 とりあえず、これを実行してみます。
メニューの「実行」->「デバッグの開始」を選択すると、VSCodeが新しいウィンドウで開きます。
新しいウィンドウでパレットを開いて、Hello Worldと入力します。

Hello World from sample01!と表示されました。

Webviewを表示してみる
VSCodeのプラグインでは、Webviewを表示することができるので、それを試してみます。
extension.tsのactivate関数内に以下のように、コマンドを追加します。
let disposable2 = vscode.commands.registerCommand('sample01.showWebview', () => {
    // The code you place here will be executed every time your command is executed
    // Display a message box to the user
    const panel = vscode.window.createWebviewPanel(
        'sample01',
        'Sample01',
        vscode.ViewColumn.One,
        {}
    );
    panel.webview.html = getWebviewContent();
});
getWebviewContent()は、以下のようにします。
function getWebviewContent() {
    return `<!DOCTYPE html>
    <html lang="en">
    <head>
        <meta charset="UTF-8">
        <title>Sample01</title>
    </head>
    <body>
        <h1>Hello World from Webview</h1>
    </body>
    </html>`;
}
package.jsonにも、コマンドを追加します。
"contributes": {
    "commands": [
        {
            "command": "sample01.helloWorld",
            "title": "Hello World"
        },
        {
            "command": "sample01.showWebview",
            "title": "Show Webview"
        }
    ]
}
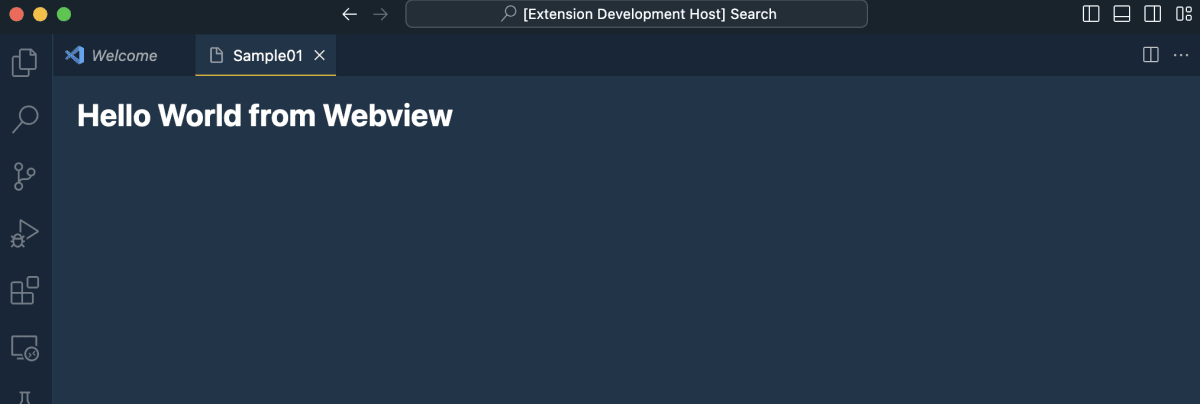
実行してみます。
コマンドパレットから、Show Webviewを選択します。

Webviewが表示されました。
まとめ
私がプラグインを作るときに参考にしたサイトは以下です。

Discussion