NETWORKING IMMERSION DAY / BEGINNER TOPICS / LAB 1: MULTI-VPC ACCOUNT ARCHITECTURE
をやる
LAB 1: MULTI-VPC ACCOUNT ARCHITECTURE
IGWを持つVPCを3つ作成する。各VPCは2つのAZを持ちEC2インスタンスを1つ構築。
この状態だとEC2インスタンス同士は通信できないことを確認する。
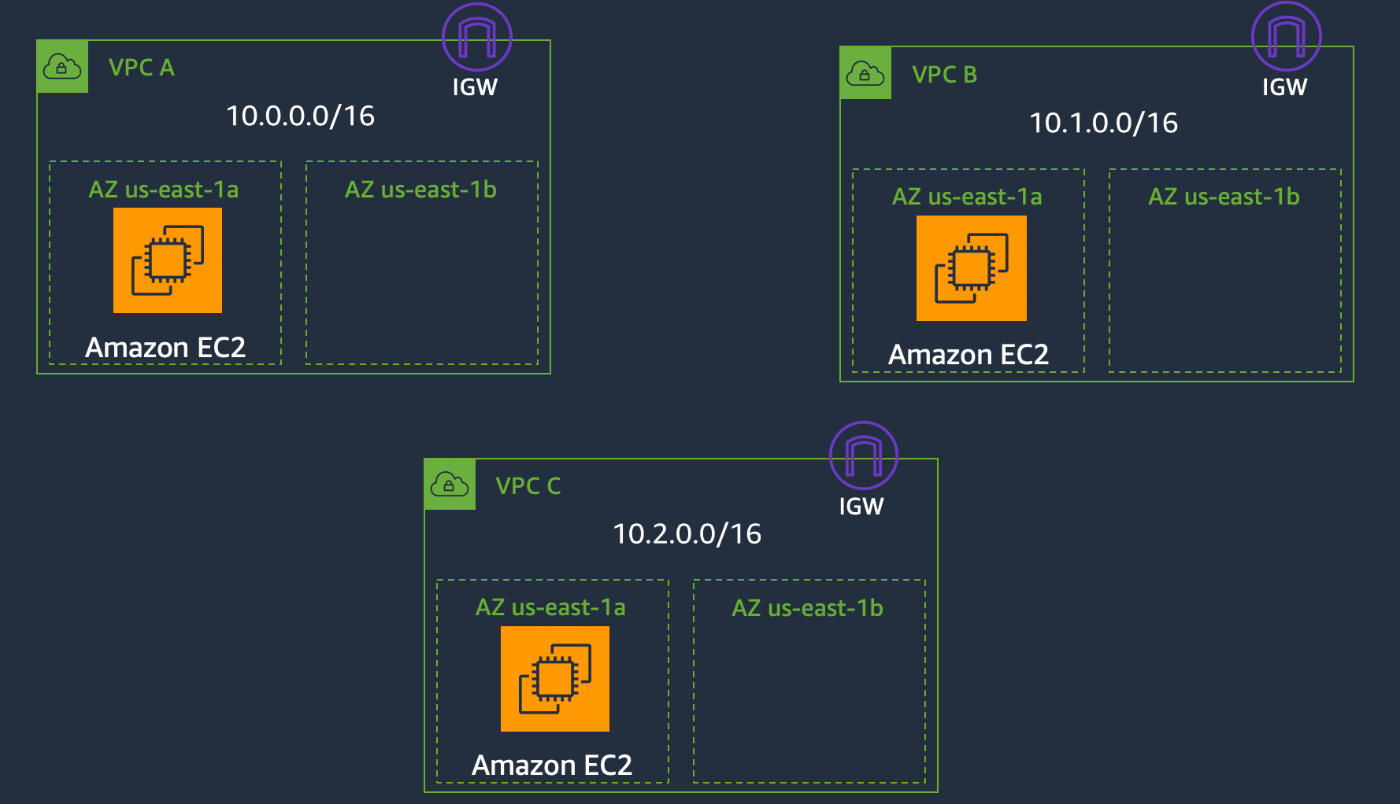
LAB 1.1: CREATE VPCS, SUBNETS, AND EC2 INSTANCES
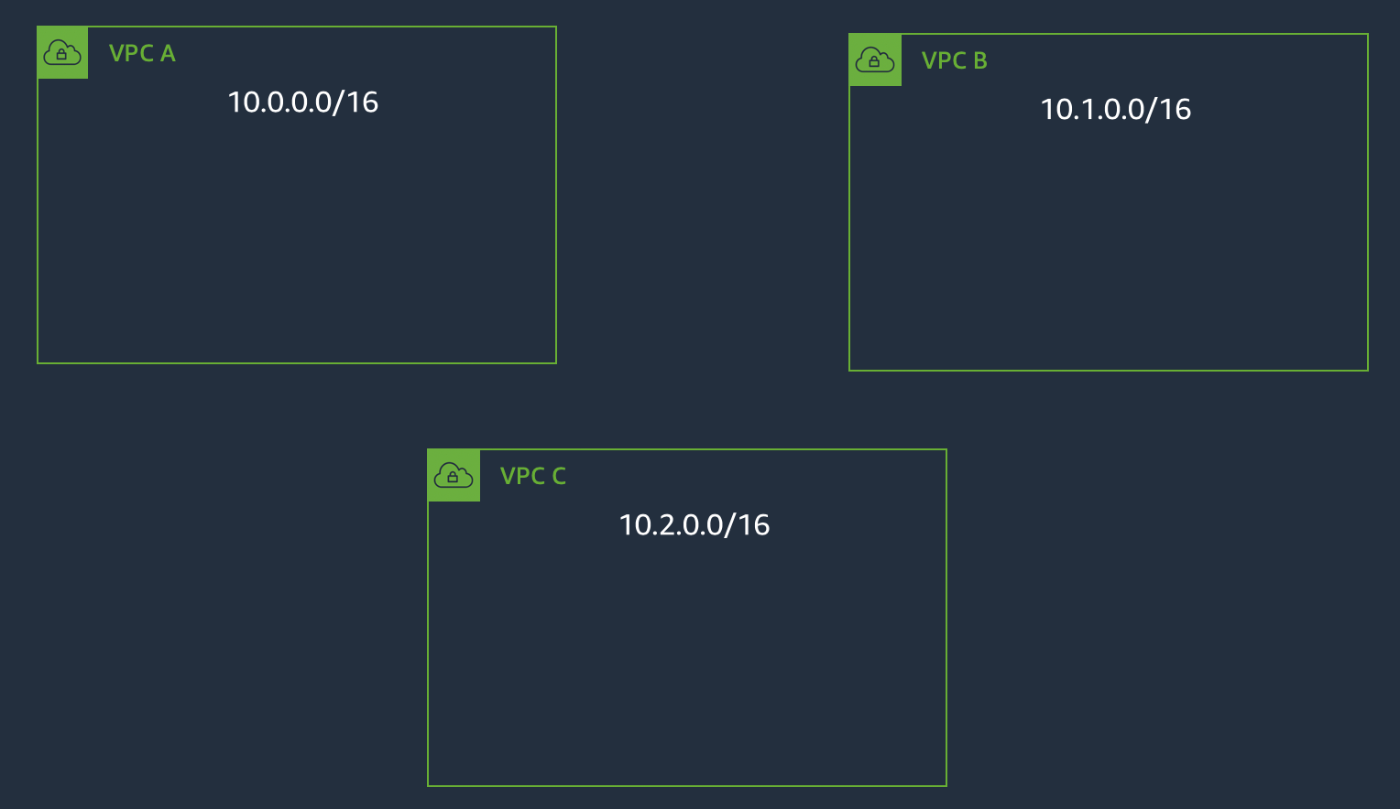
VPCを3つ作成

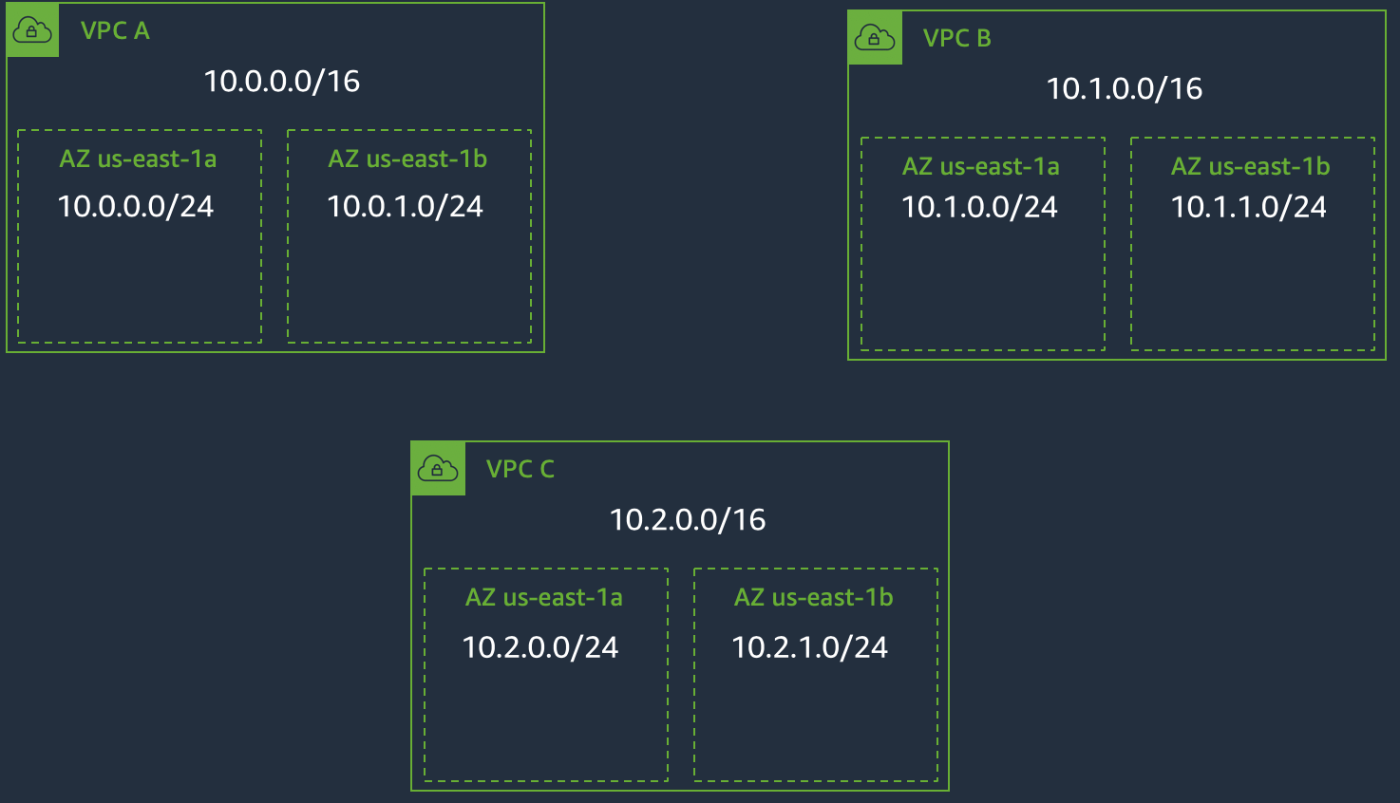
各VPCにプライベートサブネットを作成

IGWを作成し、VPCにアタッチ

各VPCのルートテーブルにIGWへのルーティングを追加

2 Deploy EC2 instances in VPC’s.
AmazonSSMManagedInstanceCoreとAmazonS3FullAccessを持つロールを作成。
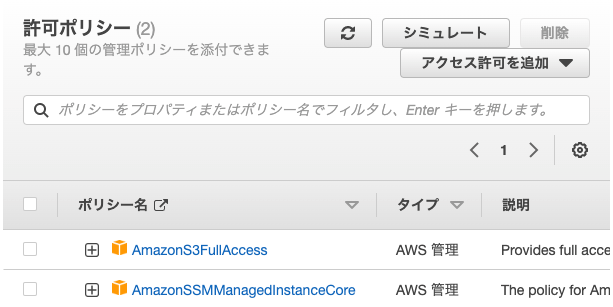
各VPCの1AZにインスタンスを配置。インスタンスには作成したロールをアタッチ。

SSMで EC2 VPC A-AZ1にログインし、EC2 VPC B-AZ1のプライベートIPにpingを飛ばしてみる。
VPCで隔離されているのでアクセスできない。
sh-4.2$ ping 10.1.0.73
PING 10.1.0.73 (10.1.0.73) 56(84) bytes of data.
続いてEC2 VPC B-AZ1のパブリックIPにpingしてみる。
ICMPパケットはEC2 VPC A-AZ1のVPCのIGWに送られインターネットを経由し、EC2 VPC B-AZ1に届いた。
sh-4.2$ ping 54.95.161.241
PING 54.95.161.241 (54.95.161.241) 56(84) bytes of data.
64 bytes from 54.95.161.241: icmp_seq=1 ttl=254 time=1.87 ms
64 bytes from 54.95.161.241: icmp_seq=2 ttl=254 time=1.91 ms
LAB 1.2: VPC PEERING
VPCピアリングを使うとVPC間でプライベートIPで通信することができる。
VPC A - VPC BとVPC A - VPC CにVPCピアリングを設定し、通信できるか試す。
なお、ピアリングするVPCのCIDRは一致、重複してはいけない。

1. Setup VPC Peering
ピアリング接続作成画面で以下のようにVPC A - VPC Bのピアリングを作成する。
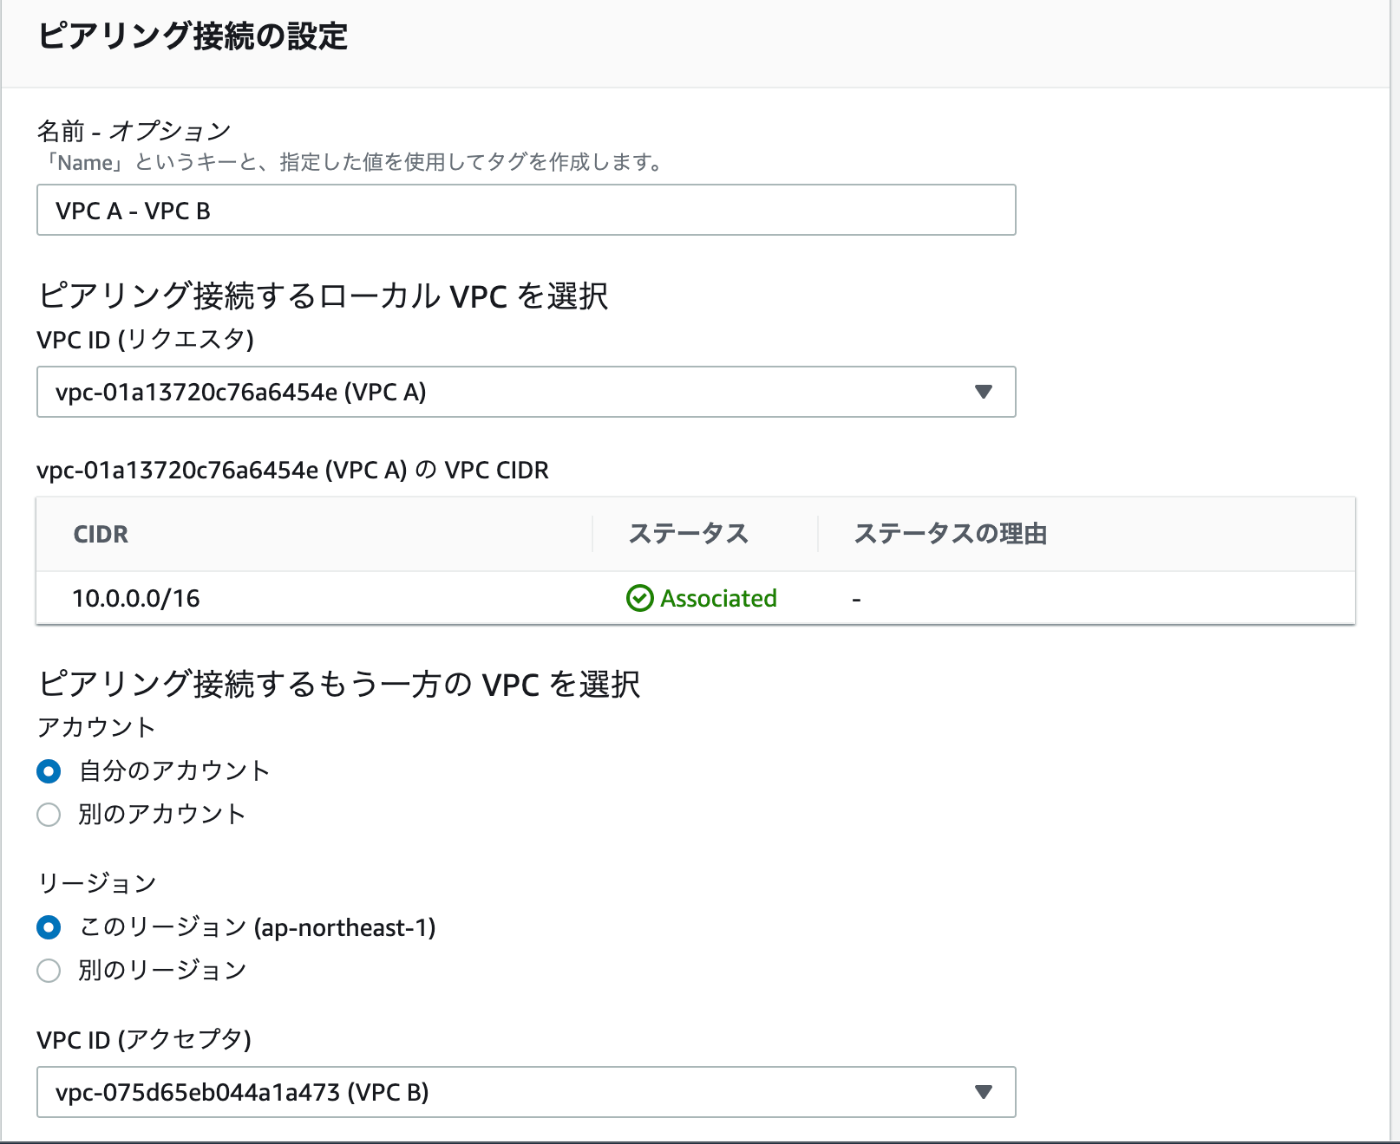
ピアリング接続するためには作成後、承諾が必要。

2 Update Route Tables
VPC Aのルートテーブルにルートを追加する。
VPC B宛(10.1.0.0/16)の通信はVPC A - VPC Bのピアリング接続へルーティングさせる。
VPC C宛(10.2.0.0/16)の通信はVPC A - VPC Cのピアリング接続へルーティングさせる。

また、VPC B, VPC CのルートテーブルにもVPC A宛(10.0.0.0/16)の通信を作成したピアリング接続に転送するルーティングを追加する。
2.4 Check EC2 connectivity in VPC A
A -> B
sh-4.2$ ping 10.1.0.73
PING 10.1.0.73 (10.1.0.73) 56(84) bytes of data.
64 bytes from 10.1.0.73: icmp_seq=1 ttl=255 time=0.411 ms
64 bytes from 10.1.0.73: icmp_seq=2 ttl=255 time=0.458 ms
A -> C
sh-4.2$ ping 10.2.0.206
PING 10.2.0.206 (10.2.0.206) 56(84) bytes of data.
64 bytes from 10.2.0.206: icmp_seq=1 ttl=255 time=0.439 ms
64 bytes from 10.2.0.206: icmp_seq=2 ttl=255 time=0.457 ms
B -> C
sh-4.2$ ping 10.0.0.253
PING 10.0.0.253 (10.0.0.253) 56(84) bytes of data.
64 bytes from 10.0.0.253: icmp_seq=1 ttl=255 time=0.442 ms
64 bytes from 10.0.0.253: icmp_seq=2 ttl=255 time=0.497 ms
ちなみにB->CのようなAを経由した推移的な通信はできない。
sh-4.2$ ping 10.2.0.206
PING 10.2.0.206 (10.2.0.206) 56(84) bytes of data.
LAB 1.3: TRANSIT GATEWAY
前回作成したピアリング接続は、相互接続するVPCが多くなるとその管理や構築が大きな負担となってしまう。Transit Gatewayでこれを解消することができる。
1 Delete VPC Peering Connections
前回作成したピアリング接続を削除する。関連するルートテーブルも一緒に削除する。
2 Setup Transit Gateway
デフォルト設定でTGWを作成する。

2.1 Create Transit Gateway attachments subnets
TGWをアタッチするサブネットを各VPCに作成する。

先ほど作成したサブネットとTGWを関連付けするため、TGW AttachementをVPCの数作成する。

3 Check Transit Gateway route table
TGWルートテーブルに各VPCへのルートがあることを確認する。

4 Update Route Tables of VPCs
VPCのルートテーブルにTGWへのルートを追加する。
VPC Aには10.0.0.0/8 TGWへのルートを追加。
VPC Bは10.1.0.0/8、VPC Cは10.2.0.0/8を追加。

5 Check EC2 connectivity via TGW
通信できるか確認。
VPC A -> VPC B
sh-4.2$ ping -c 3 10.1.0.73
PING 10.1.0.73 (10.1.0.73) 56(84) bytes of data.
64 bytes from 10.1.0.73: icmp_seq=1 ttl=254 time=3.42 ms
64 bytes from 10.1.0.73: icmp_seq=2 ttl=254 time=3.18 ms
64 bytes from 10.1.0.73: icmp_seq=3 ttl=254 time=0.747 ms

--- 10.1.0.73 ping statistics ---
3 packets transmitted, 3 received, 0% packet loss, time 2003ms
rtt min/avg/max/mdev = 0.747/2.451/3.426/1.209 ms
sh-4.2$
VPC A -> VPC C
sh-4.2$ ping -c 3 10.2.0.206
PING 10.2.0.206 (10.2.0.206) 56(84) bytes of data.
64 bytes from 10.2.0.206: icmp_seq=1 ttl=254 time=1.15 ms
64 bytes from 10.2.0.206: icmp_seq=2 ttl=254 time=0.639 ms
64 bytes from 10.2.0.206: icmp_seq=3 ttl=254 time=0.553 ms

--- 10.2.0.206 ping statistics ---
3 packets transmitted, 3 received, 0% packet loss, time 2016ms
rtt min/avg/max/mdev = 0.553/0.782/1.154/0.265 ms
sh-4.2$
VPC B -> VPC A
sh-4.2$ ping -c 3 10.0.0.253
PING 10.0.0.253 (10.0.0.253) 56(84) bytes of data.
64 bytes from 10.0.0.253: icmp_seq=1 ttl=254 time=1.00 ms
64 bytes from 10.0.0.253: icmp_seq=2 ttl=254 time=0.679 ms
64 bytes from 10.0.0.253: icmp_seq=3 ttl=254 time=0.647 ms

--- 10.0.0.253 ping statistics ---
3 packets transmitted, 3 received, 0% packet loss, time 2009ms
rtt min/avg/max/mdev = 0.647/0.778/1.009/0.165 ms
VPC B -> VPC C
sh-4.2$ ping -c 3 10.2.0.206
PING 10.2.0.206 (10.2.0.206) 56(84) bytes of data.
64 bytes from 10.2.0.206: icmp_seq=1 ttl=254 time=1.51 ms
64 bytes from 10.2.0.206: icmp_seq=2 ttl=254 time=0.590 ms
64 bytes from 10.2.0.206: icmp_seq=3 ttl=254 time=0.699 ms

--- 10.2.0.206 ping statistics ---
3 packets transmitted, 3 received, 0% packet loss, time 2010ms
rtt min/avg/max/mdev = 0.590/0.933/1.511/0.411 ms
sh-4.2$
VPC C -> VPC A
sh-4.2$ ping -c 3 10.0.0.253
PING 10.0.0.253 (10.0.0.253) 56(84) bytes of data.
64 bytes from 10.0.0.253: icmp_seq=1 ttl=254 time=1.01 ms
64 bytes from 10.0.0.253: icmp_seq=2 ttl=254 time=0.580 ms
64 bytes from 10.0.0.253: icmp_seq=3 ttl=254 time=0.650 ms

--- 10.0.0.253 ping statistics ---
3 packets transmitted, 3 received, 0% packet loss, time 2027ms
rtt min/avg/max/mdev = 0.580/0.748/1.015/0.192 ms
VPC C -> VPC B
sh-4.2$ ping -c 3 10.1.0.73
PING 10.1.0.73 (10.1.0.73) 56(84) bytes of data.
64 bytes from 10.1.0.73: icmp_seq=1 ttl=254 time=1.02 ms
64 bytes from 10.1.0.73: icmp_seq=2 ttl=254 time=0.667 ms
64 bytes from 10.1.0.73: icmp_seq=3 ttl=254 time=0.599 ms

--- 10.1.0.73 ping statistics ---
3 packets transmitted, 3 received, 0% packet loss, time 2017ms
rtt min/avg/max/mdev = 0.599/0.764/1.027/0.189 ms
sh-4.2$
以上、全パターン通信ができることを確認した。
TGWを経由させるので、VPCピアリングではできなかったVPC B -> VPC Cのような推移的な通信(この場合、推移的とは言えないが)ができた。

TGWは時間料金がかかるので使わなくなったら削除しよう。
Lab2以降を実施する場合、ここの手順を再実施する必要があることに注意。EC2は停止するだけにし、終了はしない、TGWは削除する。