Closed8
AWS AmplifyでNext.jsのISR
概要
Next.jsを動かす時は Vercel を利用するのが無難だが、IP制限をかけたかったり、ステージング環境、開発環境などの複数環境の用意などを考えるとAWS上で動かしたほうが良いかも?と思い出したので試してみる。
Amplify CLI のインストール
https://docs.amplify.aws/cli/start/install/ を参考にする。
npm install -g @aws-amplify/cli
インストール直後はコマンドのパスが通っていないので source ~/.zshrc などを実行するか、ターミナルを再起動する。
以下のコマンドで初期化を行う。
amplify configure
やる事は専用のIMAユーザーを作成して、~/.aws/credentials に認証情報を設定する。
AWSのプロファイル名も聞いてくるので、専用のプロファイル名を新規作成する形にするのが良いと思う。
amplify init
ここは以下の記事を参考に進めました。
$ amplify init
Note: It is recommended to run this command from the root of your app directory
? Enter a name for the project nextsampleapp
? Initialize the project with the above configuration? No <- おすすめのままではだめ
? Enter a name for the environment dev
? Choose your default editor: Visual Studio Code
? Choose the type of app that you're building javascript
Please tell us about your project
? What javascript framework are you using react
? Source Directory Path:  src
? Distribution Directory Path: .next  // <- 最重要
? Build Command:  npm run-script build
? Start Command: npm run-script start
Using default provider  awscloudformation
? Select the authentication method you want to use: AWS profile // ここはご自身の環境に合わせてください
amplify add hosting
これも以下の記事を参考に実行する。
$ amplify add hosting
? Select the plugin module to execute Hosting with Amplify Console (Managed hosting with custom domains, Continuous deployment) //Amplifyが作るものを利用する
? Choose a type Continuous deployment (Git-based deployments)
? Continuous deployment is configured in the Amplify Console. Please hit enter once you connect your repository
デプロイ後は amplify/ というディレクトリが作成されていた。
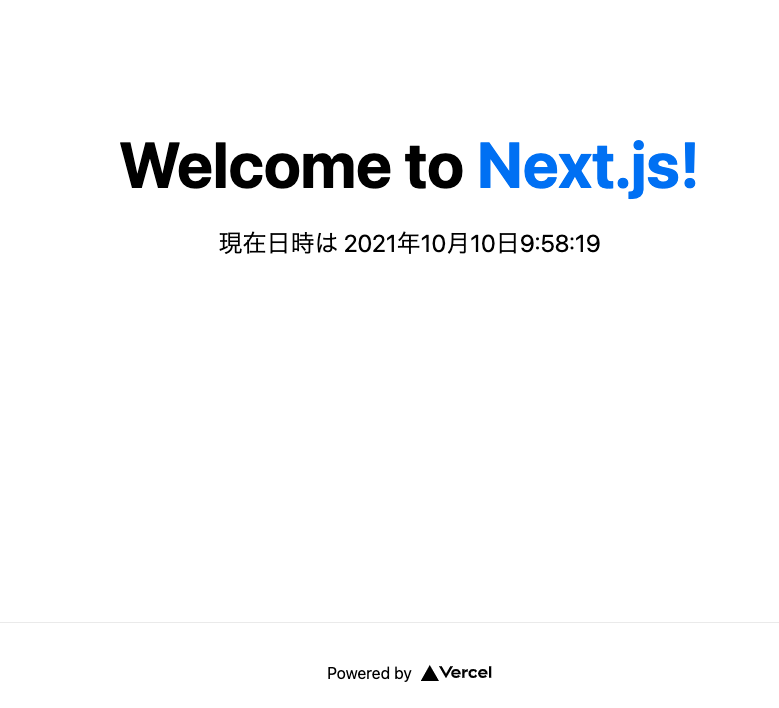
以下のような感じで、時刻を表示させる事で動作確認を行った。

ちなみに裏側ではCloudFront、Lambda@Edge、SQS、S3等のAWSリソースが作成されていた。
生成されたCloudFrontにAWS WAFの設定等を行えばIP制限等も実現出来そう。
Vercel ではIP制限等をやろうと思うと結構高い追加料金を払わなくてはいけないので、それが安価で実現出来るのは良い。
しかしVercelのほうがお手軽なのは間違いない。
Vercelだと裏側の複雑な部分は隠蔽してくれるので、下記の記事で紹介されているような制限に引っかからないならVercelを採用するのが無難かも。
検証完了後は amplify delete でリソースを削除しておく。
このスクラップは2021/10/21にクローズされました