TerraformでVercelの環境を作ってみる
最近、Terraform を触る機会が増えて、インフラをコードで管理できる良さが少しずつ分かってきた @kt15 です。少し前にこちらのドキュメントを見て Vercel のリソースも Terraform を使って管理できることを知りました。ということで、実際に試してみたので備忘録的に残しておこうと思います。
本記事のゴール
Terraform で Vercel の環境を作り、サンプルアプリをデプロイする。
前提
- Terraform がインストールされていること
- Terraform の使い方についての説明は省略します
Terraform で Vercel の環境を作ってみる
環境
- Terraform v1.1.2
- Vercel Terraform Provider v0.2.5
Vercelにデプロイするサンプルアプリを作る
まずは、Vercel にデプロイするためのサンプルアプリを作成しましょう。
今回は Vite + React の構成で、プロジェクト名は sample-app-for-vercel としました。
$ yarn create vite
念の為、動作確認しておきます。
下記を実行した後、http://localhost:3000/ に遷移して、Hello Vite + React! が表示されれば OK です。
$ cd sample-app-for-vercel
$ yarn
$ yarn dev
GitHub 上でリポジトリを作成し、上記のコードを push しておきましょう。
後ほど、Vercel と連携する時に作成したリポジトリを使用します。
Vercelのトークンを発行する
次にトークンを発行します。名前は VERCEL_API_TOKEN としました。
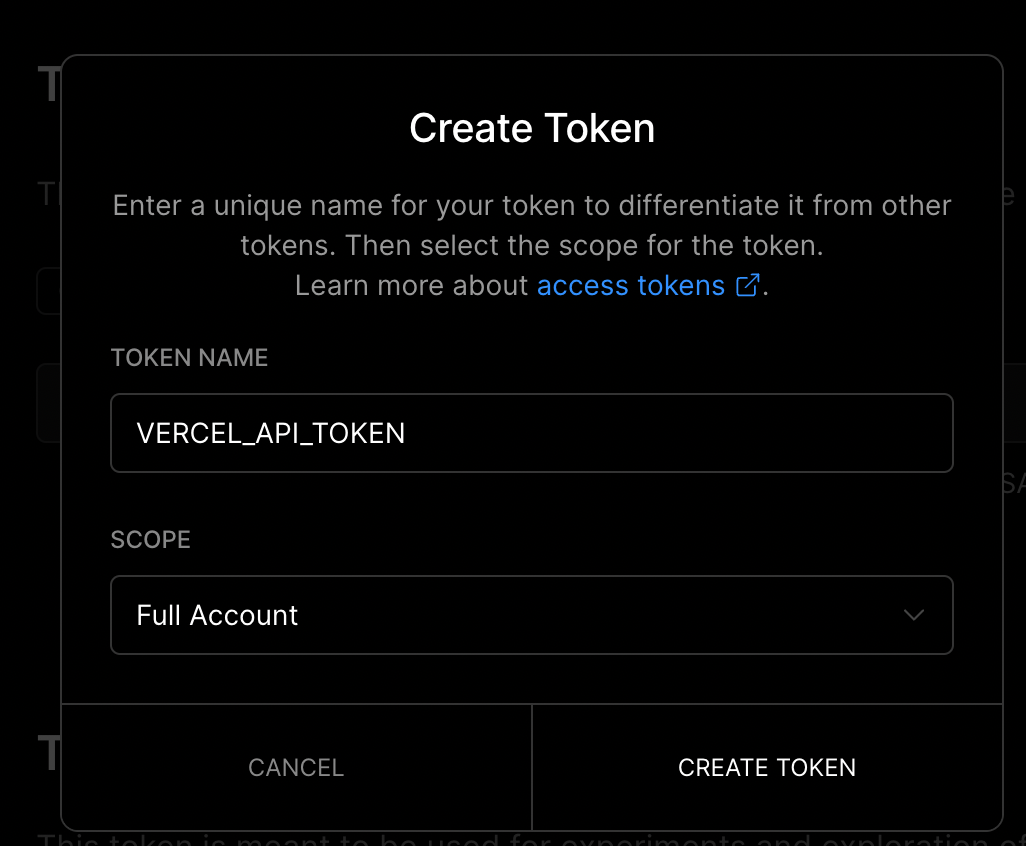
生成したトークンは後ほど使用するので、メモしておいてください。
Vercel Providerのセットアップ
まずは、Vercel Provider の設定を記述していきます。
terraform {
  required_providers {
    vercel = {
      source  = "vercel/vercel"
      version = "~> 0.1"
    }
  }
}
provider "vercel" {
  api_token = var.vercel_api_token
}
次に取得した Vercel のトークンを設定します。
variable "vercel_api_token" {}
vercel_api_token = "<取得したトークン>"
この状態で、terraform init で初期化します。
$ terraform init
これで Provider のセットアップは終わりです。
Terraform のコードも git で管理する場合
設定したコードの中にはトークンなども含まれているので、.gitignore を作成 & 下記を追記してください。
# Local .terraform directories
**/.terraform/*

# .tfstate files
*.tfstate
*.tfstate.*

# Crash log files
crash.log

# Exclude all .tfvars files, which are likely to contain sentitive data, such as
# password, private keys, and other secrets. These should not be part of version
# control as they are data points which are potentially sensitive and subject
# to change depending on the environment.
#
*.tfvars

# Ignore override files as they are usually used to override resources locally and so
# are not checked in
override.tf
override.tf.json
*_override.tf
*_override.tf.json

# Include override files you do wish to add to version control using negated pattern
#
# !example_override.tf

# Include tfplan files to ignore the plan output of command: terraform plan -out=tfplan
# example: *tfplan*

# Ignore CLI configuration files
.terraformrc
terraform.rc
Vercelのプロジェクトを作成する
次に Vercel のプロジェクトを作成します。
resource "vercel_project" "with_git" {
  name = "sample-app-for-vercel"
  git_repository = {
    type = "github"
    # ユーザー名/リポジトリ名
    repo = "<リポジトリのパス>"
  }
}
この状態で差分を確認してみます。
$ terraform plan

Terraform used the selected providers to generate the following execution
plan. Resource actions are indicated with the following symbols:
  + create

Terraform will perform the following actions:

  # vercel_project.with_git will be created
  + resource "vercel_project" "with_git" {
      + git_repository = {
          + repo = "<リポジトリのパス>"
          + type = "github"
        }
      + id             = (known after apply)
      + name           = "sample-app-for-vercel"
    }

Plan: 1 to add, 0 to change, 0 to destroy.
問題なさそうであれば、続けてリソースを作成します。
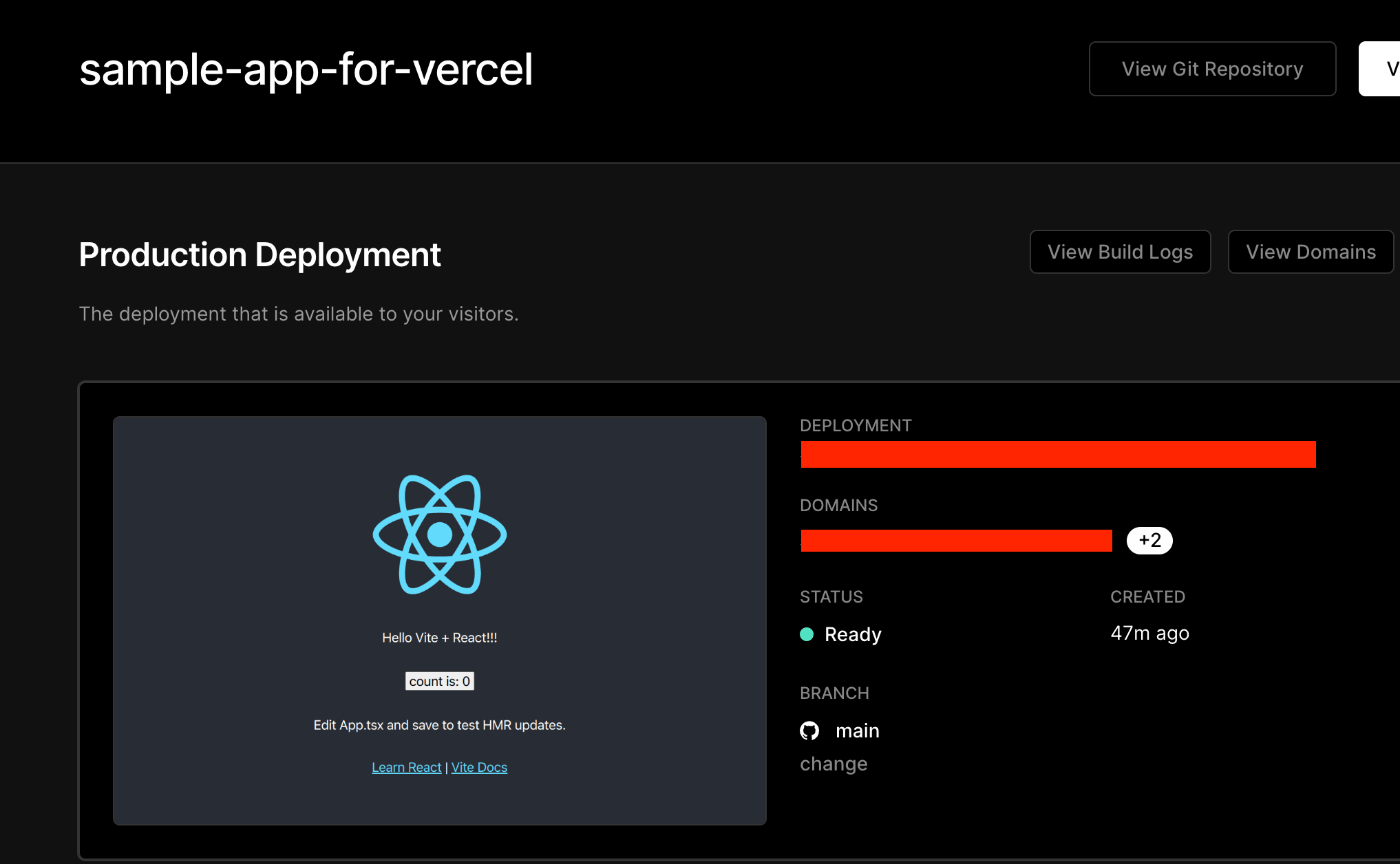
$ terraform apply
実行後、 https://vercel.com/dashboard に遷移すると、作成されたプロジェクトが表示されていると思います。この状態で、master or main ブランチに変更を加えてみましょう。自動でデプロイが始まり、このようにプレビューが表示されれば成功です🎉
終わりに
ここまで Terraform を使って、Vercel の環境を作成してみました。今回は取り上げてませんが、ドメインなども Terraform から設定できるようです。リリースの履歴を見る限り、活発に開発が行われているようなので、今後も動向を追っていこうと思います!
Discussion