📷
【Android】Chaquopy で Python OpenCVを動かしてカメラ表示📷
はじめに
Chaquopyは、AndroidアプリにPythonを組み込めるようにする開発ツールです。
この投稿は、Chaquopy で Python OpenCV を動かして、カメラ画像を表示する作業のメモです。
また、今回作成したAndroid Studioのプロジェクトとソースコードは、以下のリポジトリにコミットしています。
動作イメージ
処理イメージ

作業メモ
1. Android Studio 設定
- New Project を押下
- Empty Activity を押下

- アプリ名やプロジェクト名を設定し、Finish押下下
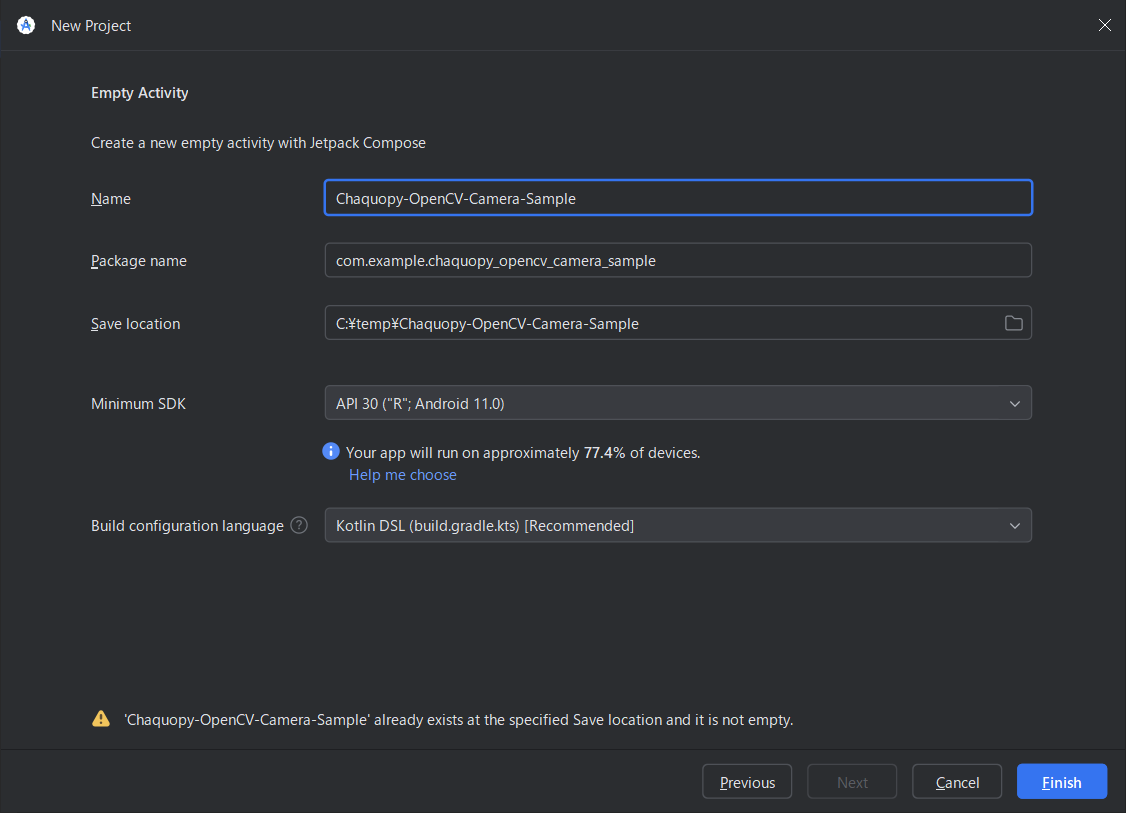
- しばらく待つ ※下部のプログレスバーのタスクが終了するまで


2. Gradleビルドスクリプト(プロジェクト設定、アプリ設定)
- プロジェクト設定
プロジェクト設定用のGradleビルドスクリプトに以下を追記
id("com.chaquo.python") version "16.1.0" apply false


- アプリ設定
アプリ設定用のGradleビルドスクリプトに以下を追記
追記後、Sync Nowを押下し待つ
plugins {
    id("com.chaquo.python")
}
defaultConfig {
    ndk {
        abiFilters += listOf("armeabi-v7a", "arm64-v8a", "x86", "x86_64")
    }
}
chaquopy {
    defaultConfig {
        pip {
            install("numpy")
            install("opencv-python-headless")
        }
    }
}
dependencies {
    implementation("androidx.camera:camera-camera2:1.3.1")
    implementation("androidx.camera:camera-lifecycle:1.3.1")
    implementation("androidx.camera:camera-view:1.3.1")
    implementation("androidx.camera:camera-core:1.3.1")
    implementation("androidx.camera:camera-extensions:1.3.1")
}

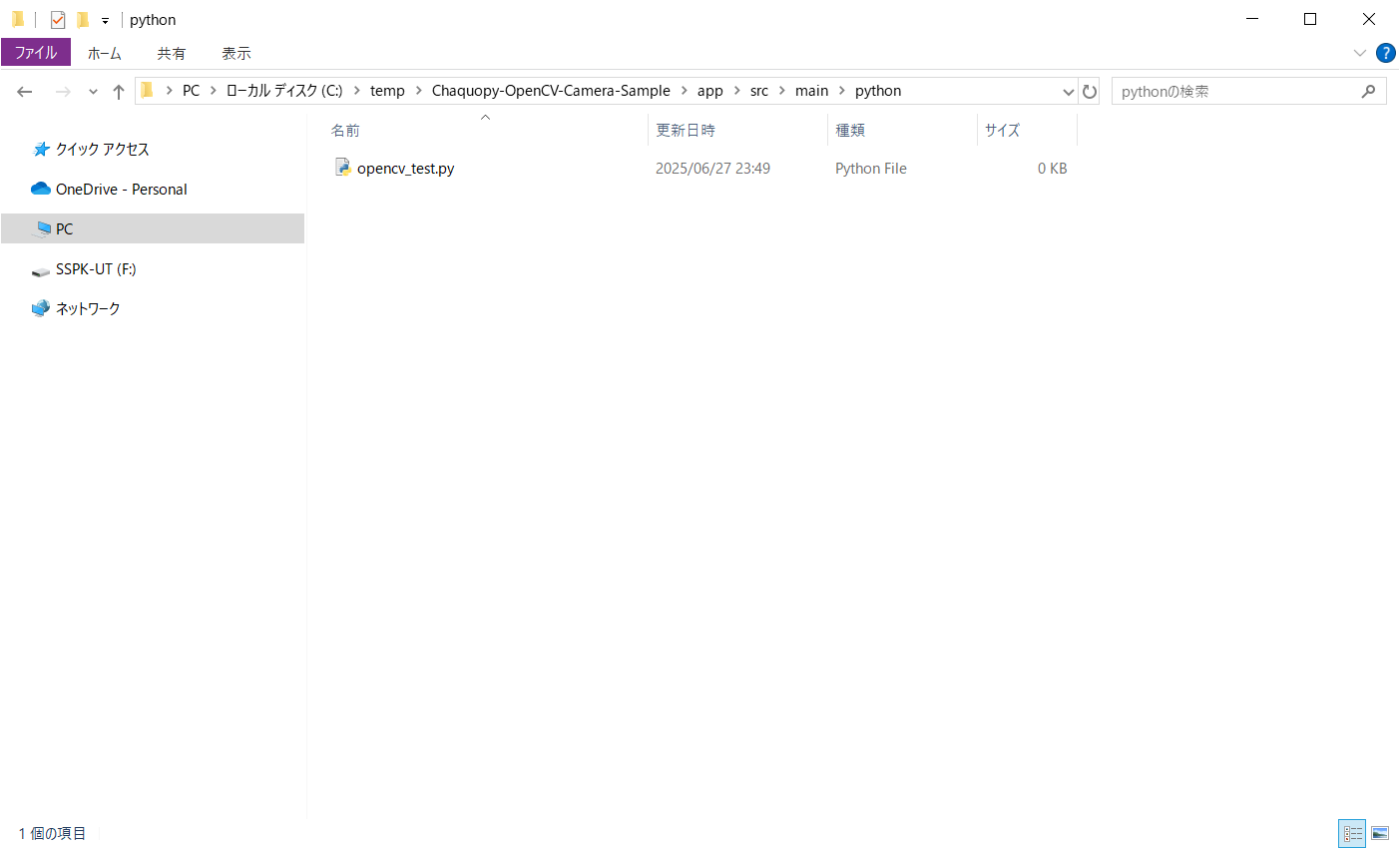
3. Python
- ファイル作成
app/src/main/pythonディレクトリに任意のPythonスクリプトファイルを作成
※今回はopencv_test.pyで作成
- ソースコード
import copy
import platform

import cv2
import numpy as np

def python_image_process(nv21_bytes: bytes, width: int, height: int) -> bytes:
    # NV21 → BGR、左に90度回転(反時計回り)
    yuv = np.frombuffer(nv21_bytes, dtype=np.uint8).reshape((height * 3) // 2, width)
    bgr = cv2.cvtColor(yuv, cv2.COLOR_YUV2BGR_NV21)
    bgr = cv2.rotate(bgr, cv2.ROTATE_90_CLOCKWISE)

    # メイン処理
    bgr = process_main(bgr)

    # 右に90度回転(時計回り)、BGR → RGB
    bgr = cv2.rotate(bgr, cv2.ROTATE_90_COUNTERCLOCKWISE)
    rgb = cv2.cvtColor(bgr, cv2.COLOR_BGR2RGB)

    return rgb.tobytes()

def process_main(image):
    temp_image = copy.deepcopy(image)

    width, height = image.shape[1], image.shape[0]

    # 表示テキスト
    info_lines = [
        f"Resolution: {width}x{height}",
        f"Python: {platform.python_version()}",
        f"OpenCV: {cv2.__version__}",
        f"Numpy: {np.__version__}",
    ]

    # テキスト描画
    for idx, line in enumerate(info_lines):
        y = 30 + idx * 40
        cv2.putText(
            temp_image,
            line,
            (10, y),
            cv2.FONT_HERSHEY_SIMPLEX,
            1.0,
            (0, 255, 0),
            2,
            cv2.LINE_AA,
        )

    return temp_image

# 動作確認用
if __name__ == "__main__":
    cap = cv2.VideoCapture(0)

    while True:
        ret, frame = cap.read()
        if not ret:
            break

        frame = process_main(frame)

        key = cv2.waitKey(1)
        if key == 27:  # ESC
            break
        cv2.imshow("Test", frame)

    cap.release()
    cv2.destroyAllWindows()
4. Kotlin
AndroidManifest.xml と MainActivity.kt を修正
- AndroidManifest.xml (app/src/main/AndroidManifest.xml)
<?xml version="1.0" encoding="utf-8"?>
<manifest xmlns:android="http://schemas.android.com/apk/res/android"
    xmlns:tools="http://schemas.android.com/tools">

    <uses-feature
        android:name="android.hardware.camera"
        android:required="false" />
    <uses-permission android:name="android.permission.CAMERA" />

    <application
        android:allowBackup="true"
        android:dataExtractionRules="@xml/data_extraction_rules"
        android:fullBackupContent="@xml/backup_rules"
        android:icon="@mipmap/ic_launcher"
        android:label="@string/app_name"
        android:roundIcon="@mipmap/ic_launcher_round"
        android:supportsRtl="true"
        android:theme="@style/Theme.ChaquopyOpenCVCameraSample">
        <activity
            android:name=".MainActivity"
            android:exported="true"
            android:label="@string/app_name"
            android:theme="@style/Theme.ChaquopyOpenCVCameraSample">
            <intent-filter>
                <action android:name="android.intent.action.MAIN" />

                <category android:name="android.intent.category.LAUNCHER" />
            </intent-filter>
        </activity>
    </application>

</manifest>
- MainActivity.kt (app/src/main/java/com/example/chaquopy_opencv_camera_sample/MainActivity.kt)
package com.example.chaquopy_opencv_camera_sample

import android.Manifest
import android.content.pm.PackageManager
import android.graphics.Bitmap
import android.graphics.BitmapFactory
import android.graphics.ImageFormat
import android.graphics.Matrix
import android.graphics.Rect
import android.graphics.YuvImage
import android.os.Bundle
import android.util.Log
import android.view.View
import android.view.ViewGroup.LayoutParams.MATCH_PARENT
import android.widget.FrameLayout
import android.widget.ImageView
import android.widget.TextView
import androidx.activity.ComponentActivity
import androidx.activity.result.contract.ActivityResultContracts
import androidx.camera.core.CameraSelector
import androidx.camera.core.ImageAnalysis
import androidx.camera.core.ImageProxy
import androidx.camera.lifecycle.ProcessCameraProvider
import androidx.core.content.ContextCompat
import com.chaquo.python.Python
import com.chaquo.python.android.AndroidPlatform
import java.io.ByteArrayOutputStream

class MainActivity : ComponentActivity() {
    private lateinit var imageView: ImageView
    private lateinit var fpsView: TextView
    private lateinit var requestPermissionLauncher: androidx.activity.result.ActivityResultLauncher<String>

    override fun onCreate(savedInstanceState: Bundle?) {
        super.onCreate(savedInstanceState)

        // フルスクリーン設定
        window.decorView.systemUiVisibility = (
                View.SYSTEM_UI_FLAG_FULLSCREEN or
                        View.SYSTEM_UI_FLAG_HIDE_NAVIGATION or
                        View.SYSTEM_UI_FLAG_IMMERSIVE_STICKY
                )

        if (!Python.isStarted()) {
            Python.start(AndroidPlatform(this))
        }

        imageView = ImageView(this).apply {
            layoutParams = FrameLayout.LayoutParams(MATCH_PARENT, MATCH_PARENT)
            scaleType = ImageView.ScaleType.FIT_CENTER
        }

        fpsView = TextView(this).apply {
            textSize = 16f
            setTextColor(android.graphics.Color.GREEN)
            setPadding(30, 30, 0, 0)
        }

        val frameLayout = FrameLayout(this).apply {
            addView(imageView)
            addView(fpsView)
        }

        setContentView(frameLayout)

        requestPermissionLauncher =
            registerForActivityResult(ActivityResultContracts.RequestPermission()) { isGranted ->
                if (isGranted) {
                    startCamera()
                } else {
                    fpsView.text = "カメラの使用を許可してください"
                }
            }

        when {
            ContextCompat.checkSelfPermission(
                this,
                Manifest.permission.CAMERA
            ) == PackageManager.PERMISSION_GRANTED -> {
                startCamera()
            }

            shouldShowRequestPermissionRationale(Manifest.permission.CAMERA) -> {
                requestPermissionLauncher.launch(Manifest.permission.CAMERA)
            }

            else -> {
                requestPermissionLauncher.launch(Manifest.permission.CAMERA)
            }
        }
    }

    private fun startCamera() {
        val cameraProviderFuture = ProcessCameraProvider.getInstance(this)
        cameraProviderFuture.addListener({
            val provider = cameraProviderFuture.get()
            val imageAnalysis = ImageAnalysis.Builder().build().apply {
                setAnalyzer(ContextCompat.getMainExecutor(this@MainActivity)) { imageProxy ->
                    processImage(imageProxy)
                }
            }
            provider.unbindAll()
            provider.bindToLifecycle(this, CameraSelector.DEFAULT_BACK_CAMERA, imageAnalysis)
        }, ContextCompat.getMainExecutor(this))
    }

    private fun processImage(imageProxy: ImageProxy) {
        val totalStart = System.currentTimeMillis()

        // === 1. NV21抽出 ===
        val extractStart = System.currentTimeMillis()
        val nv21 = imageProxy.toNV21()
        val width = imageProxy.width
        val height = imageProxy.height
        val rotationDegrees = imageProxy.imageInfo.rotationDegrees
        imageProxy.close()
        val extractEnd = System.currentTimeMillis()

        // === 2. Python 呼び出し ===
        val pythonStart = System.currentTimeMillis()
        val py = Python.getInstance()
        val module = py.getModule("opencv_test")
        val result = module.callAttr("python_image_process", nv21, width, height)
        val pythonEnd = System.currentTimeMillis()

        // === 3. RGB ByteArray → IntArray (ARGB_8888) ===
        val decodeStart = System.currentTimeMillis()
        val rgbBytes = result.toJava(ByteArray::class.java)
        val pixelCount = width * height
        val pixels = IntArray(pixelCount)

        for (i in 0 until pixelCount) {
            val r = rgbBytes[i * 3].toInt() and 0xFF
            val g = rgbBytes[i * 3 + 1].toInt() and 0xFF
            val b = rgbBytes[i * 3 + 2].toInt() and 0xFF
            pixels[i] = (0xFF shl 24) or (r shl 16) or (g shl 8) or b // ARGB
        }

        val rgbBitmap = Bitmap.createBitmap(width, height, Bitmap.Config.ARGB_8888)
        rgbBitmap.setPixels(pixels, 0, width, 0, 0, width, height)
        val decodeEnd = System.currentTimeMillis()

        // === 4. 回転適用 ===
        val rotateStart = System.currentTimeMillis()
        val matrix = Matrix().apply { postRotate(rotationDegrees.toFloat()) }
        val rotated = Bitmap.createBitmap(rgbBitmap, 0, 0, width, height, matrix, true)
        val rotateEnd = System.currentTimeMillis()

        // === 5. 表示とFPS ===
        val displayStart = System.currentTimeMillis()
        imageView.setImageBitmap(rotated)
        val displayEnd = System.currentTimeMillis()

        val totalElapsed = System.currentTimeMillis() - totalStart
        val fps = if (totalElapsed > 0) (1000 / totalElapsed).coerceAtMost(60) else 0
        fpsView.text = "FPS: $fps"

        // === 6. ログ ===
        Log.d("ChaquopyTiming", "toNV21           : ${extractEnd - extractStart} ms")
        Log.d("ChaquopyTiming", "Python call      : ${pythonEnd - pythonStart} ms")
        Log.d("ChaquopyTiming", "RGB→ARGB_8888    : ${decodeEnd - decodeStart} ms")
        Log.d("ChaquopyTiming", "Rotate           : ${rotateEnd - rotateStart} ms")
        Log.d("ChaquopyTiming", "Display          : ${displayEnd - displayStart} ms")
        Log.d("ChaquopyTiming", "TOTAL            : ${totalElapsed} ms")
    }

    private fun nv21ToBitmap(nv21: ByteArray, width: Int, height: Int): Bitmap {
        val yuvImage = YuvImage(nv21, ImageFormat.NV21, width, height, null)
        val out = ByteArrayOutputStream()
        yuvImage.compressToJpeg(Rect(0, 0, width, height), 100, out)
        val jpegBytes = out.toByteArray()
        return BitmapFactory.decodeByteArray(jpegBytes, 0, jpegBytes.size)
    }

    private fun ImageProxy.toNV21(): ByteArray {
        val yPlane = planes[0]
        val uPlane = planes[1]
        val vPlane = planes[2]

        val ySize = yPlane.buffer.remaining()
        val uSize = uPlane.buffer.remaining()
        val vSize = vPlane.buffer.remaining()

        // ⚠️ CameraXのフォーマットがNV21と異なる場合があるため、
        // データサイズを width * height * 3 / 2 に明示的に揃える
        val nv21 = ByteArray(width * height * 3 / 2)

        yPlane.buffer.get(nv21, 0, ySize)
        // NV21 では VU 順なので、v→u の順で格納する
        vPlane.buffer.get(nv21, ySize, vSize.coerceAtMost(nv21.size - ySize))
        uPlane.buffer.get(nv21, ySize + vSize, uSize.coerceAtMost(nv21.size - ySize - vSize))

        return nv21
    }
}
5. Run 'App'
Androidの「開発者向けオプション」の「USBデバッグ」を有効にして、Run 'App'を実行。

以上。
Discussion