Next.js + tailwind + microCMSを利用してJAMStackなブログを作る記録
環境
- MacBook Pro
- bash
- Node.js v16.15.0
- npm v8.5.5
- Next.js v12.2.4
- React v18.2.0
はじめの一歩
$ npx create-next-app ~~アプリ名~~ --use-npm --typescript
Hello world!
npm run dev しようとするとエラー出る
ready - started server on 0.0.0.0:3000, url: http://localhost:3000
It looks like you're trying to use TypeScript but do not have the required package(s) installed.

Please install @types/node by running:

	npm install --save-dev @types/node

If you are not trying to use TypeScript, please remove the tsconfig.json file from your package root (and any TypeScript files in your pages directory).
npm install --save-dev @types/nodeする必要があるらしいので叩く
$ npm install --save-dev @types/node
無事npm run devが通った。
$ npm run dev
> ~~アプリ名~~@0.1.0 dev
> next dev

ready - started server on 0.0.0.0:3000, url: http://localhost:3000
We detected TypeScript in your project and reconfigured your tsconfig.json file for you. Strict-mode is set to false by default.

The following suggested values were added to your tsconfig.json. These values can be changed to fit your project's needs:

	- incremental was set to true

event - compiled client and server successfully in 1520 ms (177 modules)
taconfig.jsonにincremental: trueを追加したとのこと。
これはどうやら差分があったファイルのみ再コンパイルするという設定で、ビルド時間が短縮されるらしい。
strictはfalseになっているということだが、tsconfig.jsonではtrueになっていた。

Tailwind CSSの導入
$ npm i -D tailwindcss postcss autoprefixer
$ npx tailwindcss init -p
tailwind.config.jsで、CSSを使いたいファイル群のパスをcontent内で指定。
module.exports = {
- content: [],
+ content: [
+  './pages/**/*.{js,ts,jsx,tsx}',
+  './components/**/*.{js,ts,jsx,tsx}',
+ ],
  theme: {
    extend: {},
  },
  plugins: [],
}
postcss.config.jsに以下を記述。
module.exports = {
  plugins: {
    tailwindcss: {},
    autoprefixer: {},
  },
}
styles/globals.cssの中身を全部消して、書き換える。
@import 'tailwindcss/base';
@import 'tailwindcss/components';
@import 'tailwindcss/utilities';
styles/Home.module.cssは不要なので消す。
$ rm ./styles/Home.module.css
pages/index.tsxからCSSを剥がす。(全部の差分出すのはめんどいので省略)
import Head from 'next/head'
import Image from 'next/image'
- import styles from '../styles/Home.module.css'

export default function Home() {
_app.tsxを以下のように変更。
import '../styles/globals.css'
+ import 'tailwindcss/tailwind.css'
import type { AppProps } from 'next/app'

function MyApp({ Component, pageProps }: AppProps) {
  return <Component {...pageProps} />
}
export default MyApp
不要なのでapi/配下ファイルも消す
$ rm -r ./pages/api/
ESLintの導入
$ npm i -D eslint eslint-config-next
$ touch .eslintrc
.eslintrcにルールを追加。
{
  "extends": ["next", "next/core-web-vitals"]
}
next/core-web-vitalsを記述すると、より厳しいルールが適用されるらしい。
package.jsonにコマンドを追加。
"scripts": {
  "dev": "next dev",
  "build": "next build",
  "start": "next start",
+ "lint": "next lint"
},
Prettierの導入
$ npm i -D prettier eslint-config-prettier
$ touch .prettierrc
.eslintrcに、PrettierとESLintのルールがバッティングしないように追記。
{
-  "extends": ["next", "next/core-web-vitals"]
+  "extends": ["next", "next/core-web-vitals", "prettier"]
}
package.jsonにコマンドを追記。
"scripts": {
  "dev": "next dev",
  "build": "next build",
  "start": "next start",
-  "lint": "next lint"
+  "lint": "next lint",
+  "format": "prettier --write './src/**/*.{js,jsx,ts,tsx,json,css}'"
},
そういえばsrcディレクトリを作ってなかったので作る
$ mkdir src
src内に、pagesとstylesを移動させる
$ tree -a -I 'node_modules|.next|.git'
.
├── .eslintrc
├── .gitignore
├── .prettierrc
├── README.md
├── next-env.d.ts
├── package-lock.json
├── package.json
├── public
│   ├── favicon.ico
│   └── vercel.svg
├── src
│   ├── pages
│   │   ├── _app.tsx
│   │   └── index.tsx
│   └── styles
│       └── globals.css
├── tailwind.config.js
└── tsconfig.json
tailwind.config.jsを更新。
module.exports = {
  content: [
-    './pages/**/*.{js,ts,jsx,tsx}',
-    './components/**/*.{js,ts,jsx,tsx}',
+    './src/pages/**/*.{js,ts,jsx,tsx}',
+    './src/components/**/*.{js,ts,jsx,tsx}',
  ],
.prettierrcに、カスタマイズしたいルールを追記。
{
  "jsxSingleQuote": true,  // JSXはシングルクォートを使うように
  "semi": false // セミコロンなし
  "singleQuote": true, // JSX以外もシングルクォートを使うように
  "tabWidth": 2, // インデントは2
  "trailingComma": "es5", // オブジェクトや配列については末尾にコンマを付ける
}
ヘッダーとフッターを作る
microCMSやstorybookの準備も必要だが、これまで準備ばっかりしていたので手を動かしたくなってきた。
ので、気晴らしにブログサービスには必須であるヘッダーとフッターのコンポーネントを作る。
まずはsrc配下にcomponentsディレクトリを作成。
そしてヘッダーとフッターのコンポーネントも作成。
$ mkdir ./src/components
$ touch ./src/components/Header.tsx
$ touch ./src/components/Footer.tsx
それっぽいものを置く。
import Link from 'next/link'

const Header = () => {
  return (
    <header>
      <nav className="flex flex-rows bg-green-500 px-10 md:px-20 py-10 text-black font-bold text-2xl">
        <Link href='/'>
          <a>けいとくらふと情報局</a>
        </Link>
      </nav>
    </header>
  )
}

export default Header
const Footer = () => {
return (
<footer className='text-center text-sm bg-green-500 py-8'>
<p>©2022 katecraft.info</p>
</footer>
)
}
export default Footer
いったんsrc/pages/index.tsxをまっさらに。
export default function Home() {
  return (
    <div>Hello World!</div>
  )
}
そしてsrc/pages/_app.tsxを、、、改造!
import '../styles/globals.css'
import 'tailwindcss/tailwind.css'
import Head from 'next/head'
import Header from '../components/Header'
import Footer from '../components/Footer'
import type { AppProps } from 'next/app'

function MyApp({ Component, pageProps }: AppProps) {
  return (
    <>
      <Head>
        <title>けいとくらふと情報局</title>
      </Head>
      <Header />
      <Component {...pageProps} />
      <Footer />
    </>
  )
}
export default MyApp
ヘッダーとフッターはどのページでも同じものを出したいので、_app.tsxに常設する。
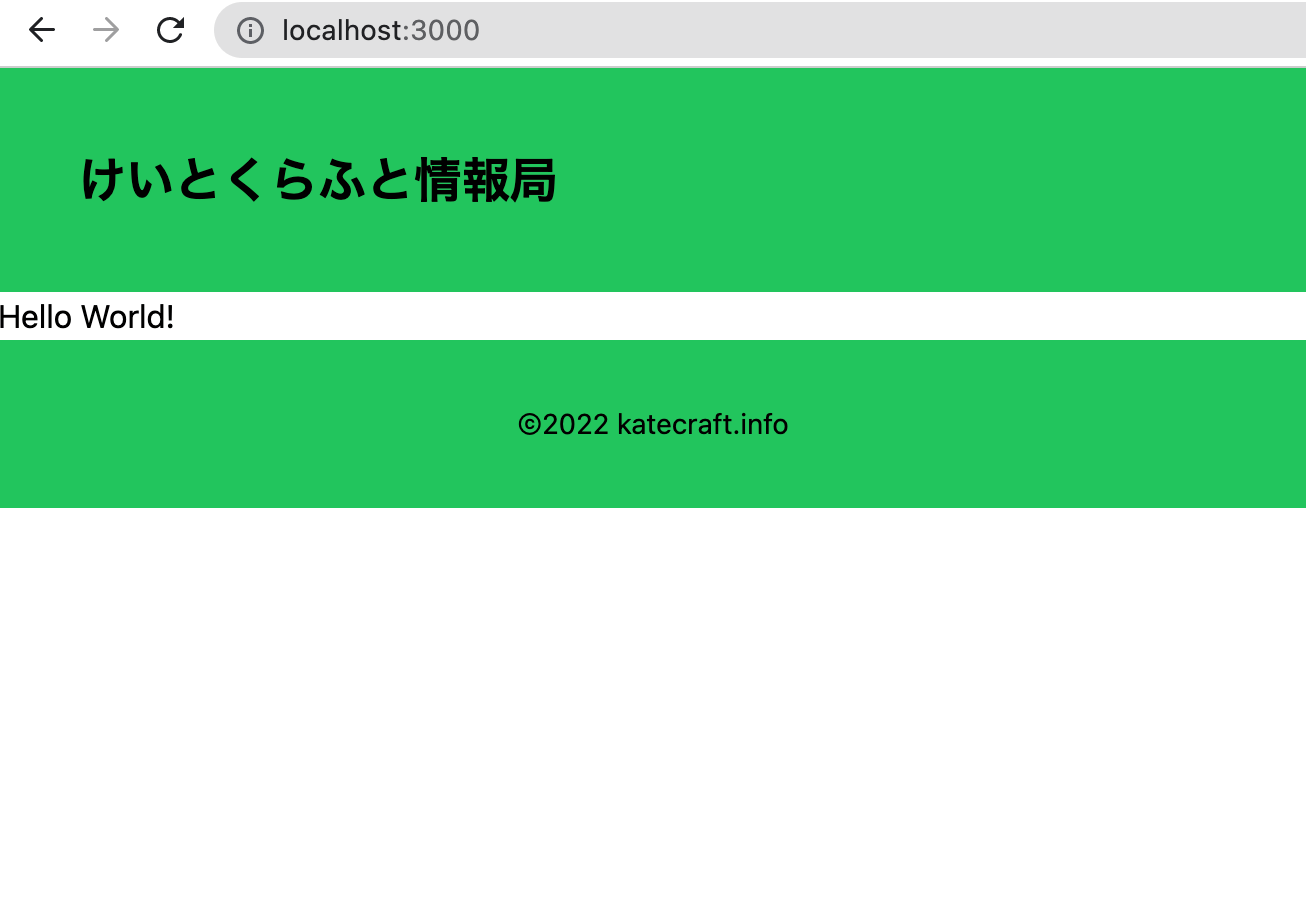
↑こんな感じになる。
このままだとコンテンツが少ないときにフッターがページ中央らへんに来てしまうので、全体をflexで囲み、コンテンツ部分にgrowを適用して、必ずフッターを画面の下の方に寄せるようにする。
import '../styles/globals.css'
import 'tailwindcss/tailwind.css'
import Head from 'next/head'
import Header from '../components/Header'
import Footer from '../components/Footer'
import type { AppProps } from 'next/app'

function MyApp({ Component, pageProps }: AppProps) {
  return (
    <>
      <Head>
        <title>けいとくらふと情報局</title>
      </Head>
+      <div className='flex flex-col min-h-screen'>
        <Header />
+        <div className='m-10 md:m-20 grow'>
          <Component {...pageProps} />
+        </div>
        <Footer />
+      </div>
    </>
  )
}
export default MyApp

↑こんな感じになる。
_document.tsxの追加
Nextでは特にこちらが何も書かなくても、勝手に<head>や<body>を指定してくれるが、拡張したい場合は_document.tsxを新たに追加する。
$ touch ./src/pages/_document.tsx
import { Html, Head, Main, NextScript } from 'next/document'

const MyDocument = () => {
  return (
    <Html lang='ja-JP'>
      <Head>
        <meta name='description' content='' />
      </Head>
      <body>
        <Main />
        <NextScript />
      </body>
    </Html>
  )
}

export default MyDocument
metaとかは後でちゃんと書くことにする。
microCMSとの連携
microCMSへの登録は終えているものとする。
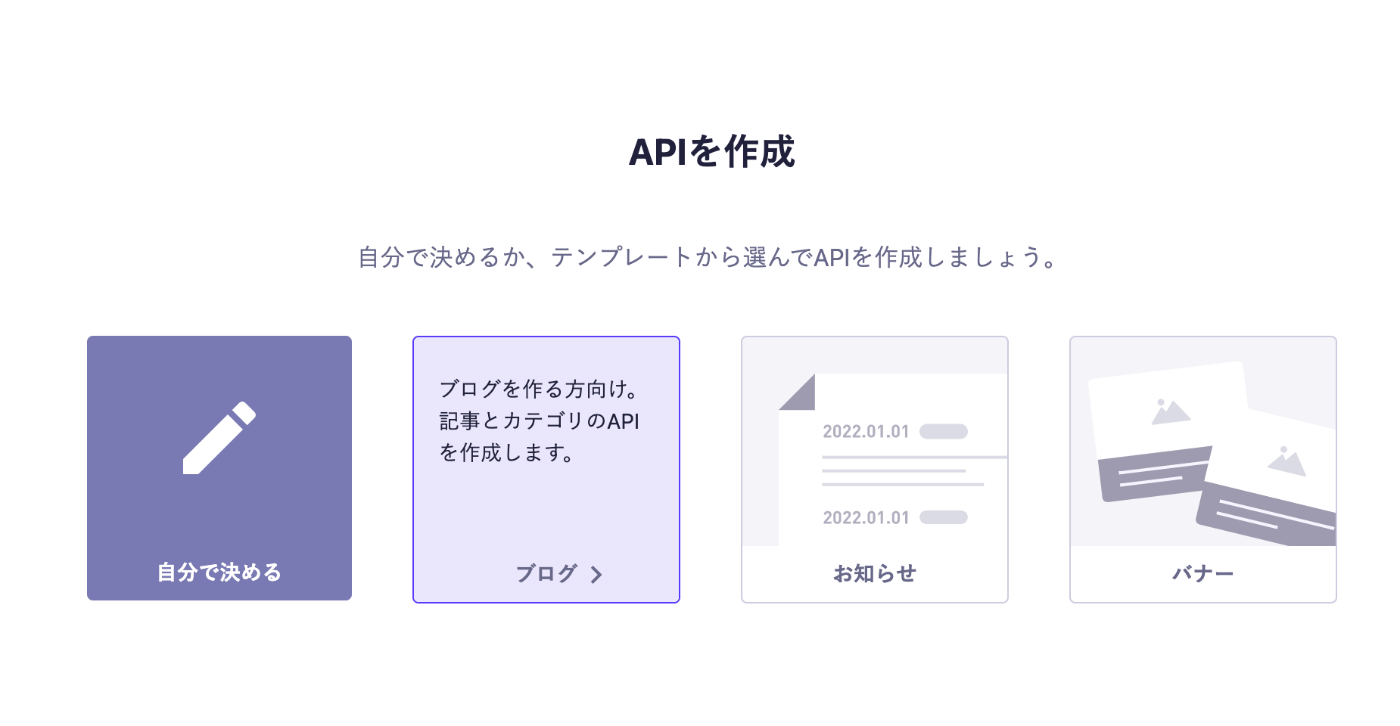
API作成で「ブログ」を選択。

「APIキー管理」から、APIキーをcopyして、envファイルにメモ。
envファイルはGItHub上に絶対あげないようにする。
.gitignore内にenvファイルが含まれているか確認する。無い場合は追加しておくこと。
$ touch .env.development.local
SERVICE_DOMAIN(○○.microcms.ioの○○の部分)も追加しておく。
APY_KEY=さっきコピーしたAPIキー
SERVICE_DOMAIN=サービスのドメイン名
ひとまずトップページに、記事一覧を表示することにする。
まず、microcms-js-sdkをインストール。
$ npm i -D microcms-js-sdk
SDK初期化用ファイルを作成。
$ mkdir src/libs
$ touch src/libs/client.ts
import { createClient } from 'microcms-js-sdk'

export const client = createClient({
  serviceDomain: process.env.SERVICE_DOMAIN || '',
  apiKey: process.env.API_KEY || '',
})
APIから返却される情報の型を定義しておく。
何が返却されるかは、「APIプレビュー」からある程度確認できる。

$ mkdir src/types
$ touch src/types/blogs.ts
export type Eyecatch = {
  url: string
  height: number
  width: number
}

export type Category = {
  id: string
  createdAt: string
  updatedAt: string
  publishedAt: string
  revisedAt: string
  name: string
}

export type Blog = {
  id: string
  createdAt: string
  updatedAt: string
  publishedAt: string
  revisedAt: string
  title: string
  content: string
  eyecatch: Eyecatch
  category: Category
}

export type Blogs = {
  contents: Blog[]
  totalCount: number
  offset: number
  limit: number
}
APIリクエストする。
今回はSSGを使う予定なので、getStaticPropsを使う。
import Link from 'next/link'
import { client } from '../libs/client'
import type { Blogs, Blog } from '../types/blogs'

type Props = {
  blogs: Blog[]
}

export default function Home({ blogs }: Props) {
  return (
    <div>
      <ul>
        {blogs.map((blog) => (
          <li key={blog.id}>
            <Link href={`/blogs/${blog.id}`}>
              <a>{blog.title}</a>
            </Link>
          </li>
        ))}
      </ul>
    </div>
  )
}

export const getStaticProps = async() => {
  const blogs: Blogs = await client.get({ endpoint: 'blogs' })
  return {
    props: {
      blogs: blogs.contents,
    }
  }
}
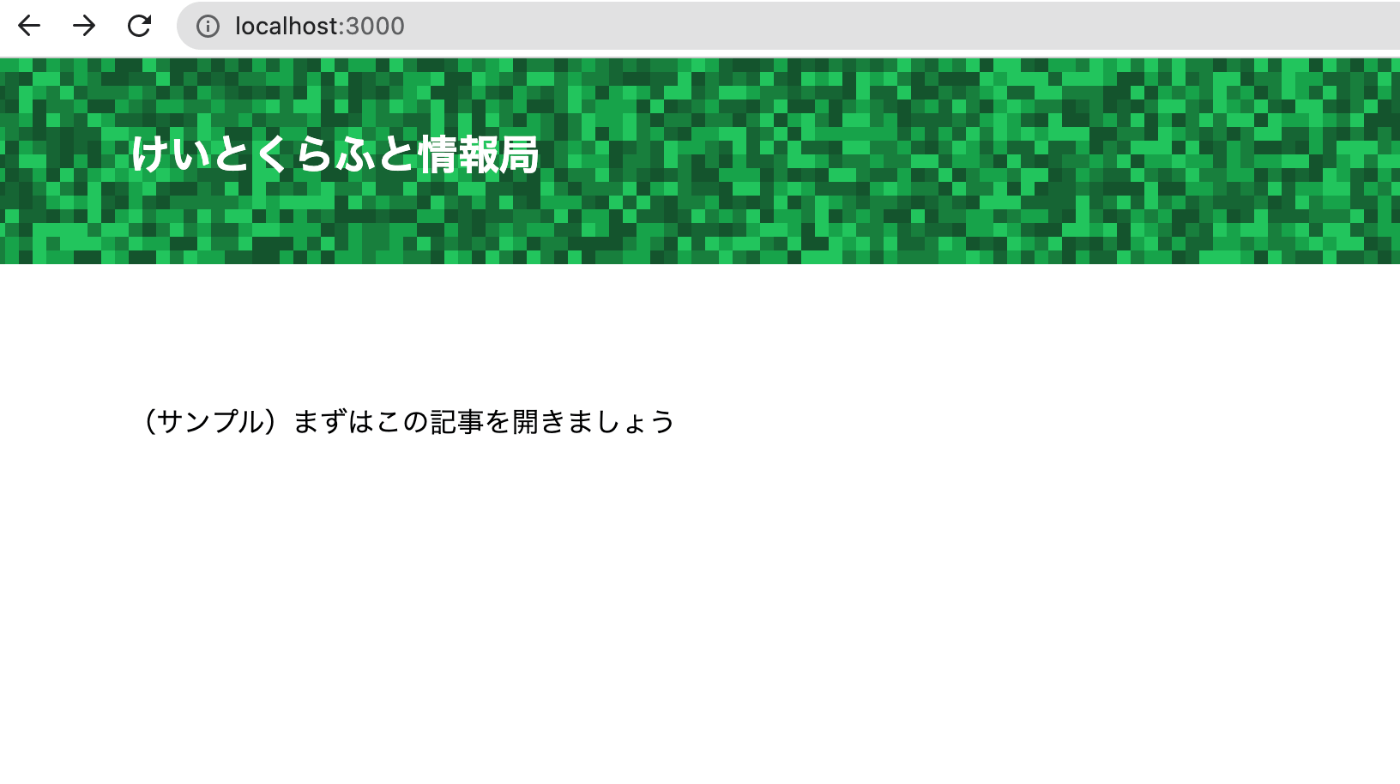
microCMSとの連携は取れてそう。
Vercelとの連携
Vercelへの登録は終えているものとする。
「New Project」→「Import Git Repository」から、該当するリポジトリをImport。
ビルド設定など、基本的にはそのままでよいが、環境変数は設定する必要がある。

「Deploy」を押せば、すぐデプロイされる。
今後は該当リポジトリにpushされるたび、デプロイが走る。
Stroybookの導入
$ npx sb init
$ npm run storybook
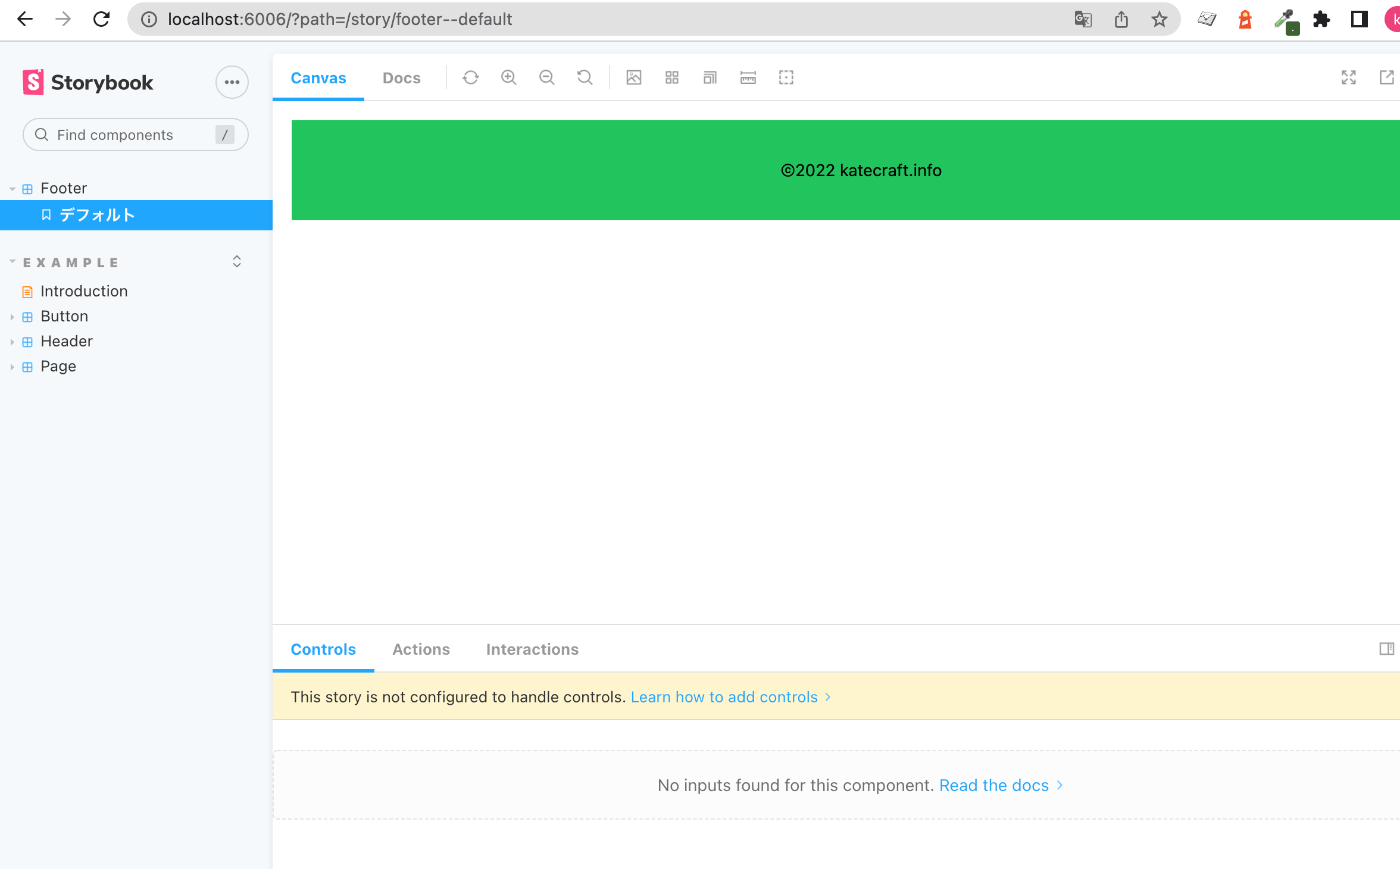
以下の画面が出ればOK。
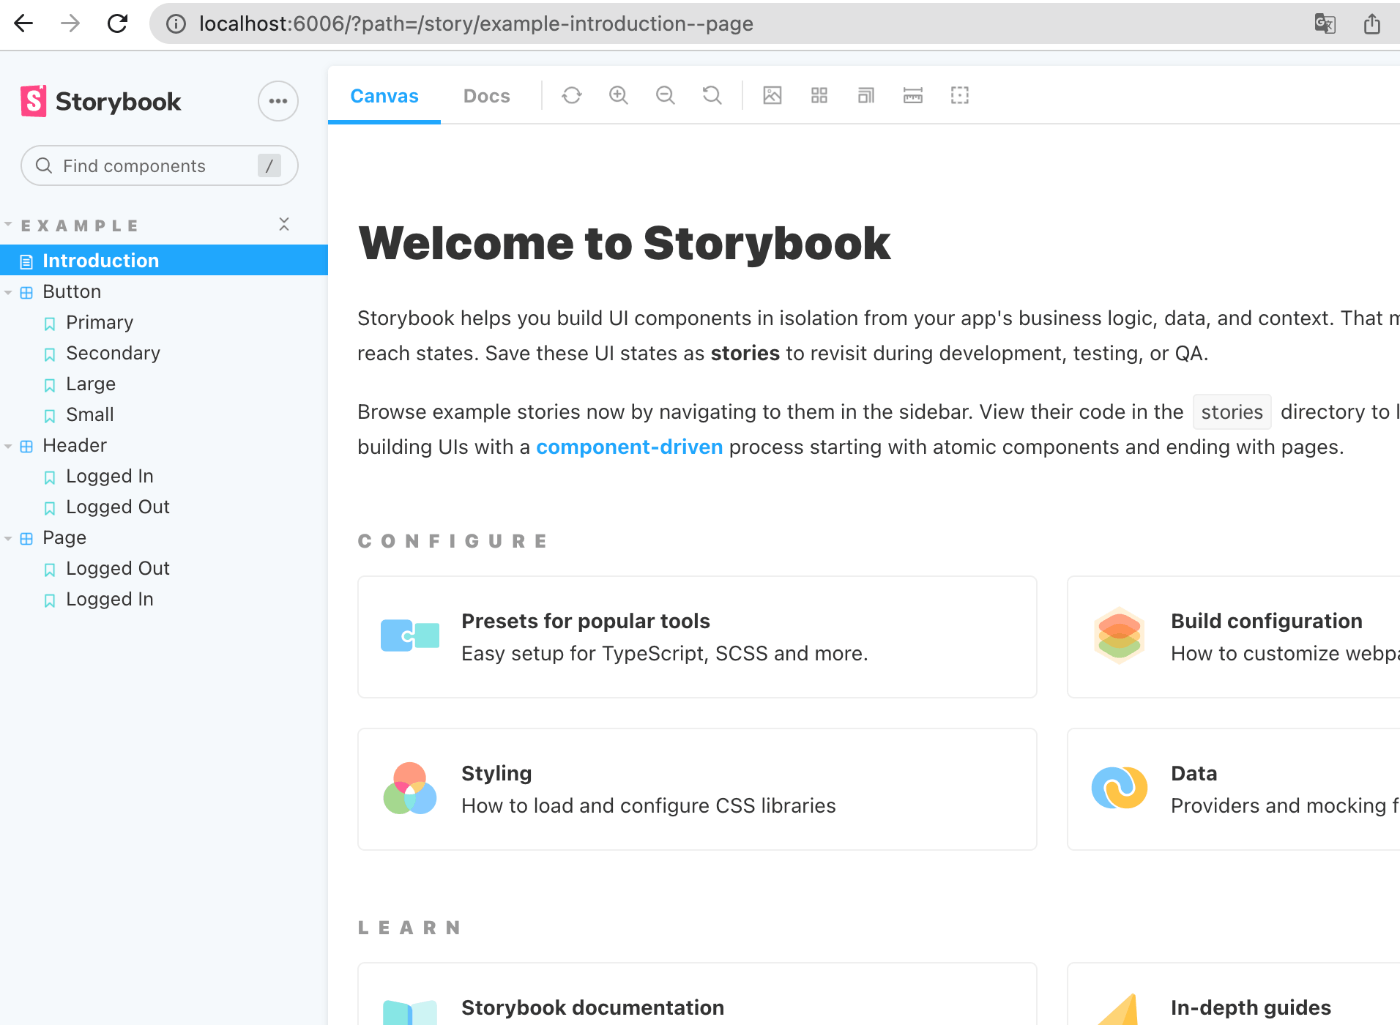
試しにFooterコンポーネントのStoryを作る。
各コンポーネントのStoryを作るには、**.stories.tsxと名前をつける。
$ touch src/stories/Footer.stories.tsx
import Footer from '../components/Footer'
import { ComponentMeta, ComponentStory } from '@storybook/react'

export default {
  title: 'Footer',
  component: Footer,
} as ComponentMeta<typeof Footer>

const Template: ComponentStory<typeof Footer> = () => <Footer />

export const Default: ComponentStory<typeof Footer> = Template.bind({})
Default.args = {}
Default.storyName = 'デフォルト'
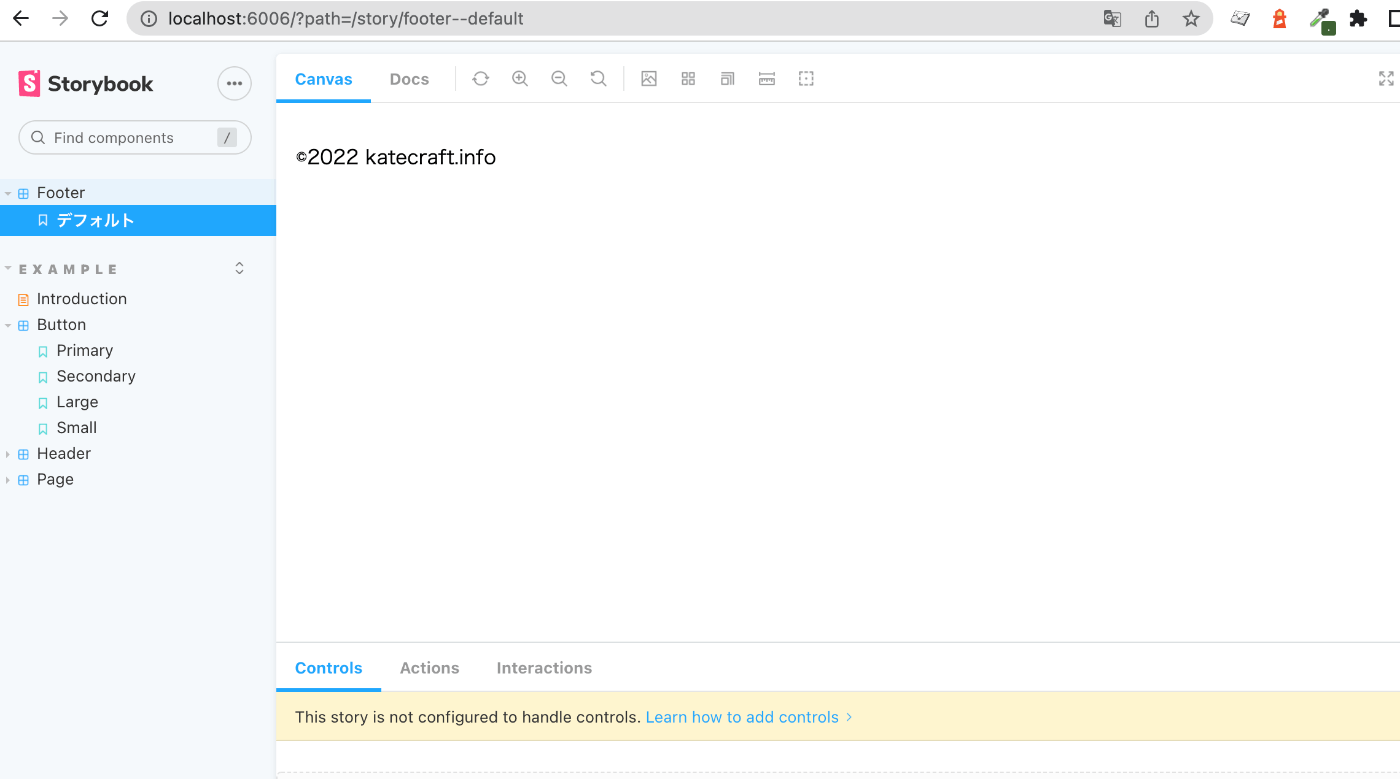
Storybook上で確認できるようになった。が、Tailwind CSSが適用されていないので、適用の設定を行う。
$ npm i -D @storybook/addon-postcss
.storybook/main.jsに以下を追加。
module.exports = {
  "stories": [
    "../src/**/*.stories.mdx",
    "../src/**/*.stories.@(js|jsx|ts|tsx)"
  ],
  "addons": [
    "@storybook/addon-links",
    "@storybook/addon-essentials",
    "@storybook/addon-interactions",
+    {
+      name: '@storybook/addon-postcss',
+      options: {
+        postcssLoaderOptions: {
+          implementation: require('postcss'),
+        },
+      },
    },
  ],
  "framework": "@storybook/react",
  "core": {
    "builder": "@storybook/builder-webpack5"
  }
}
.storybook/preview.jsで、globals.cssを読み込むようにする。
+ import '../src/styles/globals.css'

export const parameters = {
Tailwind CSSが適用された。
