Open8
glsl表現備忘録(p5.js)
p5.jsでGLSL(フラグメントシェーダー)を書いていて高確率でどうやったっけ?となるのでどの表現がどのコードだったのかをメモ書きしていく。
使用するテクスチャイメージはこちら。
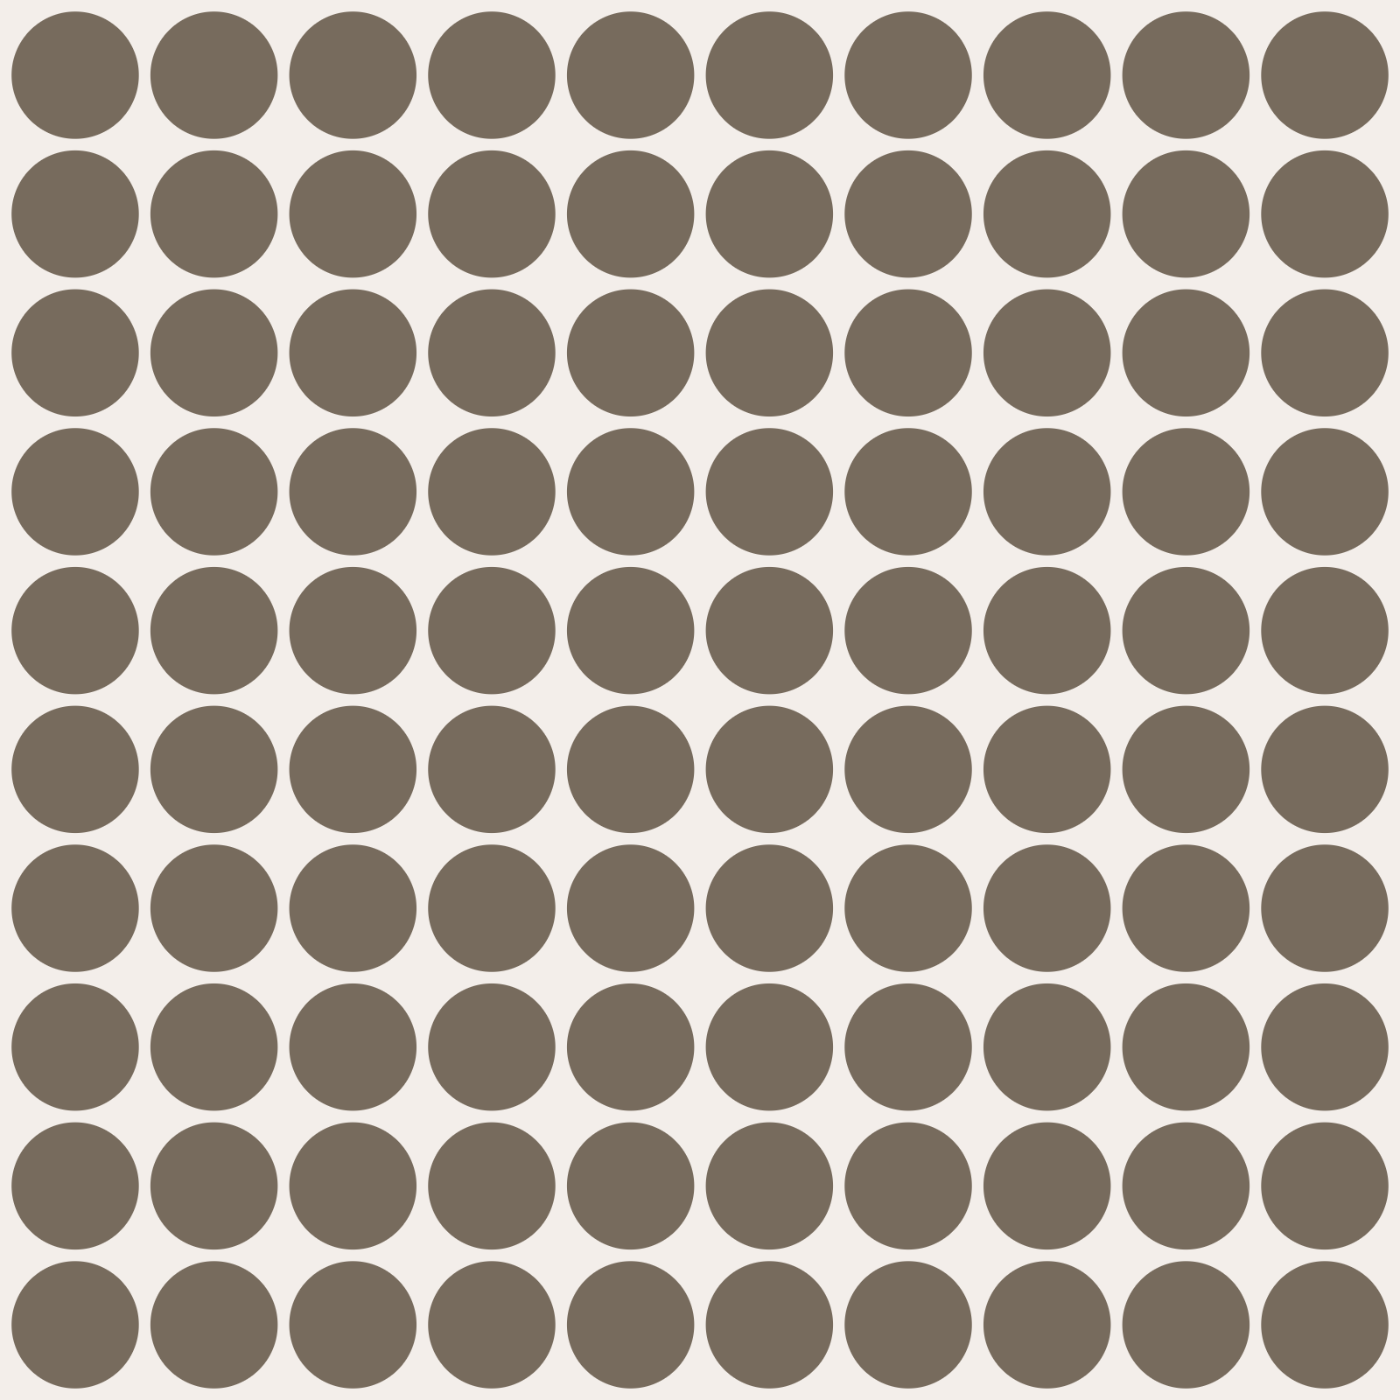
基本コードは以下である。基本的にテクスチャであるpgに対してシェーダーをかけていく。
let pg;
let theShader1;

function setup() {
  createCanvas(800, 800,WEBGL);
  pg = createGraphics(width, height);
  pg.noStroke();
  pg.fill('#776B5D');
  background('#F3EEEA');
  noStroke();
}

function draw() {
  translate(-width / 2,-height / 2);//WEBGLは真ん中基準だがcreageGraphicsは左上基準なので合わせるために設定している
  pg.push();
  grid(10,pg);
  pg.pop();

  // シェーダーの設定
  theShader1 = createShader(shader1.vs, shader1.fs);
  shader(theShader1);
  theShader1.setUniform(`u_tex`, pg);
  theShader1.setUniform(`u_time`, frameCount / 35);
  theShader1.setUniform('u_resolution', [pg.width, pg.height]);

  // シェーダー適用したイメージを描画
  image(pg,0,0);
}

/** num個で分割したグリッドを画面いっぱいに生成する
* @method grid
* @param  {Number}        num           画面の分割数
*/
const grid = (num,pg) => {
    const n1 = num + 1;

    const margin_left = width / n1 / n1;
    const margin_bottom = height / n1 / n1;

    const nw = width / n1;
    const nh = height / n1;

    for (let i = 0; i < num; i++) {
      for (let j = 0; j < num; j++) {
        const x = nw * i + margin_left * (i + 1);
        const y = nh * j + margin_bottom * (j + 1);
        pg.circle(x + nw / 2, y + nw / 2, nw);
      }
    }
};

keyPressed = () => {
  if (key === 's') {
    saveCanvas(canvas, 'canvas', 'png');
    //saveGif('canvas', 4);
  }
};

const shader1 = {
  vs: `
  precision highp float;
  precision highp int;

  attribute vec3 aPosition;
  attribute vec2 aTexCoord;

  varying vec2 vTexCoord;

  uniform mat4 uProjectionMatrix;
  uniform mat4 uModelViewMatrix;

  void main() {
    vec4 positionVec4 = vec4(aPosition, 1.0);
    gl_Position = uProjectionMatrix * uModelViewMatrix * positionVec4;
    vTexCoord = aTexCoord;
  }
`,
  fs: `
  precision highp float;
  precision highp int;

  varying vec2 vTexCoord;

  uniform sampler2D u_tex;
  uniform float u_time;
  uniform vec2 u_resolution;

  float PI = 3.14159265358979;

  void main() {
    vec2 uv = vTexCoord;
    vec4 tex = texture2D(u_tex, uv);

    gl_FragColor = tex;
  }
`,
};
走査線を描く。
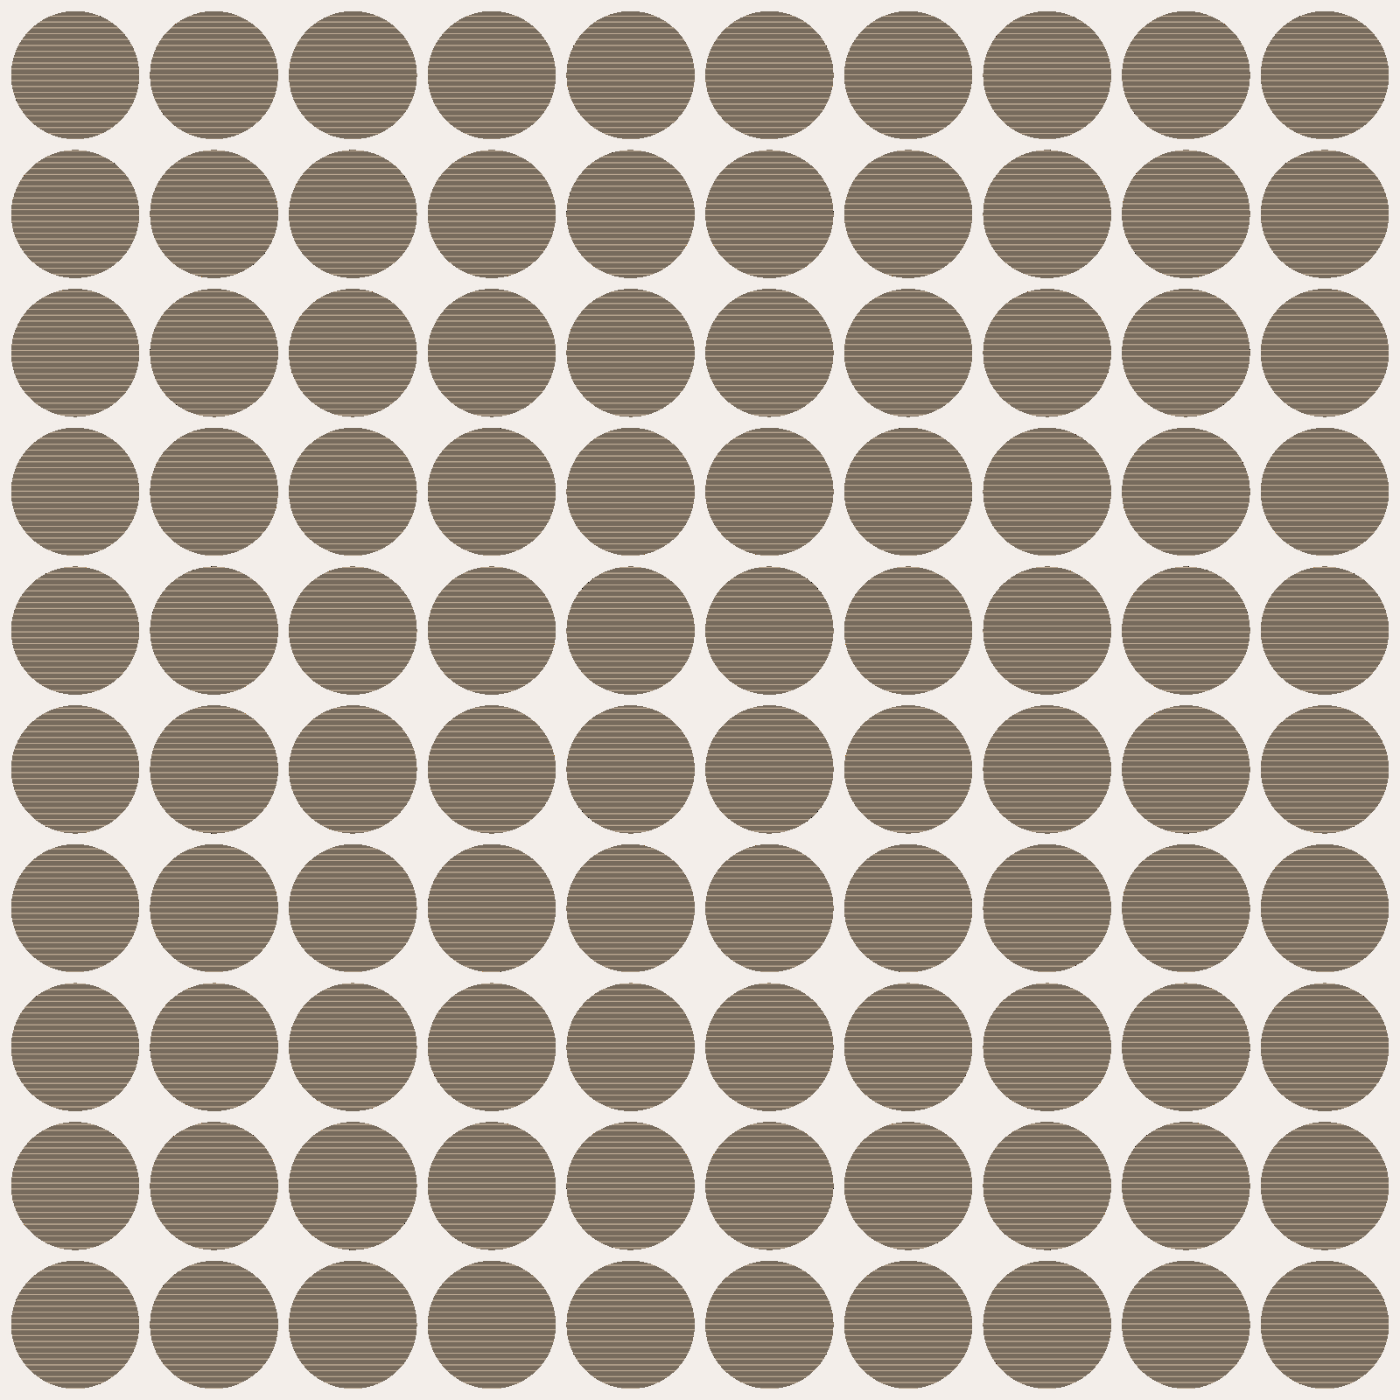 主要コードは以下。
    // 走査線を書く
    float scanLineInterval = 1500.0; // 大きいほど幅狭く
    float scanLineSpeed = u_time * 5.0; // 走査線移動速度
    float scanLine = max(1.0, sin(uv.y * scanLineInterval + scanLineSpeed) * 1.6);

    tex.rgb *= scanLine;
参考資料:
ホワイトノイズを描く。
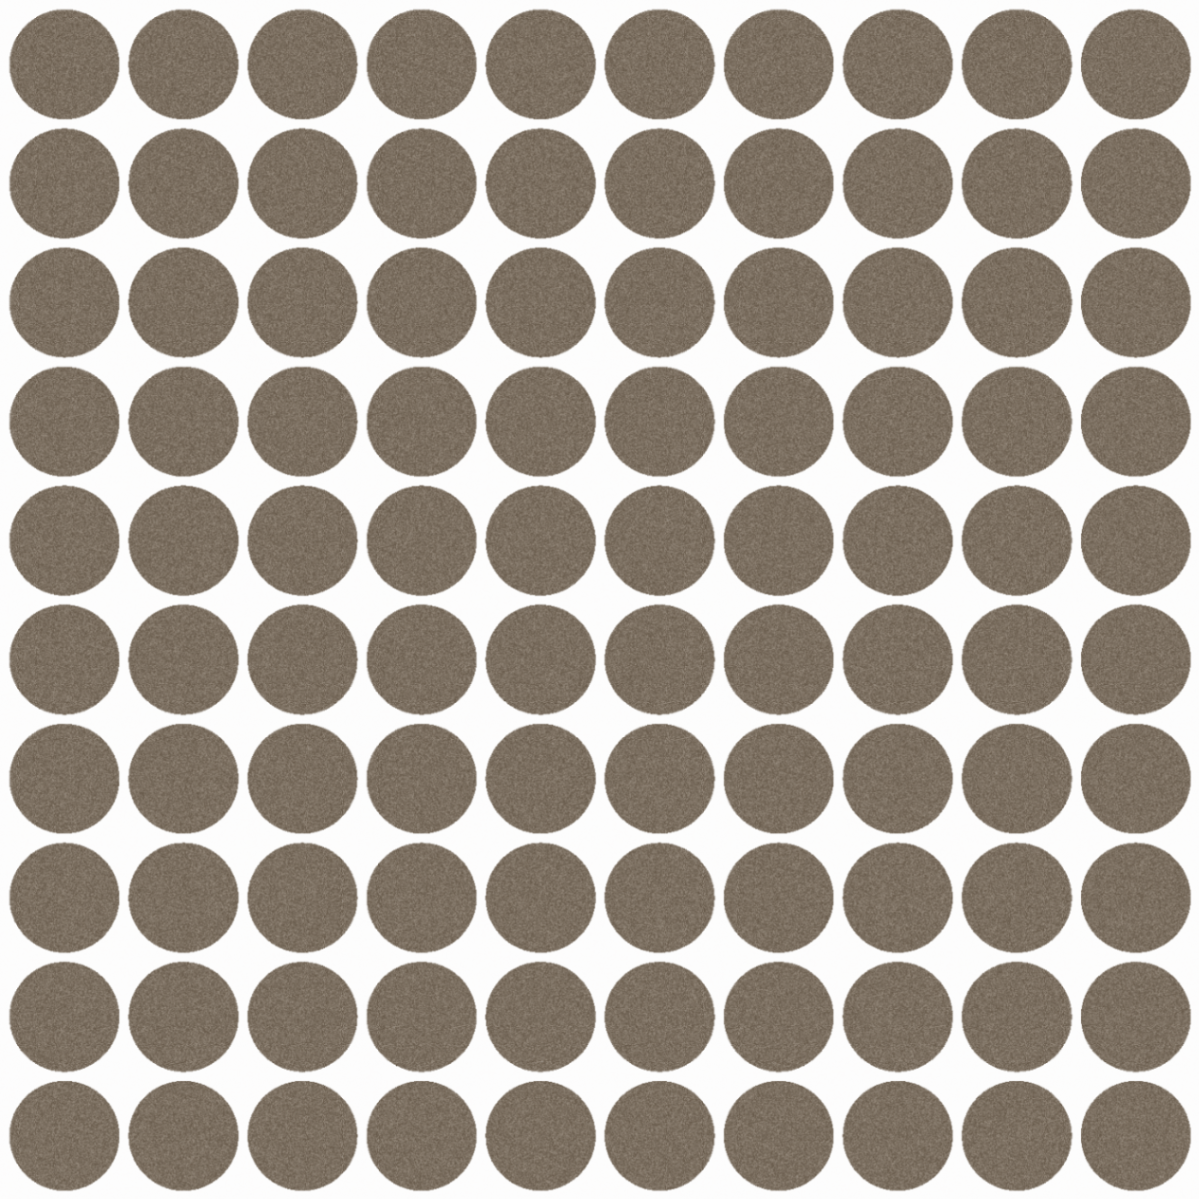 主要コードは以下。
  float random(vec2 c){
    return fract(sin(dot(c.xy ,vec2(12.9898,78.233))) * 43758.5453);
  }

  void main() {
    vec2 uv = vTexCoord;
    // white noise用
    float interval = 3.0;
    float strength = smoothstep(interval * 0.5, interval, interval - mod(u_time, interval));
    float whiteNoise = (random(uv + mod(u_time, 10.0)) * 2.0 - 1.0) * (0.15 + strength * 0.15);

    vec4 tex = texture2D(u_tex, uv);
    gl_FragColor = tex + whiteNoise;
  }
新たにrandom関数を定義しているがこの形ではiosでは動かないとの話もあったので要注意。
記事がそこそこ前なので今は改善されているかもしれない(未検証)。
浮動小数点の精度のバラつき
参考資料:
魚眼レンズを描く。

主要コードは以下である。
    float apertureHalf = 0.5 * u_aperture * (PI / 180.0);
    float maxFactor = sin(apertureHalf);

    vec2 xy = 2.0 * uv.xy - 1.0;
    float d = length(xy);

    if (d < (2.0-maxFactor)){
      d = length(xy * maxFactor);
      float z = sqrt(1.0 - d * d);
      float r = atan(d, z) / PI;
      float phi = atan(xy.y, xy.x);

      uv.x = r * cos(phi) + 0.5;
      uv.y = r * sin(phi) + 0.5;
    }
参考資料:
ハッチングを描く。
 主要コードは以下である。
    float hatch = 10.0;// ハッチングのサイズを変えられる
    float lum = length(texture2D(u_tex, uv.xy).rgb);

    vec4 tex = texture2D(u_tex, uv);
    gl_FragColor = vec4(1.0, 1.0, 1.0, 1.0);
    bool isHatch = false;

    if (lum < 1.00){
      if (mod(gl_FragCoord.x + gl_FragCoord.y, hatch) == 0.0){
        gl_FragColor = tex;
        isHatch = true;
      }
    }

    if (lum < 0.75){
      if (mod(gl_FragCoord.x - gl_FragCoord.y, hatch) == 0.0){
          gl_FragColor = tex;
          isHatch = true;
      }
    }

    if (lum < 0.50){
      if (mod(gl_FragCoord.x + gl_FragCoord.y - 5.0, hatch) == 0.0){
          gl_FragColor = tex;
          isHatch = true;
      }
    }

    if (lum < 0.3){
      if (mod(gl_FragCoord.x - gl_FragCoord.y - 5.0, hatch) == 0.0){
          gl_FragColor = tex;
          isHatch = true;
      }
    }

    if(isHatch == false){
      gl_FragColor = vec4(u_color, 1.0);
    }
backgroundとハッチングする箇所のだし分け方法が思い浮かばなかったためbackgroundのカラーを別途p5jsからglslへ渡している。(u_color)
参考資料:
波に合わせてゆがませる。
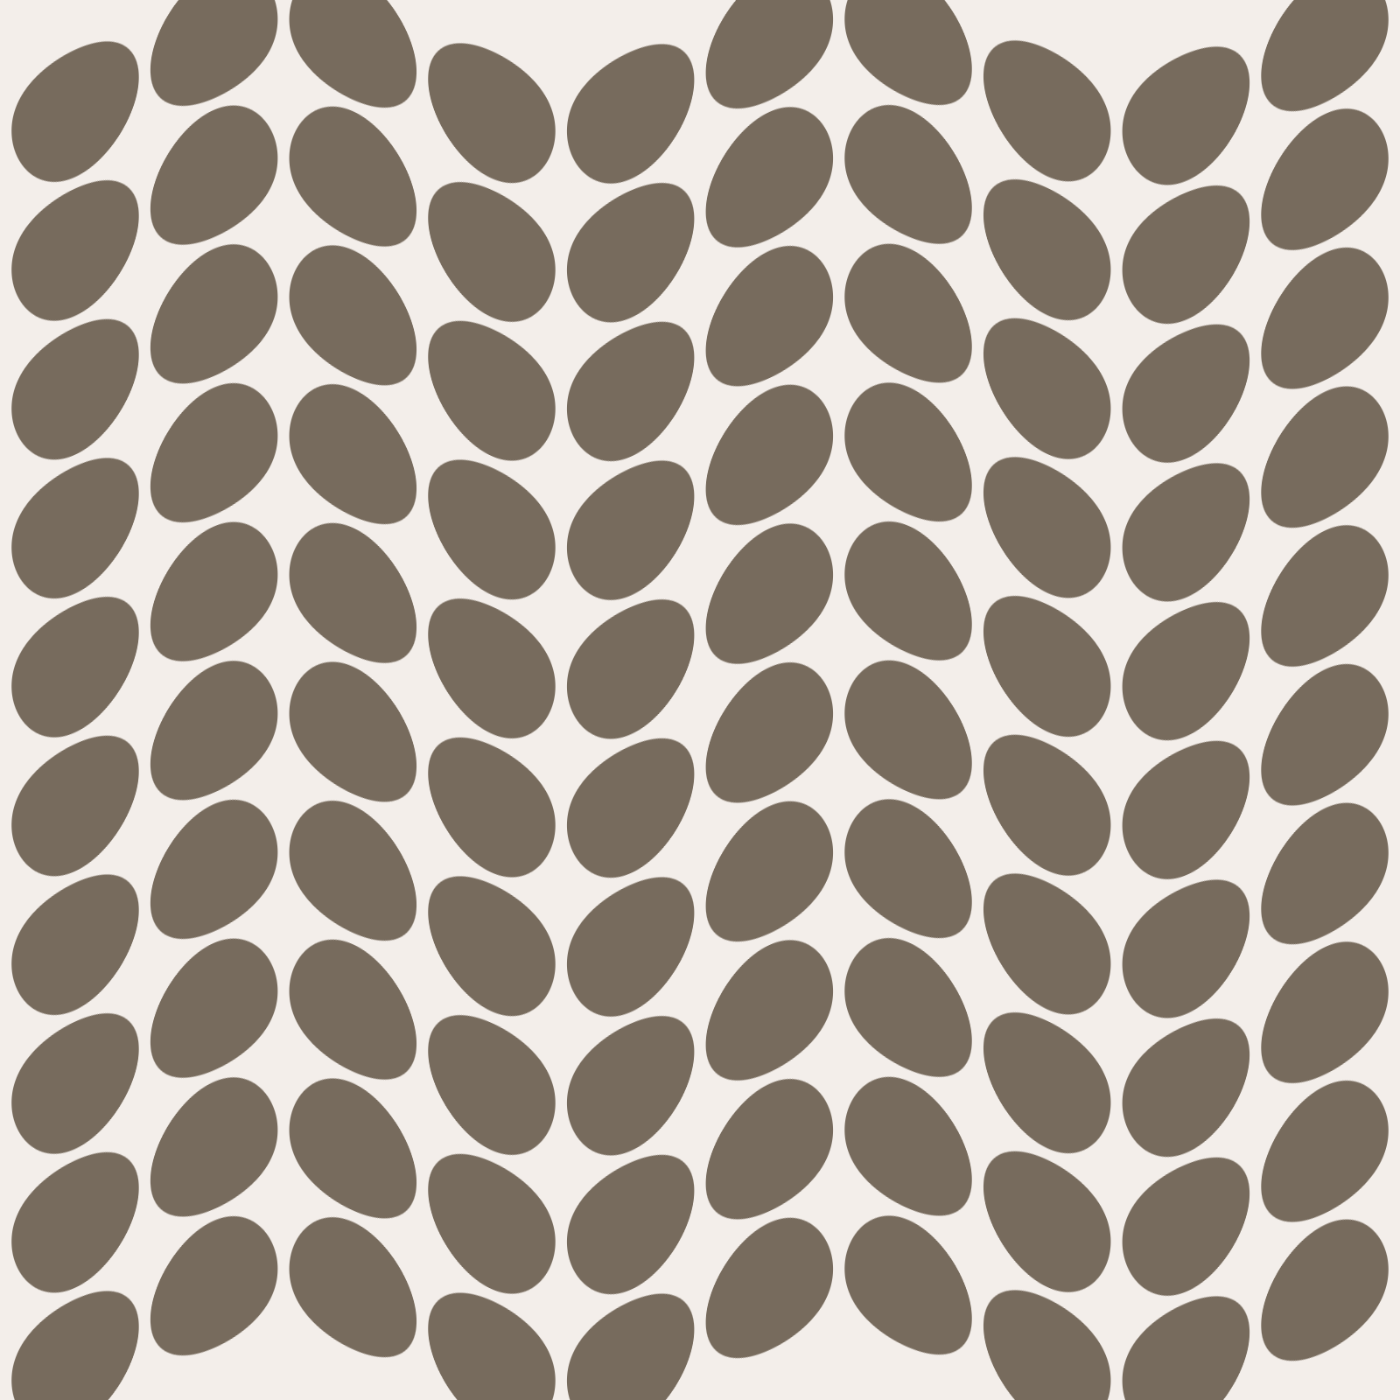
主要コードは以下である。
    float waveSize = 0.04;
    uv.y += waveSize * sin(uv.x * PI* 5.0 + u_time);
単純にサインカーブを使ってテクスチャをゆがませているだけ。
参考資料:
ぼかしたい。

主要コードは以下である。
const float Directions=100.;// BLUR DIRECTIONS
const float Quality=10.;// BLUR QUALITY
const float Size=5.;// BLUR SIZE

// 省略

for(float d=0.;d<Pi;d+=Pi/Directions){
  for(float i=1./Quality;i<=1.;i+=1./Quality){
    Color+=texture2D(u_tex,uv+vec2(cos(d),sin(d))*Radius*i);
  }
}
ガウス分布を使用したぼかしフィルタ。上3つパラメータでぼかし感を変え、下のfor文で畳み込みを計算しピクセルの色を決定している。
参考資料: