SwiftUIを含むCapacitorプラグインを作ってみる
はじめに
こんにちは!Capacitor大好きマンです。
普段、Capacitor公式プラグインのソースを読みながらプラグインを自作しているのですが、
SwiftUIを含んだプラグインが存在しなかったので、自力で作ってみました。
Capacitorプラグインを作ったことが無い方は先にこちらの記事を読むのをオススメします。
プラグインの概要
TypeScript側の関数は以下のように定義します。
| 関数名 | 引数 | 戻り値 |
|---|---|---|
| show | なし | Promise<void> |
この関数を呼ぶと、SwiftUIが表示されるようにします。
使える場面
ネイティブの機能を自分好みのUIで使いたいときに有効。
例えば、DataScannerViewControllerを使いつつ、UIをカスタマイズして、
QRスキャンをアプリに組み込みたいときとか。
プラグイン作成
土台を作る
プラグインプロジェクトを作成します。
npm init @capacitor/plugin@latest
適当にセッティングします。
✔ What should be the npm package of your plugin?
 … capacitor-swiftui-test
✔ What directory should be used for your plugin?
 … capacitor-swiftui-test
✔ What should be the Package ID for your plugin?

    Package IDs are unique identifiers used in apps and plugins. For plugins,
    they're used as a Java namespace. They must be in reverse domain name
    notation, generally representing a domain name that you or your company owns.

 … com.ducker_tech.capacitor.swiftuitest
✔ What should be the class name for your plugin?
 … SwiftUITest
✔ What is the repository URL for your plugin?
 … https://github.com/kamo-tomoki/capacitor-swiftui-test
✔ (optional) Who is the author of this plugin?
 … Kamo Tomoki
✔ What license should be used for your plugin?
 › MIT
✔ Enter a short description of plugin features.
 … Plugin for test of implementing Swift UI
Plugin.xcworkspaceからXCodeを立ち上げ、SwiftUITestPlugin.mを編集して
TypeScript側からSwiftの関数を呼べるようにします。
#import <Foundation/Foundation.h>
#import <Capacitor/Capacitor.h>

// Define the plugin using the CAP_PLUGIN Macro, and
// each method the plugin supports using the CAP_PLUGIN_METHOD macro.
CAP_PLUGIN(SwiftUITestPlugin, "SwiftUITest",
           CAP_PLUGIN_METHOD(show, CAPPluginReturnPromise);
)
SwiftUIの実装
TestViewというSwiftUIファイルを作成します。
import SwiftUI

struct TestView: View {
    var body: some View {
        Text("Hello, World!")
    }
}

struct TestView_Previews: PreviewProvider {
    static var previews: some View {
        TestView()
    }
}
次に、TestViewControllerというUIViewControllerを作成します。
そして、以下のように編集します。
import UIKit
import SwiftUI
import Capacitor

class TestViewController: UIViewController {
    var capacitorCall: CAPPluginCall?

    override func viewDidLoad() {
        super.viewDidLoad()
        extractView()
    }

    func extractView(){
        let hostView = UIHostingController(rootView: TestView())
        hostView.view.translatesAutoresizingMaskIntoConstraints = false

        self.view.addSubview(hostView.view)

        let constraints = [

            hostView.view.topAnchor.constraint(equalTo: view.topAnchor),
            hostView.view.bottomAnchor.constraint(equalTo: view.bottomAnchor),
            hostView.view!.leadingAnchor.constraint(equalTo: view.leadingAnchor),
            hostView.view!.trailingAnchor.constraint(equalTo: view.trailingAnchor),

            hostView.view.heightAnchor.constraint(equalTo: view.heightAnchor),
            hostView.view.widthAnchor.constraint(equalTo: view.widthAnchor),
        ]

        self.view.addConstraints(constraints)

	// Capacitorに成功レスポンスを返す
        self.capacitorCall?.resolve()
    }
}
Capacitorプラグインでは、直でSwiftUIを呼べません。
上記のコードでは、SwiftUIビューをUIKitビューのように扱い、Capacitorアプリ内での表示を可能にしています。
仕上げ作業
エントリーポイントであるSwiftUITestPlugin.swiftを編集します。
import Foundation
import Capacitor

@objc(SwiftUITestPlugin)
public class SwiftUITestPlugin: CAPPlugin {
    @objc func show(_ call: CAPPluginCall) {
        // UIの更新処理はメインスレッドで行う必要アリ
        DispatchQueue.main.async {
            let testViewController = TestViewController(capacitorCall: call)
            self.bridge?.viewController?.present(testViewController, animated: true)
        }
    }
}
プラグインのTypeScriptファイルを編集していきます。
defenition.tsにプラグインの関数を定義します。
export interface SwiftUITestPlugin {
  show(): Promise<void>;
}
web.tsにはweb用の処理を書きます(削除してもいいのかも)
import { WebPlugin } from '@capacitor/core';

import type { SwiftUITestPlugin } from './definitions';

export class SwiftUITestWeb extends WebPlugin implements SwiftUITestPlugin {
  async show(): Promise<void> {
    return Promise.reject('web is not supported');
  }
}
最後にプラグインをビルドします。
npm run build
テスト用アプリの作成
今回はionic/angularでテストアプリを作ります。(作る手順は省略)
プロジェクトにプラグインをインストールします。
npm i <プラグインディレクトリのパス>
その後、tsファイルとhtmlファイルをいい感じに変えます。
import { Component } from '@angular/core';
import { SwiftUITest } from 'capacitor-swiftui-test';

@Component({
  selector: 'app-home',
  templateUrl: 'home.page.html',
  styleUrls: ['home.page.scss'],
})
export class HomePage {
  constructor() {}

  test() {
    SwiftUITest.show();
  }
}
<ion-header [translucent]="true">
  <ion-toolbar>
    <ion-title> Blank </ion-title>
  </ion-toolbar>
</ion-header>

<ion-content [fullscreen]="true">
  <ion-header collapse="condense">
    <ion-toolbar>
      <ion-title size="large">Blank</ion-title>
    </ion-toolbar>
  </ion-header>

  <ion-button (click)="test()"></ion-button>
</ion-content>
XCodeプロジェクトの更新もお忘れなく。
ionic cap sync ios
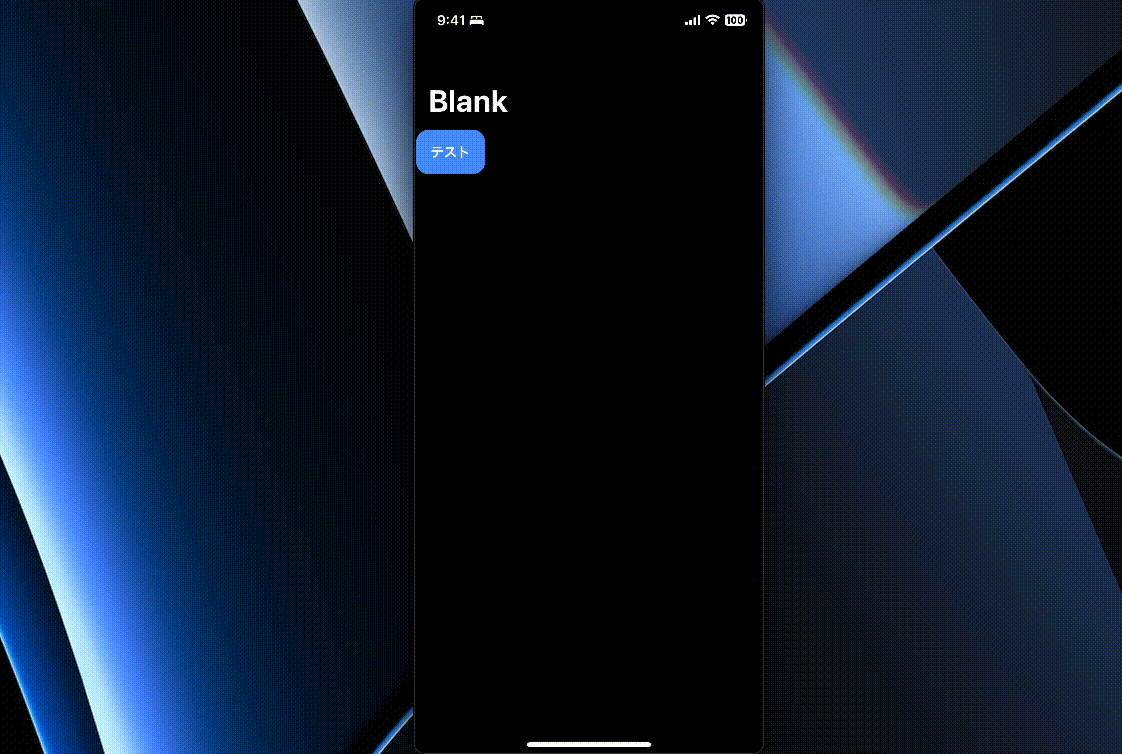
実機テスト
こんな感じでHello World!が表示されたら成功!
(2023/08/23追記)
GitHubにソースコード置いときました!
最後に
時間割ベースで日程調整できるツール「Comma」を運営しています!
下記URLからアクセスできますのでチェックしてみてください!
Comma - 時間割ベースの日程調整ツール
Discussion