【Google Cloud】APIキー認証のAPI Gateway 作成方法
やること
0. 前準備:Cloud Run作成
1. API作成
2. API Configを作成
3. API Gateway作成
4. APIキー作成
5. API Gatewayを認証
構成図
図の通りAPI Gatewayからアクセスし、Cloud Runへ直接アクセスできなくします。

前準備:Cloud Run作成
API Gatewayアクセス先のサイトを用意します。
既にあればスキップして大丈夫です。
サービスアカウント
Cloud Runにデプロイするためロールを付与します。
API Gatewayには影響ありません。
GCS読み取り権限と、Cloud Build サービス アカウント権限を付与します。
今回はCompute Engine のデフォルトのサービス アカウントを使用しています。
Compute Engine のデフォルトのサービス アカウントはIAMから確認できます。

# Compute Engine のデフォルトのサービス アカウント
$ SERVICE_ACCOUNT="プロジェクトNo-compute@developer.gserviceaccount.com"
$ PROJECT_ID=$(gcloud config get-value project)

$ gcloud projects add-iam-policy-binding ${PROJECT_ID} \
  --member="serviceAccount:${SERVICE_ACCOUNT}" \
  --role=""roles/storage.objectViewer""

$ gcloud projects add-iam-policy-binding ${PROJECT_ID} \
  --member="serviceAccount:${SERVICE_ACCOUNT}" \
  --role="roles/cloudbuild.builds.builder"
デプロイ
requirementsとソースコードを作成してデプロイします。
Flask==3.0.3
gunicorn==22.0.0
Werkzeug==3.0.3
import os

from flask import Flask

app = Flask(__name__)


@app.route("/")
def hello_world():
    """Example Hello World route."""
    name = os.environ.get("NAME", "World")
    return f"Hello {name}!"


if __name__ == "__main__":
    app.run(debug=True, host="0.0.0.0", port=int(os.environ.get("PORT", 8080)))
main.pyとrequirements.txtと同じ階層で以下のコマンドを実行してデプロイ。
$ gcloud run deploy for-api-gateway --region asia-northeast1 --source .
デプロイ成功時のURLにアクセスしHello World!が表示されていれば準備完了です。

API作成
# API作成
$ API_ID=for-api-gateway
$ PROJECT_ID=$(gcloud config get-value project)
$ gcloud api-gateway apis create $API_ID --project=${PROJECT_ID}
API config作成
参考:https://cloud.google.com/api-gateway/docs/creating-api-config?hl=ja
※サービスアカウントの設定
今回はデフォルトのサービスアカウントを使用するため --backend-auth-service-accountオプションを省略しています。
サービスで使用する場合はサービスアカウントを使用することが推奨されています。
API Gateway に使用している同じプロジェクトで、別のサービス アカウントを作成することをおすすめします。次に、バックエンド サービスへのアクセスに必要な権限のみをサービス アカウントに割り当てます。これにより、API 構成に関連付けられる権限を制限できます。
x-google-backendのaddressにCloud RunのURLを設定してください。
swagger: '2.0'
info:
  title: for-api-gateway
  description: API on API Gateway with a Cloud Run backend
  version: 2.0.0
schemes:
- https
produces:
- application/json
securityDefinitions:
  api_key:
    type: apiKey
    name: X-API-Key
    in: header
security:
  - api_key: []
paths:
  /:
    get:
      x-google-backend:
        address: Cloud RunのURL
        path_translation: APPEND_PATH_TO_ADDRESS
      summary: for api gateway
      operationId: getApiGateway
      responses:
        '200':
          description: A successful response
          schema:
            type: string
        '401':
          description: Unauthorized - Invalid or missing API key
          schema:
            $ref: '#/definitions/Error'
$ CONFIG_ID=for-api-gateway-config
$ API_DEFINITION=api_definittion.yaml

$ gcloud api-gateway api-configs create ${CONFIG_ID} \
  --api=${API_ID} --openapi-spec=${API_DEFINITION} \
  --project=${PROJECT_ID}
API Gateway作成
$ GATEWAY_ID=for-api-gateway
$ GCP_REGION=asia-northeast1

$ gcloud api-gateway gateways create ${GATEWAY_ID} \
  --api=${API_ID} --api-config=${CONFIG_ID} \
  --location=${GCP_REGION} --project=${PROJECT_ID}
API Gatewayサービスに移動し作成したAPIを選択しゲートウェイから確認できます。

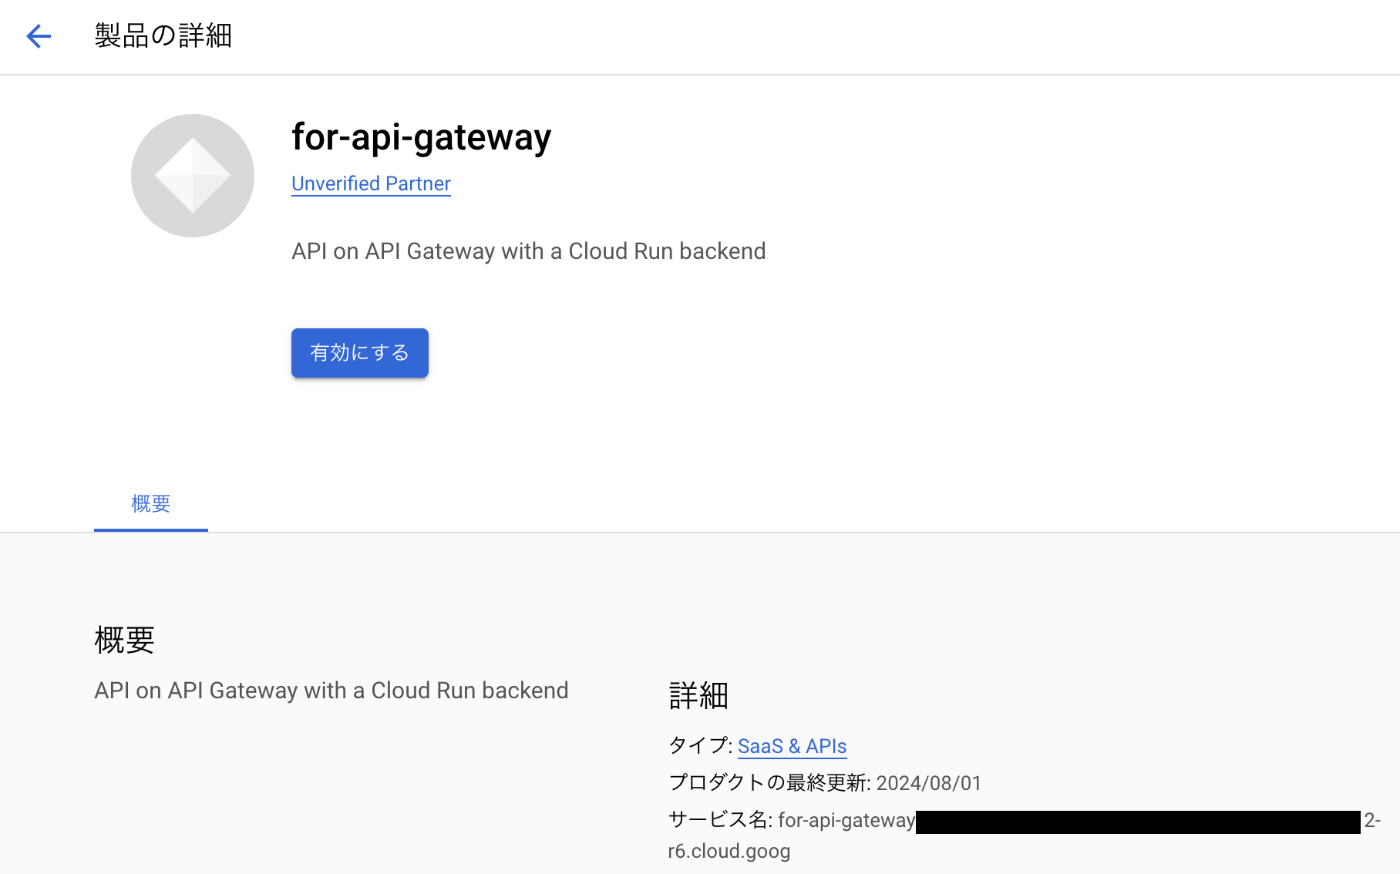
API Gatewayを有効化
APIキーで認証できるようにするためAPI ライブラリからAPI Gatewayを有効化します。
Google Cloudプロジェクト内で作成したAPIを認証するようにします。


コマンドからも可能です。
$ gcloud api-gateway apis describe ${API_ID} # managedServiceを確認
$ MANAGED_SERVICE_NAME=#managedServiceの値
$ gcloud services enable ${MANAGED_SERVICE_NAME}
APIキー作成
コマンドラインまたはAPIとサービスのAPI認証からAPIキーを作成します。
$ DISPLAY_NAME="For API Gateway"
$ gcloud beta services api-keys create --display-name=${DISPLAY_NAME} --project=${PROJECT_ID} #keyStringがapi key値

APIキー認証
APIキーの編集から
対象のAPI Gatewayを有効化しているとキー制限で選択できます。

以上で完了です。
確認
Cloud Runの設定
セキュリティを「認証が必要」に設定します。

Cloud RunのURLでアクセスできなくなればOKです。

URLアクセス
curlコマンドなどからAPI GatewayのURLにアクセスします。
またヘッダーにAPIキーの値を設定します。
Hello World!が返ればOKです。
$ API_GATEWAY_URL="URL"
$ X_API_Key=APIキー

$ curl -X GET "${API_GATEWAY_URL}" \
     -H "Content-Type: application/json" \
     -H "X-API-Key: ${X_API_Key}"

Hello World!
注意
こちらの方法は制限をしていない他のGoogle Cloud認証キーも通します。
プロジェクト内にあるAPIキーのAPI制限を参照しているためです。
キー値で認証する場合はバックエンド(Cloud Run)側で値をフィルタする必要があります。
Discussion