🌐
jest-puppeteerをTypeScriptで使ってみる
はじめに
- この記事では、jest-puppeteer + TypeScriptを使用したサンプルコードを紹介します。
対象読者
- Jestの実装経験がある方
- Jestを使ってe2eテストを実装してみたい方
- e2eテストに興味がある方
puppeteerとは
- DevToolsプロトコルを介してChromeまたはChromiumを制御できるライブラリです。
- Node.js上のプログラムでブラウザ制御をしたい時に使用します。
- 用途としてはe2eテストやスクレイパーなどで使用できます。
jest-puppeteerとは
- Jestでpuppeteerを簡単に導入するためのプリセットです。
- Jestでe2eテストを構築するのが簡単に出来るようになります。
作業方針
- lite-serverを使用してテスト用WEBサイトを構築する。
- 関連パッケージのインストール
- jest-puppeteerとJestをインストールする。
- TypeScript用にts-jestをインストールする。
- テスト環境の設定
-
jest.config.jsのプリセットにjest-puppeteerを設定する。 - TypeScript用にjest-puppeteerプリセットにあわせた型定義を追加する。
-
- Jestでテストコードを実装する。
動作環境
- Node.js - 14.x
- Yarn - 1.22.x
- Jest - 27.5.x
- ts-jest - 27.1.x
- TypeScript - 4.5.x
- jest-puppeteer - 6.1.x
- @types/jest - 27.4.x
- @types/puppeteer - 5.4.x
- lite-server - 2.6.x (テスト用WEBサイトとして使用)
サンプルコード
テスト用WEBサイトを構築
bs-config.json
{
  "port": 8000,
  "server": { "baseDir": "./public" }
}
-
server.baseDirでテスト用に配信するHTMLのディレクトリを指定する。
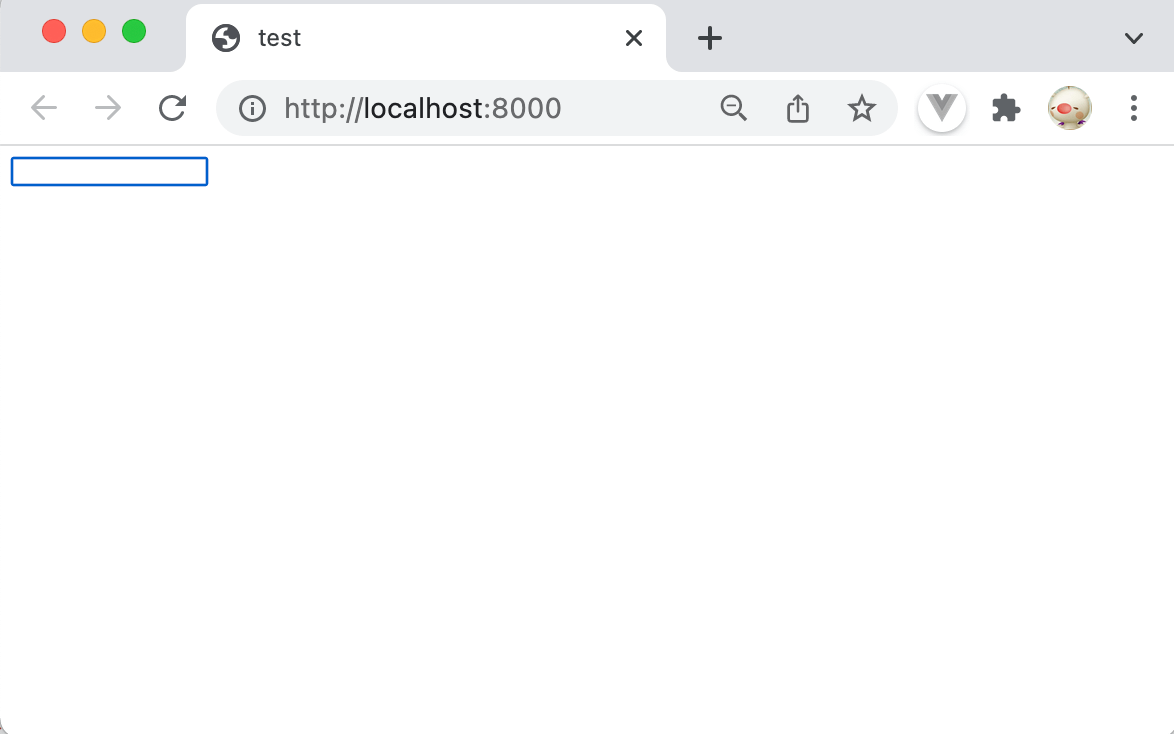
public/index.html
<html>
  <head>
    <title>test</title>
  </head>
  <body>
    <input id="txt" type="text" />
  </body>
</html>
テスト環境の設定
jest.config.js
module.exports = {
  // プリセットにjest-puppeteerを設定する。
  preset: 'jest-puppeteer',
  moduleFileExtensions: ['js', 'ts'],
  transform: {
    '^.+\\.ts$': 'ts-jest',
  },
  testMatch: ['<rootDir>/test/**/*.+(ts|js)'],
};
types/global.d.ts
import { Browser, Page } from 'puppeteer';

// browser, pageの型定義を追加して、globalで使用できるようにする。
declare global {
  const browser: Browser;
  const page: Page;
}
テストコード実装
test/sample.test.ts
describe('Sample test', () => {
  beforeEach(async () => {
    // テスト用WEBサイトにアクセスする
    await page.goto('http://localhost:8000');
  });

  it('title = test', async () => {
    // テスト用WEBサイトのテストページのタイトルを確認する
    const title = await page.title();
    expect(title).toBe('test');
  });

  it('type test', async () => {
    const inputText = 'hoge';

    // idがtxtのDOMに対して'hoge'を入力する
    await page.type('#txt', inputText);

    // idがtxtのinputタグの入力値を取得する
    const actual = await page.$eval('input[id="txt"]', (el) => (el as HTMLInputElement).value);
    expect(actual).toBe(inputText);
  });
});
package.json(script部分のみ抜粋)
package.json
{
  ...省略
  "scripts": {
    "test": "jest",
    "lite-server": "lite-server"
  },
  ...省略
}
動作確認
テスト用WEBサイト起動
yarn lite-server

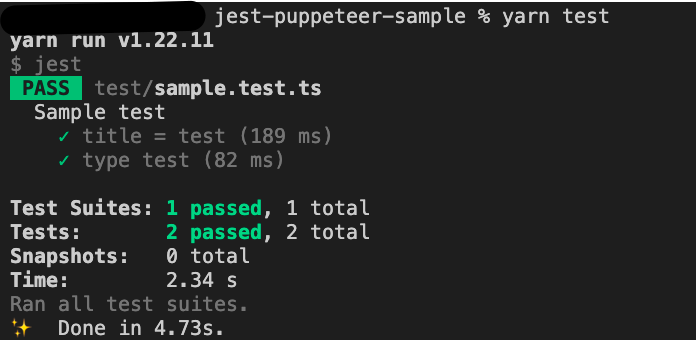
Jest実行結果
yarn test

ソースコード一式
おわりに
- パッケージをインストールをして設定を少しするだけでJest + puppeteer + TypeScriptの環境が簡単に構築出来ました。
- ユニットテストでJestを使っているプロジェクトではこの構成でe2eテストを構築してみてはいかがでしょうか。
関連記事
参考URL
Discussion