🧙♂️
AmplifyでAPI GatewayにCognito Authorizerを設定する
概要
API Gatewayに認証を設定するには以下3つの方法が存在します。
- IAMによるアクセス権限
- Lambda オーソライザー
- Cognito オーソライザー
今回はAmplifyにおけるCognitoオーソライザーを用いた認証設定の方法についてまとめていこうと思います。
手順
amplify add apiを実施
amplify add api
? Select from one of the below mentioned services: REST
✔ Provide a friendly name for your resource to be used as a label for this category in the project: · apiName
✔ Provide a path (e.g., /book/{isbn}): · /apiPath
Only one option for [Choose a Lambda source]. Selecting [Create a new Lambda function].
? Provide an AWS Lambda function name: functionName
? Choose the runtime that you want to use: NodeJS
? Choose the function template that you want to use: Hello World
Available advanced settings:
- Resource access permissions
- Scheduled recurring invocation
- Lambda layers configuration
- Environment variables configuration
- Secret values configuration

? Do you want to configure advanced settings? No
? Do you want to edit the local lambda function now? No
Successfully added resource test locally.

Next steps:
Check out sample function code generated in <project-dir>/amplify/backend/function/functionName/src
"amplify function build" builds all of your functions currently in the project
"amplify mock function <functionName>" runs your function locally
To access AWS resources outside of this Amplify app, edit the <project-dir>/amplify/backend/function/apiName/custom-policies.json
"amplify push" builds all of your local backend resources and provisions them in the cloud
"amplify publish" builds all of your local backend and front-end resources (if you added hosting category) and provisions them in the cloud
✅ Succesfully added the Lambda function locally
✔ Restrict API access? (Y/n) · no
✔ Do you want to add another path? (y/N) · no
✅ Successfully added resource test locally

✅ Some next steps:
"amplify push" will build all your local backend resources and provision it in the cloud
"amplify publish" will build all your local backend and frontend resources (if you have hosting category added) and provision it in the cloud
amplify override api を実施し、override.tsファイルを生成する。
<project-dir>/amplify/backend/api/apiName/override.tsが生成されていることを確認。
override.tsファイルを下記サンプルコードのように書き換える。
🚨 Fn::GetAtt の箇所は、対象の認証リソースの名前を入れる
override.ts
// This file is used to override the REST API resources configuration
import { AmplifyApiRestResourceStackTemplate } from '@aws-amplify/cli-extensibility-helper';
export function override(resources: AmplifyApiRestResourceStackTemplate) {
  // Add our user pool id as a parameter so we can create authorizers with it
  // Note that you have to replace <your auth name here> with the name of your auth!
  // It's the name of the folder in amplify/backend/auth that was created when you
  // added the auth to the project (NOT userPoolGroups). Also make sure you keep
  // the preceding "auth" part of the string before the auth name, it's necessary.
  resources.addCfnParameter(
    {
      type: 'String',
      description:
        'The id of an existing User Pool to connect. If this is changed, a user pool will not be created for you.',
      default: 'NONE',
    },
    'AuthCognitoUserPoolId',
    {
      'Fn::GetAtt': ['authresourcename', 'Outputs.UserPoolId'],
    }
  );

  // create the authorizer using the AuthCognitoUserPoolId parameter defined above
  resources.restApi.addPropertyOverride('Body.securityDefinitions', {
    Cognito: {
      type: 'apiKey',
      name: 'Authorization',
      in: 'header',
      'x-amazon-apigateway-authtype': 'cognito_user_pools',
      'x-amazon-apigateway-authorizer': {
        type: 'cognito_user_pools',
        providerARNs: [
          {
            'Fn::Join': [
              '',
              [
                'arn:aws:cognito-idp:',
                {
                  Ref: 'AWS::Region',
                },
                ':',
                {
                  Ref: 'AWS::AccountId',
                },
                ':userpool/',
                {
                  Ref: 'AuthCognitoUserPoolId',
                },
              ],
            ],
          },
        ],
      },
    },
  });

  // for each path in the rest API, add the authorizer for all methods
  for (const path in resources.restApi.body.paths) {
    // add the Authorization header as a parameter to the rest API for the path
    resources.restApi.addPropertyOverride(
      `Body.paths.${path}.x-amazon-apigateway-any-method.parameters`,
      [
        ...resources.restApi.body.paths[path]['x-amazon-apigateway-any-method']
          .parameters,
        {
          name: 'Authorization',
          in: 'header',
          required: false,
          type: 'string',
        },
      ]
    );
    // set the security method to use our user pool authorizer
    // TODO: do we need to destructure the other security methods as well?
    resources.restApi.addPropertyOverride(
      `Body.paths.${path}.x-amazon-apigateway-any-method.security`,
      [
        {
          Cognito: [],
        },
      ]
    );
  }
}
amplify pushを実施
amplify push完了後、API Gatewayのコンソール画面にて、オーソライザーが作成されていることを確認します。
動作確認
では、実際にフロントエンドからこのAPIを呼び出して動作を確認してみましょう。
Amplify Librariesを使用します。
      // cognitoで生成されるtokenを取得し、header部分にセットする。
      const token =  await Auth.currentSession().getIdToken().getJwtToken()
      const apiName = 'apiName';
      const path = '/apiPath';
      const myInit = {
        headers: {
          Authorization: `Bearer ${token}`,
        },
      };

      return await API.post(apiName, path, myInit);
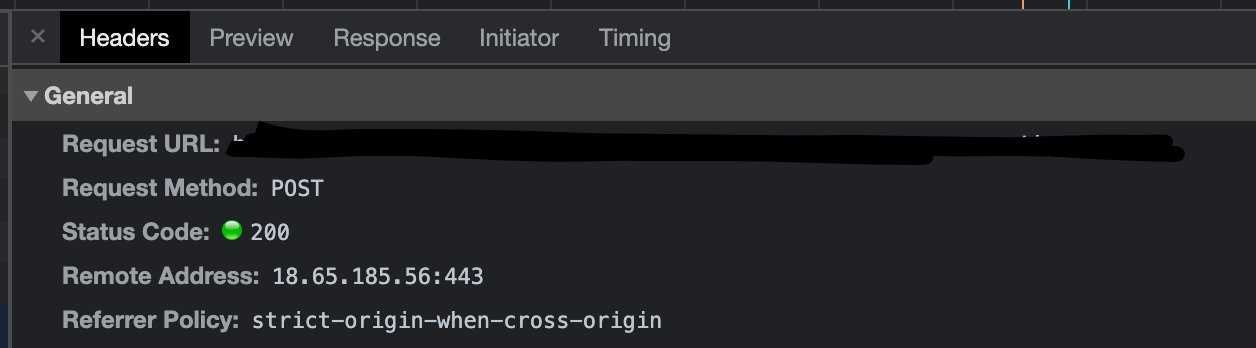
・ 認証(ログイン済み)ユーザーで上記処理実行した場合はステータスコード200が返ってきました。
・ 非認証(非ログイン)ユーザーで上記処理実行した場合はステータスコード401が返ってきました。

認証ユーザーのみAPIを叩くことができるよう制御されました。
参考
Discussion