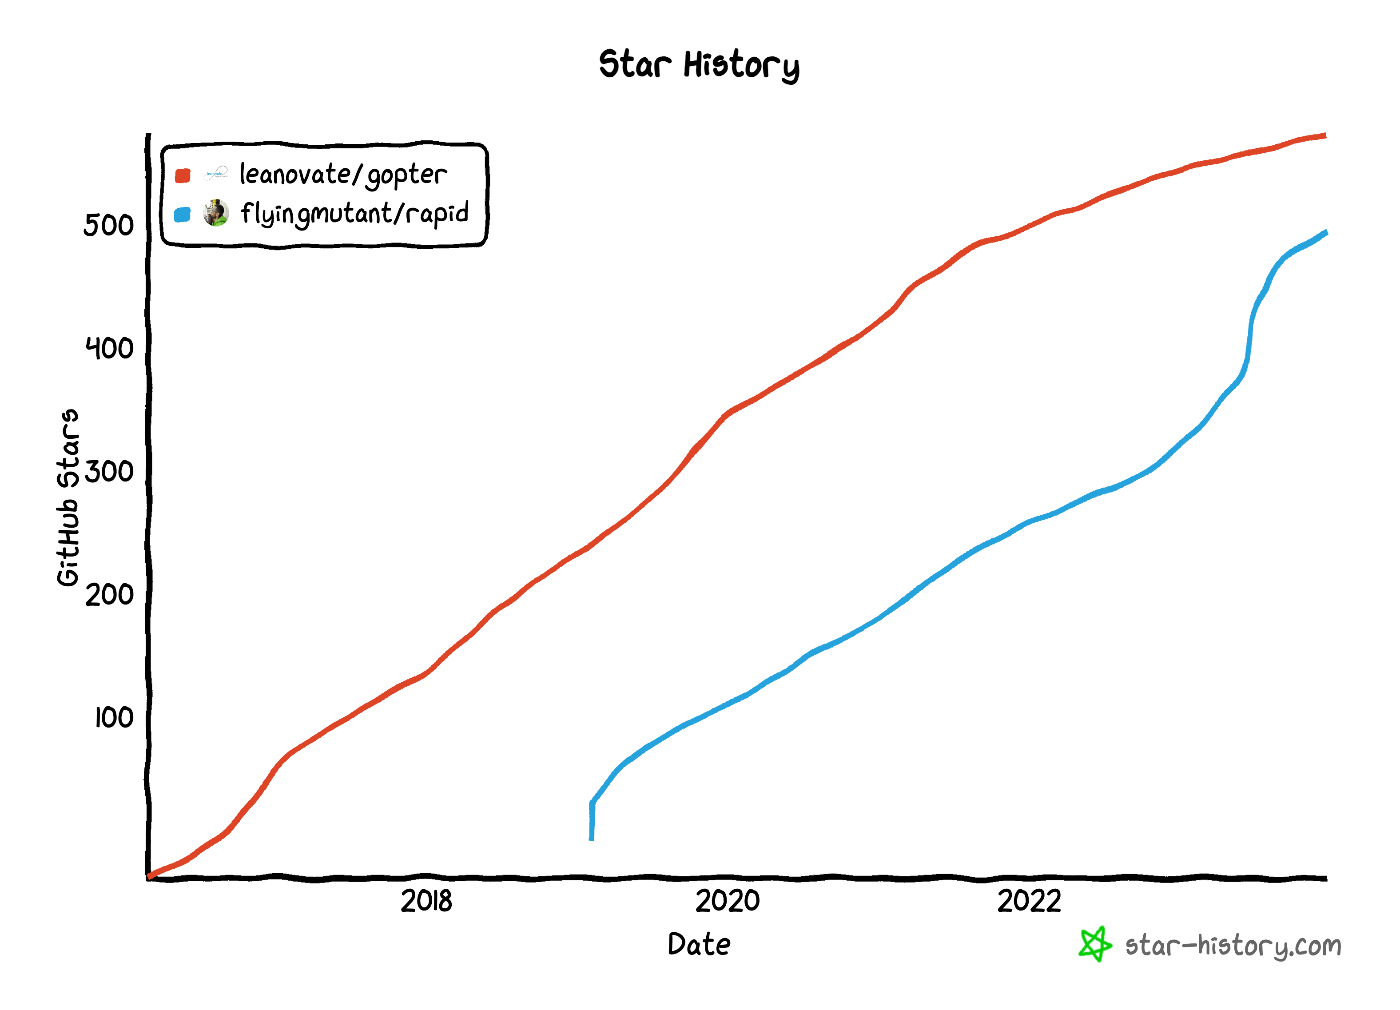
Goでプロパティベーステストを書きたい人のためのgopterとrapidの比較
rapidの方が後発でモダンでシンプルということを推している。

基本的な使い方
どちらもGoで用意されている型のジェネレーターが用意されている。
rapid
rapidの場合、String()やInt()のようなジェネレーター関数が用意されており、これらはrapid.Generator構造体を返す。この構造体はGoのジェネリクスで実装されている。rapid.Generator構造体はExample()が実装されており、以下のように簡単に生成される値を確認することができる。
func TestRapid(t *testing.T) {
	fmt.Println("------- String ---------")
	for i := 0; i < 10; i++ {
		fmt.Println(rapid.String().Example(i))
	}

	fmt.Println("------- Int ---------")
	for i := 0; i < 10; i++ {
		fmt.Println(rapid.Int().Example(i))
	}

	fmt.Println("------- Int(1-10) ---------")
	for i := 0; i < 10; i++ {
		fmt.Println(rapid.IntRange(1, 10).Example(i))
	}

	fmt.Println("------- Slice(Bool) ---------")
	for i := 0; i < 10; i++ {
		fmt.Println(rapid.SliceOf(rapid.Bool()).Example(i))
	}
}
------- String ---------
A�֍
𑨳
A$ᾢ
+^#.[#৲
01ဴ
@
#
'
------- Int ---------
-3
-186981
4
-2
43
-14606682
-86204
6
-1877643
861
------- Int(1-10) ---------
1
5
1
2
1
10
6
3
5
4
------- Slice(Bool) ---------
[true]
[false false false true true]
[true]
[false false true false true false false false true false true]
[]
[true]
[true true]
[false true false false]
[true true]
[]
実際にPBTを書く場合は以下のようにrapid.Check()の中でジェネレーターのDraw()で実際に値を生成して、プロパティを書く。Draw()の第二引数に指定しているのはラベルでテストログで使用される。以下のテストで実行されるケースはデフォルトで100。
func TestRapid(t *testing.T) {
	rapid.Check(t, func(t *rapid.T) {
		str := rapid.String().
			Filter(func(v string) bool { return len([]rune(v)) > 0 }).
			Draw(t, "str")

		if str == "" {
			t.Fatal("expected not empty literal, but empty")
		}
	})
}
go get pgregory.net/rapid
gopter
go get github.com/leanovate/gopter
gopterも基本的なGoの型を生成するジェネレーターが用意されており、Sample()を使用して以下のように簡単に生成する値を確認することができる。rapidとの違いはgopterは生成した値がinterface{}となっているので値を扱うのにキャストする必要があったりするがgopterのほうがジェネレーターの種類が豊富。Time型のジェネレーターがあるのは良い。
func TestGopter(t *testing.T) {
	stringGen := gen.AlphaString()
	timeGen := gen.Time()
	sliceGen := gen.SliceOfN(2, gen.Bool())

	fmt.Println("------ string -------")
	for i := 0; i < 5; i++ {
		str, _ := stringGen.Sample()
		fmt.Println(str)
	}

	fmt.Println("------ time -------")
	for i := 0; i < 5; i++ {
		t, _ := timeGen.Sample()
		fmt.Println(t)
	}

        fmt.Println("------ slice(Bool) -------")
	for i := 0; i < 5; i++ {
		s, _ := sliceGen.Sample()
		fmt.Println(s)
	}
}
------ string -------
kcsygsobwzfrividzqeyegD
Xj
vgvKtuwfmuCqfjmnpwkaamPwkvykyvzrguldtuNswyluyvibtmviswBbcolnotziXdt
taqhkmqxZryedkHuqbNlfvujKwylpzpudnlywAddkfjqnahThXyWGhiyvrvjatkeaupicglsdcgIs

------ time -------
5845-06-14 14:55:40.605595782 +0900 JST
4655-04-11 06:34:30.816573137 +0900 JST
2320-10-12 06:43:53.665961844 +0900 JST
9401-02-21 14:12:43.164492282 +0900 JST
6416-03-03 04:54:23.205822636 +0900 JST
------ slice(Bool) -------
[true false]
[false false]
[true true]
[false true]
[false false]
実際にPBTを書く際には以下のように書ける。
func TestGopter(t *testing.T) {
	properties := gopter.NewProperties(nil)

	properties.Property("default generators", prop.ForAll(
		func(str string) bool {
			return str != ""
		},
		gen.AnyString().SuchThat(func(v interface{}) bool {
			return len([]rune(v.(string))) != 0
		}),
	))

	properties.TestingRun(t)
}
seedについて
rapid
ドキュメントを見た感じではseedをコード上で直接指定する機能はなさそう。しかし、rapidではテストが失敗したときにレポートファイルが保存される。失敗テストを再現するには以下のようにレポートファイルを指定すればいい。
-rapid.failfile="testdata/rapid/TestRapid/TestRapid-20240108002942-85532.fail"
gopter
gopterはseedを直接コード上で指定できる。
# テストが失敗するとseedがログに出力される
failed with initial seed: 1704681296217176000
func TestGopter(t *testing.T) {
	properties := gopter.NewProperties(gopter.DefaultTestParametersWithSeed(1704681296217176000))

	properties.Property("default generators", prop.ForAll(
		func(str string) bool {
			return str == ""
		},
		gen.AnyString().SuchThat(func(v interface{}) bool {
			return len([]rune(v.(string))) != 0
		}),
	))

	properties.TestingRun(t)
}
ステートフルプロパティ
PBTを学ぶとステートレスプロパティとステートフルプロパティの二種類があることを学ぶ。ステートフルプロパティはrapid、gopterともにサポートしている。
rapid
rapidのREADMEに記載のサンプルコードをテストしてみる。テスト対処のコードはこちら。
// Queue implements integer queue with a fixed maximum size.
type Queue struct {
	buf []int
	in  int
	out int
}

func NewQueue(n int) *Queue {
	return &Queue{
		buf: make([]int, n+1),
	}
}

// Precondition: Size() > 0.
func (q *Queue) Get() int {
	i := q.buf[q.out]
	q.out = (q.out + 1) % len(q.buf)
	return i
}

// Precondition: Size() < n.
func (q *Queue) Put(i int) {
	q.buf[q.in] = i
	q.in = (q.in + 1) % len(q.buf)
}

func (q *Queue) Size() int {
	return (q.in - q.out) % len(q.buf)
}
rapidでステートフルプロパティを書くにはrapid.T.Repeat()を使用する。引数にはmap[string]func(*rapid.T)を指定する。keyは名称でvalueは各操作のプロパティを書くことになる。
func testQueue(t *rapid.T) {
	n := rapid.IntRange(1, 1000).Draw(t, "n") // maximum queue size
	q := NewQueue(n)                          // queue being tested
	var state []int                           // model of the queue

	t.Repeat(map[string]func(*rapid.T){
		"get": func(t *rapid.T) {
			if q.Size() == 0 {
				t.Skip("queue empty")
			}

			i := q.Get()
			if i != state[0] {
				t.Fatalf("got invalid value: %v vs expected %v", i, state[0])
			}
			state = state[1:]
		},
		"put": func(t *rapid.T) {
			if q.Size() == n {
				t.Skip("queue full")
			}

			i := rapid.Int().Draw(t, "i")
			q.Put(i)
			state = append(state, i)
		},
		"": func(t *rapid.T) {
			if q.Size() != len(state) {
				t.Fatalf("queue size mismatch: %v vs expected %v", q.Size(), len(state))
			}
		},
	})
}

// Rename to TestQueue(t *testing.T) to make an actual (failing) test.
func ExampleT_Repeat_queue() {
	var t *testing.T
	rapid.Check(t, testQueue)
}
ステートフルプロパティは操作を実行ごとに状態(state)を更新し管理する。このstateを操作前に確認し、実行すべきかテストを飛ばすかを判断する。(事前条件の確認)
if q.Size() == 0 {
	t.Skip("queue empty")
}
操作後に確認するのは事後条件。
if i != state[0] {
	t.Fatalf("got invalid value: %v vs expected %v", i, state[0])
}

最後にstateの更新。

```go
state = state[1:]
switch文のcaseで""で指定している処理は他のcommandの前後で実行される処理。
gopter
上記のQueueのプログラムをgopterでテストしてみる。gopterでステートフルプロパティを書くにはgopter/commnadパッケージを使用する。ステートレスプロパティはprop.ForAll()を使用したがステートフルプロパティの場合、commands.Prop(commands commands.Commands)を指定する。
func TestQueueWithGopter(t *testing.T) {
	properties := gopter.NewProperties(gopter.DefaultTestParameters())

	cmds := &commands.ProtoCommands{
		// テスト対象の作成 ここではQueueを初期stateから作成している
		NewSystemUnderTestFunc: func(initialState commands.State) commands.SystemUnderTest {
			s := initialState.(*cbState)
			q := NewQueue(s.size)
			for e := range s.elements {
				q.Put(e)
			}
			return q
		},
		// 初期stateの作成
		InitialStateGen: gen.IntRange(1, 30).Map(func(size int) *cbState {
			return &cbState{
				size:     size,
				elements: make([]int, 0, size),
			}
		}),
		// コマンドジェネレーターの指定
		GenCommandFunc: func(state commands.State) gopter.Gen {
			return gen.OneGenOf(genGetCommand, genPutCommand)
		},
	}

	properties.Property("queue PBT", commands.Prop(cmds))

	properties.TestingRun(t)
}
&commands.ProtoCommands{}ではテスト対象であるQueue構造体の初期化、初期stateの作成、実行するコマンドの指定をおこなってる。コマンドはQueueのGetとPutでそれぞれ中身は以下のように定義できる。
genGetCommand
var genGetCommand = gen.Const(&commands.ProtoCommand{
	Name: "Get",
	RunFunc: func(q commands.SystemUnderTest) commands.Result {
		return q.(*Queue).Get()
	},
	NextStateFunc: func(state commands.State) commands.State {
		state.(*cbState).TakeFront()
		return state
	},
	// The implementation implicitly assumes that Get is never called on an
	// empty Queue, therefore the command requires a corresponding pre-condition
	PreConditionFunc: func(state commands.State) bool {
		return len(state.(*cbState).elements) > 0
	},
	PostConditionFunc: func(state commands.State, result commands.Result) *gopter.PropResult {
		if result.(int) != state.(*cbState).takenElement {
			return &gopter.PropResult{Status: gopter.PropFalse}
		}
		return &gopter.PropResult{Status: gopter.PropTrue}
	},
})
genPutCommand
type putCommand int

func (value putCommand) Run(q commands.SystemUnderTest) commands.Result {
	return q.(*Queue).Put(int(value))
}

func (value putCommand) NextState(state commands.State) commands.State {
	state.(*cbState).PushBack(int(value))
	return state
}

// The implementation implicitly assumes that that Put is never called if
// the capacity is exhausted, therefore the command requires a corresponding
// pre-condition.
func (putCommand) PreCondition(state commands.State) bool {
	s := state.(*cbState)
	return len(s.elements) < s.size
}

func (putCommand) PostCondition(state commands.State, result commands.Result) *gopter.PropResult {
	st := state.(*cbState)
	if result.(int) != st.elements[len(st.elements)-1] {
		return &gopter.PropResult{Status: gopter.PropFalse}
	}
	return &gopter.PropResult{Status: gopter.PropTrue}
}

func (value putCommand) String() string {
	return fmt.Sprintf("Put(%d)", value)
}

// We want to have a generator for put commands for arbitrary int values.
// In this case the command is actually shrinkable, e.g. if the property fails
// by putting a 1000, it might already fail for a 500 as well ...
var genPutCommand = gen.Int().Map(func(value int) commands.Command {
	return putCommand(value)
}).WithShrinker(func(v interface{}) gopter.Shrink {
	return gen.IntShrinker(int(v.(putCommand))).Map(func(value int) putCommand {
		return putCommand(value)
	})
})
commandはGetのようにcommands.ProtoCommand{}で作成もできるし、Putの例のようにcommands.Commandインターフェースを満たすカスタム型を作成して指定することもできる。
まとめ
- gopterはいたるところで
interface{}が登場するのでキャストが必要になるときが多い。 - rapidはジェネリクスで実装されているため型の恩恵をgopterより受けている。
- デフォルトジェネレーターの機能はrapidもgopterも同じような感じで用意されている。
- ただ、gopterのほうがジェネレーターは豊富。TimeジェネレーターやFrequency(確率ジェネレーター)がある。
- 縮小の設定などgopterのほうがカスタマイズ性は高い。
- ステートフルプロパティの書き方はgopterの方がフレームワーク感があって、どこに何を書くのかがわかりやすく、書き方もいろいろできそうだが記述量は多くなりそう。
- rapidはシンプルだがstateや事前、事後処理など全て自分で考えて実装する必要があり、PBTへの理解が求められそう。
結論
ライトに導入するなら型安全でシンプルなrapidの方がよさげ。本格的にPBTを導入していくことを考えてるならgopterの方が機能豊富で安心かも。関数型から来た人はたぶんQuickcheck由来?の用語が多いのでgopterの方が使いやすいかも。