🗾
SwiftUIでMapkitを使ってpinを立てるのと拡大・縮小をやってみる
読んでほしい人
- Mapkitを使ってpinを立ててみたい
- Mapの拡大・縮小をやってみたい
補足情報
公式のコードとか参考にしてるのですが、Mapの書き方が()なのか{}なのかで、出てくるエラーが違いますね。パラメーターを渡せと言われます。今回は動くコードを作れたので、メモ程度の記事です。
記事の内容
このコードでは、IdentifiablePointAnnotationという新しい構造体を作成しています。これはIdentifiableプロトコルに準拠し、MKPointAnnotationを内部に保持します。これにより、MapビューのannotationItemsとして使用できます。
struct IdentifiablePointAnnotation: Identifiable {
    let id = UUID()
    let annotation: MKPointAnnotation
}
マップの拡大と縮小を行うためには、MKCoordinateSpanの値を変更することで実現できます。以下に、拡大と縮小ボタンを追加したコードを示します:
// + ボタンは、地図を拡大します。
                    Button(action: {
                        let span = MKCoordinateSpan(latitudeDelta: region.span.latitudeDelta / 2.0, longitudeDelta: region.span.longitudeDelta / 2.0)
                        region.span = span
                    }) {
                        Text("+")
                    }
                    .padding()
                    .background(Color.black.opacity(0.75))
                    .foregroundColor(.white)
                    .font(.title)
                    .clipShape(Circle())
                    .padding(.trailing)
                    // - ボタンは、地図を縮小します。
                    Button(action: {
                        let span = MKCoordinateSpan(latitudeDelta: region.span.latitudeDelta * 2.0, longitudeDelta: region.span.longitudeDelta * 2.0)
                        region.span = span
                    }) {
                        Text("-")
                    }
                    .padding()
                    .background(Color.black.opacity(0.75))
                    .foregroundColor(.white)
                    .font(.title)
                    .clipShape(Circle())
                    .padding(.trailing)
まず、MKPointAnnotationの配列を作成し、それを@Stateプロパティとして保持します。次に、onTapGestureを使用してタップイベントを取得し、新しいピンを作成して配列に追加します。
こちらが全体のコード
import SwiftUI
import MapKit

// このプロトコルは、IdentifiablePointAnnotation の id プロパティを提供します。
struct IdentifiablePointAnnotation: Identifiable {
    let id = UUID()
    let annotation: MKPointAnnotation
}

struct ContentView: View {
    // region は、地図の表示範囲を定義します。場所は東京です。
    @State private var region = MKCoordinateRegion(
        center: CLLocationCoordinate2D(latitude: 35.6895, longitude: 139.6917),
        span: MKCoordinateSpan(latitudeDelta: 0.5, longitudeDelta: 0.5)
    )
    // locations は、地図上のピンの位置を保持します。
    @State private var locations = [IdentifiablePointAnnotation]()

    var body: some View {
        ZStack {
            // Map は、地図を表示します。
            Map(coordinateRegion: $region, annotationItems: locations) { location in
                MapPin(coordinate: location.annotation.coordinate)
            }
            // onTapGesture は、地図をタップしたときに呼び出されます。
            .onTapGesture {
                let coordinate = region.center
                let newLocation = MKPointAnnotation()
                newLocation.coordinate = coordinate
                self.locations.append(IdentifiablePointAnnotation(annotation: newLocation))
            }

            VStack {
                Spacer()
                HStack {
                    // + ボタンは、地図を拡大します。
                    Button(action: {
                        let span = MKCoordinateSpan(latitudeDelta: region.span.latitudeDelta / 2.0, longitudeDelta: region.span.longitudeDelta / 2.0)
                        region.span = span
                    }) {
                        Text("+")
                    }
                    .padding()
                    .background(Color.black.opacity(0.75))
                    .foregroundColor(.white)
                    .font(.title)
                    .clipShape(Circle())
                    .padding(.trailing)
                    // - ボタンは、地図を縮小します。
                    Button(action: {
                        let span = MKCoordinateSpan(latitudeDelta: region.span.latitudeDelta * 2.0, longitudeDelta: region.span.longitudeDelta * 2.0)
                        region.span = span
                    }) {
                        Text("-")
                    }
                    .padding()
                    .background(Color.black.opacity(0.75))
                    .foregroundColor(.white)
                    .font(.title)
                    .clipShape(Circle())
                    .padding(.trailing)
                }
            }
        }
    }
}

struct ContentView_Previews: PreviewProvider {
    static var previews: some View {
        ContentView()
    }
}
このコードは、ユーザーがマップをタップするたびに新しいピンを作成し、それをlocations配列に追加します。そして、マップはその配列のすべてのピンを表示します。
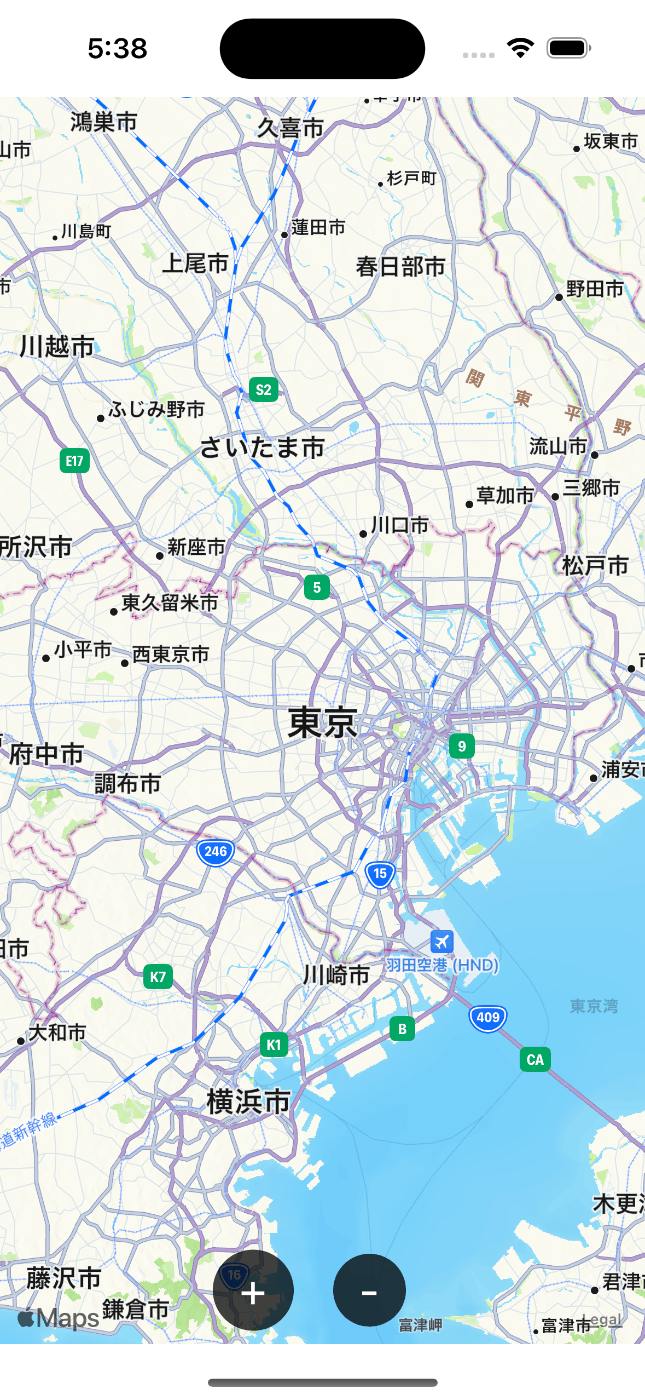
地図を表示:
- を押して拡大:

- を押して縮小:

最後に
動画のチュートリアルをやってみたりするのですが、ソースコードが新しいのか古いのかMap書いたあたりからうまくいかないです?
早く仕組みを理解していい感じの地図アプリを作ってみたいです。
Discussion