Cloud Functionsに入門してみた!
従量課金だから怖くて今まで手をつけてなかった😅
業務で、Cloud Functionsを覚えなくてはならなくなり、まずはチュートリアルをやってみる。
Flutterエンジニアだけど、ロジックを作るには、JavaScriptで書かないといけませんので、今回はFlutterじゃなくて、JavaScriptのお勉強していきましょう!
必要な技術: Node.js
HTTPの知識(Webの知識といった方がいいかも?)
Node.jsって何か?
サーバーサイドで動くJavaScriptと思ってたけど、言語じゃなくて実行環境なるものらしい🤔
公式ドキュメント
私、Flutterエンジニアなのですが、他のプログラミング言語を勉強していたことがあるので、実務経験はないですが、学習コストを下げることはできましたね。
色んな技術に手を出しておいてよかった😅
では一緒にお勉強していきましょう!
公式ドキュメントを参考に進めていきます🧑🏼🎓
その前にFirebaseの設定をしないとですね。
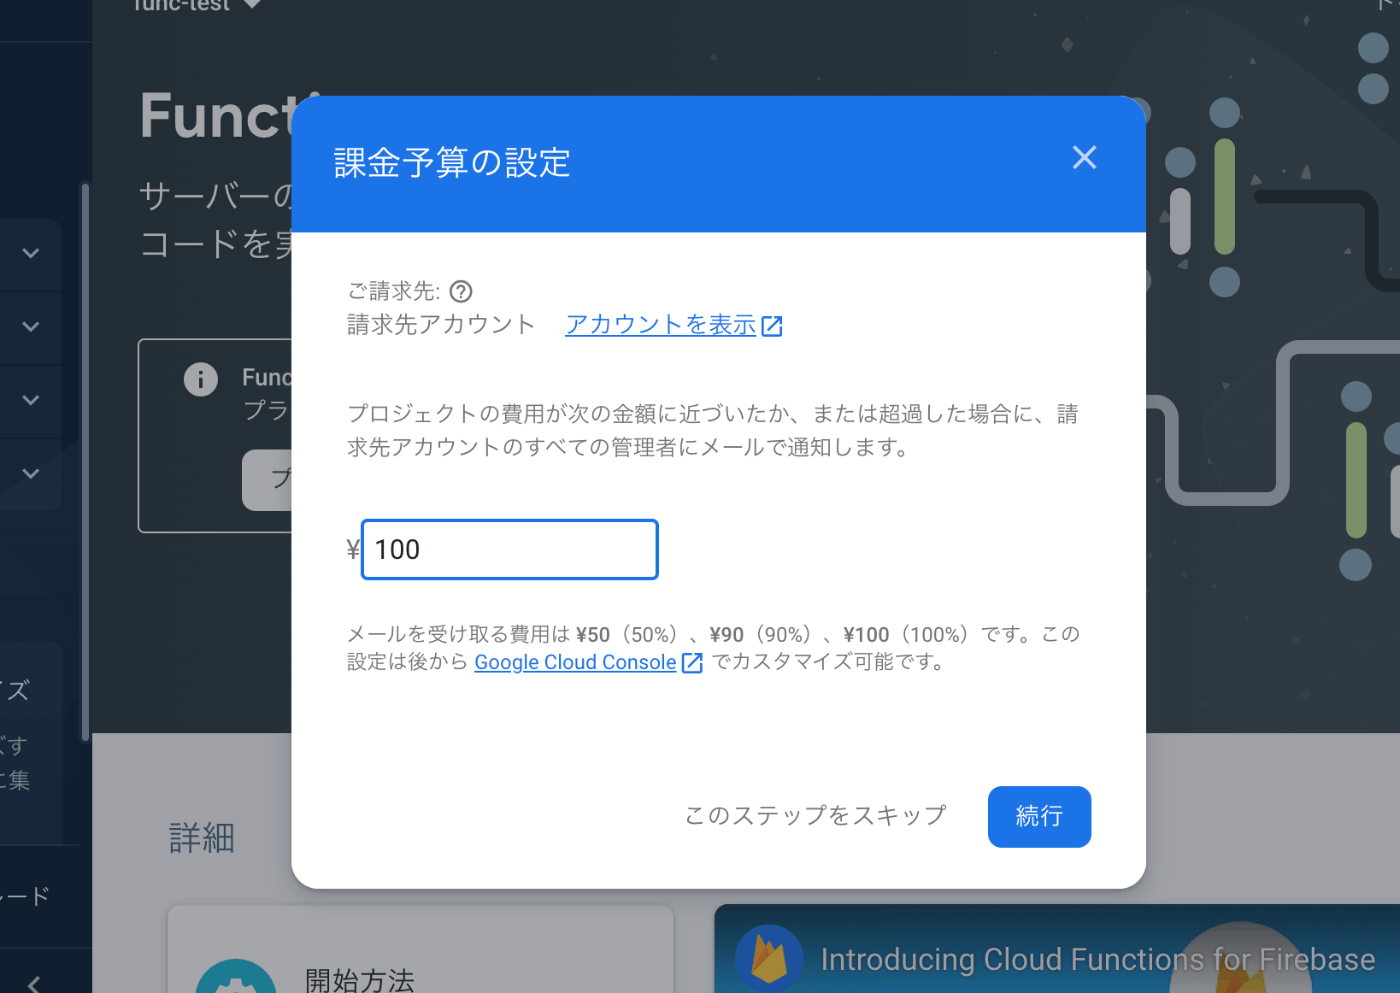
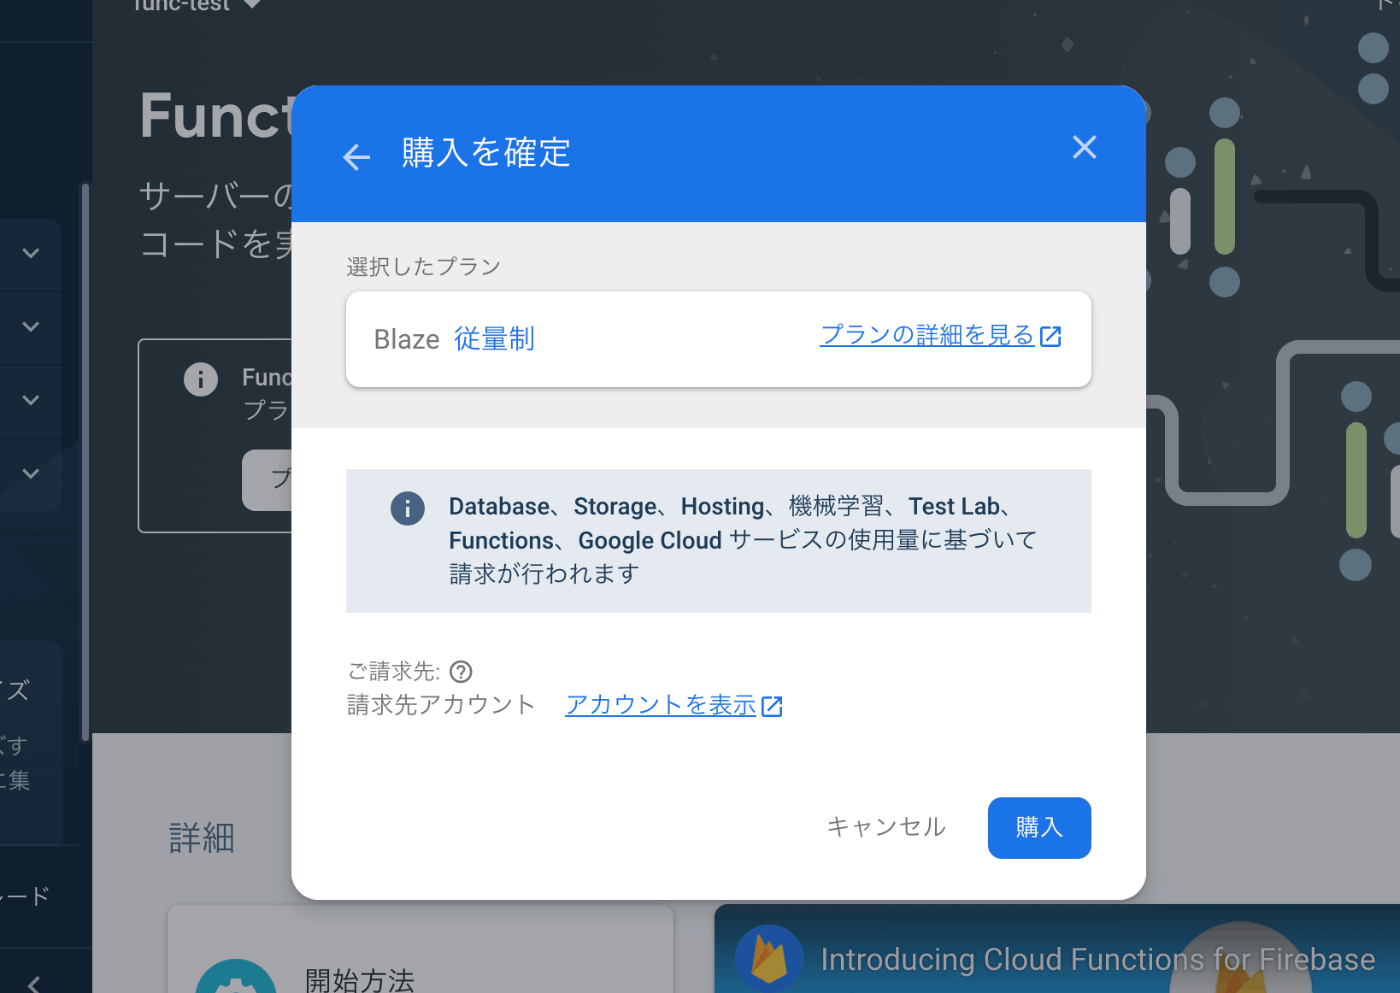
有料のプランへ変更が必要です😱
GCPへの登録が必要なので済ませておいてください
こちらで、クレジットカード情報の登録が必要ですね
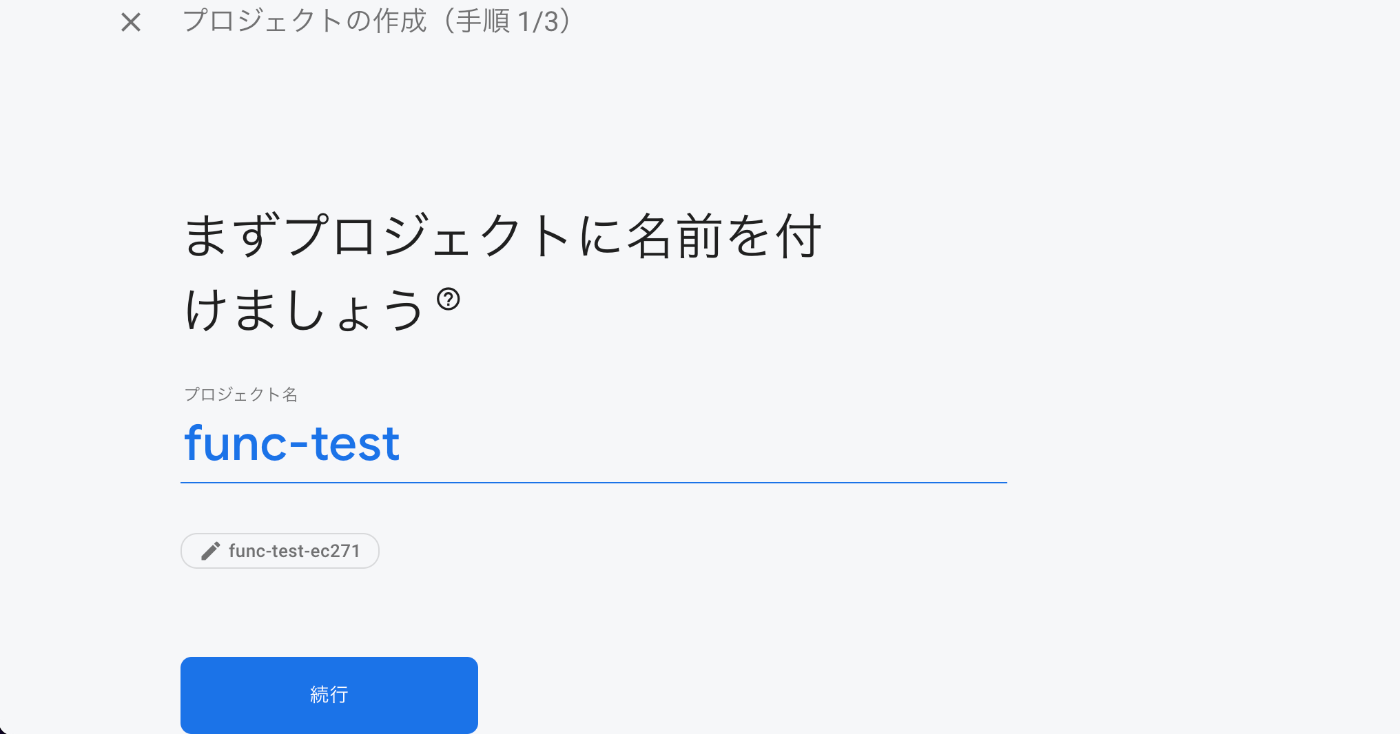
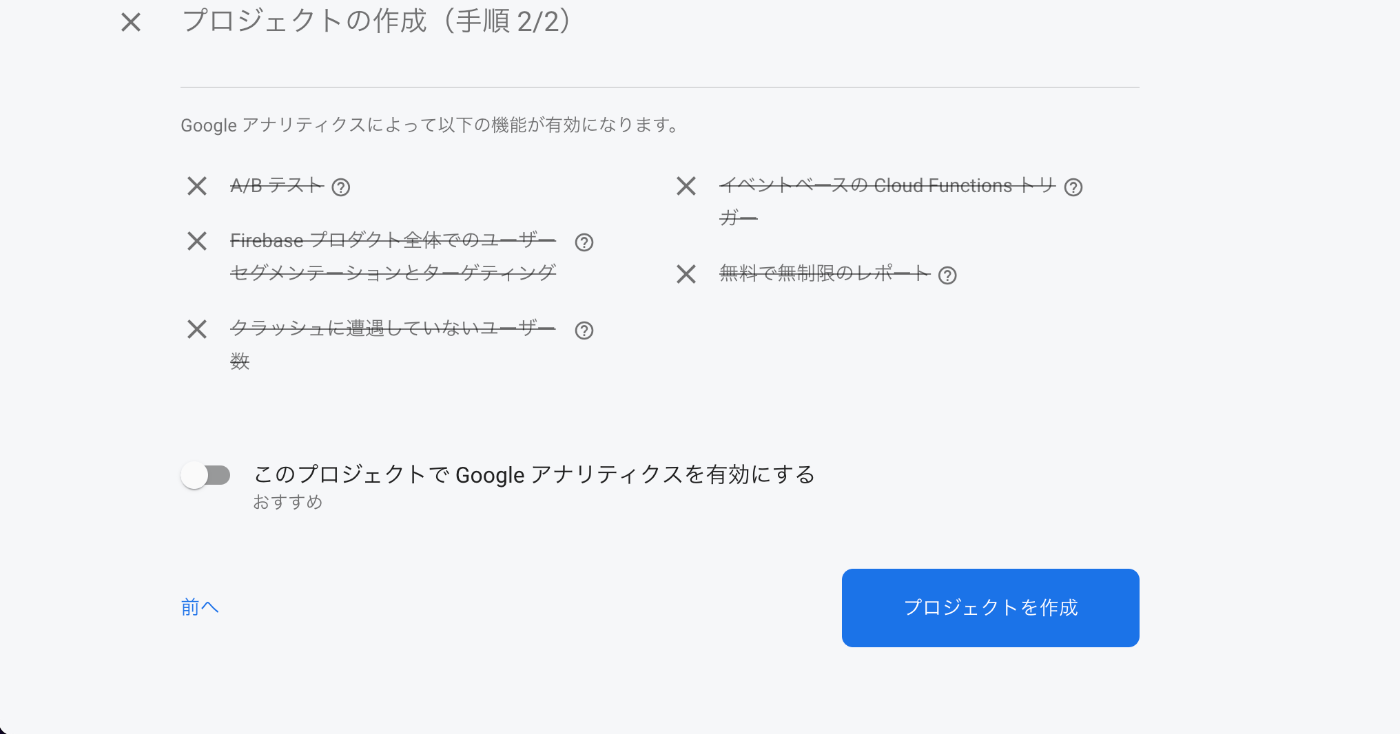
Firebaseでプロジェクトを作る
Google Analyticsはいらないので、OFFにします
しばらく待ちましょう⏰
FireStoreの設定をする

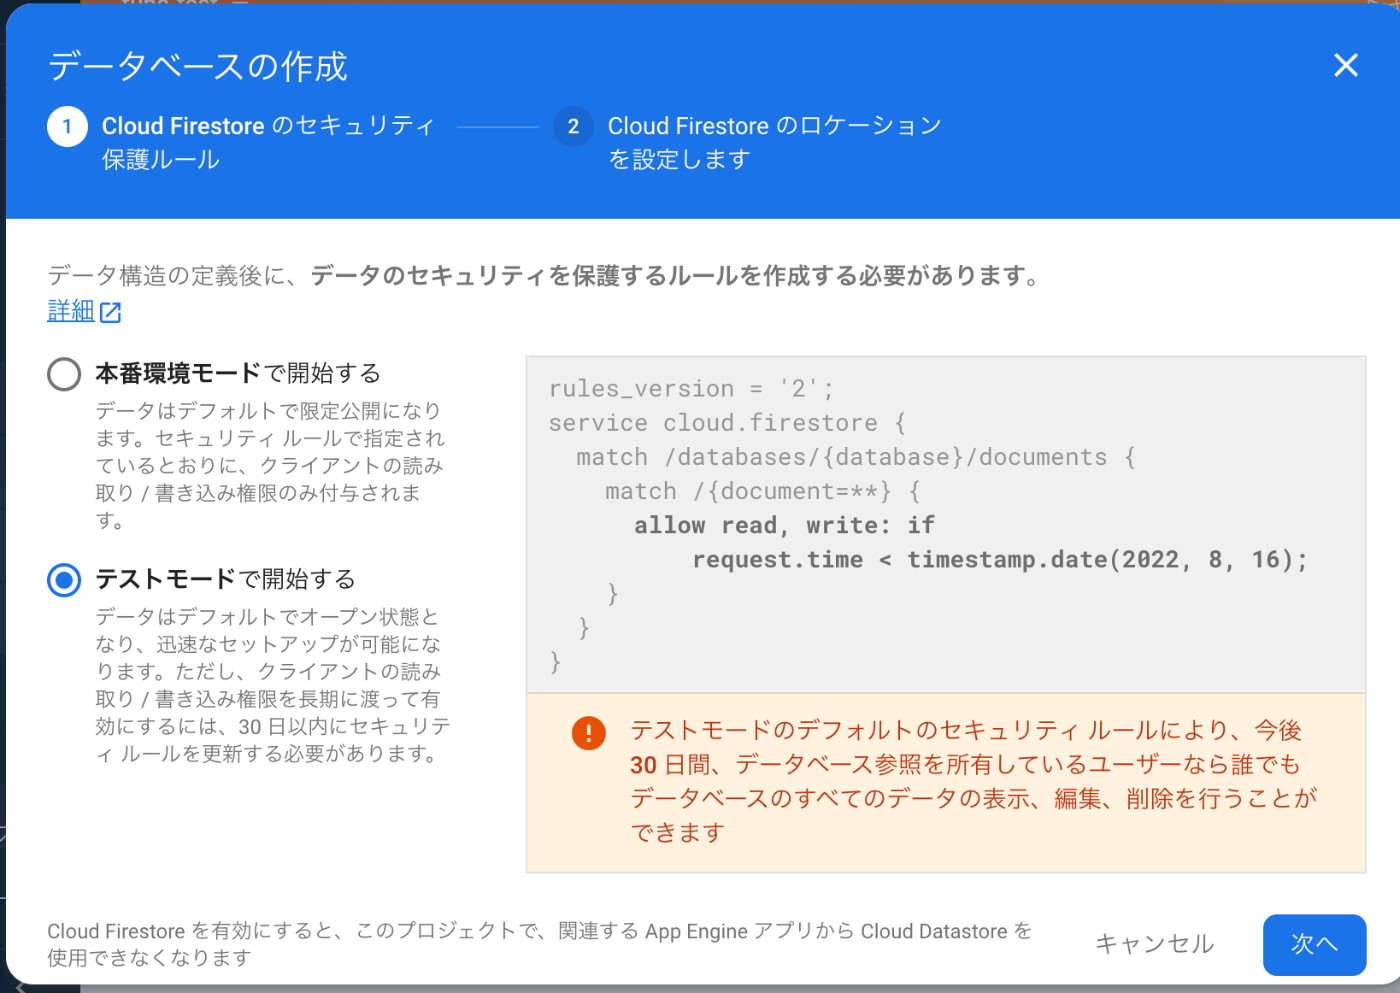
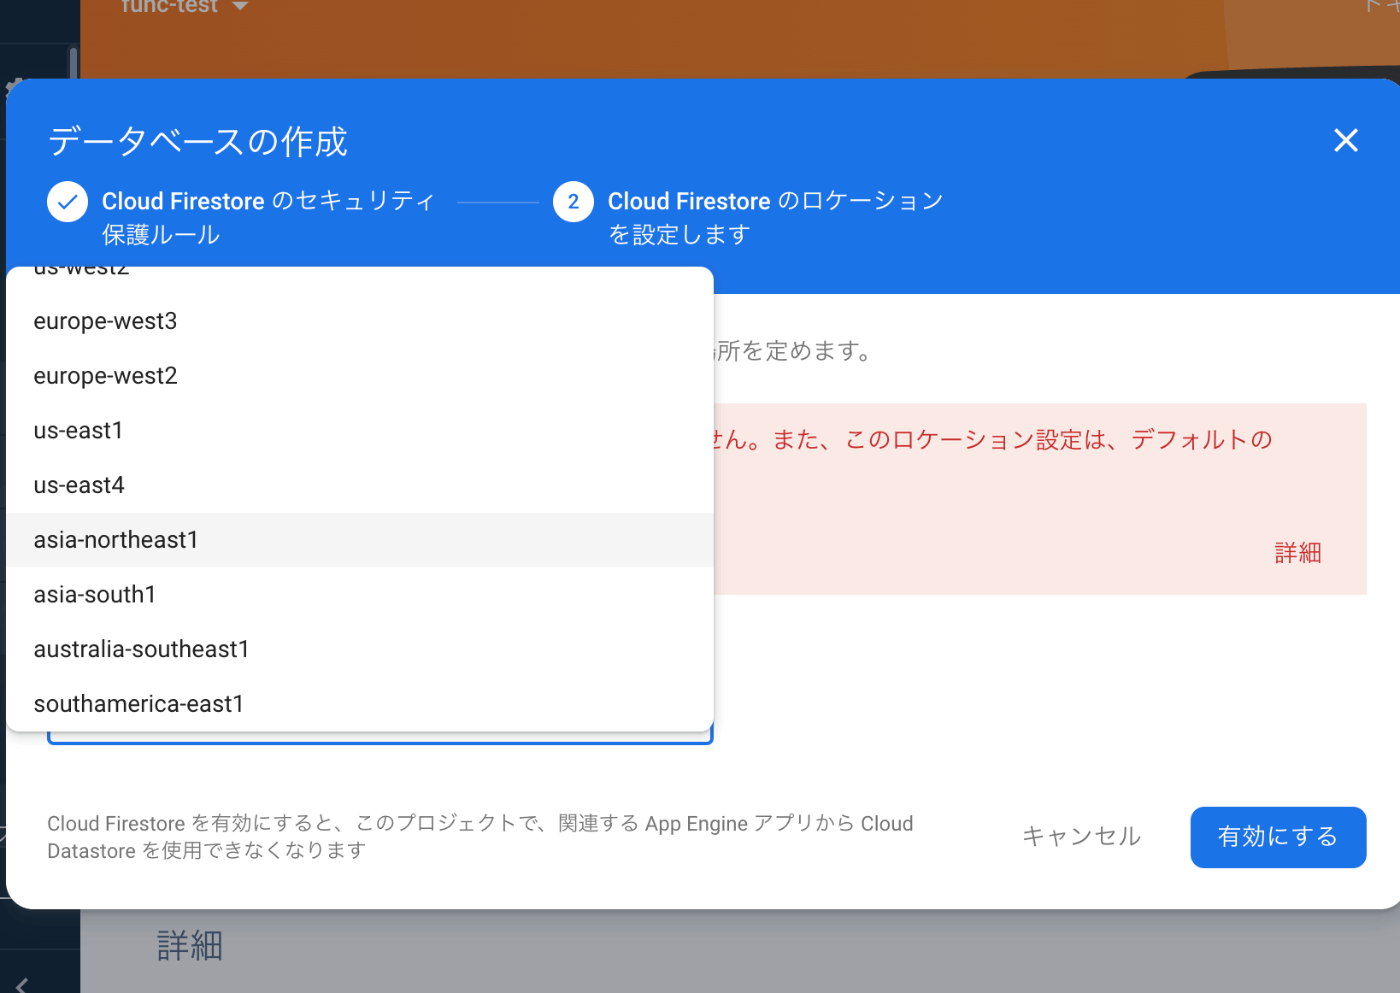
今回こちらは使わないんですけどね😅
保存されるのは、エミュレーターで確認する方の画面ですね。
Cloud Functionsの設定をする
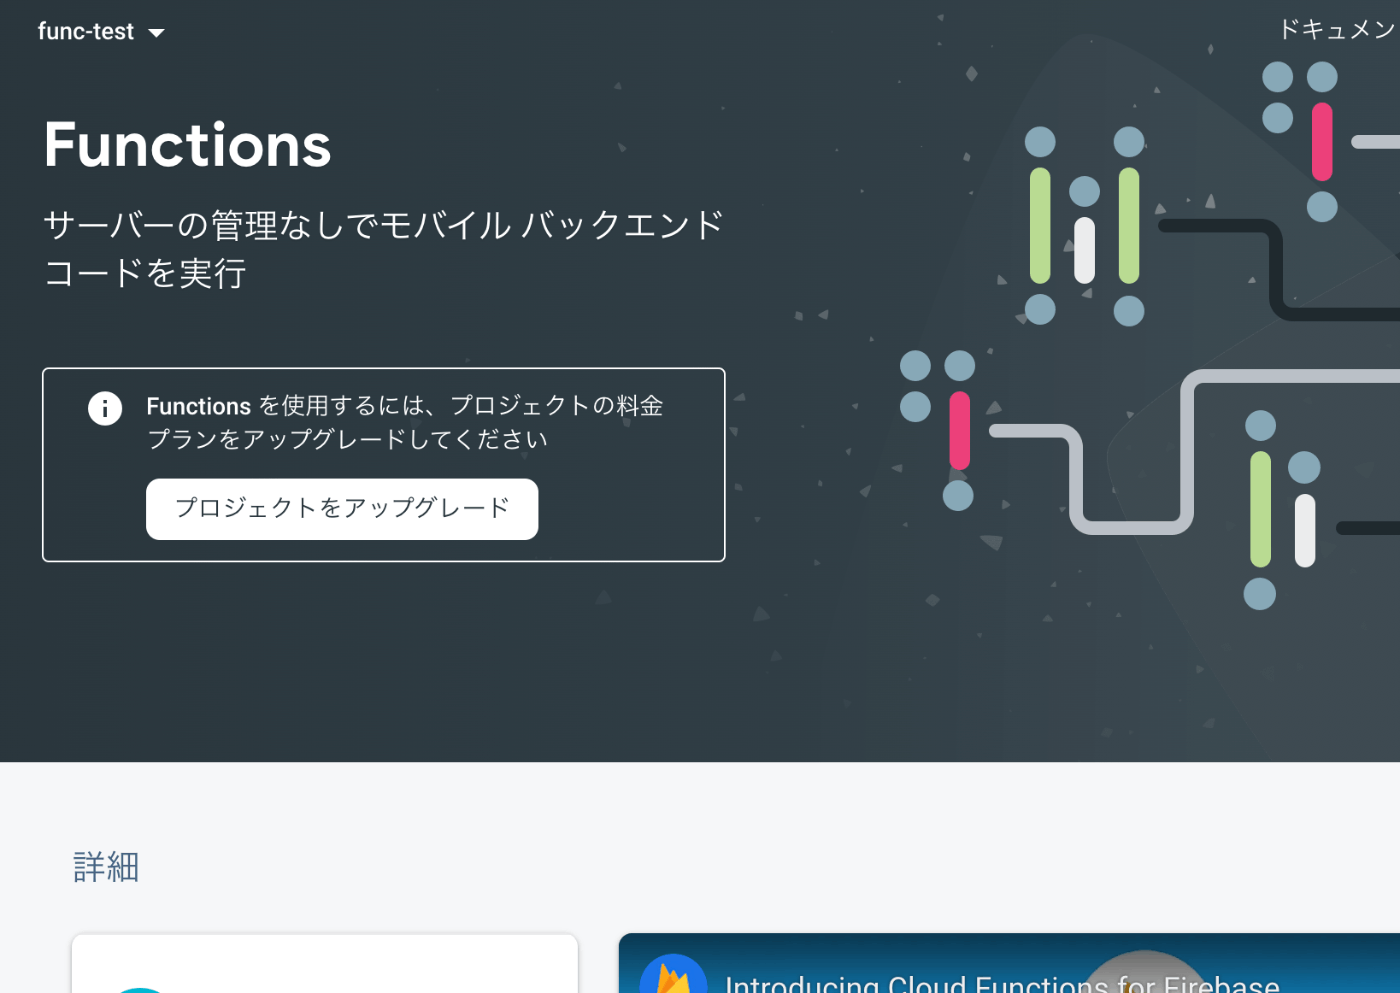
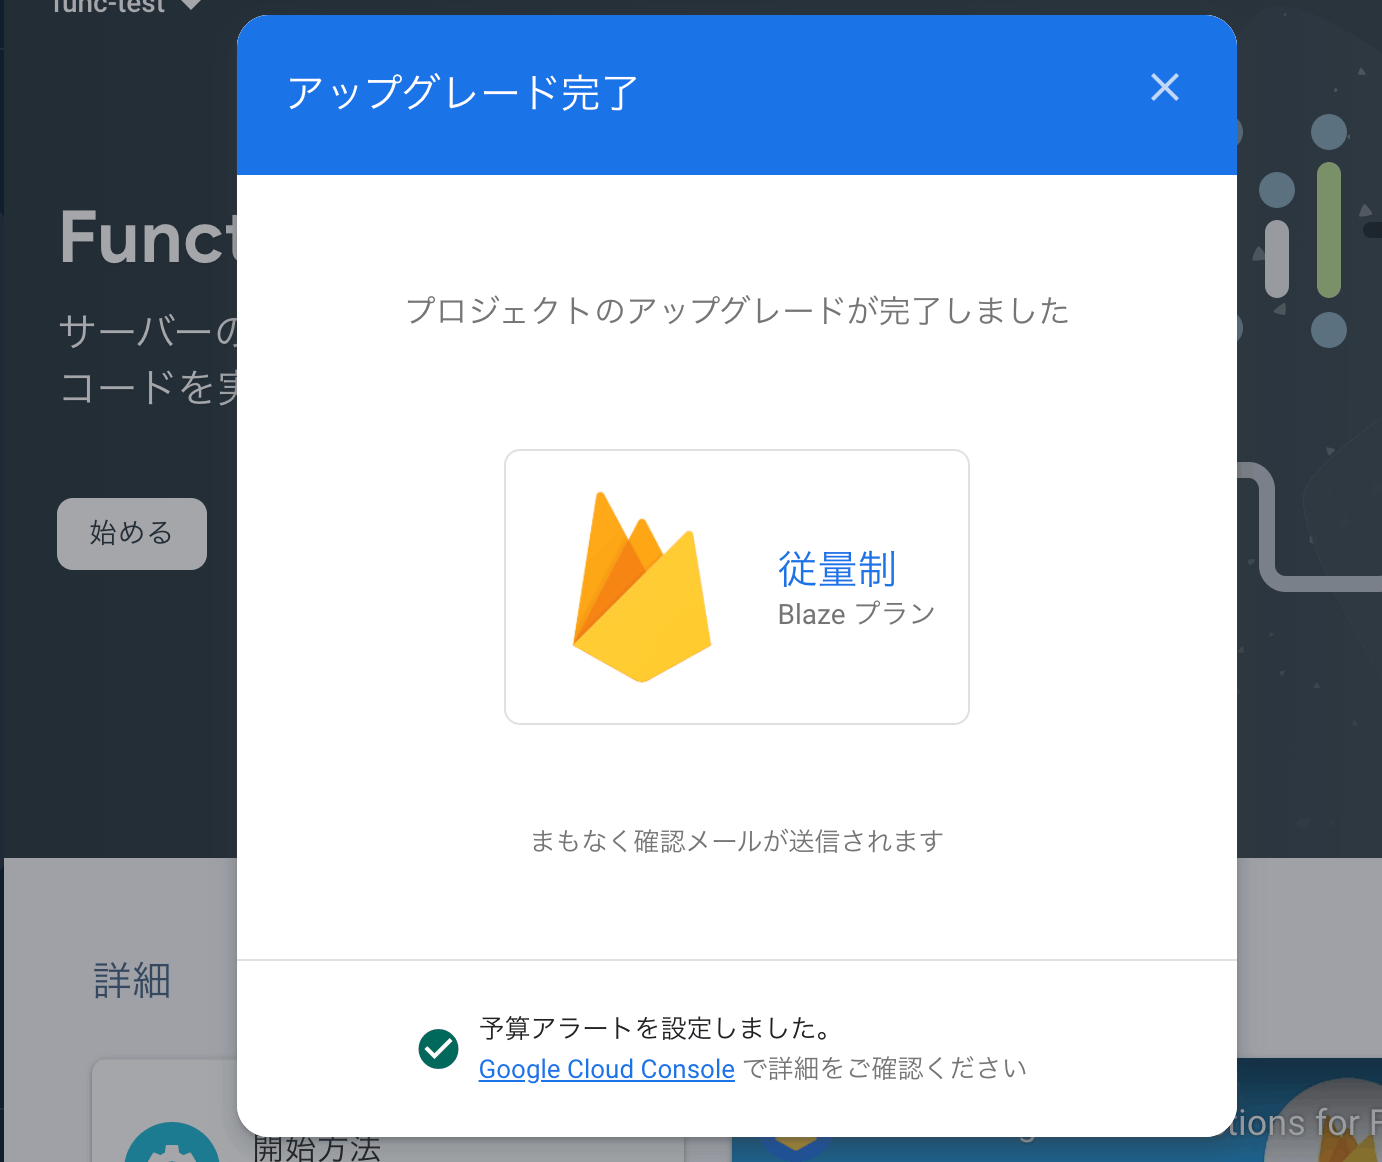
設定したら、はじめるを押してこちらの画面を表示しておく

自分のPCに実行環境を作る
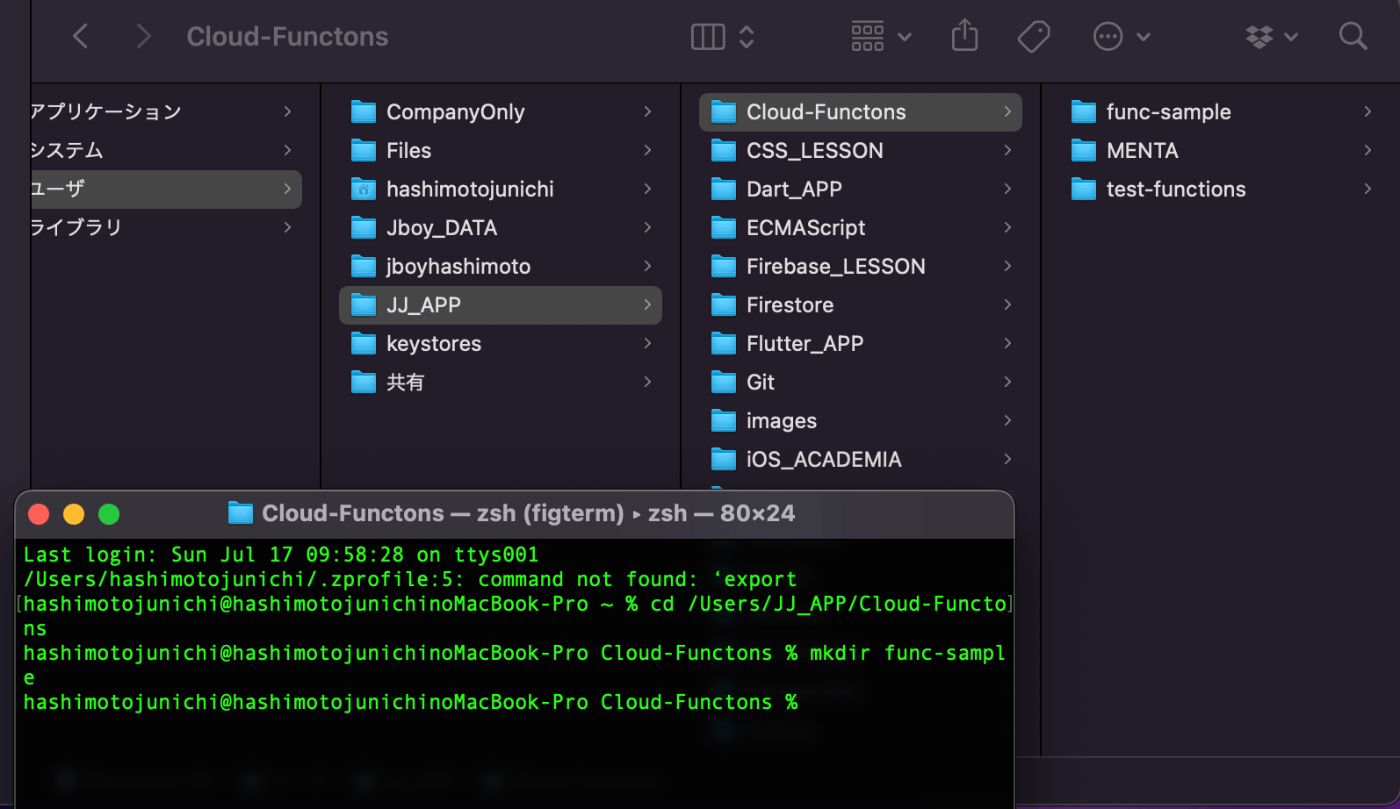
好きな場所にテスト用のフォルダを作りその中で、コマンドを実行して雛形のプロジェクトを作成しましょう。
公式のドキュメント通りに進めれば環境構築できるはずです。最初はエラーにハマるかもしれませんが、頑張ってください😇
ターミナルを開いて、テスト用フォルダへ移動してコマンドを実行していくだけ🧑💻
Firebase CLIが必要なのでインストールしておいてください!
最新のドキュメントを参考にしてください🙇♂️
環境構築
npm install -g firebase-tools
環境構築が済んだら、テスト用のフォルダで、コマンドを実行します。
firebase login
初めての方は、Googleアカウントにログインする画面が表示されると思いますので、許可をする設定をしてください。
まずこのコマンド実行する
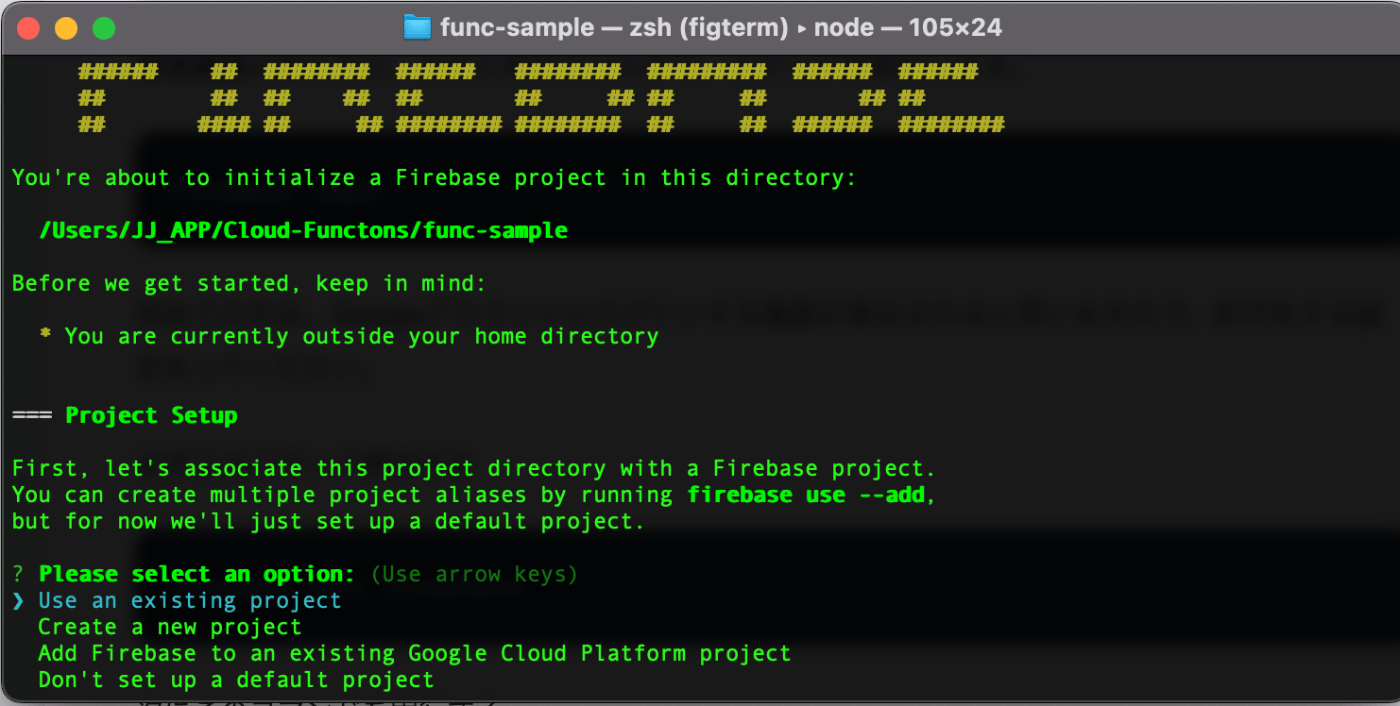
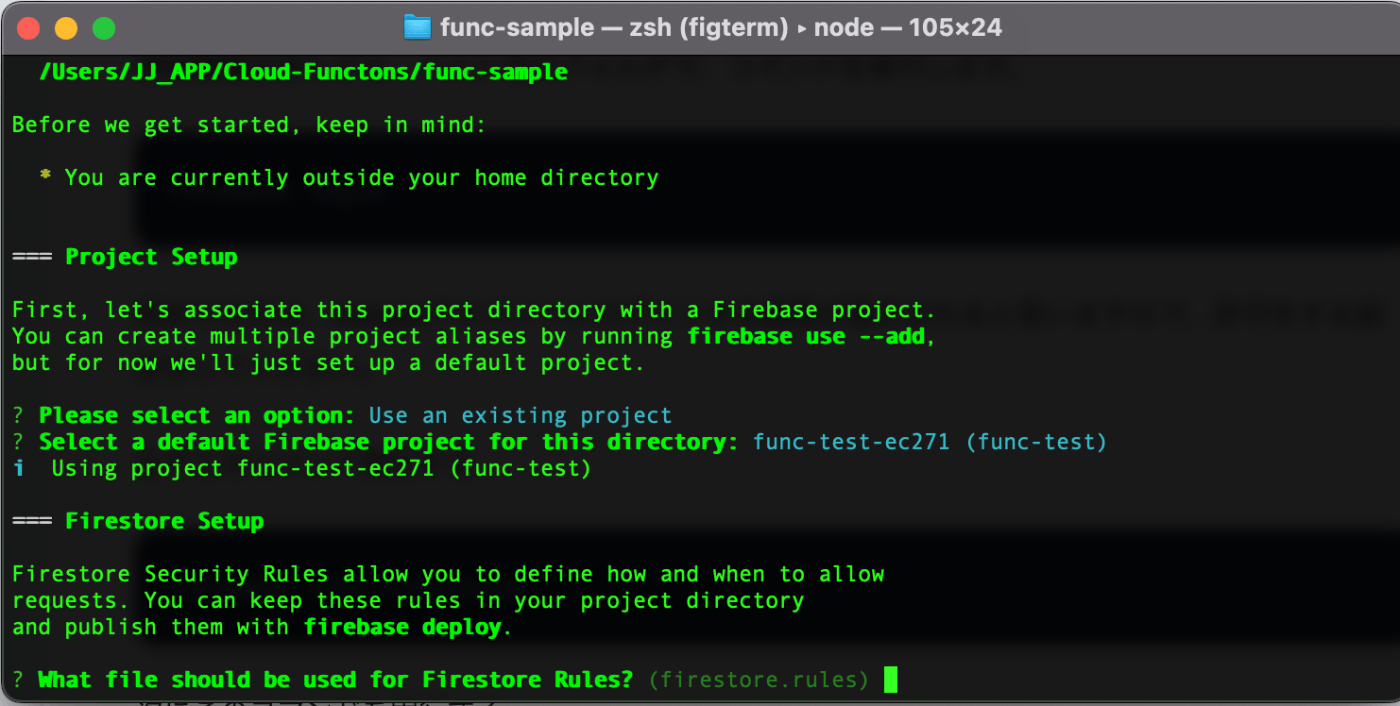
firebase init firestore
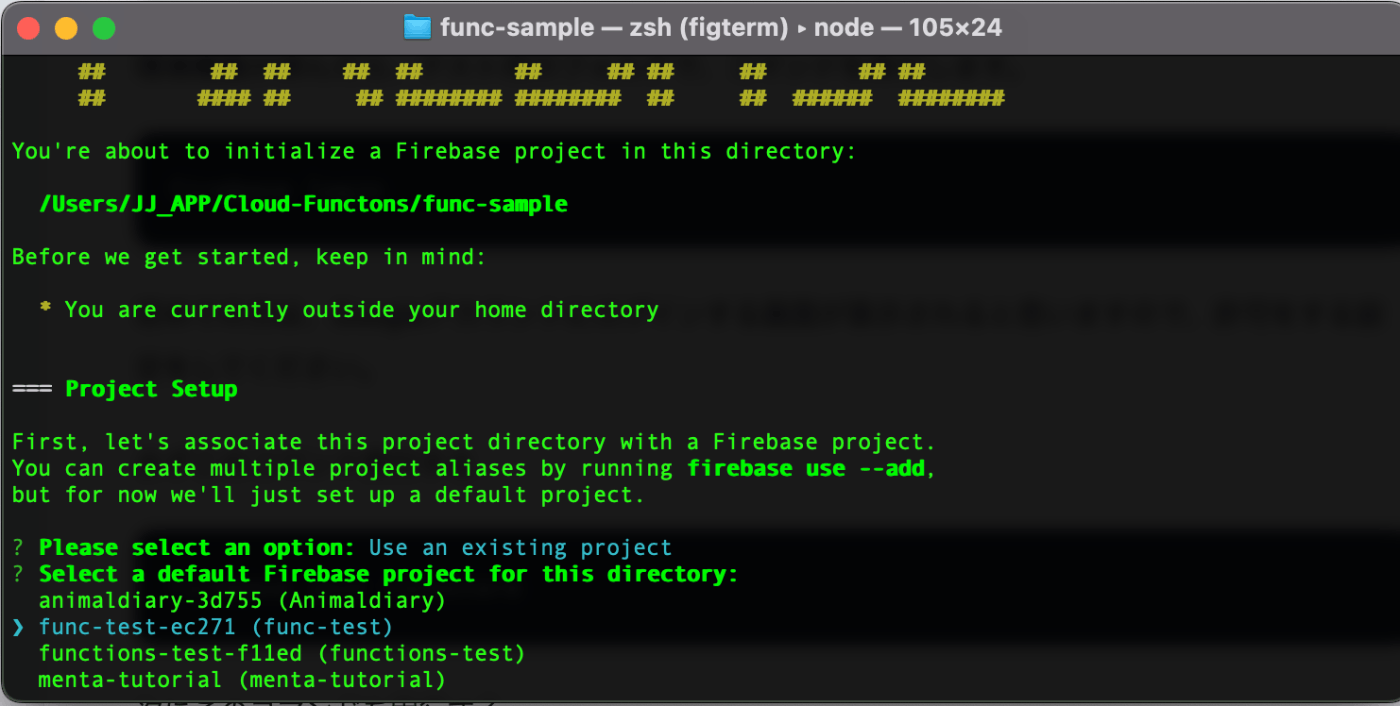
- Use an existing projectを選択する
- 先ほど作成したFirebaseのプロジェクトを選択する
- 後はエンターを押してくだけ!

次にこのコマンドを実行する
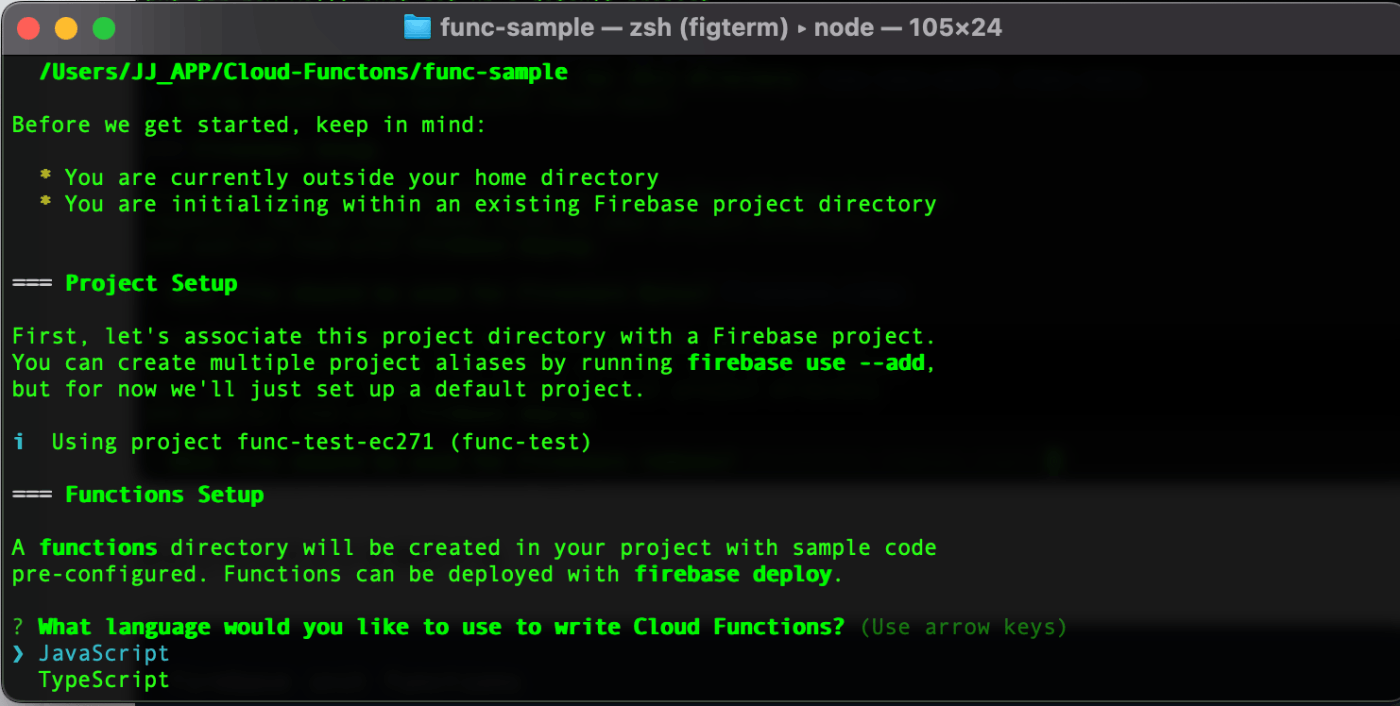
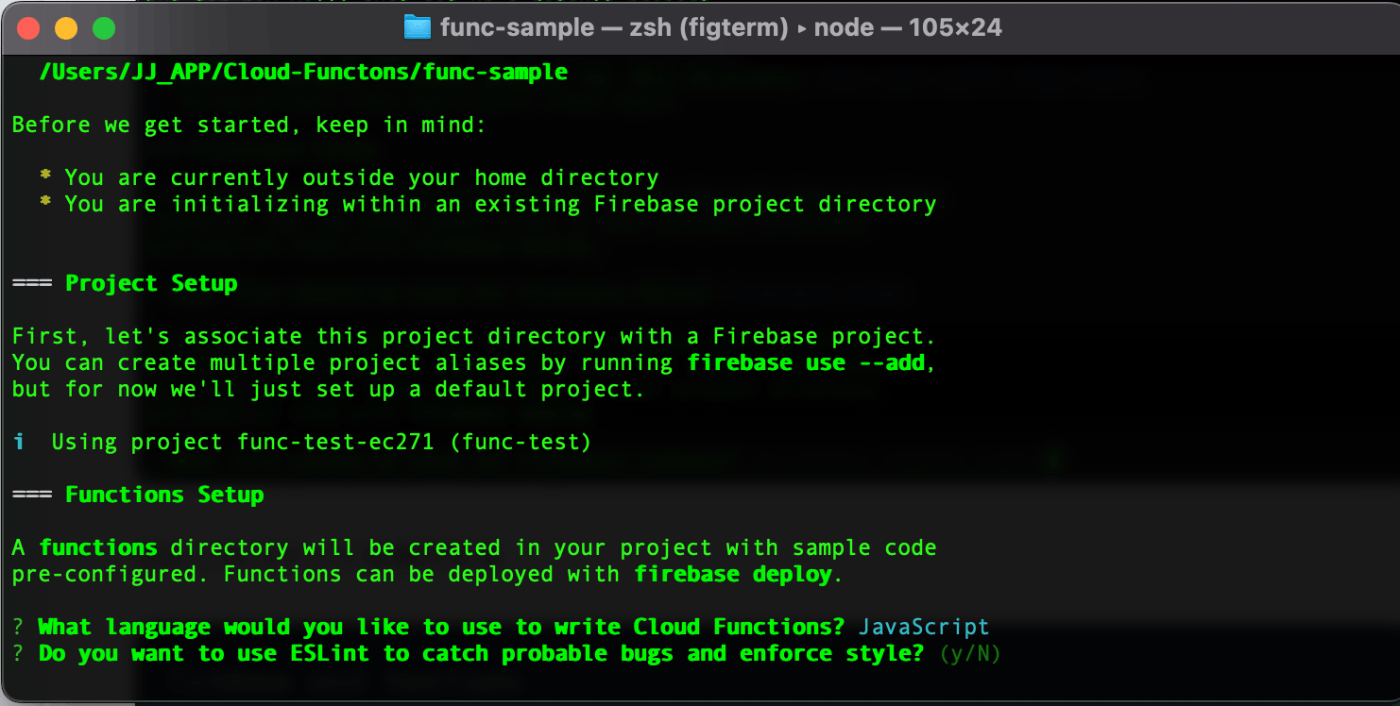
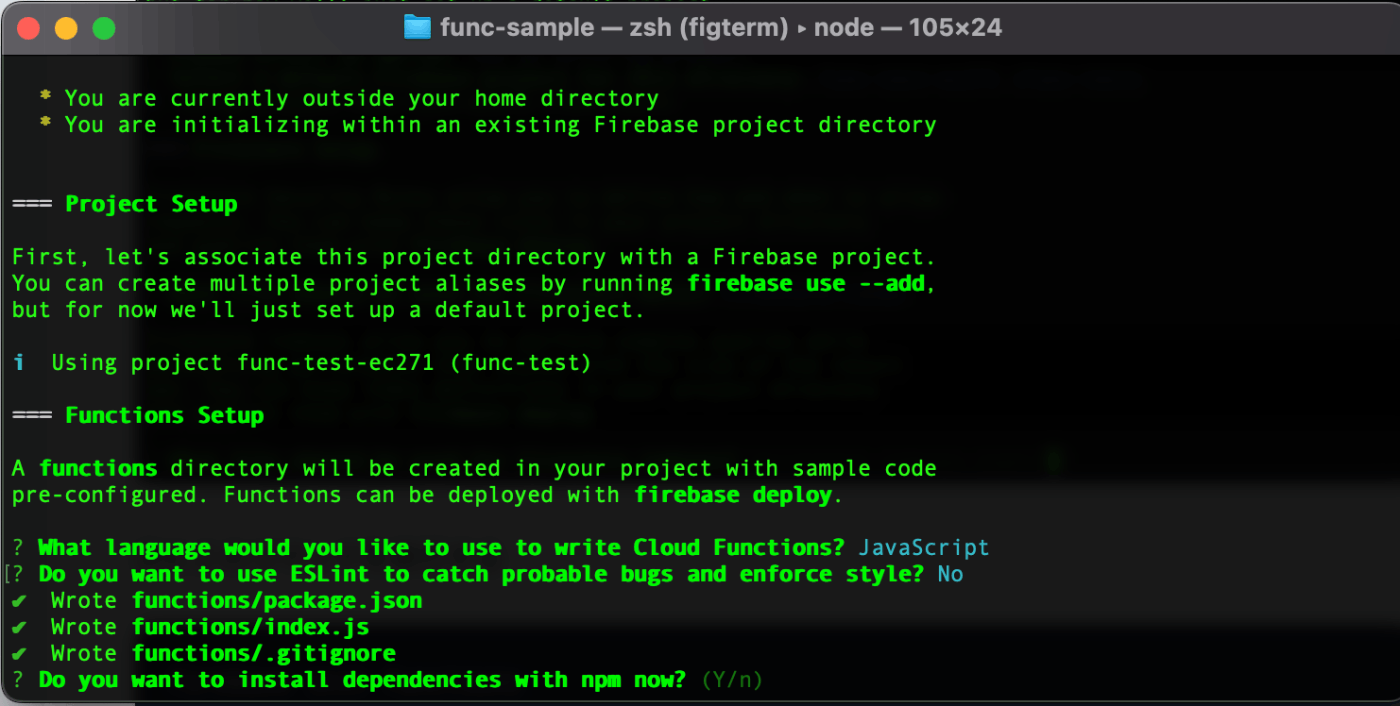
firebase init functions
- JavaScriptを選択する
- 後はエンターを押してくだけ!

環境構築が終わりましたので、チュートリアルを進めましょう
今回は、functionsフォルダの中のindex.jsしか使いません。
チュートリアルの④のコードから追加して実行していきます。
index.js
// The Cloud Functions for Firebase SDK to create Cloud Functions and set up triggers.
const functions = require('firebase-functions');

// The Firebase Admin SDK to access Firestore.
const admin = require('firebase-admin');
admin.initializeApp();

// Take the text parameter passed to this HTTP endpoint and insert it into
// Firestore under the path /messages/:documentId/original
exports.addMessage = functions.https.onRequest(async (req, res) => {
  // Grab the text parameter.
  const original = req.query.text;
  // Push the new message into Firestore using the Firebase Admin SDK.
  const writeResult = await admin.firestore().collection('messages').add({original: original});
  // Send back a message that we've successfully written the message
  res.json({result: `Message with ID: ${writeResult.id} added.`});
});

// Listens for new messages added to /messages/:documentId/original and creates an
// uppercase version of the message to /messages/:documentId/uppercase
exports.makeUppercase = functions.firestore.document('/messages/{documentId}')
    .onCreate((snap, context) => {
      // Grab the current value of what was written to Firestore.
      const original = snap.data().original;

      // Access the parameter `{documentId}` with `context.params`
      functions.logger.log('Uppercasing', context.params.documentId, original);

      const uppercase = original.toUpperCase();

      // You must return a Promise when performing asynchronous tasks inside a Functions such as
      // writing to Firestore.
      // Setting an 'uppercase' field in Firestore document returns a Promise.
      return snap.ref.set({uppercase}, {merge: true});
    });
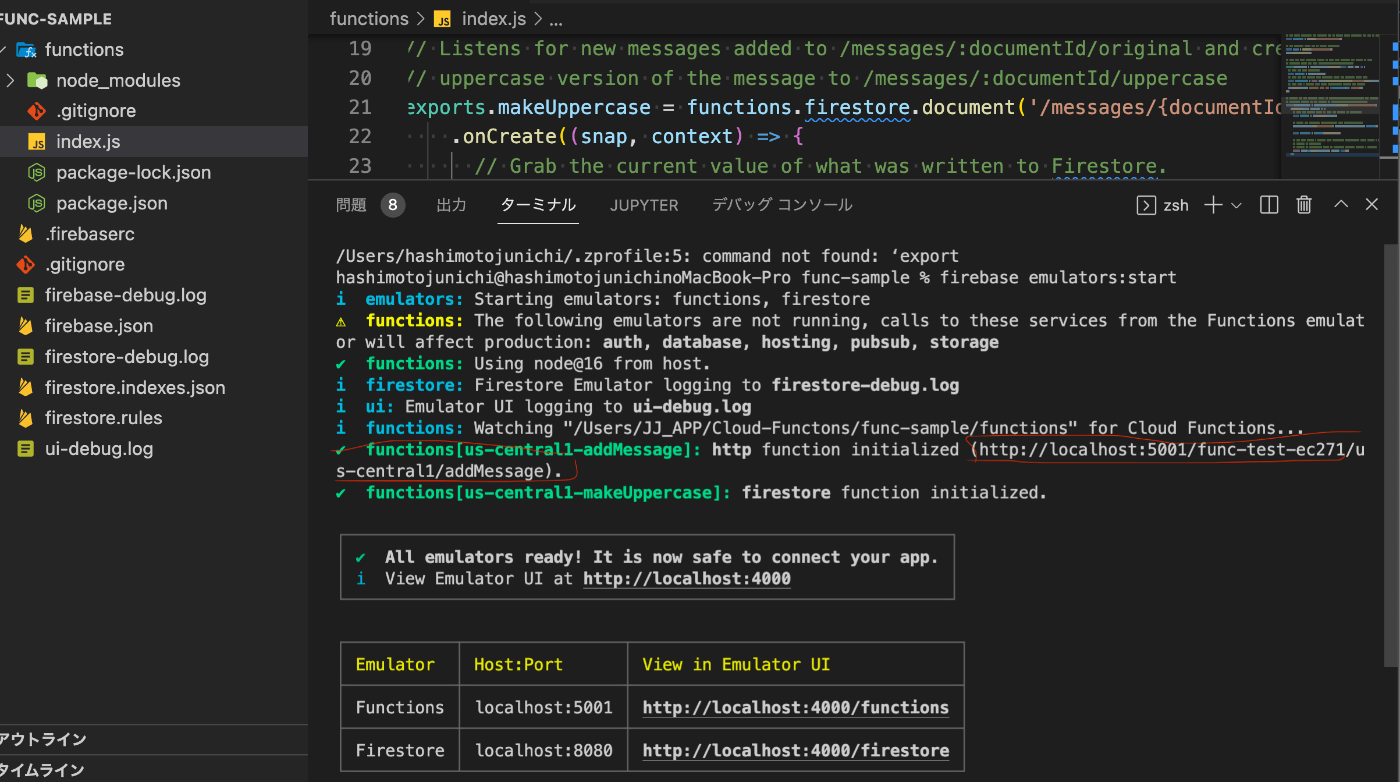
実行するときは、コマンドを入力してローカルマシンを起動させます。ローカルだと本番環境でないので、お金がかからないそうです。
いきなり本番環境だと、無限ループが発生するコードを書いていると、いつの間にか無料枠を超えてしまうこともあるそうです😱
firebase emulators:start
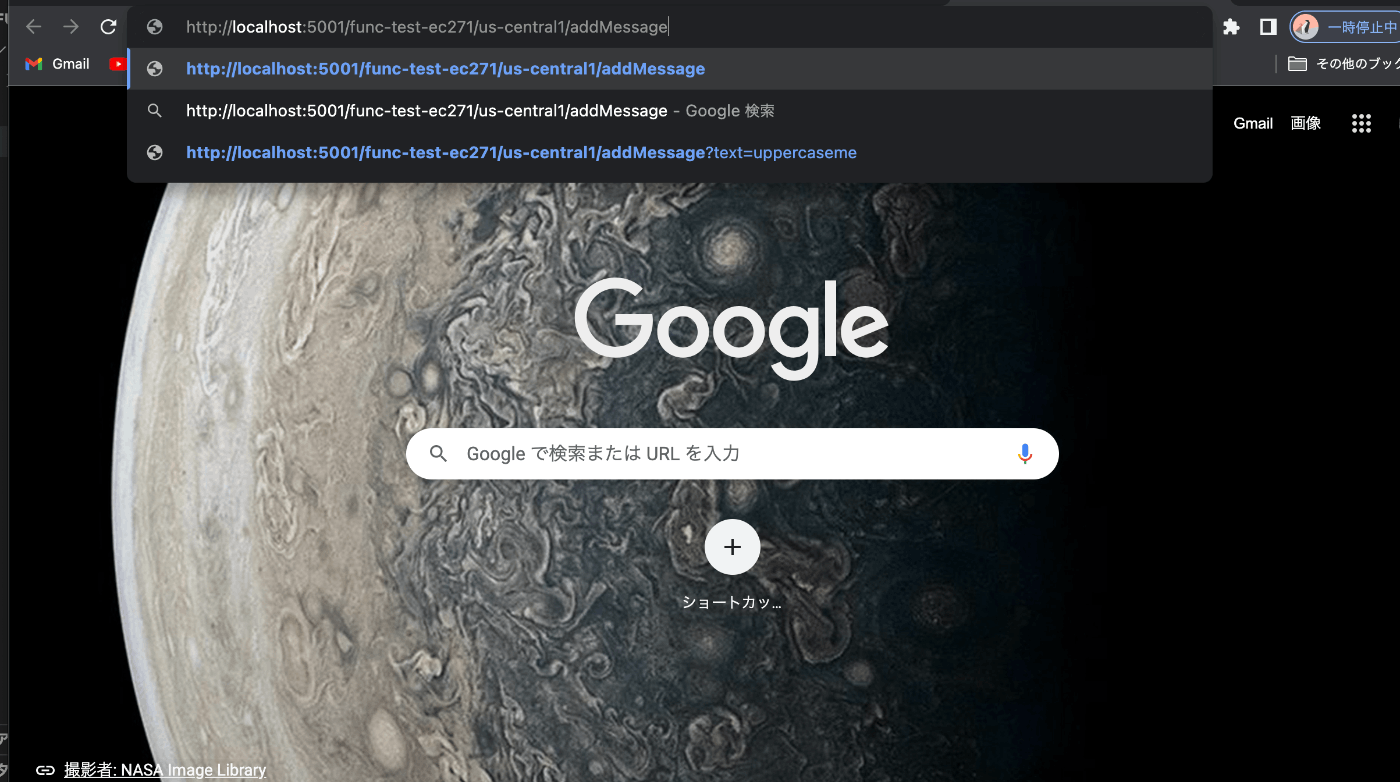
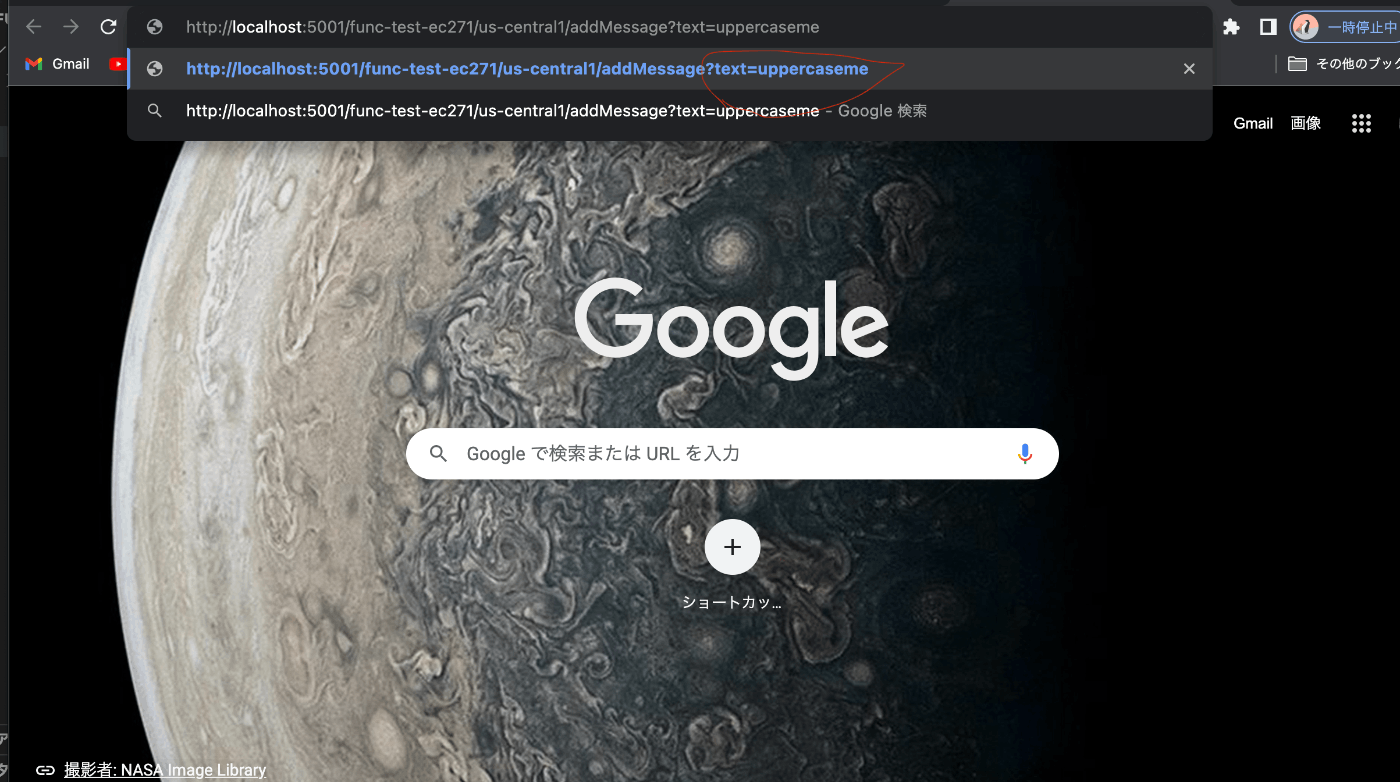
5001と書かれたURLをコピーして、ブラウザに貼り付けて、末尾に公式ドキュメントのクエリ文字列を追加して、エンターを押すと、ローカル環境のFireStoreにデータを保存できます。
http://localhost:5001/functions-test-f11ed/us-central1/addMessage?text=uppercaseme
?text=uppercaseme
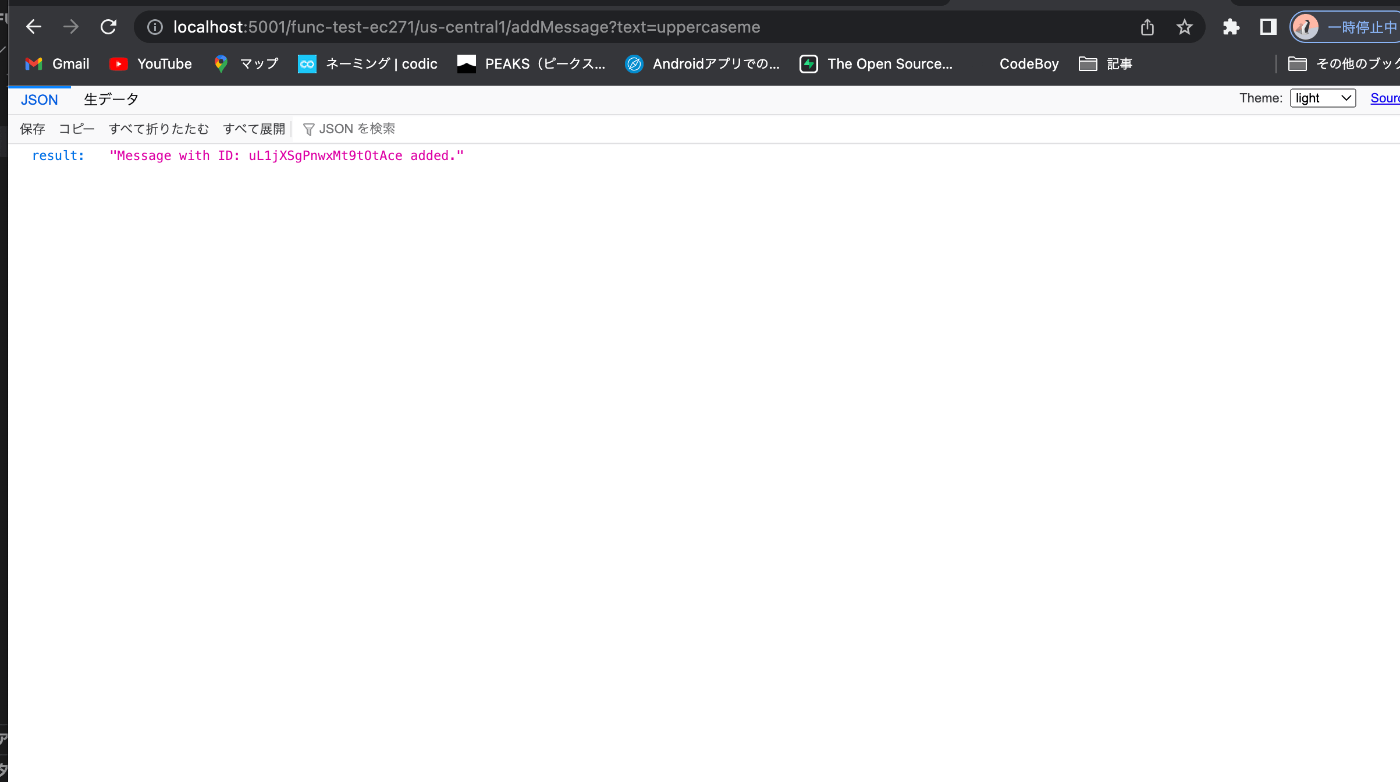
実行結果
エミュレーターの機能を使って確認をする
こちらのURLへアクセスする

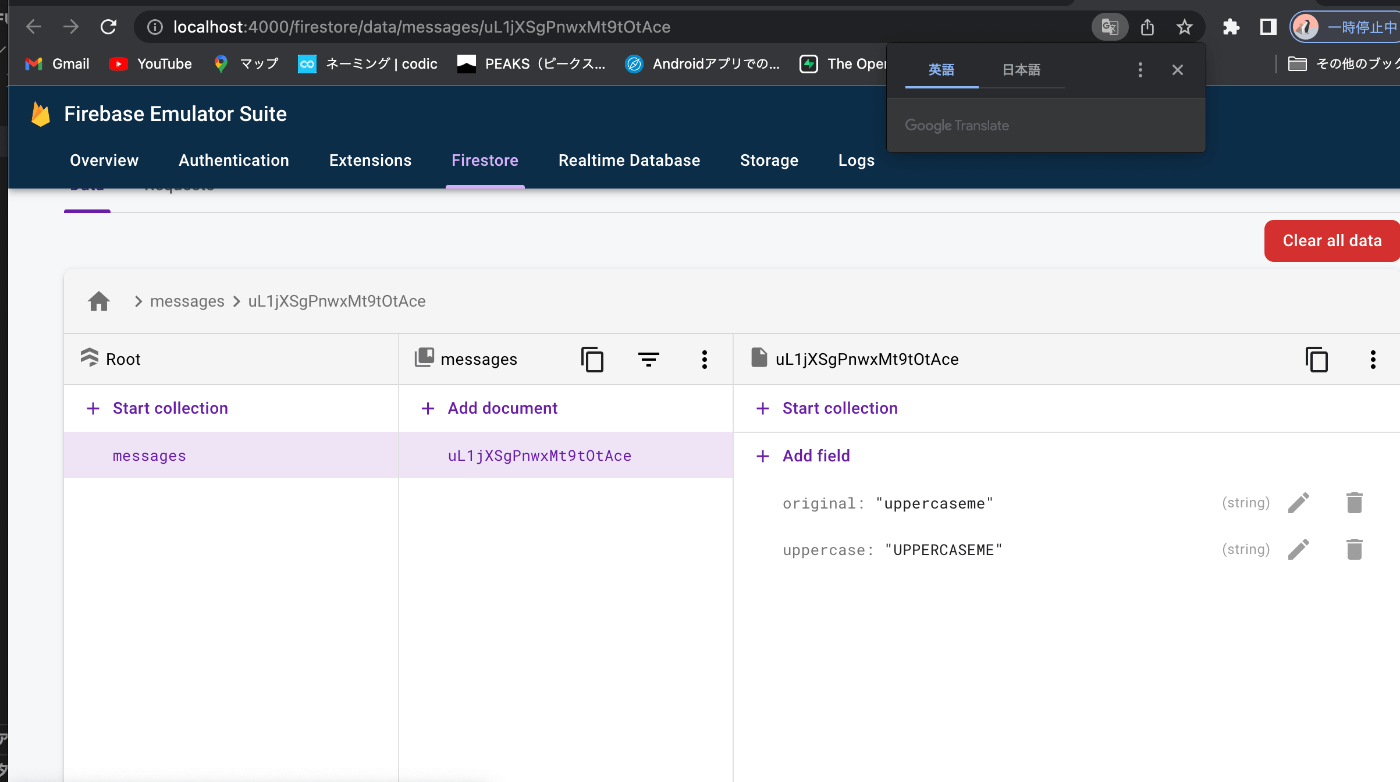
パラメーターに渡された、値と大文字に変換された値である文字列が保存されていますね。
関数の実行に成功したようです😇
次は時間を保存してみよう!
タイムスタンプというものを使います。
タイムスタンプ(デジタルタイムスタンプ)とは、電子データがある時刻に確実に存在していたことを証明する電子的な時刻証明書です。
詳しくはこちらを参照
control + c で、実行されたローカルマシンを停止して、コードを追加します。
index.js
// The Cloud Functions for Firebase SDK to create Cloud Functions and set up triggers.
const functions = require('firebase-functions');

// The Firebase Admin SDK to access Firestore.
const admin = require('firebase-admin');
admin.initializeApp();

// Take the text parameter passed to this HTTP endpoint and insert it into
// Firestore under the path /messages/:documentId/original
exports.addMessage = functions.https.onRequest(async (req, res) => {
  // Grab the text parameter.
  const original = req.query.text;
  // Push the new message into Firestore using the Firebase Admin SDK.
  const writeResult = await admin.firestore().collection('messages').add({original: original});
  // Send back a message that we've successfully written the message
  res.json({result: `Message with ID: ${writeResult.id} added.`});
});

// Listens for new messages added to /messages/:documentId/original and creates an
// uppercase version of the message to /messages/:documentId/uppercase
exports.makeUppercase = functions.firestore.document('/messages/{documentId}')
    .onCreate((snap, context) => {
      // Grab the current value of what was written to Firestore.
      const original = snap.data().original;

      // Access the parameter `{documentId}` with `context.params`
      functions.logger.log('Uppercasing', context.params.documentId, original);

      const uppercase = original.toUpperCase();

      // You must return a Promise when performing asynchronous tasks inside a Functions such as
      // writing to Firestore.
      // Setting an 'uppercase' field in Firestore document returns a Promise.
      return snap.ref.set({uppercase}, {merge: true});
    });
// 現在時刻を日本時間で保存する関数
exports.saveTimeStamp = functions.https.onRequest(async (req, res) => {
  // Grab the text parameter.
  const unixtime = req.query.unixtime; // 数字で取れる
  const unixtimeStr = new Date(unixtime * 1000); // ms秒(1000倍)

  // Push the new message into Firestore using the Firebase Admin SDK.
  const writeResult = await admin.firestore().collection('timestamp').add({unixtime: unixtime});
  // Send back a message that we've successfully written the message
  res.json({result: `Save TimeStamp with ID: ${writeResult.id} added. unixtime: ${unixtimeStr.toLocaleString('ja-JP', { timeZone: 'JST' })}`});
});
ローカルマシンを起動する
firebase emulators:start
こちらのURLを先ほどのように、ブラウザに貼って実行する
「あっ、ご自分のhttp://localhost:5001のURLを使ってくださいね!」
私は、自分のURLにクエリ文字列を追加します。
unixtimeとは?
1970年1月1日の時刻00:00:00(協定世界時(UTC))から経過した秒数でのUNIX時刻指定. うるう秒は数えない.
こちらを参照
unixtimeってどうやって調べるのか?
現在時刻を変換してくれるサービスがあった!
私の場合は、こちらのコンソールに表示されたURLに、クエリ文字列を追加して実行
http://localhost:5001/func-test-ec271/us-central1/saveTimeStamp?unixtime=1658024647
実行結果
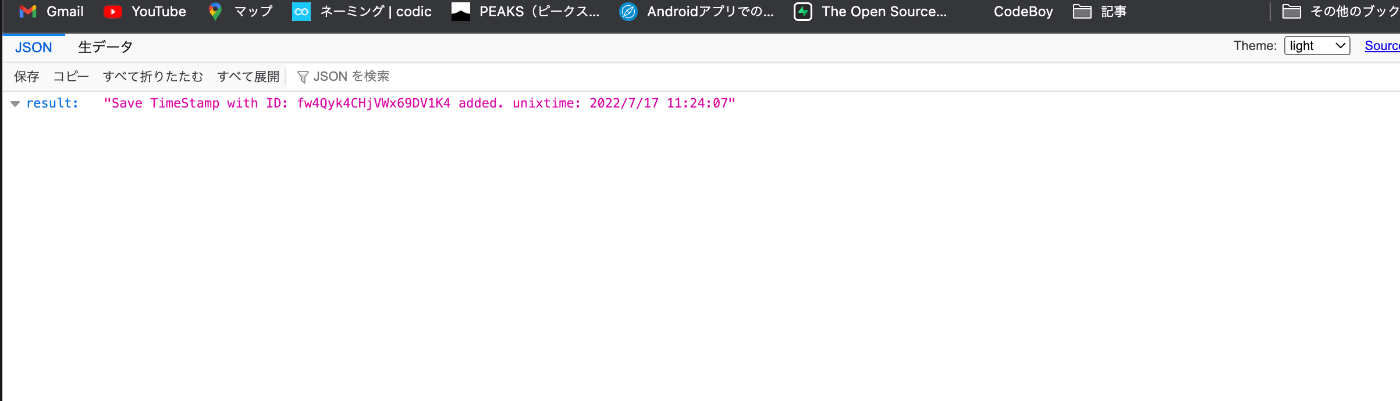

おお、保存されていますね。時間もう一つ追加してみましょうか!

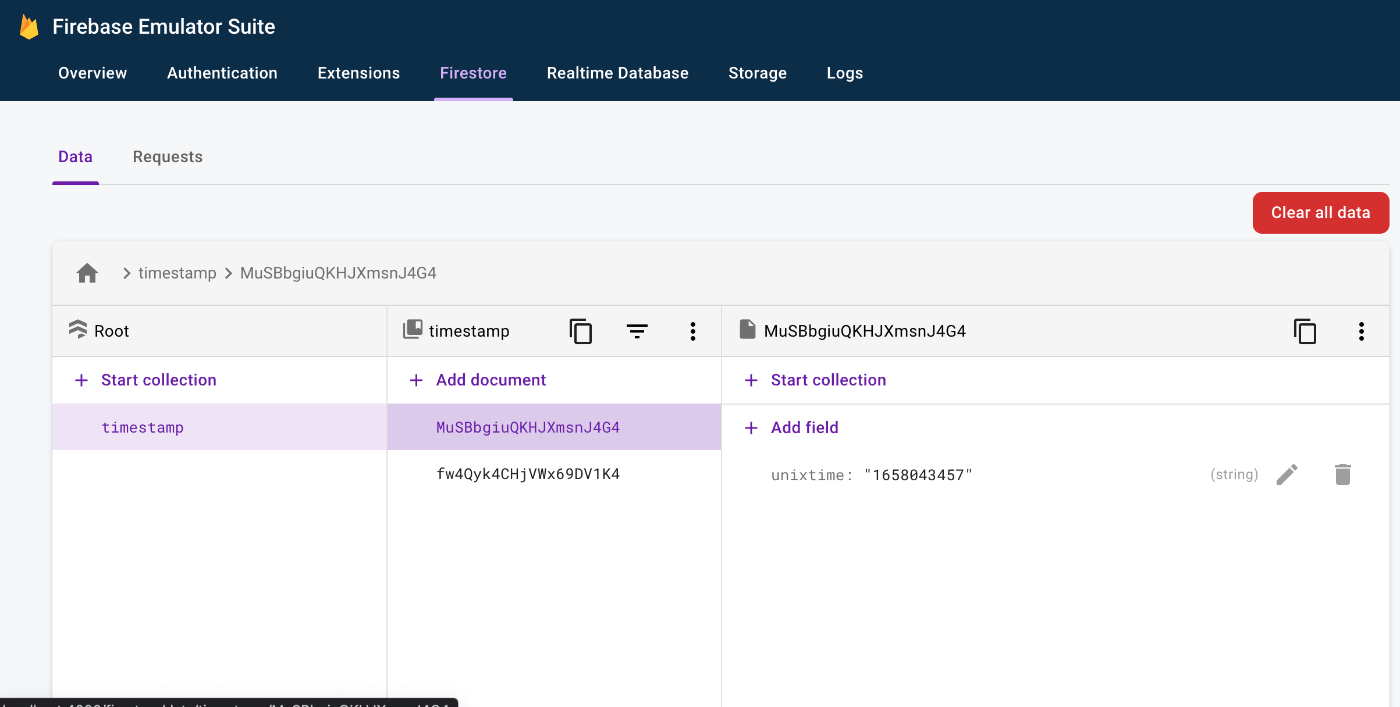
おお、すごい追加されている。
JavaScriptの文法について
Node.jsはJavaScriptで書かれているので、文法の知識が必要です。
MDNというサイトを参照すると良いでしょう!
toLocaleStringとは?
toLocaleString() メソッドは、この数値を表す言語依存の文字列を返します。
TimeZoneについて
国ごとに表記が違うようです😅
これが曲者で、例を出すと日本、アメリカ、イギリスで異なります😇
GMTとか、UTCというものがありますね。
- UTC = Universal Time, Coordinated = 協定世界時
- GMT = Greenwich Mean Time = グリニッジ標準時
JSTとは、日本標準時のことだそうです。もうコンピュータサイエンスの世界ですね😅
最後に
IT業界に入って思うのですが、コンピュータサイエンスの知識が必要になることが、あるのだなと最近気付かされました😇
情報系の学校に行ってる人と、行っていない人とでは、ここで差がつきますね😱
今回は、Cloud Functonsを公式ドキュメントを見ながら、浅く広く学習してみました。
いつも、プログラム書いてばかりで、普段から、IT技術の本を読むのが、減っていたので、読んだり、書いたりして、座学の方も毎日勉強する習慣をつけたいと思います🧑🏼🎓
Discussion