XStateを使ってみた
ステートマシンなるものを使う
Next.jsで状態管理ライブラリを探していて新しいものを使ってみたいと思い試していたところ XStateなるものを見つけました。Reduxよりは難しくないと思った。
やることはステートマシンなるものを作って使うだけ。
UIの見た目を良くしたいと思いreact-iconsとRadixなるものを導入しました。
こちらが完成品です。git cloneして動かしてみてください。
必要なライブラリを追加する。
npm install xstate
npm install @xstate/react xstate
npm install react-icons --save
npm install radix-ui@latest
公式のコードを参考にしつつ作ってみましょう。絵文字を表示するトグルのステートマシンを作ってみる。
サンプルコードがこのリンクにあるので参考にして作ってみてください。
公式のトグルのロジックをそのまま使います。
import { createMachine } from 'xstate';

const toggleMachine = createMachine({
  id: 'toggle',
  initial: 'Inactive',
  states: {
    Inactive: {
      on: { toggle: 'Active' },
    },
    Active: {
      on: { toggle: 'Inactive' },
    },
  },
});

export default toggleMachine;
UIで使うには公式に書いてあるアクタを作成してイベントを送信するコードを書く。
アクタを作成してイベントを送信する
マシンロジックを使用してアクターを作成することができます。アクタは、メッセージ(イベント)を受信し、メッセージを送信し、受信したメッセージに基づいて動作を変更できる実行中のプロセスです。
公式には関数の書き方が書いてなかったのでこんな感じで書きました。
'use client'
import { useMachine } from '@xstate/react';
import toggleMachine from './toggleMachine';
import styles from './Toggle.module.css';

const Toggle = () => {
    const [state, send] = useMachine(toggleMachine);

    const getStateLabel = (value: string) => ({
        'Inactive': '非アクティブ',
        'Active': 'アクティブ'
    }[value] || value);

    return (
        <div className={styles.container}>
            <button
                onClick={() => send({ type: 'toggle' })}
                className={styles.button}
            >
                {state.matches('Active') ? '👻' : '🌟'}
            </button>
            <p className={styles.status}>
                現在の状態: {getStateLabel(state.value as string)}
            </p>
        </div>
    );
};

export default Toggle;
ライトモードとダークモードの切り替えはDOMの操作が必要みたいで工夫が必要でした。こんな感じで書きます。
import { createMachine, assign } from 'xstate';

const sunToggleMachine = createMachine({
  id: 'sunToggle',
  initial: 'light',
  states: {
    light: {
      on: { toggle: 'dark' },
      entry: () => {
        document.documentElement.classList.remove('dark-mode');
        document.documentElement.classList.add('light-mode');
      }
    },
    dark: {
      on: { toggle: 'light' },
      entry: () => {
        document.documentElement.classList.remove('light-mode');
        document.documentElement.classList.add('dark-mode');
      }
    },
  },
});

export default sunToggleMachine;
RadixUIとreact iconsを使用して、ライトモードとダークモードのスイッチを作ってみました。公式には、@xstate/reactも最初インストールするの書いてないから詰まりましたね。
'use client'
import { useMachine } from '@xstate/react';
import sunToggleMachine from './SunToggleMachine';
import styles from './Toggle.module.css';
import { IoSunny, IoSunnyOutline } from "react-icons/io5";
import * as Switch from '@radix-ui/react-switch';

const SunToggle = () => {
    const [state, send] = useMachine(sunToggleMachine);

    const getStateLabel = (value: string) => ({
        'light': 'ライトモード',
        'dark': 'ダークモード'
    }[value] || value);

    return (
        <div className={styles.container}>
            <button
                onClick={() => send({ type: 'toggle' })}
                className={styles.button}
            >
                {state.matches('light') ? <IoSunny size={24} /> : <IoSunnyOutline size={24} />}
            </button>
            <p className={styles.status}>
                現在の状態: {getStateLabel(state.value as string)}
            </p>

            <div className={styles.switchContainer}>
                <label
                    className={styles.switchLabel}
                    htmlFor="theme-mode"
                >
                    テーマ切り替え
                </label>
                <Switch.Root
                    className={styles.switchRoot}
                    id="theme-mode"
                    checked={state.matches('dark')}
                    onCheckedChange={() => send({ type: 'toggle' })}
                >
                    <Switch.Thumb className={styles.switchThumb} />
                </Switch.Root>
            </div>
        </div>
    );
};

export default SunToggle;
基本のカウンターだとこんな感じですね。
import { assign, createMachine } from 'xstate';

export const toggleMachine = createMachine({
    id: 'toggle',
    context: { count: 0 },
    initial: 'Inactive',
    states: {
        Inactive: {
            on: { toggle: 'Active' },
        },
        Active: {
            entry: assign({
                count: ({ context }) => context.count + 1,
            }),
            on: { toggle: 'Inactive' },
            after: { 2000: 'Inactive' },
        },
    },
});
思いつきで作ったのでごちゃ混ぜですがこんな感じでカウンターを使うことができます。
'use client'
import { useMachine } from '@xstate/react';
import { toggleMachine } from './CounterMashine';
import styles from './Toggle.module.css';
import * as Switch from '@radix-ui/react-switch';

const Counter = () => {
    const [state, send] = useMachine(toggleMachine);

    return (
        <div className={styles.container}>
            <button
                onClick={() => send({ type: 'toggle' })}
                className={styles.button}
            >
                カウント: {state.context.count}
            </button>
            <p className={styles.status}>
                現在の状態: {state.matches('Active') ? 'アクティブ' : '待機中'}
            </p>

            <div className={styles.switchContainer}>
                <label
                    className={styles.switchLabel}
                    htmlFor="counter-mode"
                >
                    カウンターモード
                </label>
                <Switch.Root
                    className={styles.switchRoot}
                    id="counter-mode"
                    checked={state.matches('Active')}
                    onCheckedChange={() => send({ type: 'toggle' })}
                >
                    <Switch.Thumb className={styles.switchThumb} />
                </Switch.Root>
            </div>
        </div>
    );
};

export default Counter;
page.tsxでインポートすれば使えます。ご自分で改造して色々試してみてください。
import SunToggle from '@/components/SunToggle';
import Toggle from '@/components/Toggle';
import Counter from '@/components/Counter';

export default function Home() {
  return (
    <main>
      <SunToggle />
      <Toggle />
      <Counter />
    </main>
  );
}
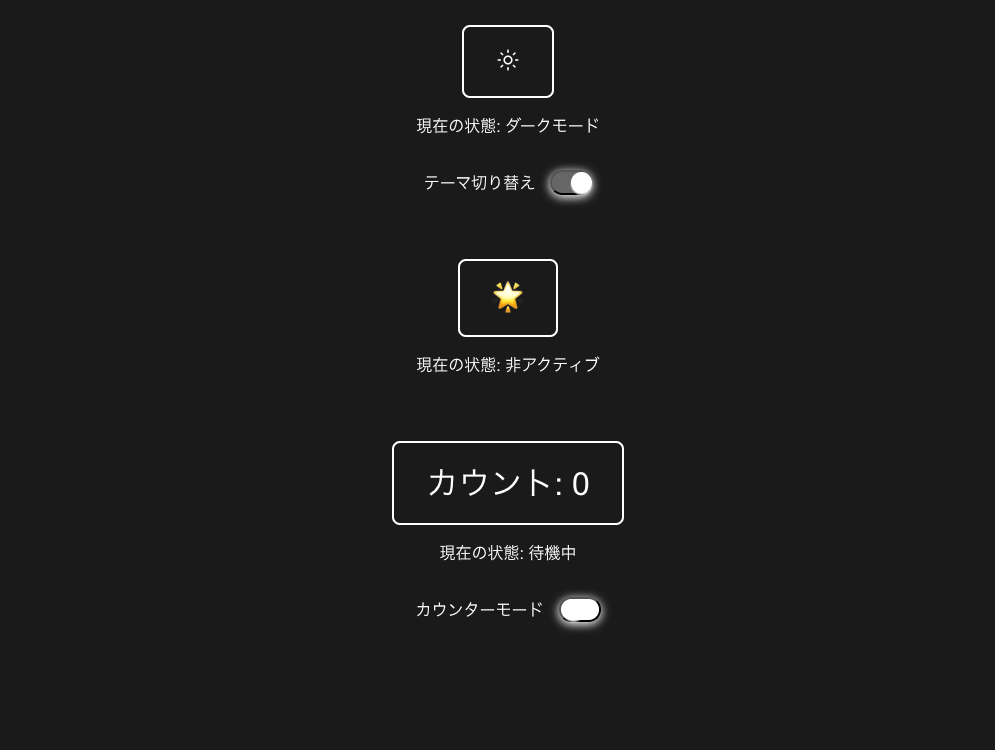
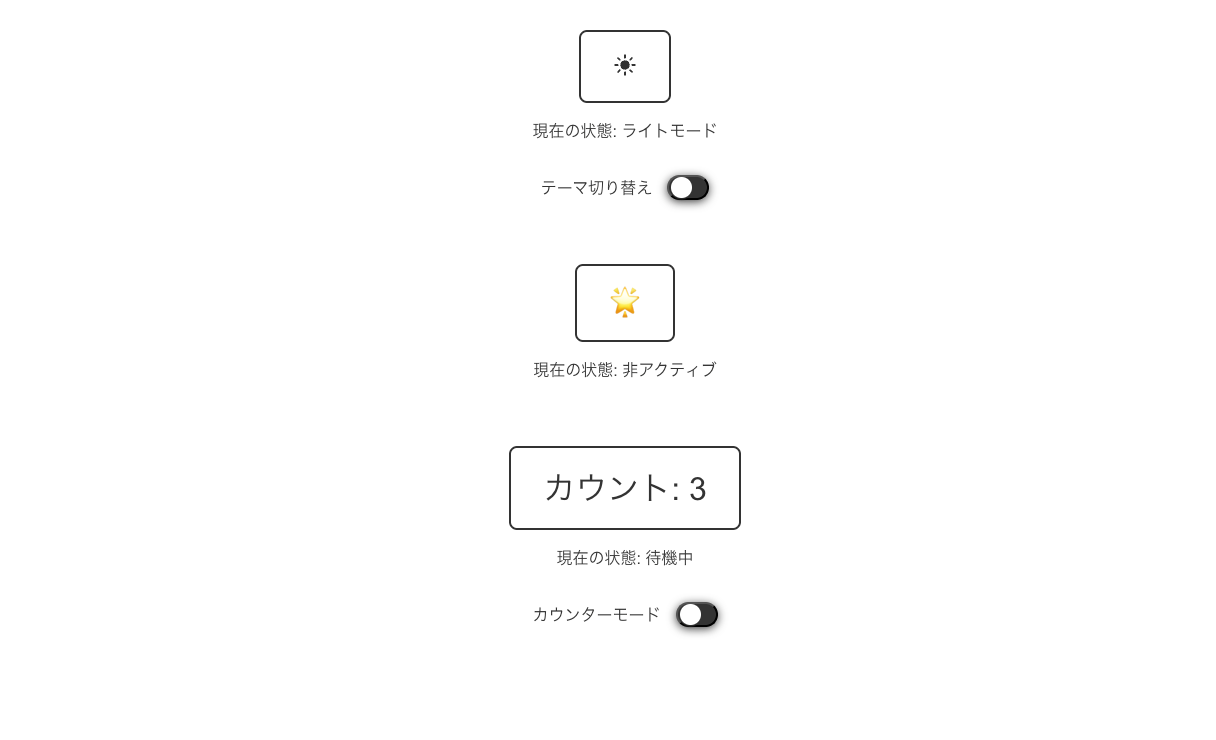
動作はこんな感じです💡
最後に
XStateはあまり情報がないので試行錯誤して使ってみました。状態管理ライブラリってたくさんあるからどれがいいのかいまだにわからないですね。仕事で使ったのは、Reduxだったが新規開発なら新しいのがいいって意見があるからXStateのような新しいものを使いたいですね。
Discussion